Can we just talk for a second about the single saddest light fixture in most homes? It’s that one lonely, usually dome-shaped light plopped in the middle of the bathroom ceiling. You know the one. It casts these horrible, ghoulish shadows down your face, making you look like you haven’t slept in a week, and makes finding anything in your vanity feel like an archaeological dig. It’s not just you. It’s a design crime, and it’s time to fix it.
For years, I’ve walked into clients’ homes to organize their spaces, and the first thing I notice is how bad lighting sabotages everything else they’re trying to do. It doesn’t matter how perfect your custom vanity is if you can’t see what’s inside it or apply your makeup accurately. So forget what you’ve seen in generic design blogs. This isn’t just about picking a pretty fixture; it’s about building a system. We’re going to break down how to create a layered, functional, and beautiful lighting plan that makes your daily routine easier, not harder.
Planning Your Perfect Vanity Lighting Scheme (Part 1)
Before you even think about browsing online for fixtures, we need a plan. Great design, just like great organizing, is 90% strategy. This is the foundation. Getting this part right means the rest of the project will flow smoothly and you’ll end up with a result you love, not one you have to work around.
1. Assess Your Vanity Size and Layout for Optimal Light Placement
Okay, first things first. Put down your phone and pick up a tape measure. You absolutely have to know the dimensions of your vanity space—the width of the mirror, the height of the ceiling, and the width of the vanity cabinet itself. The biggest mistake people make is buying a light that’s completely out of proportion. A tiny light bar over a huge mirror looks ridiculous and won’t give you enough light, while a massive fixture in a small powder room is just overwhelming.
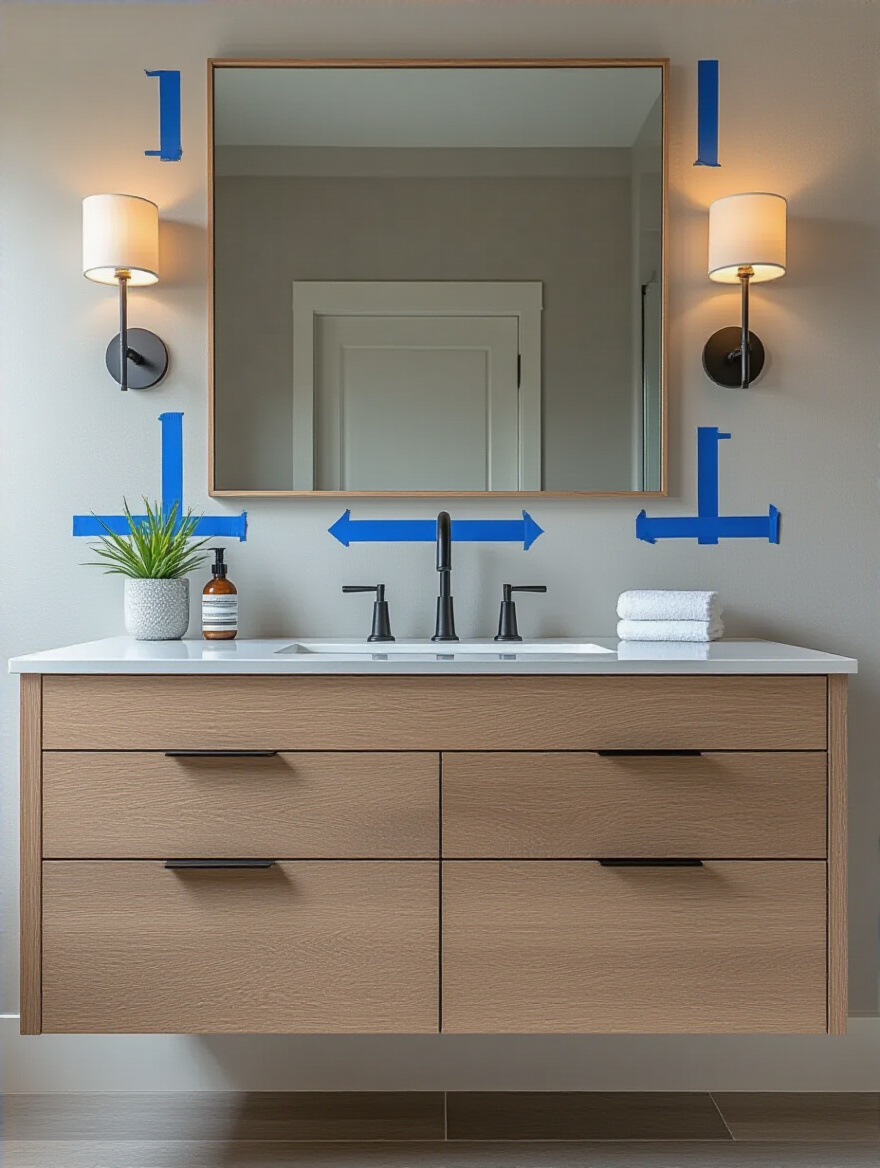
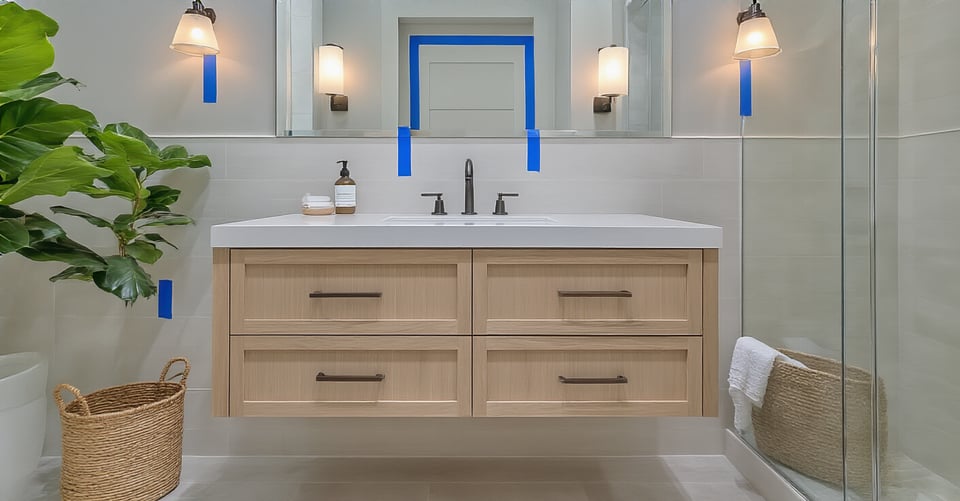
I once had a client who bought a stunning 48-inch light bar for his 36-inch mirror because he “wanted a lot of light.” It hung over the edges and created this weird, distracting glare on the side walls. We had to return it. So, measure everything first. Then, use painter’s tape to mock up the size of a potential fixture on the wall. Live with it for a day. See how it feels. This simple five-minute trick will save you a ton of hassle later.
2. Determine Your Primary Lighting Goals: Task, Ambient, or Accent?
Not all light is created equal. You need to decide what you want your lights to do. Most people just think “I need it to be bright,” but it’s more nuanced than that. You’re really layering three types of light: Task lighting is the bright, focused light for doing things like shaving or putting on eyeliner. Ambient light is the overall glow that fills the room so you’re not bumping into things. Accent light is the fancy stuff, like a small spotlight on a piece of art or beautiful tile.
At the vanity, your main goal is task lighting, but it has to be supported by good ambient light. The big lie is that one overhead light can do both jobs. It can’t. It creates shadows. The real solution is having dedicated lights for the task (at the mirror) and another source for ambient (like recessed lights in the ceiling). Don’t expect one fixture to solve all your problems. It’s about building a team of lights that work together.
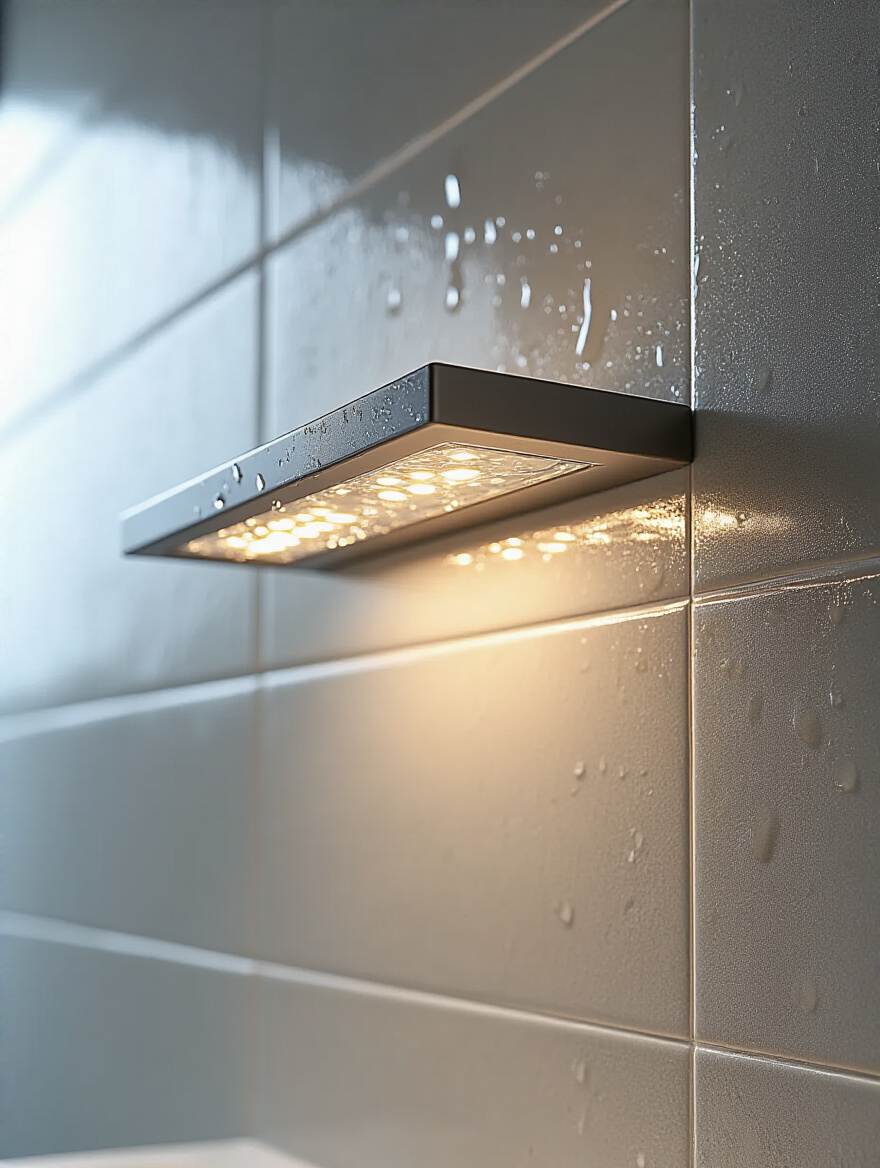
3. Understand Lighting Zones and Safety Ratings (Damp/Wet)
This is the boring but incredibly important part. Bathrooms are wet. Electricity and water are not friends. That’s why there are safety codes that divide the bathroom into “zones.” A light fixture that’s safe over your vanity (Zone 2) is not safe to install inside your shower (Zone 0 or 1). Every light fixture designed for a bathroom should have an “IP rating,” which tells you how resistant it is to moisture and dust.
For vanity lighting, you’re generally looking for something that is at least IP44. This means it’s protected from splashing water from any direction. It’s not corporate speak; it’s a life-saving detail. Don’t ever buy a fixture that isn’t rated for damp or wet locations for your bathroom. A licensed electrician will know all of this, but you should too, so you can buy the right products with confidence and not put your home at risk.
4. Calculate Required Lumens for Brighter, Shadow-Free Reflections
Forget “watts.” Watts measure energy use, not brightness. We live in a world of “lumens” now, which is the actual measure of how much light a bulb produces. For a bathroom, you need different amounts of lumens for different areas. For the general ambient light, aim for around 70-80 lumens per square foot. But for the task-heavy vanity area, you need to crank that up to at least 100-150 lumens per square foot.
But here’s the shortcut you actually need: Don’t get obsessed with hitting an exact number. The most important thing is to get enough light and then put it all on a dimmer switch. This way, you can have a super-bright 2,000 lumens when you’re trying to find a stray eyebrow hair, but you can also dim it way down for a relaxing bath or a late-night trip to the loo without blinding yourself. A dimmer is your secret weapon for getting the light levels right every single time.
Planning Your Perfect Vanity Lighting Scheme (Part 2)
Once you’ve got the foundational plan down—the size, the goals, the safety, and the brightness—it’s time to get into the details that truly elevate your lighting from just “functional” to fantastic. This is where we fine-tune the quality of the light itself.
5. Identify Your Preferred color temperature (CCT) for True Skin Tones
You know how some lights make you look healthy and vibrant, and others make you look sick? That’s color temperature, measured in Kelvin (K). A lower Kelvin number (around 2700K) produces a warm, yellowish, cozy light like a candle. A higher number (5000K+) produces a cool, bluish light like you’d find in a hospital. For a bathroom vanity, where you want to see your skin tone accurately, you want something in the middle.

The sweet spot is right around 2700K to 3000K. This range mimics warm, natural light and is the most flattering on skin tones. Anything higher can feel sterile and harsh. Also, look for a bulb with a high Color Rendering Index (CRI) of 90 or more. That’s a measure of how accurately the light shows colors. A low CRI bulb can make your makeup look completely different once you step outside. I used to think this was just for pros, but after a client complained her foundation never matched, we swapped her low-CRI bulbs for high-CRI ones, and the problem vanished.
6. Incorporate Dimmer Switches for Adjustable Ambiance and Energy Savings
I’ve already mentioned this, but it’s so important it deserves its own rule. Putting your vanity lights on a dimmer switch is not optional; it’s a requirement for a well-designed bathroom. Life is not one-size-fits-all, and neither is lighting. You need bright, focused light in the morning to get ready, but you want a soft, calming glow at night to unwind. A dimmer gives you that control.
Think about it: at 6 AM, you can have the lights at 100% to wake you up. At 10 PM, you can dim them to 20% for a spa-like vibe while you do your skincare routine. It’s the single best and most affordable way to make your lighting multi-functional. Just be sure to buy dimmable bulbs and a dimmer switch that is compatible with them (especially for LEDs, which require a specific type of dimmer). This simple upgrade transforms the entire feel of the room.
Choosing and Installing Your Ideal Fixtures (Part 1)
Now for the fun part: picking the actual hardware. The fixtures you choose will define the style of your bathroom, but more importantly, their shape and design will determine how the light is cast. Here’s how to make the right choice.
7. Select Fixtures That Complement Your Bathroom’s Overall Design Style
Your light fixtures are the jewelry of the bathroom. They need to match the rest of the outfit. If you have a modern, minimalist bathroom with clean lines, a fussy, traditional chandelier over the vanity is going to look completely out of place. Conversely, a hyper-modern LED bar might clash with a classic farmhouse design. Take stock of your faucet finish, your cabinet hardware, and your tile style.
The goal is a cohesive look. You don’t need everything to be from the same collection, but the finishes and general shapes should feel related. I tell my clients to create a small mood board—it can be on Pinterest or with physical samples. Put a picture of your faucet, a cabinet knob, and potential light fixtures next to each other. You’ll see instantly what works and what doesn’t.
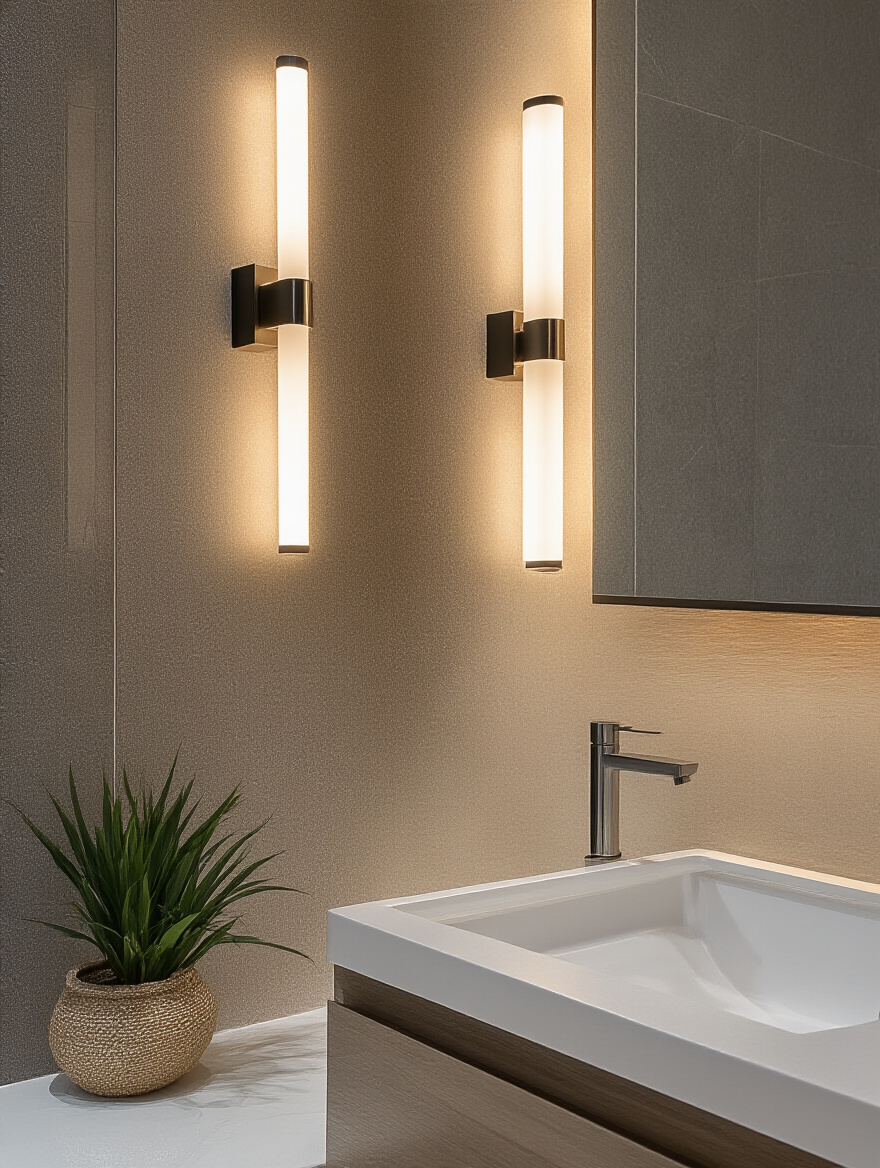
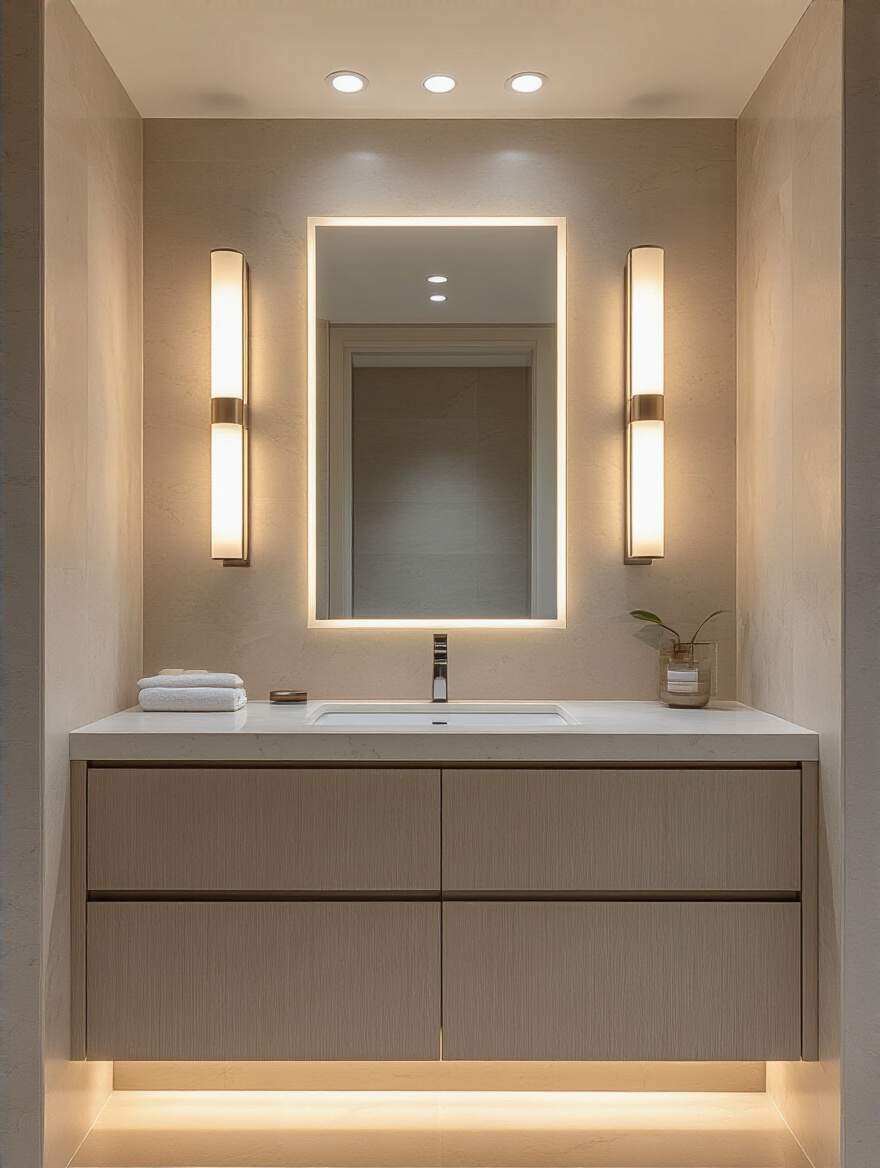
8. Evaluate Horizontal Sconces vs. Vertical Bars for Even Illumination
This is the big one. Everyone asks me: should the light go over the mirror or on the sides? For the absolute best, most flattering, shadow-free light, the answer is always vertical lights on either side of the mirror. This is the gold standard. When light hits your face from both sides, it cancels out shadows under your eyes, nose, and chin. It’s the reason makeup artists use mirrors with lights all around the frame.
A horizontal light bar above the mirror is still a good option, especially if you have a wide vanity or limited wall space on the sides. But it can still cast some shadows downwards. If you have to go with an overhead light, choose one that is long—at least 75% of the mirror’s width—to distribute the light as evenly as possible. The absolute worst setup is a single, narrow fixture right in the middle, which creates a spotlight on your forehead and shadows everywhere else.
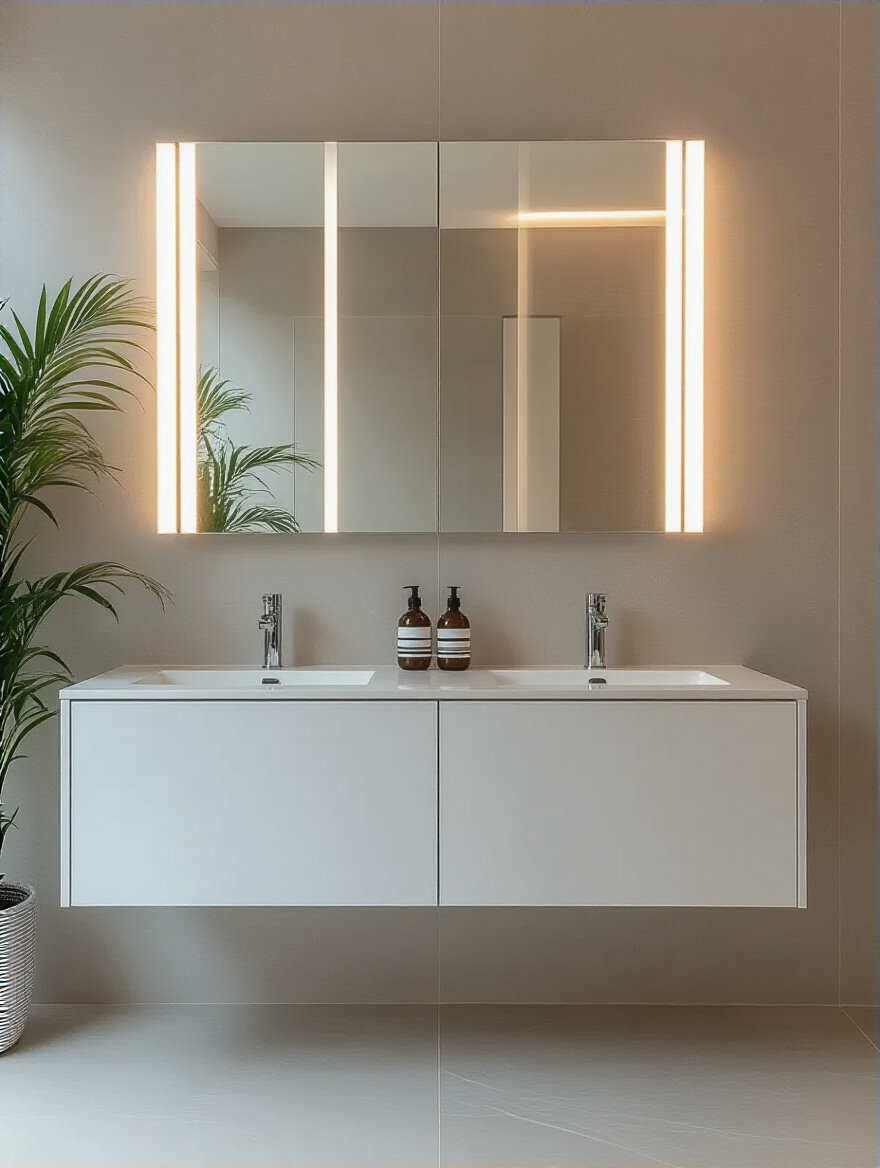
9. Explore Integrated LED Fixtures for Modern Efficiency and Longevity
You’ll see a lot of fixtures now with “integrated LED.” This just means the LED light source is built directly into the fixture—there’s no bulb to change. The pros are huge: they last for an incredibly long time (often 15-20 years or more), they’re extremely energy-efficient, and they allow for very sleek, minimalist designs that you can’t get with traditional bulbs.
The one downside is that when the light eventually does die, you have to replace the entire fixture, not just a bulb. But given their lifespan, that’s a problem for your future self a decade or two from now. I used to be skeptical, but the reliability and quality of light from good integrated fixtures are amazing. I recently installed a pair in a client’s bathroom, and she loves the clean look and the fact that she’ll never have to climb on her counter to change a bulb again.
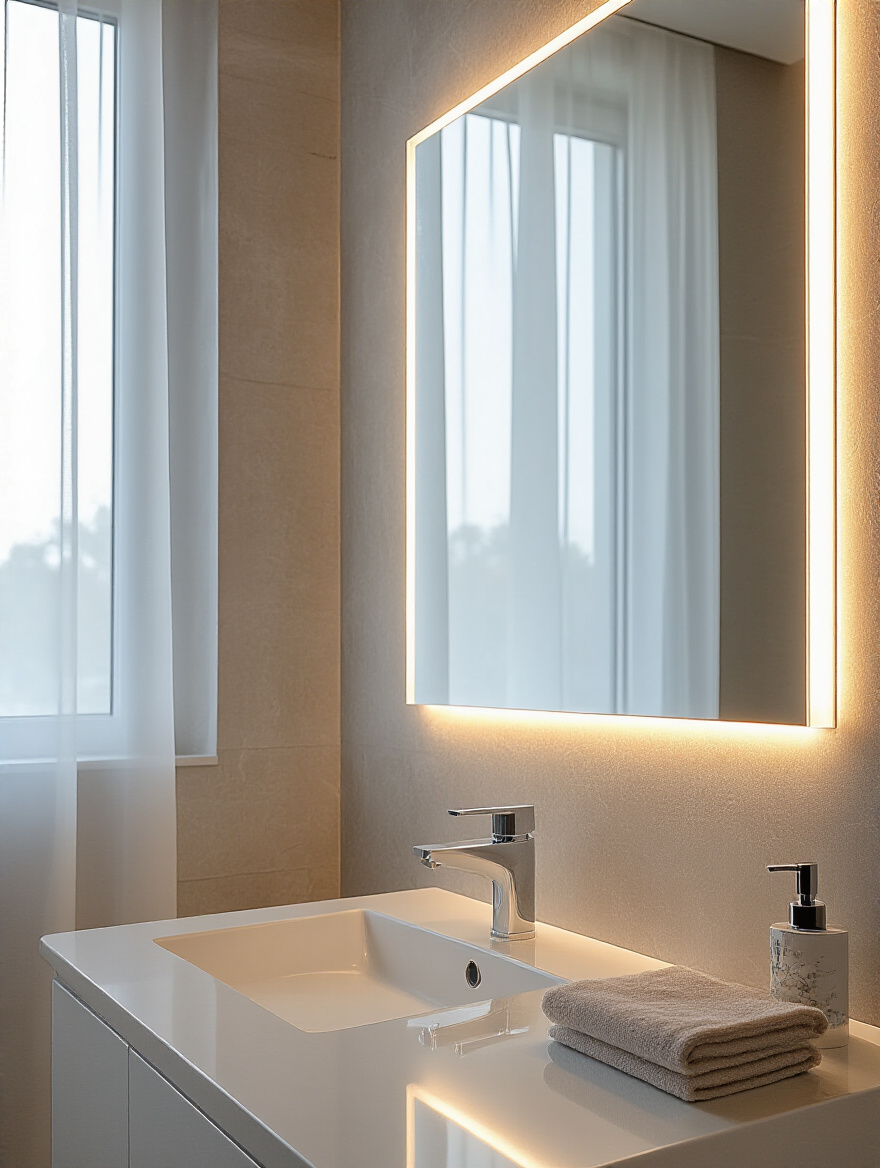
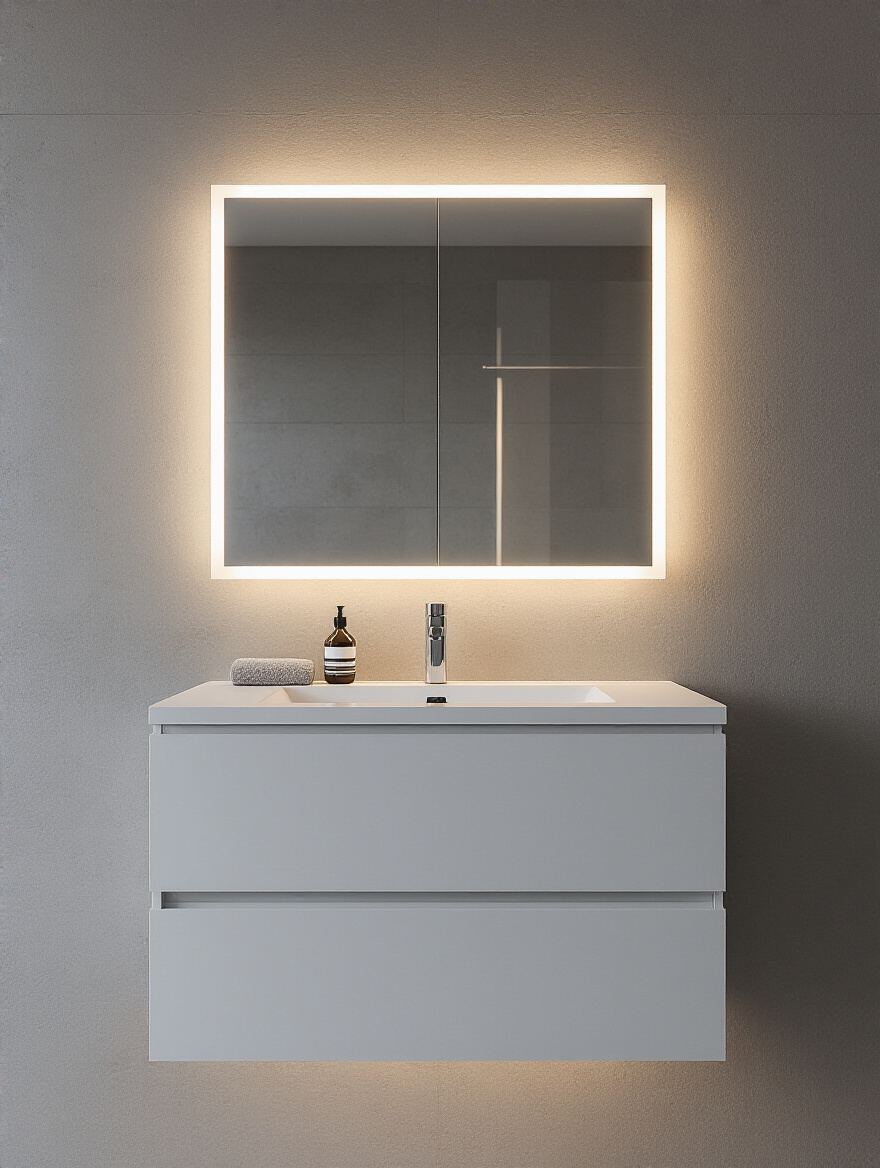
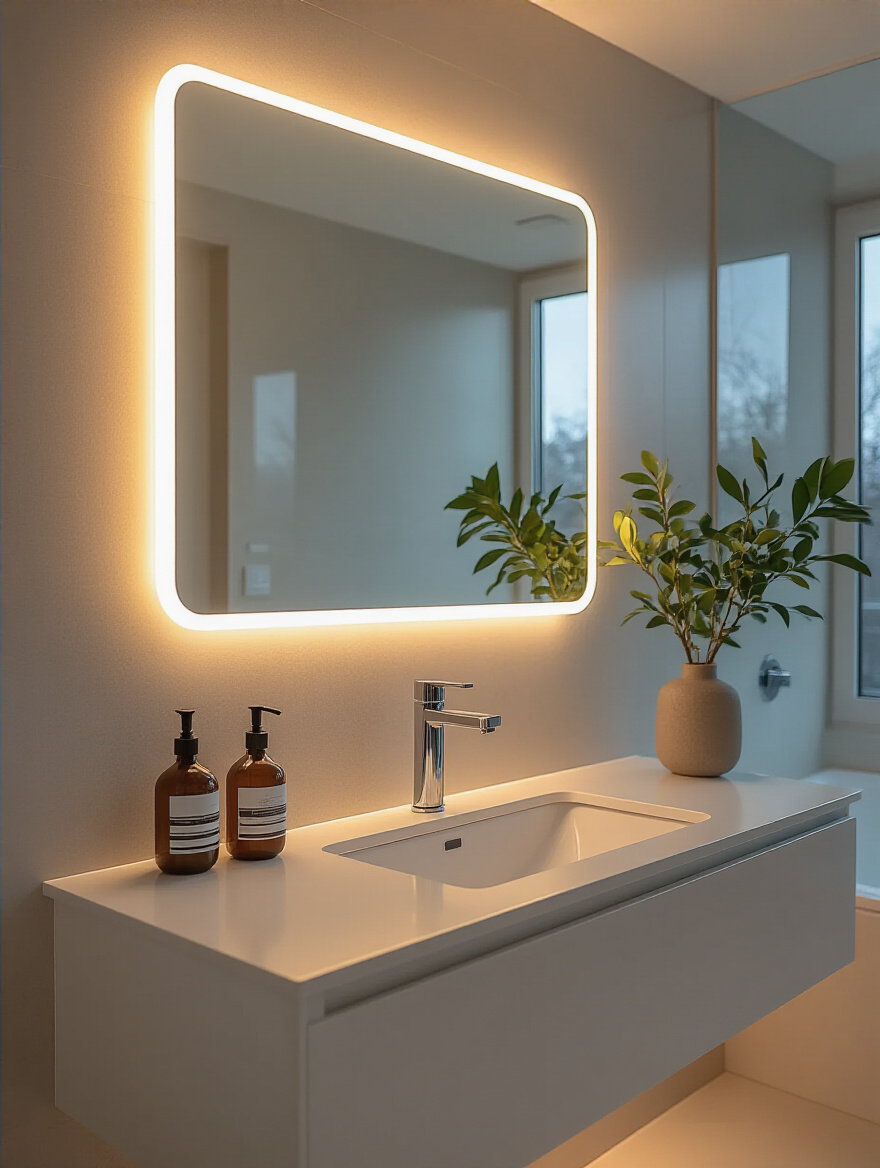
10. Consider Mirror-Integrated Lighting for a Seamless, Clutter-Free Look
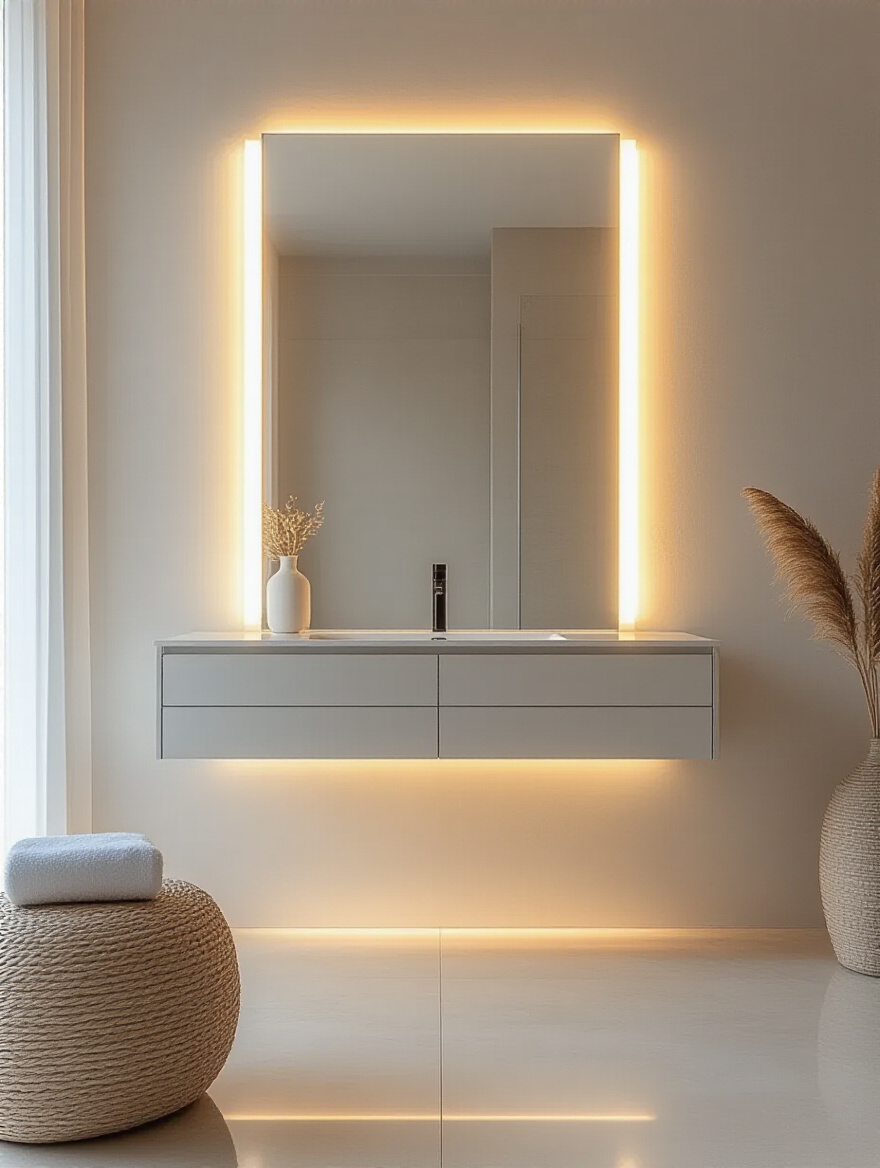
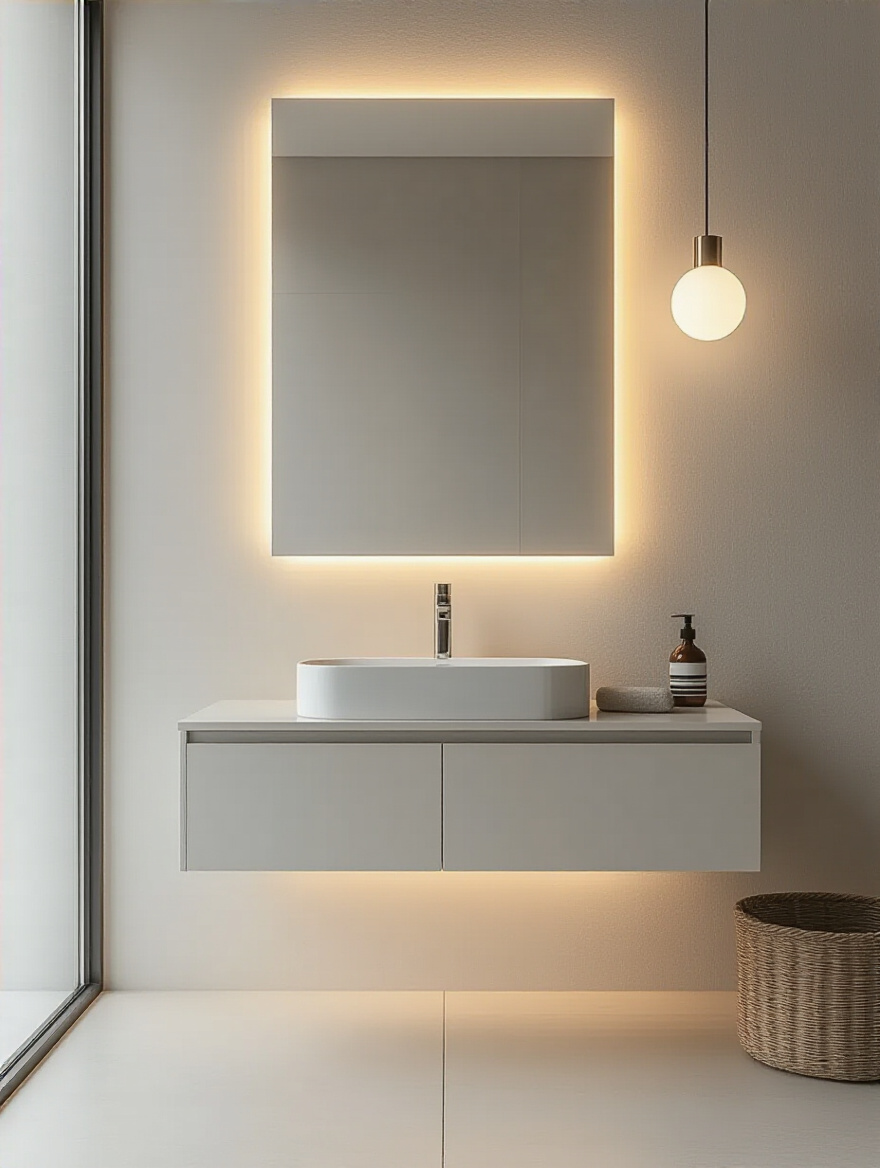
For the ultimate in minimalist design, you can’t beat a mirror with the lights built right in. These are often backlit, casting a beautiful halo of ambient light on the wall, or have light strips embedded in the glass itself for direct task lighting. They are fantastic space-savers, especially in small bathrooms where you don’t have wall space for sconces.
Many of these smart mirrors also come with amazing features like built-in defoggers (a game-changer!), adjustable color temperature, and dimming, all controlled by a touch sensor on the mirror itself. I recommend these all the time for clients who want a high-tech, uncluttered look. They provide beautifully even light right where you need it and eliminate the visual noise of extra fixtures on the wall. It’s a very clean, organized solution.
Choosing and Installing Your Ideal Fixtures (Part 2)
You’ve picked your perfect fixtures. Now comes the critical part: putting them in the right place. Proper installation is a game of inches, and getting the height and spacing just right will make all the difference in the world.
11. Mount Vanity Sconces at Eye-Level to Minimize Harsh Shadows
If you choose to go with vertical sconces (which you should, if you can!), the single most important rule is to mount them at eye level. This ensures the light is aimed directly at your face, not at the top of your head or your shoulders. The ideal height for the center of the fixture is typically between 60 and 65 inches from the finished floor.
Stand in front of your vanity and have someone mark where your eye level is. That’s your target. If you mount them too high, you’ll get those dreaded raccoon-eye shadows. Too low, and you’ll get weird uplighting that feels like a scene from a horror movie. Get the height right, and you will have perfect, even, flattering light every time.
12. Ensure Proper Spacing Between Fixtures for Uniform Light Distribution
Just as important as height is the spacing between your vertical sconces. You want them to be far enough apart to light the sides of your face but not so far apart that the middle of your face is in shadow. The sweet spot is typically between 28 and 36 inches apart, center to center.
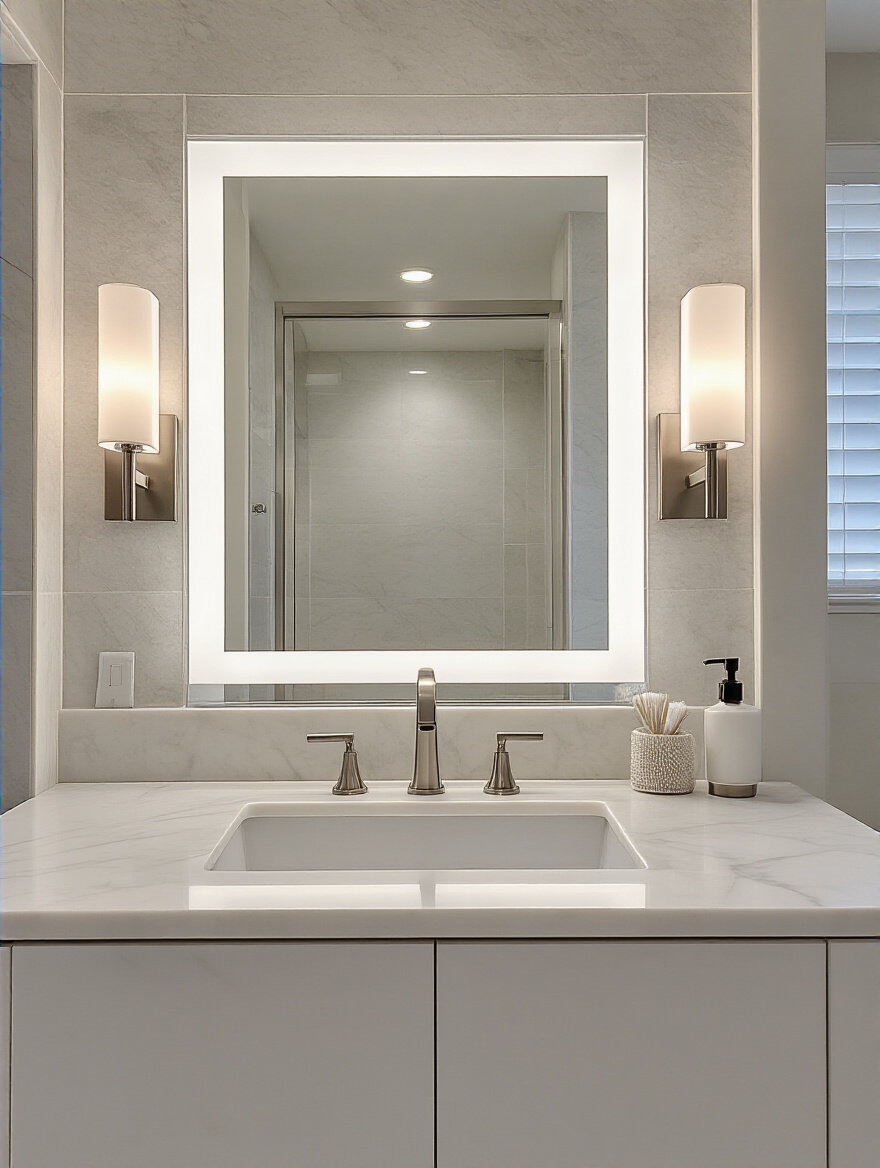
They should also be positioned just a few inches from the sides of the mirror. This placement creates a cross-illumination that washes your face in even light. One client learned this the hard way after an electrician placed her sconces nearly four feet apart; she had bright light on her ears but a dark valley running down the center of her face. We had to move the junction boxes in, but the difference was night and day.
13. Consult an Electrician for Safe and Code-Compliant Wiring & Installation
I’m all for a good DIY project, but this is not one of them. I’m telling you as a friend: hire a licensed electrician. Bathrooms are a minefield of codes related to water, GFCIs, and proper wiring. A professional will ensure everything is done safely and correctly, protecting your home and your family. It’s the best money you can spend on this project.
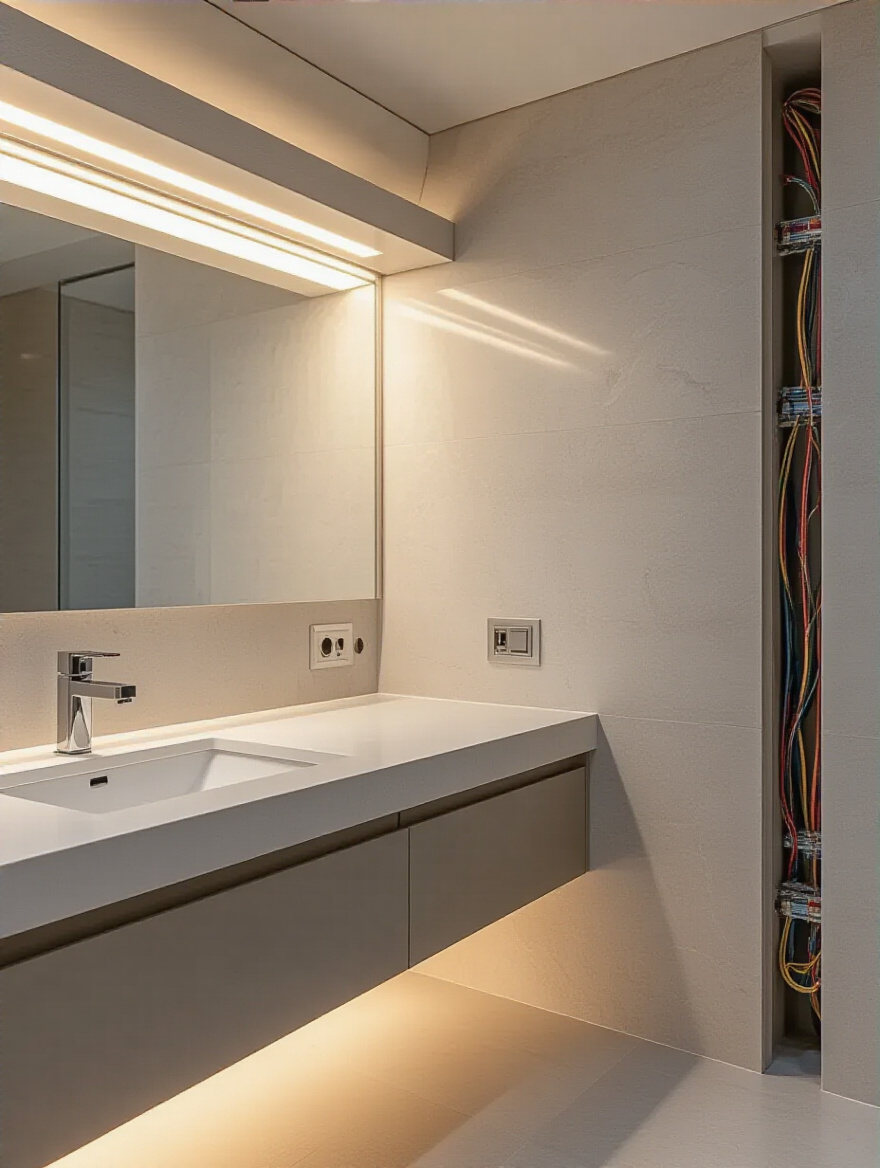
The cost of hiring an electrician for a few hours is nothing compared to the cost of fixing a fire, a failed inspection, or a recurring electrical problem. They will make sure your fixtures are securely mounted, wired to the right kind of switch (like your new dimmer!), and fully compliant with local codes. Just do it.
Enhancing Functionality and Aesthetics
Your lights are installed in the perfect spot. Now it’s time for the final touches that pull the whole system together and keep it working beautifully for years to come. These are the details that separate a good lighting job from a great one.
14. Balance Vanity Lights with Overhead Ambient Lighting for Layered Effects
Remember our talk about layering? Your new vanity lights are your task-lighting superstars, but they need a supporting cast. You still need good overhead ambient light to fill the rest of the room. This could be a set of recessed lights, a stylish flush-mount fixture, or even cove lighting.
The key is that these light sources should be on a separate switch from your vanity lights. This gives you total control. You can have just the overheads on for general use, just the vanity lights on for focused tasks, or both on for a bright, fully illuminated room. This layering is what creates a truly flexible and professional-feeling space.
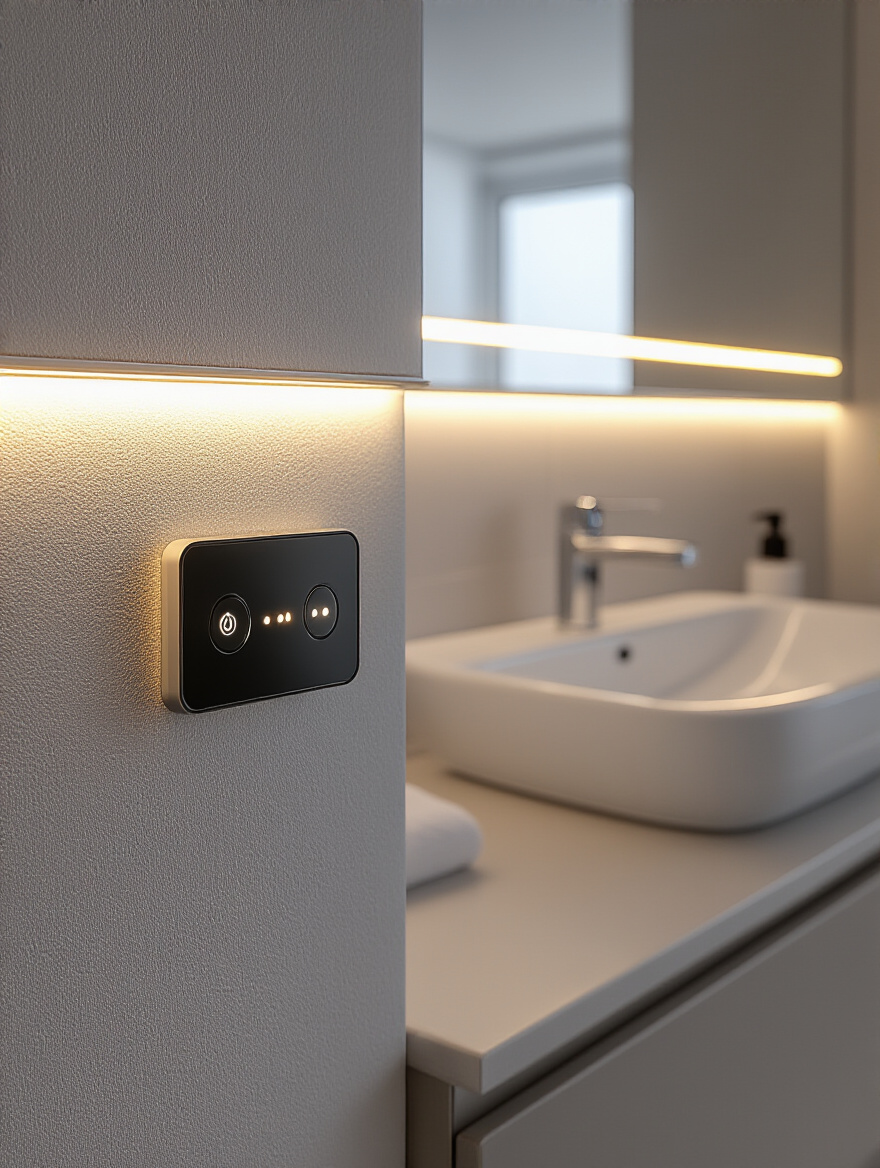
15. Utilize Smart Lighting Systems for Programmable Scenes and Convenience
If you really want to level up, consider a smart lighting system. This goes beyond a simple dimmer. With systems like Philips Hue or Lutron Caséta, you can create programmable “scenes.” For example, you could have a “Morning” scene that sets the lights to a bright, cool white to help you wake up, and an “Evening” scene that dims them to a warm, relaxing glow.
You can control it all from your phone or with your voice. “Hey Google, set the bathroom to Spa Mode.” It feels incredibly luxurious, but it’s also practical. Some systems can be paired with motion sensors, so a dim nightlight automatically comes on when you walk in late at night—just bright enough to see without jarring you awake. It’s the ultimate in creating a system that adapts to you.
16. Select the Right Bulb Type for Specific Functions and Energy Efficiency
If your fixture uses replaceable bulbs, be picky. As we discussed, you want an LED bulb with a high CRI (90+) and the right color temperature (2700K-3000K). But also pay attention to the shape of the bulb and whether it’s designed to cast light in a specific direction. For a sconce with a shade, you want a bulb that throws light in all directions.
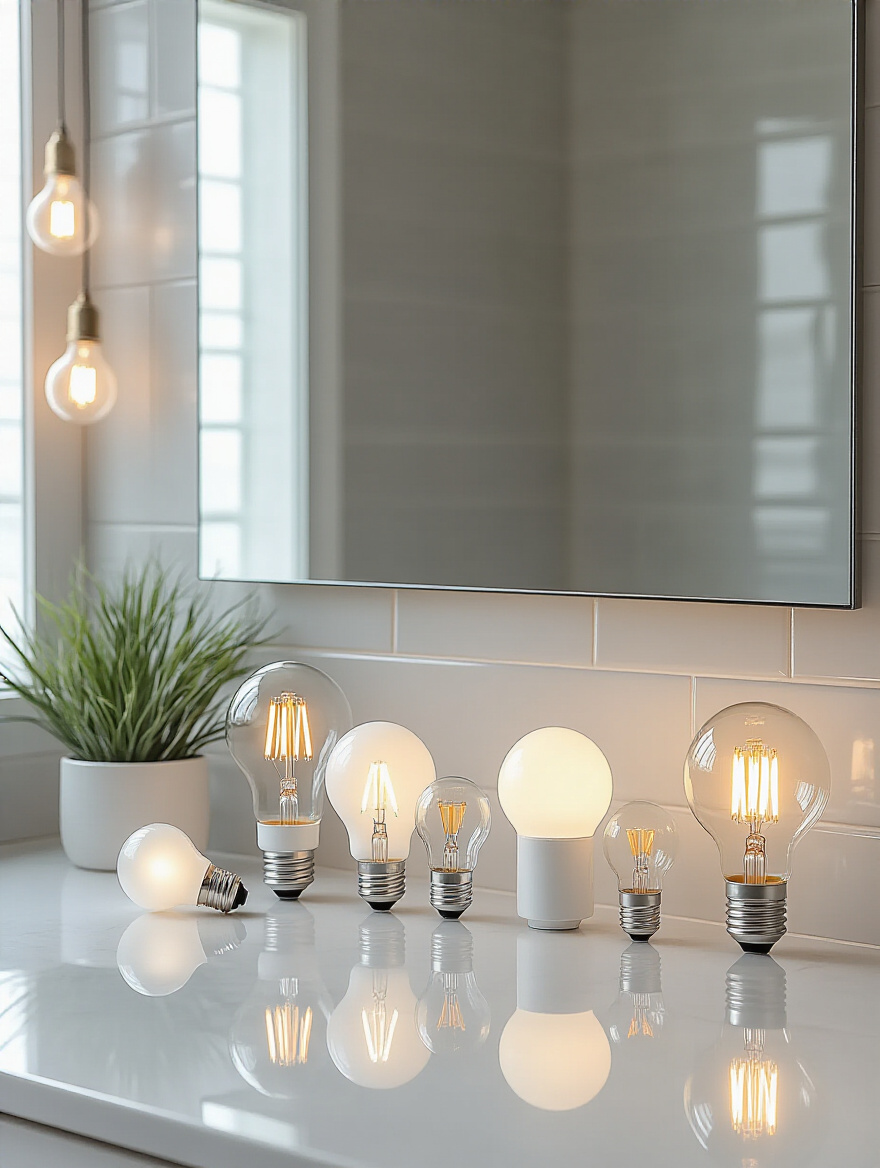
And always, always choose LED. There’s really no reason to use anything else anymore. They use a fraction of the energy, last for years, and don’t produce a lot of heat, which is a nice bonus in a steamy bathroom. The energy savings alone will pay for the bulbs over their lifetime. It’s just the smart, efficient choice.
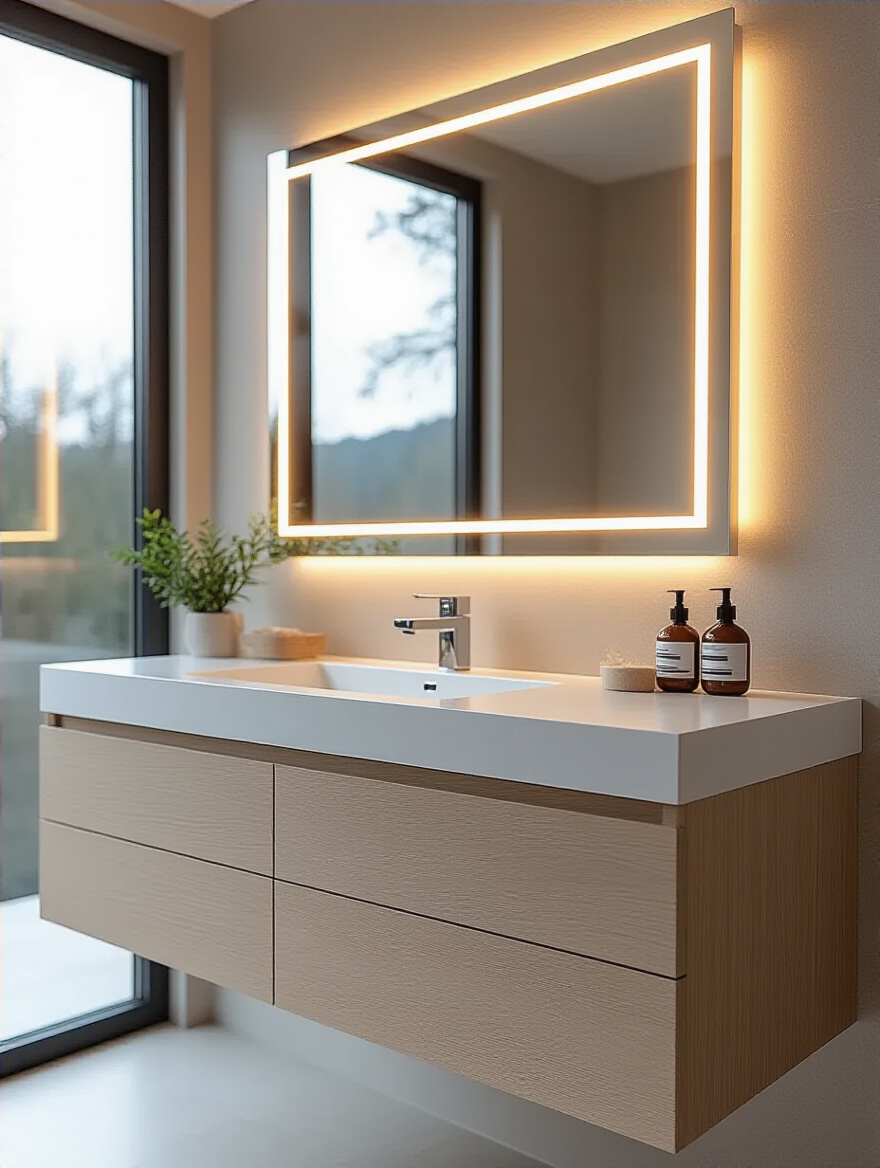
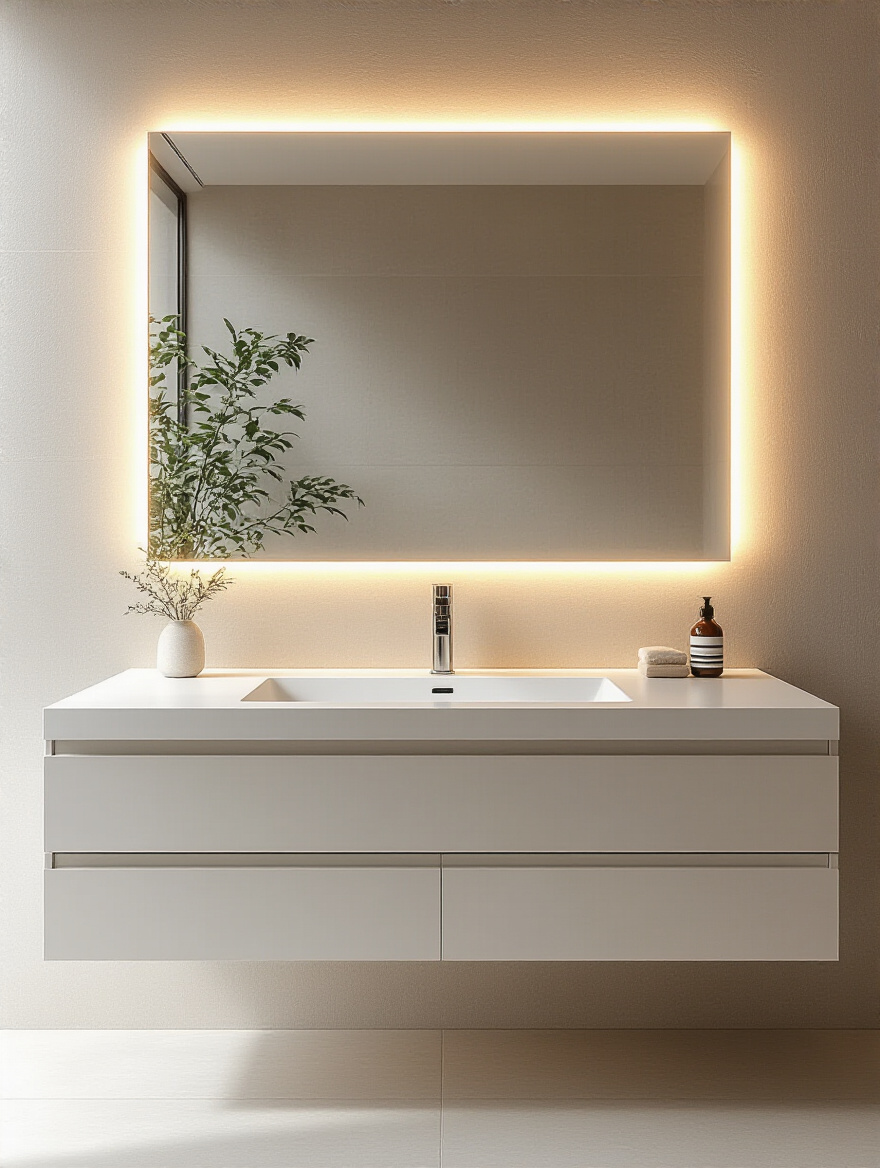
17. Integrate Backlit Mirrors for a Soft, Diffused Glow and Added Depth
We touched on these earlier, but it’s worth repeating how much of an impact a backlit mirror can have. Beyond the great task lighting, the halo of light they cast on the wall creates a beautiful ambient glow. This adds a sense of depth to the room and can make a small bathroom feel larger and more open.

It’s a design trick I use all the time to add a touch of luxury and create a soft, inviting atmosphere. The diffused light is far less harsh than direct light, making it perfect for setting a relaxing mood. It serves as both a task light and an accent light in one sleek package.
18. Protect Fixtures from Moisture and Steam with Appropriate Seals
Your bathroom is a high-humidity zone. Over time, moisture can sneak into your light fixtures, causing corrosion, rust, and even electrical failure. The IP rating is your first line of defense, but for extra protection, ensure your fixtures are sealed properly during installation.
A thin bead of clear silicone caulk where the fixture’s base meets the wall can work wonders. It creates a barrier that keeps steam and moisture out. Also, make sure your bathroom has a good exhaust fan and that you actually use it every time you shower. Reducing the overall humidity in the room is the best way to protect everything in it, including your beautiful new lights.
19. Regularly Clean Light Fixtures to Maintain Brightness and Appearance
This sounds ridiculously simple, but nobody does it. A light fixture covered in a thin layer of dust and hairspray can lose up to 30% of its light output. You might think your bulbs are dimming when really, your fixtures are just dirty. Cleaning them regularly will keep them looking new and shining brightly.
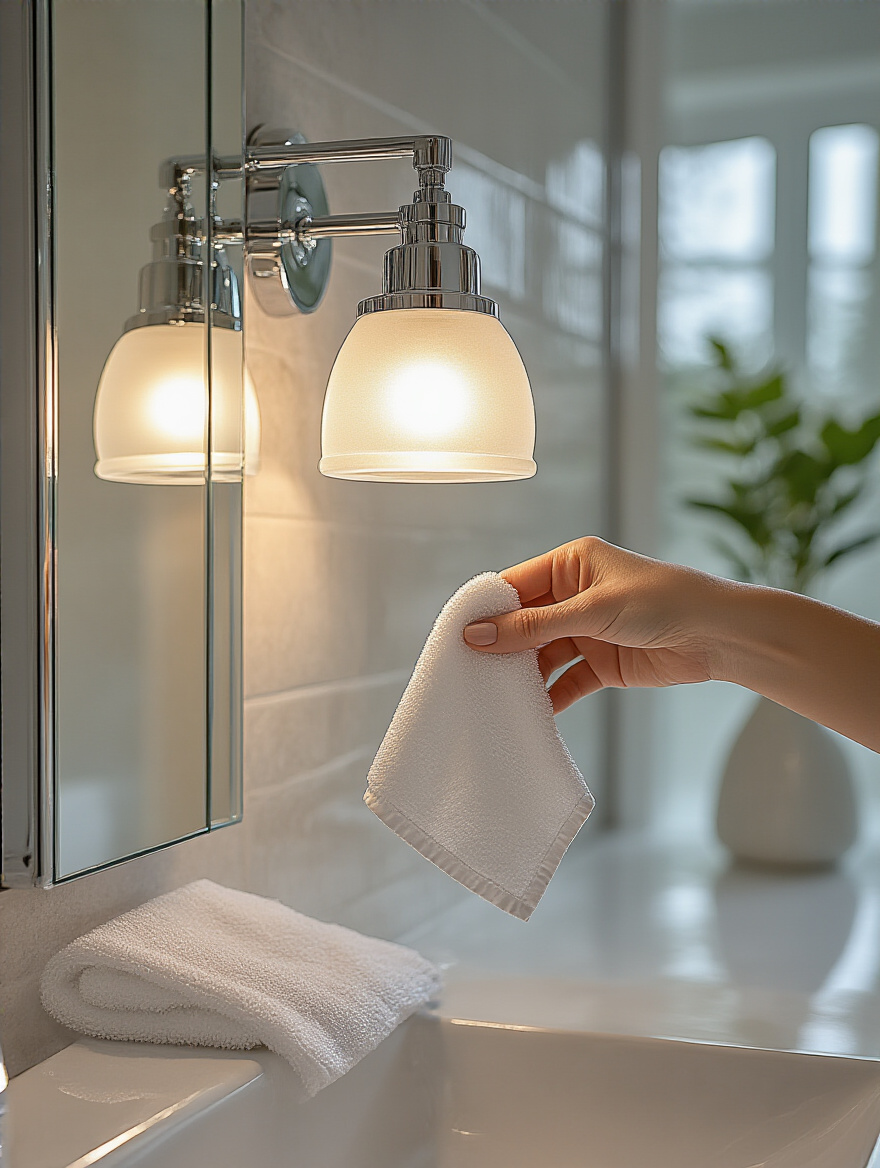
About once a month, turn off the power at the circuit breaker and give them a quick wipe-down with a soft, dry microfiber cloth. If they’re really grimy, use a cloth lightly dampened with water and a drop of mild soap, then dry them completely. You will be shocked at how much brighter the room feels afterward. It’s the easiest and cheapest way to maintain your investment.
Conclusion
So, there you have it. Lighting your bathroom vanity isn’t just about hanging a fixture and calling it a day. It’s about building a thoughtful, layered system that works for you. By planning carefully, choosing the right type of fixtures, and installing them in precisely the right spot, you can banish those terrible shadows for good. You’ll create a space that’s not only beautiful but also incredibly functional, making your daily routines feel less like a chore and more like a pleasure.
Now, go take a look at your bathroom with new eyes. Think about what’s working and what isn’t. Don’t be intimidated. Start with a plan, follow these steps, and you’ll be able to create a perfectly lit sanctuary. You’ll be amazed at what a difference the right light can make.


