Can we talk about why everyone gets kitchen remodels wrong? They start on Pinterest, fall in love with a picture-perfect white kitchen with marble countertops, and immediately start pricing out fixtures. It’s an approach that feels right, but it’s fundamentally backward. It’s like choosing the frame for a masterpiece before you’ve even conceived of the painting. The real story of a kitchen, the soul of it, isn’t in the faucet or the light fixtures. It’s in the materials.
A kitchen is a deeply sensory, high-performance space. It’s a laboratory where materials are constantly under assault from heat, acid, moisture, and impact. As someone who lives and breathes material science, I can tell you that understanding the why behind a material—its atomic structure, its porosity, its thermal conductivity—is the secret to creating a kitchen that not only looks beautiful but feels right and performs flawlessly for decades. So, put that inspiration board aside for a minute. Let’s talk about what actually matters and build your dream kitchen from the ground up, the right way.
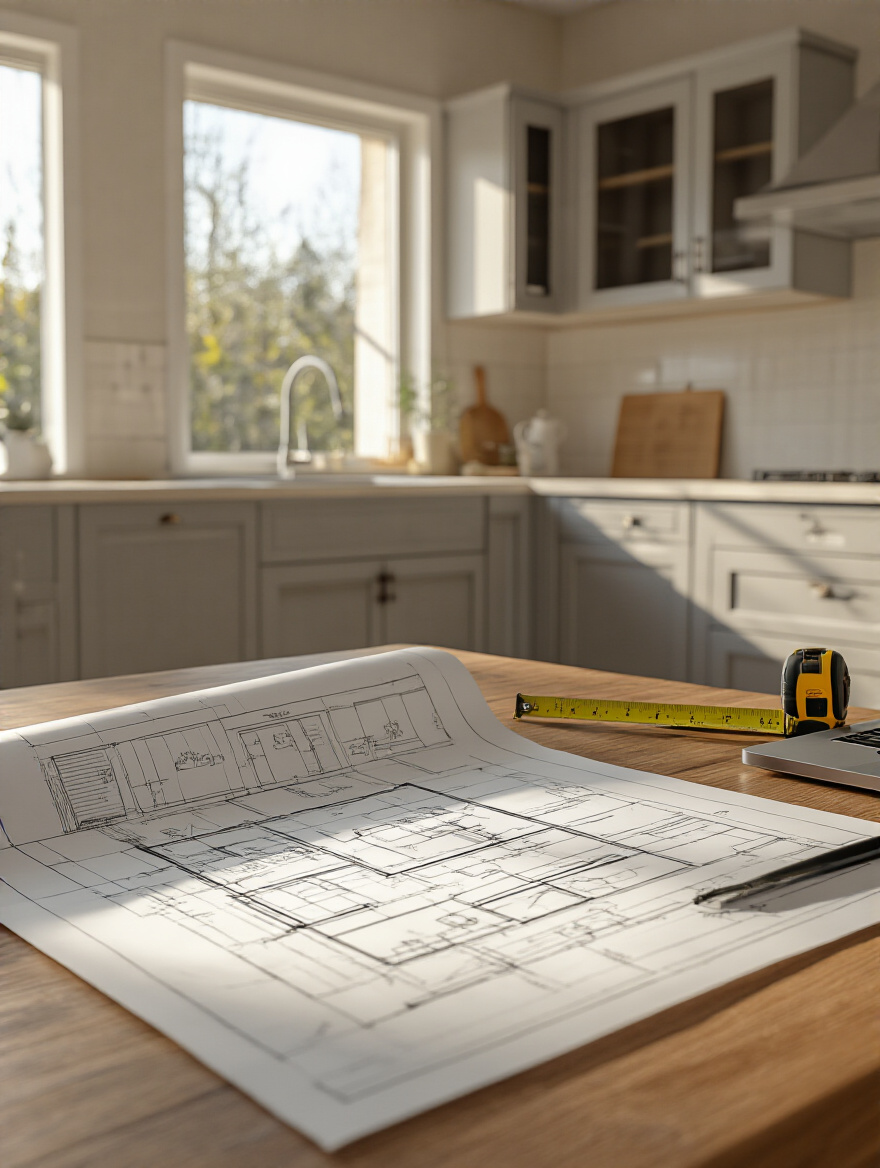
Phase 1: Foundational Planning & Budgeting Strategies
Before you even think about swinging a hammer or choosing a shade of white, we need to lay the groundwork. This is the unsexy but absolutely critical part of the process. Getting this right saves you money, time, and a world of heartache. Ignore it, and you’re building your dream house on a foundation of sand.
1. Define Your Kitchen’s Core Vision: Function, Style, and Long-Term Goals
You know what people always ask me? “What’s the best countertop?” And my answer is always another question: “How do you want your kitchen to feel?” Do you want the cool, silent permanence of soapstone under your hands as you have your morning coffee? Or the vibrant, nearly indestructible energy of sintered stone that laughs at hot pans and lemon juice? The vision isn’t about picking a style name like “Modern Farmhouse.” It’s about defining the experience.
Close your eyes and walk through a typical Tuesday night in your dream kitchen. What do you hear? The satisfying, solid thunk of a heavy drawer closing, or the clatter of plates on a hard surface? How does the light play off the backsplash? Is it a calm, matte surface that absorbs light and stress, or is it a glossy, dynamic finish that feels alive? Your vision is a sensory script. Write it down. This script is what separates a kitchen that looks good on Instagram from one that genuinely supports and enhances your life.
This vision becomes your North Star, guiding every single decision that follows and ensuring the final space is a true reflection of you, not just a collection of trendy parts. From here, we can attach real numbers to that vision.
2. Establish a Detailed Project Budget: Allocating Funds for Key Remodel Elements
Let’s call out the BS right now: A budget is not a restriction. It’s a strategy document. The numbers everyone throws around—30% for cabinets, 15% for labor—are just noise if you don’t know your priorities. If you’re a passionate cook who values performance above all, you might allocate more to a high-CFM vent hood and heat-resistant countertops and save on decorative lighting. It’s about investing where it delivers the most value to you.

I once worked with a client who blew a huge chunk of his budget on exotic quartzite countertops. They were stunning. But when we tore out the old kitchen, we found decades-old plumbing that was a ticking time bomb and knob-and-tube wiring that was a fire hazard. He had no contingency fund. That “saved” 15% cost him weeks of delays and forced him to compromise on the appliances he really wanted. Your contingency fund—a non-negotiable 15-20%—isn’t for “oopsies.” It’s for the ghosts in the walls that every old house has.
This detailed plan isn’t about limitation; it’s about empowerment. It gives you the freedom to make smart choices, knowing you have a safety net for the surprises lurking behind the drywall. Now, let’s figure out what we’re fixing.
3. Assess Your Current Layout Efficiency: Identifying Pain Points and Improvement Opportunities
Before we dream of the new, we must diagnose the old. For the next week, I want you to become an anthropologist in your own kitchen. Grab a pad of sticky notes. Every time you feel a flash of annoyance—you have to walk across the kitchen for a spatula, the dishwasher door blocks the trash can, there’s nowhere to put down the grocery bags—slap a note on that spot and write down the frustration.
By the end of the week, your kitchen will be a colorful map of its own dysfunction. This isn’t an abstract “workflow audit”; this is a tactile, evidence-based list of problems that your new design must solve. I had a client do this and she realized she took twelve steps back and forth between the pantry and her prep space every time she baked. We designed a dedicated baking station with ingredient storage right below the counter. It didn’t just make her kitchen prettier; it fundamentally changed the joy she got from her favorite hobby.
This map of pain points is pure gold. It ensures your remodel is an investment in genuine, daily quality-of-life improvements, which naturally leads to deciding what features will solve these problems most effectively.
4. Prioritize Must-Have Design Features: Distinguishing Essentials from Desired Upgrades
Everyone says to make a “needs vs. wants” list, which is fine, but I find it’s too easy to let “wants” creep into the “needs” column. I use a different method: The “Tuesday Night vs. Thanksgiving Day” test. What features do you absolutely need to survive a chaotic Tuesday night dinner prep with the kids demanding homework help? That’s your “essential” list. Ample prep space next to the stove. A sink that can hold a big pot. That’s probably it.
Now, what do you need for a smooth, enjoyable Thanksgiving hosting experience? That’s your “strongly desired” list. A second oven, a beverage fridge to keep guests out of the work zone, a large island for serving. Everything else—the pot filler, the warming drawer, the wine fridge—is a “nice-to-have.” I learned this the hard way when I designed my first kitchen. I needed a better layout but I wanted a reclaimed wood island top. I got the island, and it was beautiful, but I still had the same frustrating workflow. Don’t make my mistake. Function first, always.
Once you have this ruthless priority list, you can navigate budget conversations with confidence, making smart trade-offs without sacrificing what truly matters. And before we spend a dime, let’s make sure our plan is legal.
5. Understand Local Permitting Requirements: Avoiding Costly Design and Construction Delays
Picture this: Your kitchen is 90% done. The custom cabinets are in, the stone is installed. Then, a city inspector, perhaps alerted by a nosy neighbor, shows up and slaps a stop-work order on your door. Why? Because you moved a gas line without a permit. I watched this happen to a friend. He had to tear out a brand-new cabinet wall to allow for inspection, costing him thousands of dollars and a month of delays.
Don’t let anyone—not even a contractor trying to save a few bucks—tell you a permit isn’t necessary for work involving plumbing, electrical, or structural changes. A permit isn’t just bureaucratic red tape; it’s your insurance policy. It ensures the work is done to safety codes, which is critical for your family’s well-being and for your homeowner’s insurance to cover any future issues. Unpermitted work can be a deal-breaker when you go to sell your home.
The shortcut? Make your general contractor responsible for pulling all necessary permits from day one. Their fee is worth every penny to avoid the nightmare of a stalled project and a fight with the city.
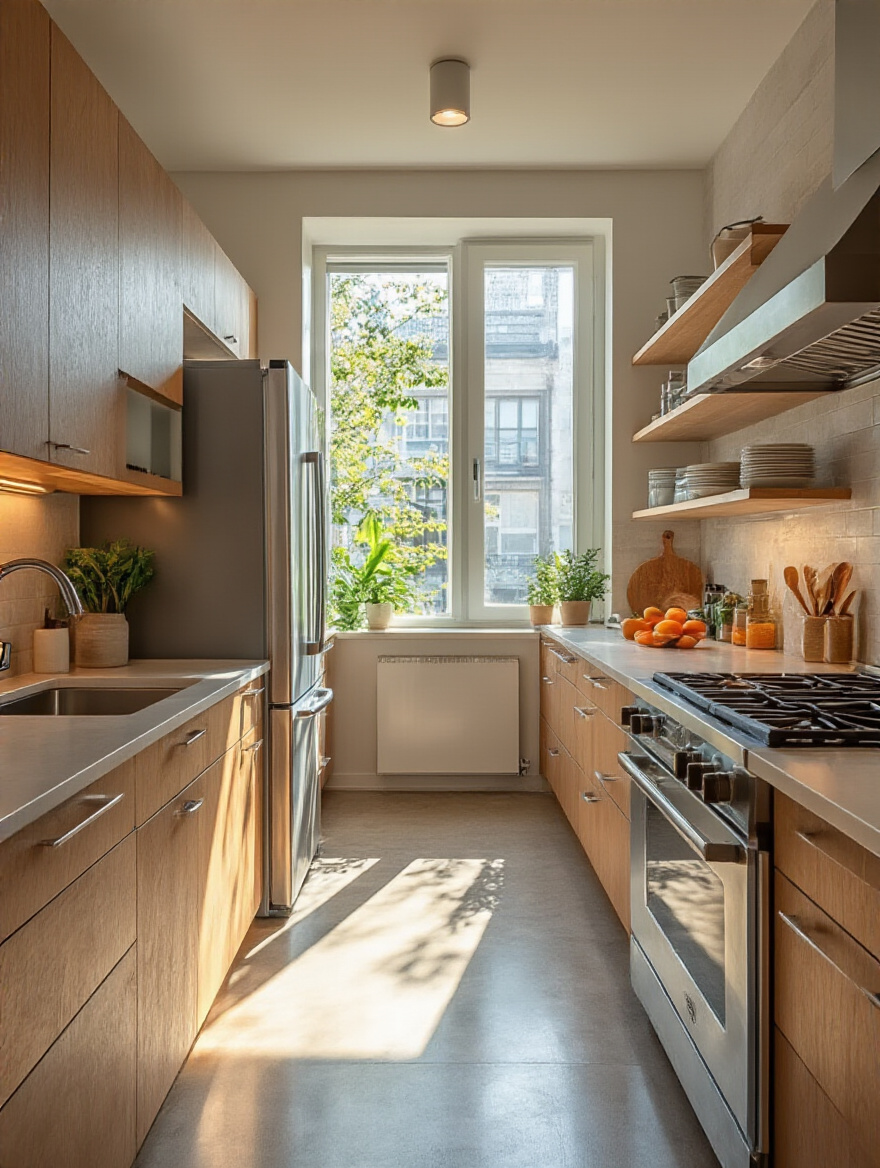
Phase 2: Optimizing Layout & Workflow Efficiency
With the foundation set, we can now sculpt the space. An efficient layout is like good choreography; it makes complex movements seem effortless. This is where we turn your map of frustrations into a blueprint for flow, creating a kitchen that feels intuitive and works with you, not against you.
6. Optimize the Ergonomic Work Triangle: Boosting Efficiency for Prep, Cooking, Cleaning
Everyone talks about the “work triangle”—the path between the fridge, sink, and stove. It’s a fine starting point, but let’s be honest, it was designed for a 1940s kitchen with one cook. It’s broken. Today’s kitchens are multifunctional hubs. The concept that actually matters is “work zones.” Think like a chef on a professional line: everything you need for a task is within arm’s reach.
You should have a “prep zone” with the sink, trash, compost, and your primary cutting surface. You should have a “cooking zone” with the stove, ovens, and nearby storage for pots, pans, and cooking oils. And you need a “cleanup zone” where the dishwasher is right next to the dish and cutlery storage, so you can unload without taking a single step. The so-called “triangle” is what happens between these zones. By designing in zones, you allow multiple people to work in the kitchen without a constant, frustrating dance of “excuse me, sorry, just need to get by.”
Focusing on zones instead of an outdated geometric shape is the single biggest shortcut to a layout that actually functions in the 21st century. And a key part of making those zones work is having smart storage.
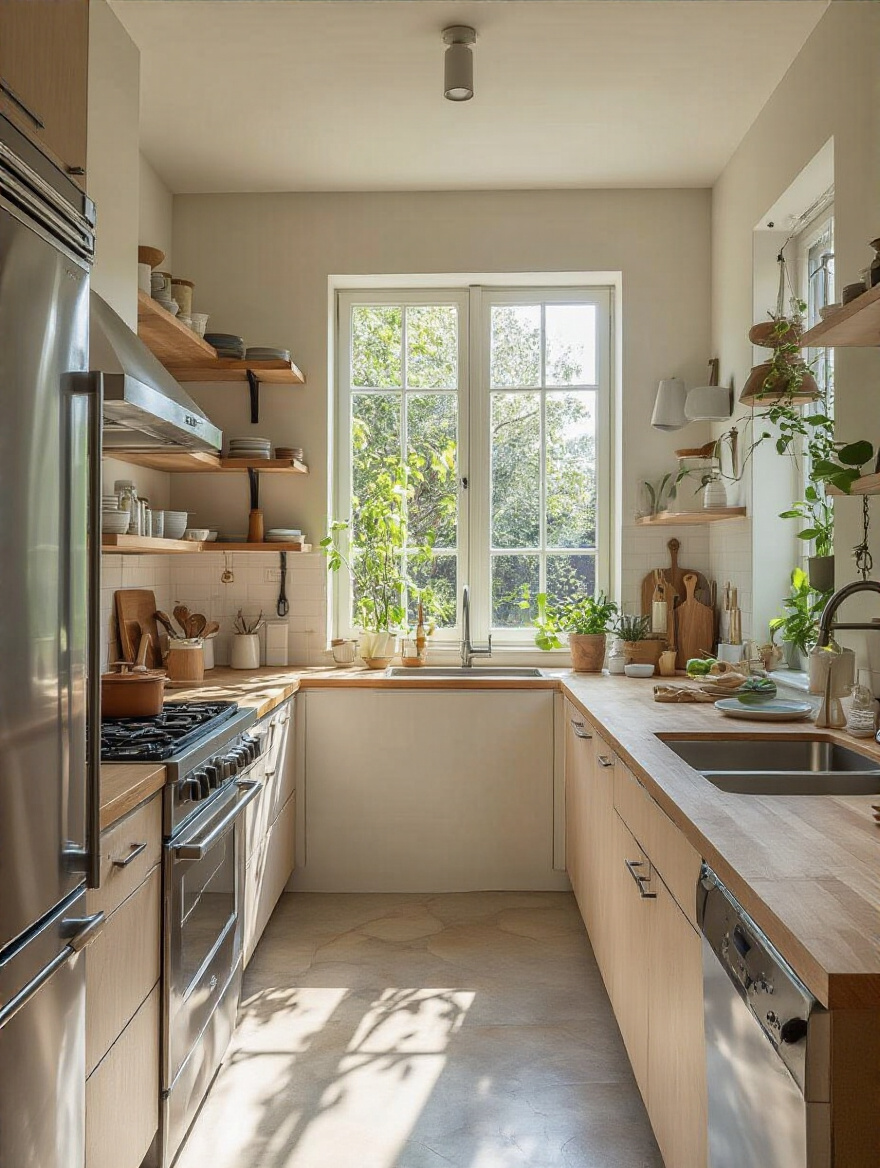
7. Strategize Maximum Storage Solutions: Integrating Clever Pantries and Cabinetry
I used to think maximizing storage meant cramming in as many cabinets as possible. Then I worked on a project in a historic home with limited space and discovered the magic of the toe-kick drawer. That four-inch-high space under your base cabinets, normally a dead zone for dust bunnies, became the perfect home for platters, baking sheets, and pet bowls. It was a revelation: great storage isn’t about volume, it’s about accessibility and exploiting every forgotten inch.
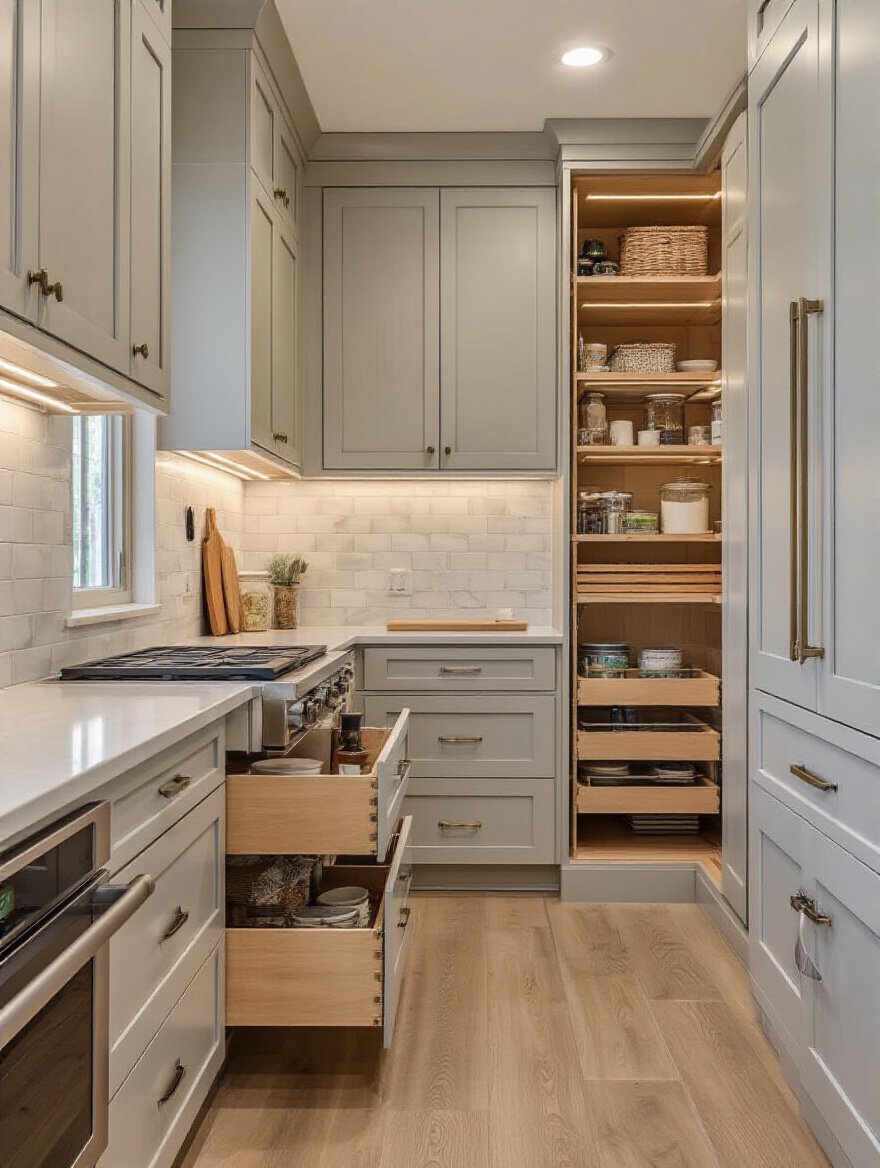
The BS everyone sells is that you need a huge walk-in pantry. What you actually need is intelligent, zoned storage. Spices and oils in a narrow pull-out next to the stove. Knives and cutting boards in a drawer divider in your prep zone. Deep drawers for pots and pans are a non-negotiable; they are infinitely more ergonomic and efficient than cavernous lower cabinets where pots go to die. The tactile experience of a high-quality, full-extension, soft-close drawer is a small daily luxury that adds up to a kitchen you love to use.
This is where you invest in the mechanics—the glides, the hinges, the pull-outs. This hardware is the unseen engine of a functional kitchen, and it paves the way for a space that supports all of life’s activities.
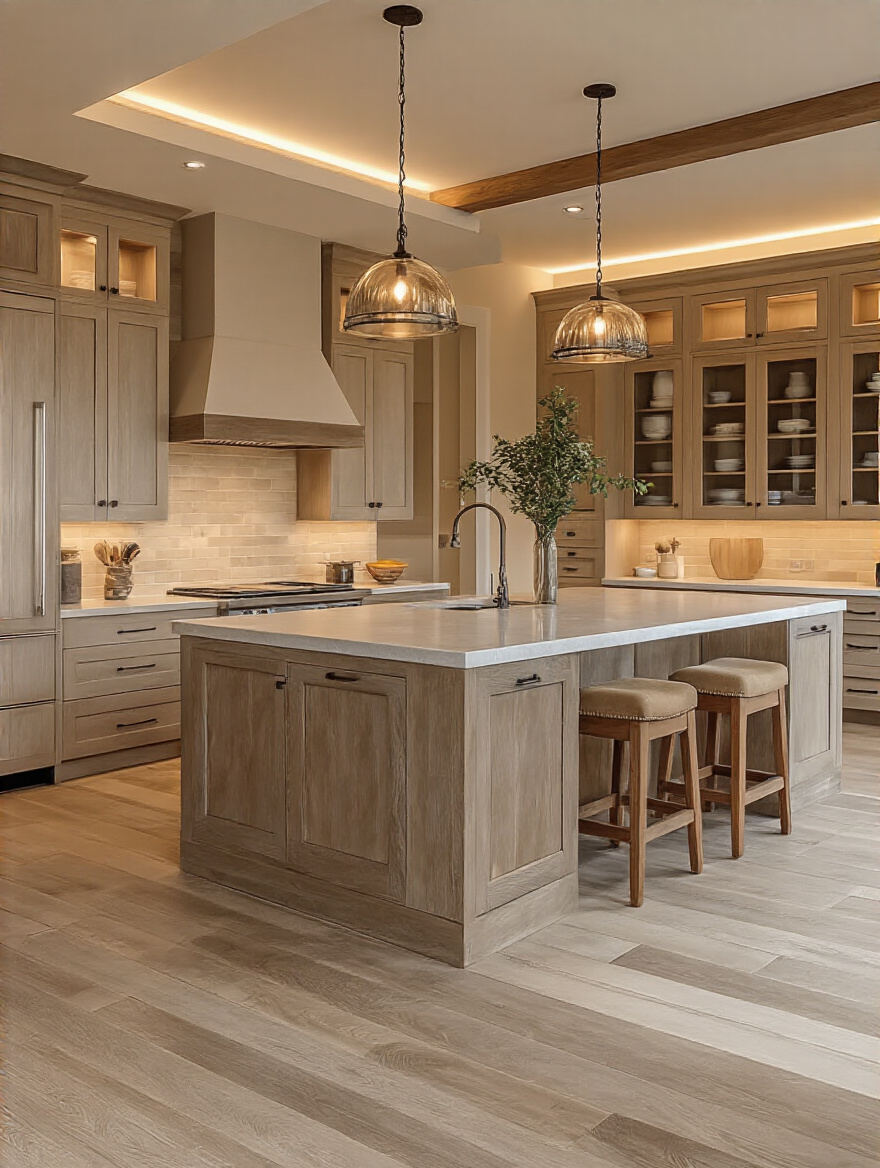
8. Design Distinct Functional Zones: Creating Dedicated Spaces for Specific Activities
Building on the idea of work zones, let’s expand beyond just cooking. Where does life actually happen in your kitchen? That corner where the mail, keys, and school papers pile up? Let’s formalize that. Design a small “command center” with a charging station and organizers, perhaps hidden behind a cabinet door. Are you the house where everyone gathers for coffee? Create a dedicated beverage station.
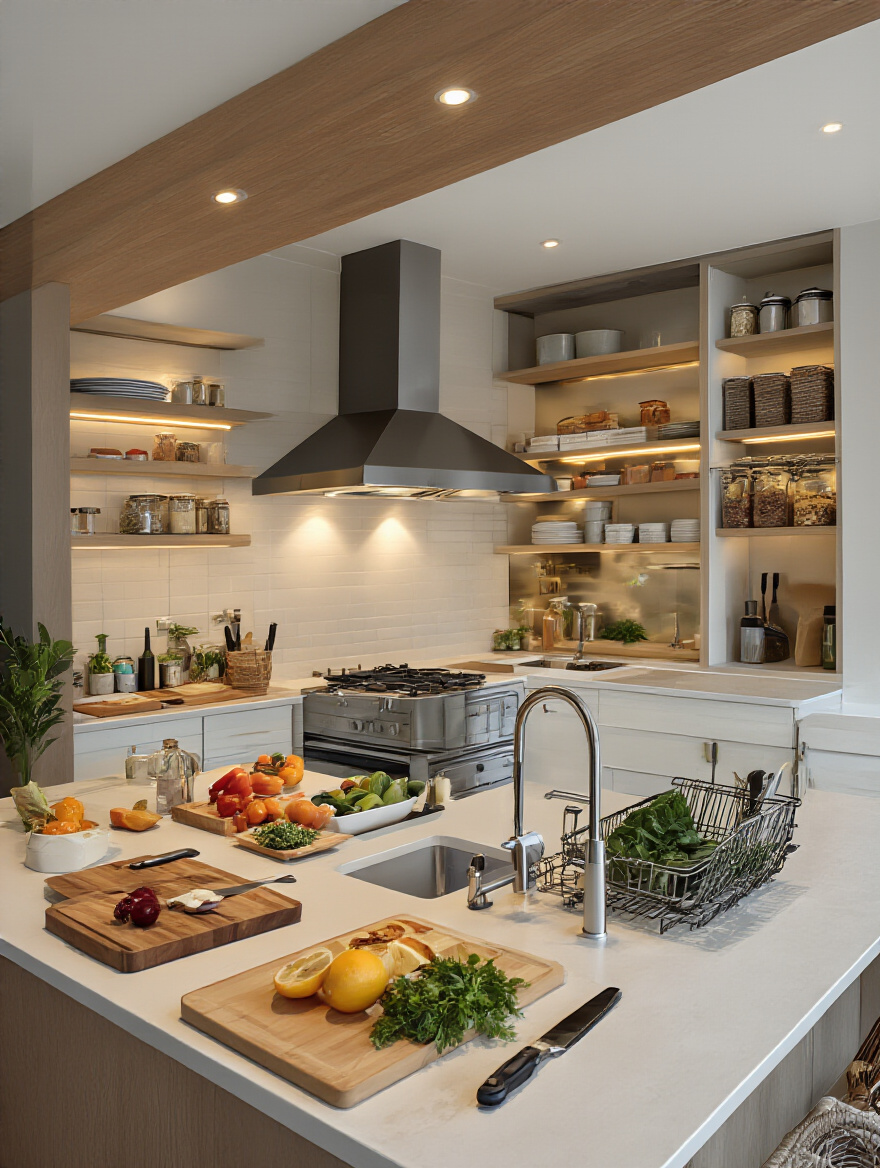
A client of mine has a “coffee ritual” zone. It’s a small nook with a beautiful walnut countertop—warmer and softer than the main quartz work surfaces. It has an instant hot water tap, open shelves for her favorite mugs, and drawers organized for beans, filters, and grinders. It’s physically separate from the main cooking area, so her partner can make coffee while she makes breakfast, and they aren’t in each other’s way. By giving these daily rituals a dedicated home, you honor them, keep the main kitchen clear for its primary purpose, and create a more organized, serene environment.
These zones don’t need to be large, but they do need to be intentional, turning your kitchen into a multi-faceted space that supports the reality of your life. Often, the heart of these zones is the island.
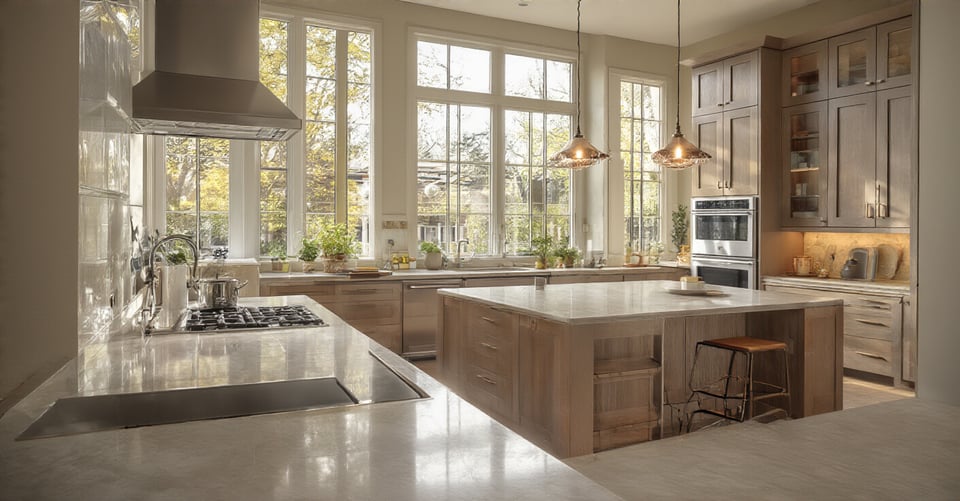
9. Choose the Ideal Island Configuration: Enhancing Flow, Seating, and Workspace
Can we talk about the ridiculously oversized island trend? An island should be a majestic continent in the center of your kitchen, not a traffic-choking roadblock. The “dance space” around it is sacred. My rule of thumb: if you can’t have two people walk past each other comfortably without turning sideways, your island is too big. 42 inches of clearance is the minimum. 48 is better.
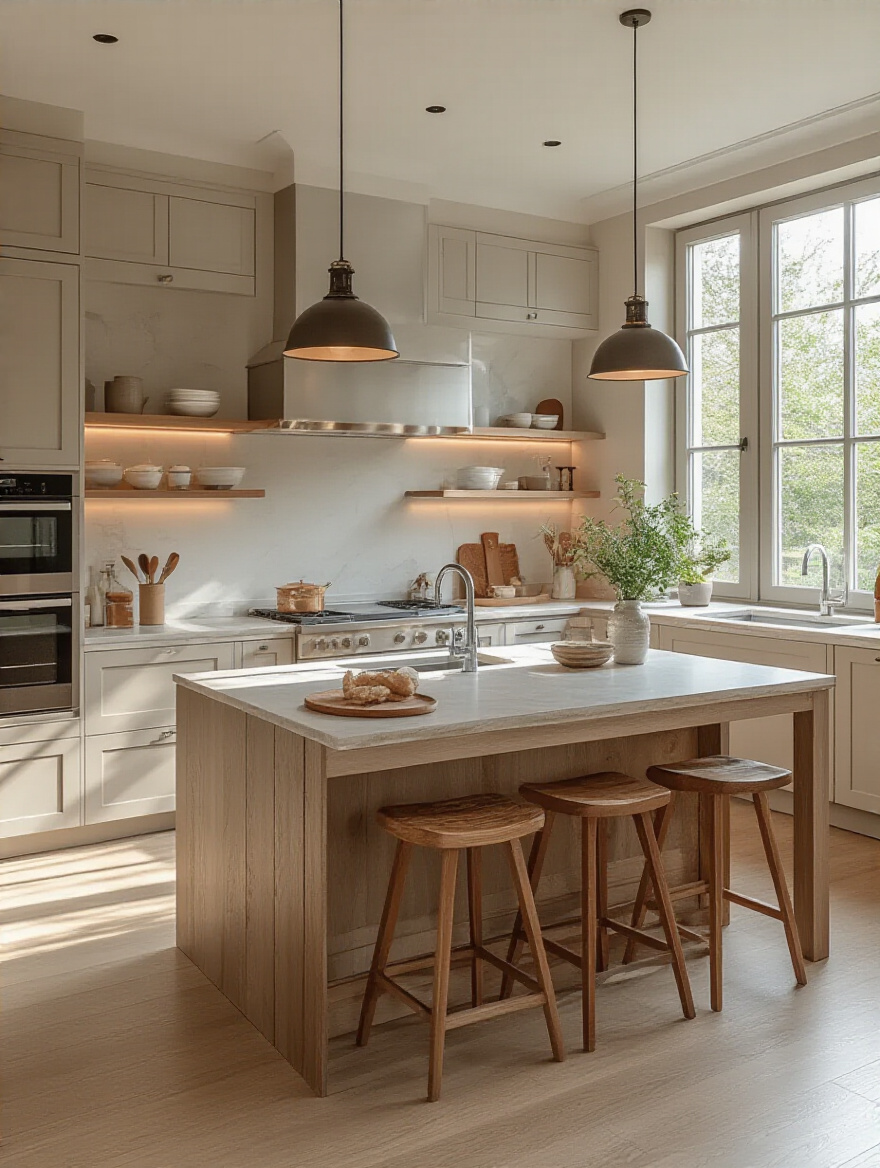
The most common mistake is thinking an island has to be a giant rectangle. I once designed a T-shaped island for a client. The long part was a narrow prep surface, and the T-end was a round, table-height surface for casual family meals. It defined two distinct spaces while keeping the traffic flow open and graceful. The configuration of your island should be dictated by your kitchen’s traffic patterns and the island’s primary purpose—prep, cooking, seating, or storage. Let function define the form, not the other way around.
Material science plays a huge role here. The length of your island might be limited by the maximum unsupported span of your chosen countertop material. A quartz slab might span 8-10 feet with proper support, while some natural stones or ultra-compact surfaces can go even further, but this is a critical conversation to have with your fabricator.
10. Ensure Ample Traffic Clearances: Prioritizing Comfortable Movement and Door Access
I want you to try something. Before you finalize your layout, get cardboard boxes and mock up your island and perimeter cabinets. Live with it for a weekend. Open the imaginary fridge and dishwasher doors. Pretend to carry a hot pot of pasta from the stove to the sink. You will learn more about the reality of your layout from this simple, free exercise than you will from staring at a 2D floor plan for a month.
It’s not just about walkway clearance. It’s about appliance-door-swing clearance. I’ve seen brand new kitchens where a fully open dishwasher door completely blocks the only trash pull-out. This is a design failure, plain and simple. It’s the kind of daily annoyance that slowly makes you resent your beautiful new space. Think about the “Thanksgiving test”—can two or three people be working in the kitchen at once without creating a human traffic jam?
Mapping out these clearances with physical mock-ups is the single best shortcut to ensuring your kitchen will feel as good as it looks. Now that the flow is perfect, let’s dress the space.
Phase 3: Material & Finish Selection for Style & Durability
This is where the magic happens. Materials are the vocabulary of your kitchen’s story. They communicate a feeling, a mood, and a level of quality. Selecting them is a science and an art, balancing the aesthetic you crave with the performance your life demands. This is where your kitchen gets its soul.
11. Select High-Performance Countertop Materials: Balancing Aesthetics, Durability, and Maintenance
I used to think marble was the pinnacle of luxury. Then, I put it in my own kitchen. It’s beautiful, no doubt. But it’s also, chemically speaking, a compressed rock of calcium carbonate. That means an errant drop of lemon juice (an acid) will literally dissolve a tiny part of the surface, leaving a dull spot called an etch. For me, these etches became part of the story—a living finish. For some clients, it’s a source of constant anxiety.
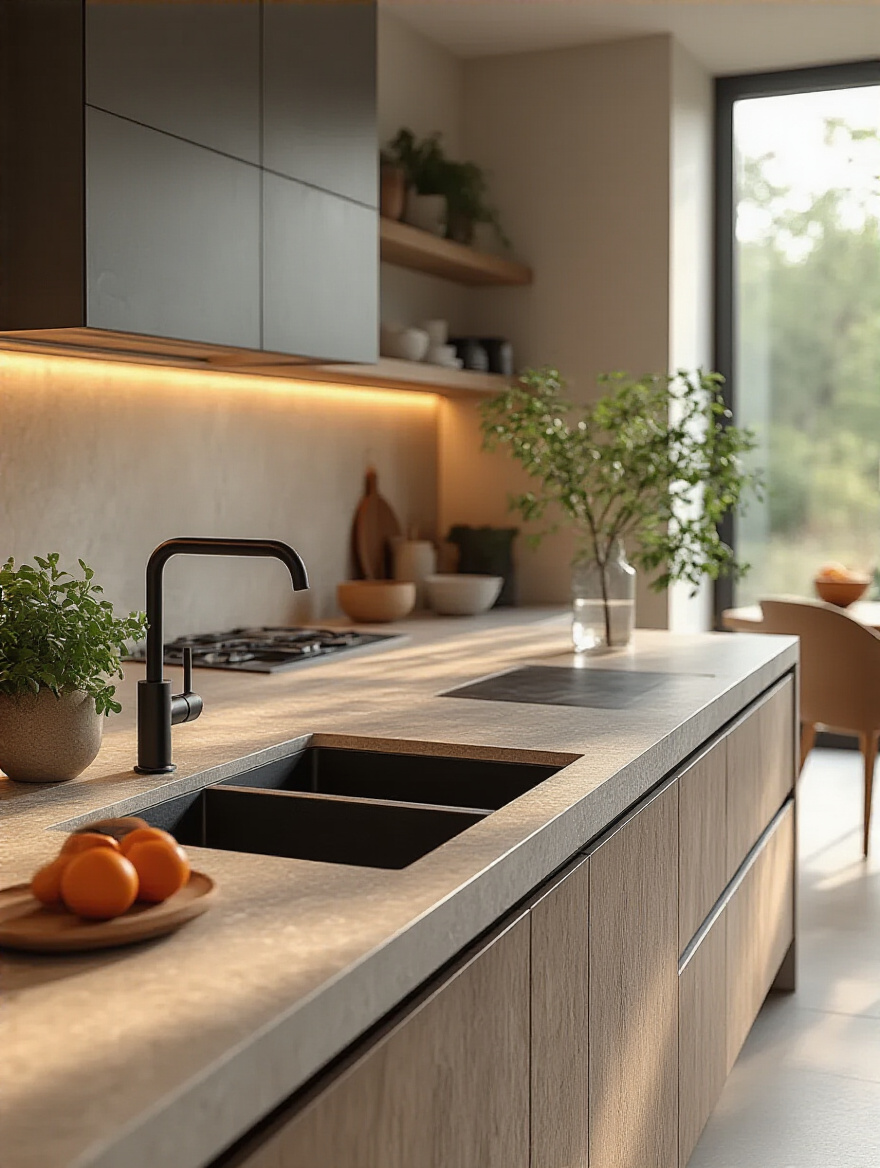
Here’s what you need to know, beyond the corporate speak. Quartz is king for a reason: it’s primarily quartz crystals (one of the hardest minerals on earth) suspended in a polymer resin. That resin makes it non-porous. Red wine, coffee, oil—they can’t penetrate it. Sintered stone (like Dekton or Neolith) takes this a step further, using intense heat and pressure to fuse minerals together without resins, making it virtually indestructible and heat-proof. Granite is a powerhouse, but it’s porous and needs sealing. The real choice comes down to your personality: do you want a countertop that is a pristine, unchanging work surface, or one that develops a patina and tells the story of its life?
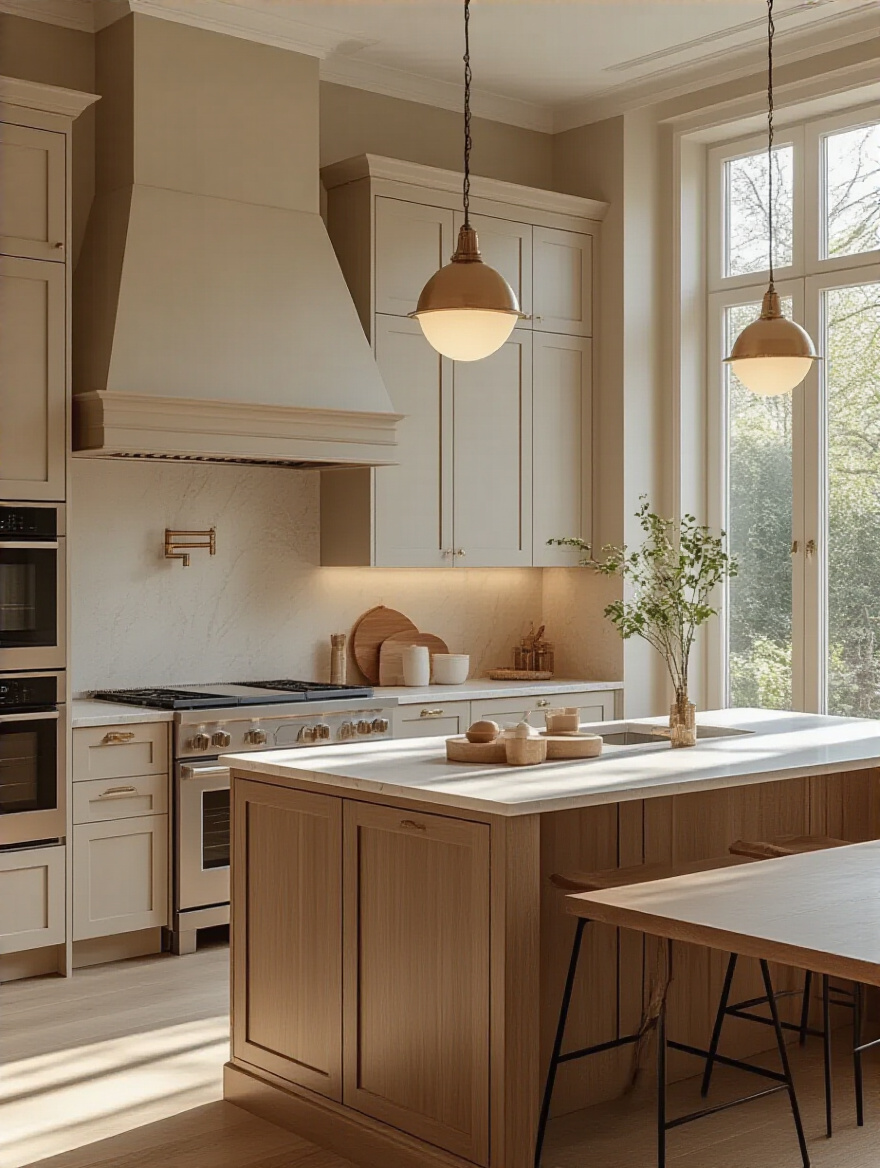
12. Curate Cabinetry Styles and Finishes: Defining Your Kitchen’s Aesthetic Foundation
The finish on your cabinets is more than just a color; it’s a protective skin. Let’s get into the science. That smooth, perfect finish you see on high-end cabinetry? That’s not paint you can buy at the hardware store. It’s often a conversion varnish, a catalyzed finish that undergoes a chemical reaction to create a hard, durable shell that’s far more resistant to chipping, moisture, and stains.
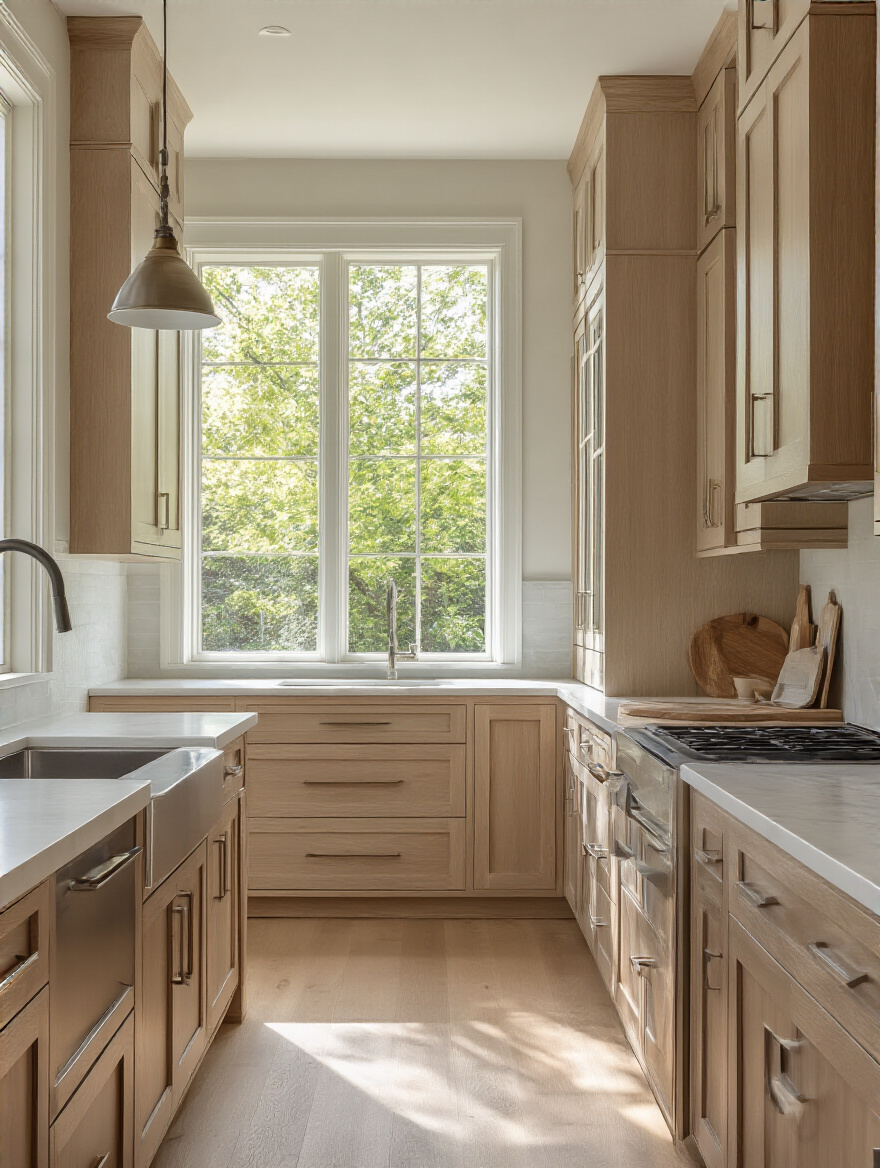
Beyond the finish, think about the touch. A flat-panel cabinet with a silky-smooth lacquer feels entirely different from a wire-brushed oak cabinet with a cerused finish that highlights the grain. One feels sleek and modern; the other feels organic and textural. Run your hands over samples. Feel the difference. The cabinet style (Shaker, flat-panel, etc.) provides the silhouette, but the finish and material provide the character. Don’t be afraid to mix them. A wall of smooth, painted cabinets paired with a warm, textured wood island can create a beautiful sense of balance and depth.
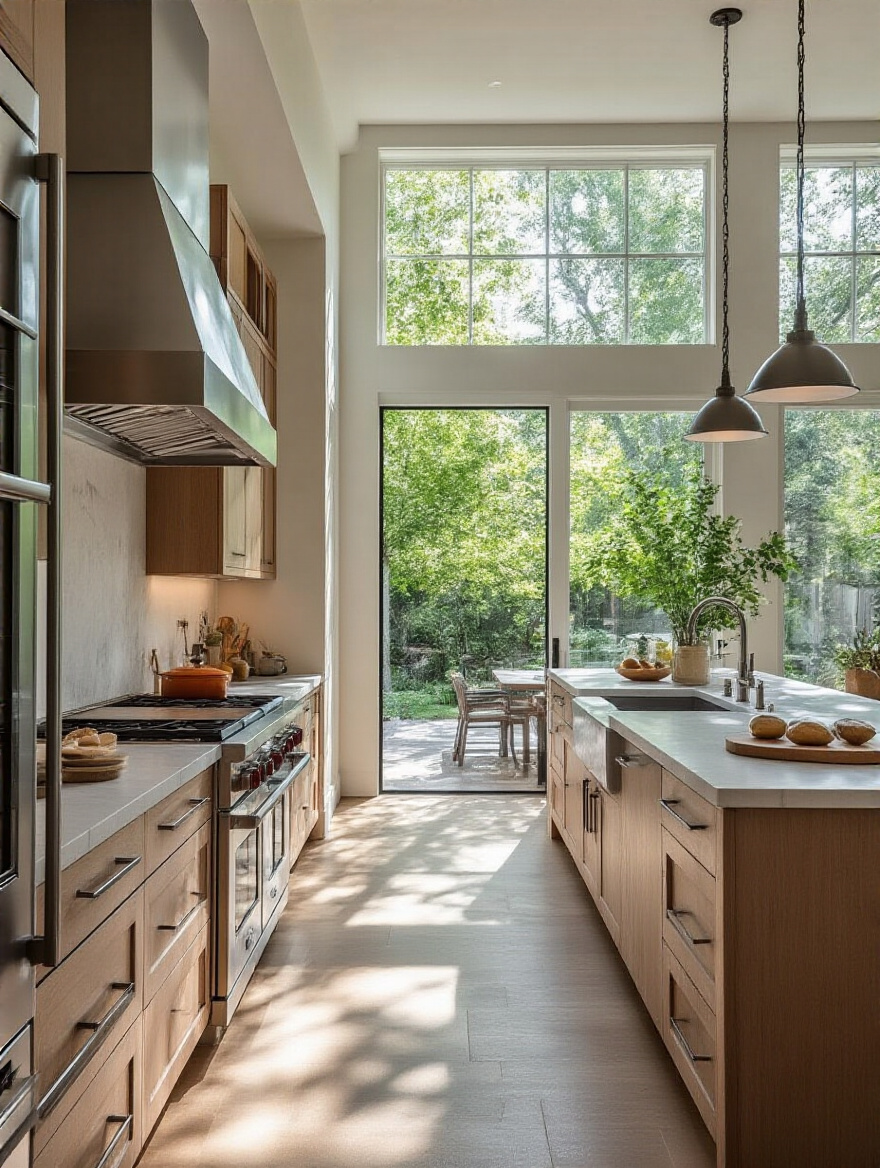
13. Choose Resilient and Stylish Flooring: Ensuring Practicality and Visual Cohesion
Your kitchen floor is the fifth wall, and it works harder than any other surface in your house. Everyone obsesses over durability and water resistance, which is crucial, but they often forget two other key sensory aspects: acoustics and ergonomics. A porcelain tile floor is bulletproof, but it’s also loud, cold, and unforgiving on your joints if you stand for long periods. Every dropped glass will shatter into a million pieces.
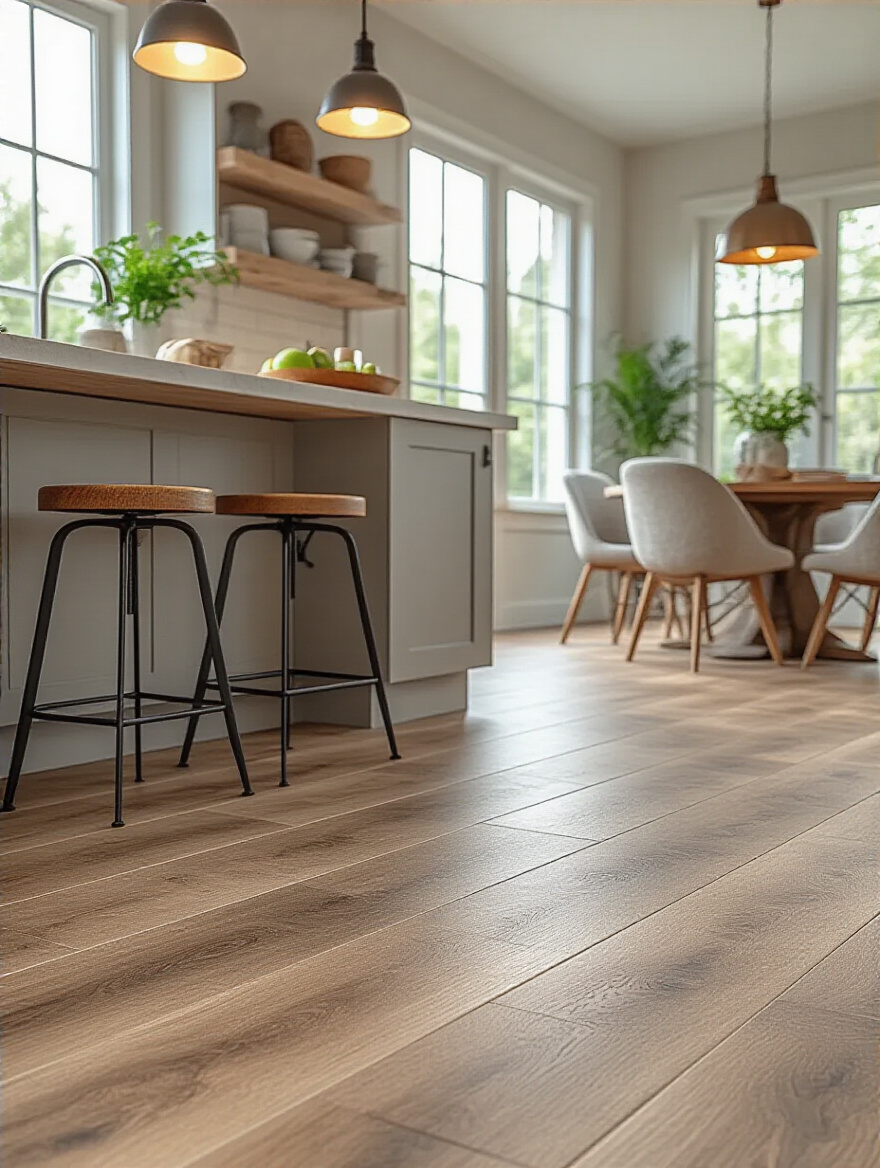
This is where materials like Luxury Vinyl Plank (LVP), cork, or even Marmoleum shine. They have more give underfoot, making them more comfortable and forgiving. They also absorb sound better, contributing to a quieter, calmer space. From a material science perspective, modern LVP is a marvel—a high-definition photographic layer topped with a clear, incredibly tough wear layer. It gives you the look of wood or stone without the maintenance anxiety. The shortcut: choose your flooring with your cabinet and countertop samples in hand, and make sure it creates a seamless visual transition to the flooring in adjoining rooms.
14. Design an Impactful Backsplash Feature: Adding Texture, Color, and Protection
Think of your backsplash as the art installation in your kitchen gallery. It’s a place to take a calculated risk and inject personality. The key is understanding how different materials play with light. A handmade Zellige tile, with its imperfect surfaces and color variations, will create a backsplash that shimmers and dances as the light changes throughout the day. A large, honed slab of soapstone, by contrast, will absorb light, creating a feeling of serene, quiet depth.
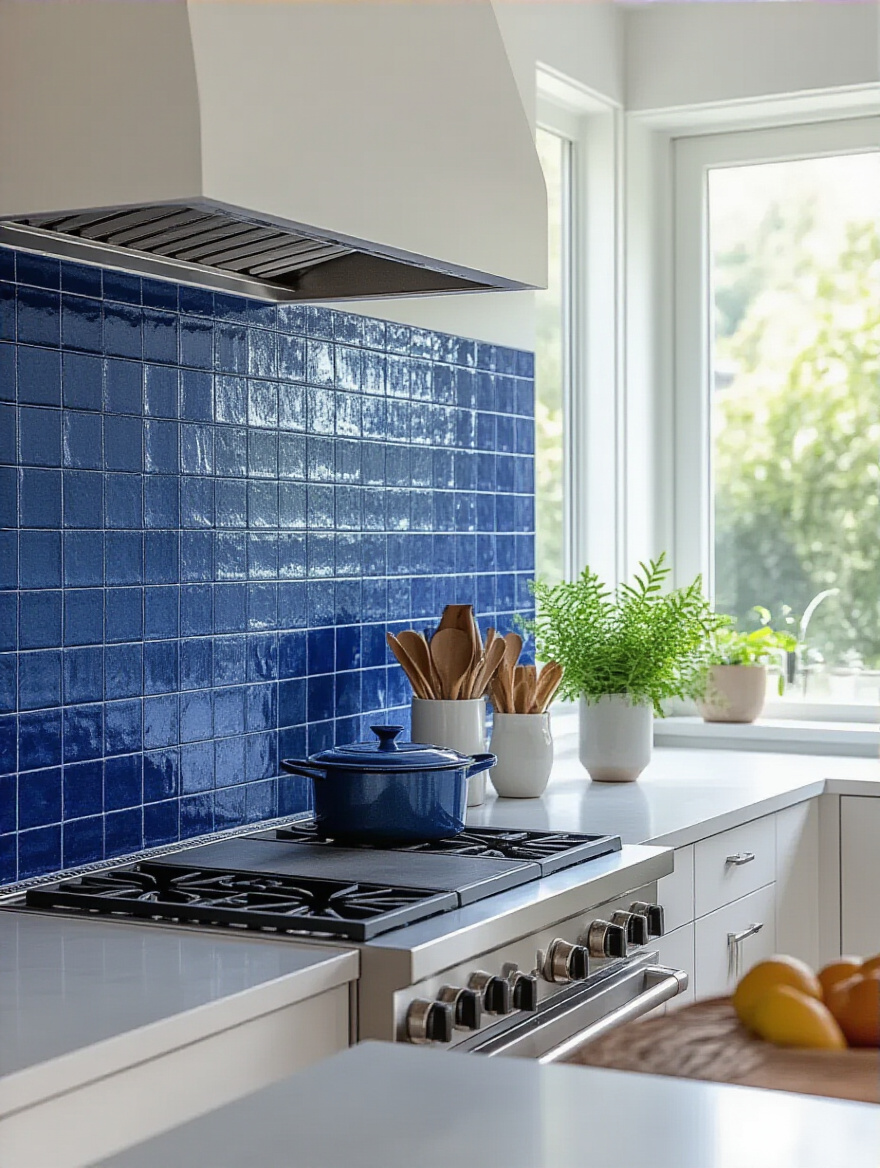
The BS to call out is that grout is an afterthought. Grout is the framework for your art. A contrasting grout will create a bold, graphic pattern, but it will also highlight every single imperfection in the tile-setter’s work. A blended grout creates a more monolithic, seamless look that lets the tile itself be the star. And for God’s sake, if it’s behind the stove, make sure the grout is sealed properly. It’s porous and will soak up grease spatters like a sponge. My pro-tip: always get extra tiles. Always.
15. Harmonize Fixtures and Hardware Finishes: Achieving a Polished and Unified Look
“Don’t mix metals” is outdated advice. “Don’t mix more than two or three metals, and have a clear hierarchy” is the advice that actually works. Your eye needs a dominant finish to create a sense of cohesion. Pick one primary finish for about 70% of your metal elements—say, matte black for all your cabinet hardware and your faucet. Then, you can introduce a secondary accent, like brushed brass for your pendant lights. This creates deliberate, sophisticated layering, not chaos.
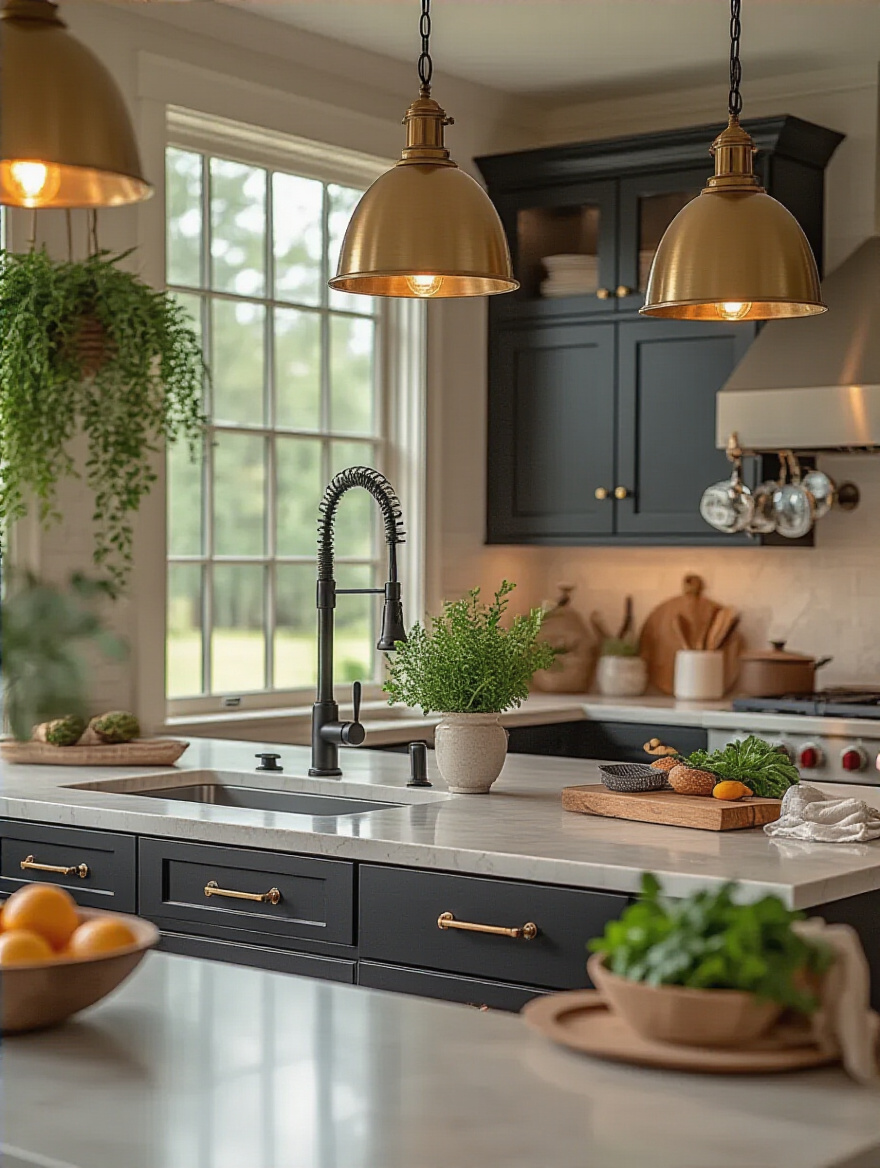
Also, let’s talk about the material truth of hardware. That cheap “brushed nickel” pull from a big box store is likely zinc or some other lightweight metal with a thin plating. A high-quality pull is often solid brass. It has a physical heft, a weight in your hand that communicates quality every single time you open a drawer. It’s a small detail, but your hands will know the difference. Investing in solid, high-quality hardware is one of the easiest ways to make your kitchen feel more expensive and substantial.
Phase 4: Integrating Smart Solutions & Aesthetic Enhancements
A truly modern kitchen is more than just pretty materials; it’s an intelligent, responsive environment. This phase is about the enhancements that elevate a great kitchen to an extraordinary one, seamlessly blending cutting-edge technology and brilliant design to make your life easier and your space more beautiful.
16. Implement Multi-Layered Lighting Schemes: Optimizing Ambiance, Task, and Accent Illumination
Lighting is a material. It’s an invisible substance that completely changes how you perceive every other material in the room. A single, central ceiling fixture is a recipe for disaster. It casts shadows on your work surfaces exactly where you need to see. You need layers:
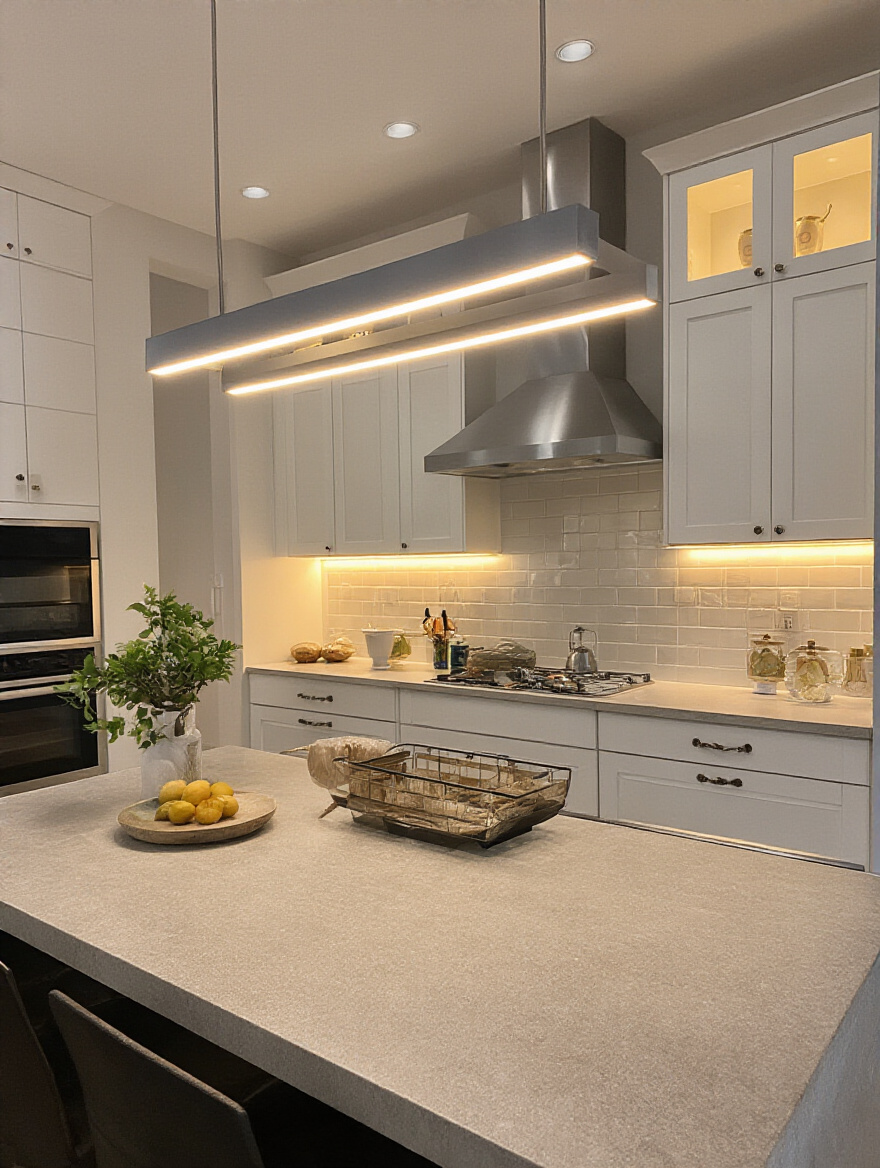
- Ambient: General overhead light from recessed cans or a beautiful central fixture.
- Task: Focused light directly on your work zones. Under-cabinet LED strips are non-negotiable. Pendants over an island.
- Accent: Mood lighting. Gentle light inside a glass cabinet, a soft glow from a toe-kick strip, a sconce washing a wall with light.
Here’s the science shortcut you need to know: CRI, or Color Rendering Index. It’s a measure from 0-100 of how accurately a light source reveals the true colors of objects. Cheap LED bulbs have a low CRI (often in the 80s), and they can make your beautiful, warm-toned cabinets look drab and your food look unappetizing. Always, always buy high-CRI bulbs (90+). It makes a world of difference and ensures the materials you so carefully chose look exactly as you intended.
17. Integrate Smart Technology Appliances: Boosting Kitchen Convenience and Energy Efficiency
The noise around smart kitchens is deafening. A fridge that tells you you’re out of milk? You probably know that already. A coffee maker you can start from your phone? Cool, but you still have to put the mug there the night before. Let’s cut through the BS. The smart tech that actually matters is the tech that solves a real problem or enhances the physical experience of cooking.
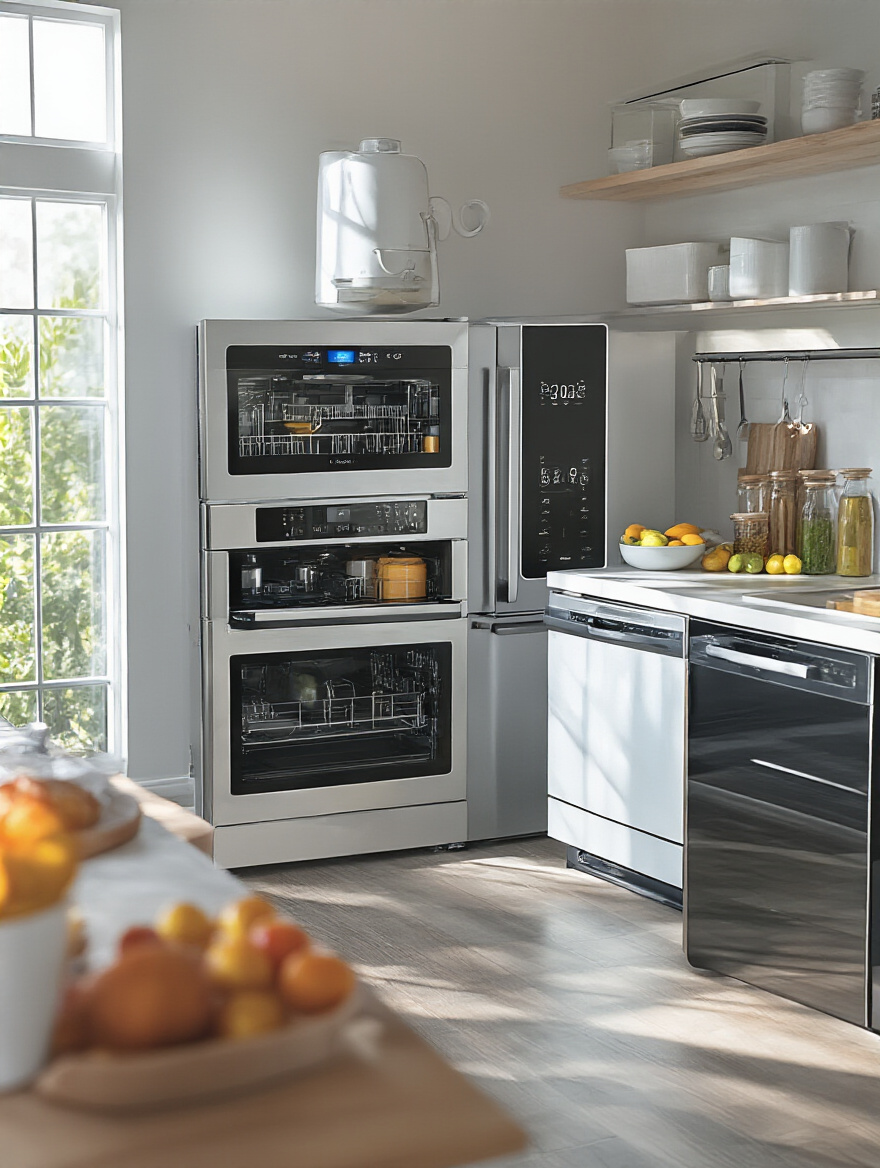
A smart oven that you can preheat on your way home from work? That’s a genuine time-saver. An induction cooktop with integrated temperature sensors that can hold a perfect simmer without scorching? That’s a performance upgrade that makes you a better cook. Focus on technology that offers precision, control, and genuine convenience. The rest is just gimmickry designed to sell you a new appliance. My confession: I thought smart faucets were silly until I tried one. Being able to turn on the water with a tap of your wrist when your hands are covered in chicken guts is a small, but legitimate, game-changer.
18. Plan Integrated Charging Stations: Decluttering Counters While Powering Devices
Your countertop is prime real estate. It’s for cooking, prepping, and serving—not for being a tangled mess of charging cables and devices. Creating a dedicated, integrated charging station isn’t just a tech upgrade; it’s a mental upgrade. It gives tech clutter a home, so it doesn’t take over your entire kitchen.
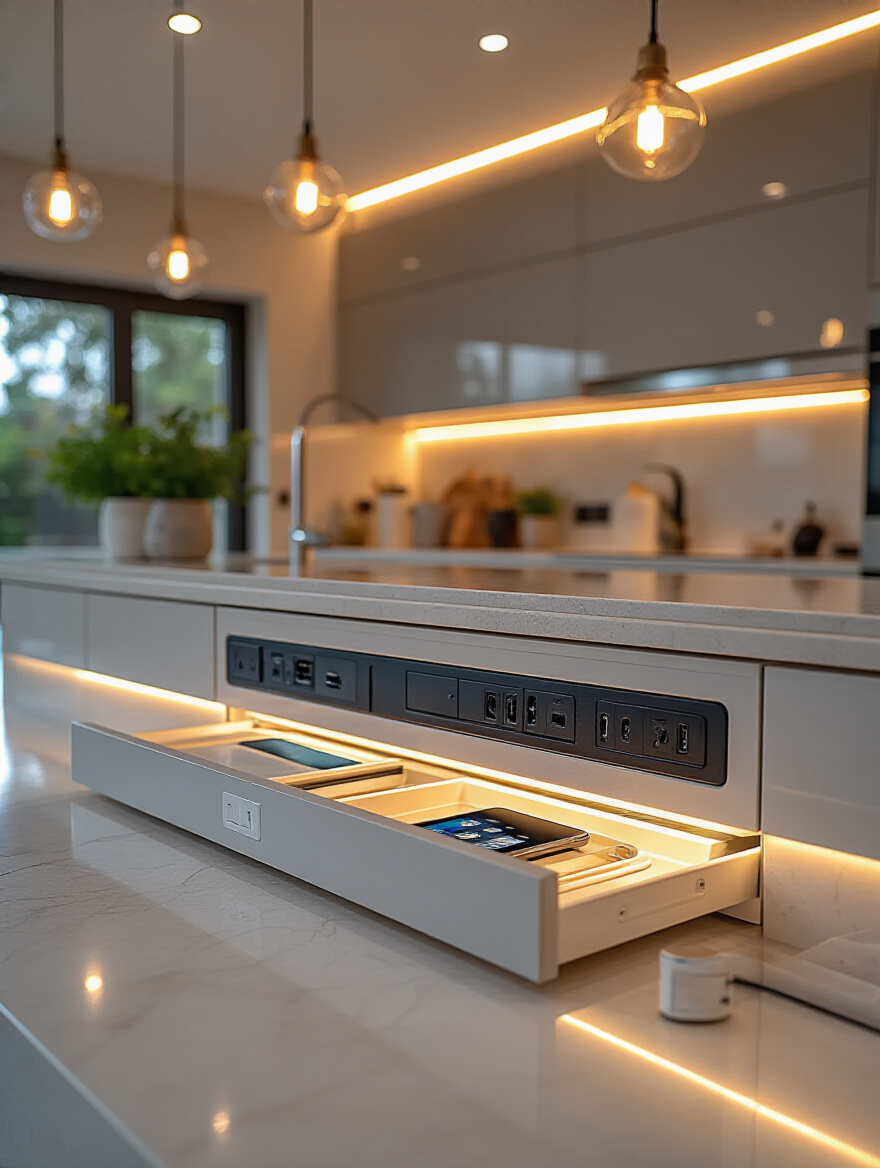
The best solution I’ve seen is the dedicated charging drawer. A shallow drawer, often in an island or “command center” area, is outfitted with a UL-listed in-drawer power outlet strip (with both USB-A and USB-C ports). You open the drawer, plug everything in, and close it. The visual clutter disappears completely. Pop-up countertop outlets are another great option, keeping the surface clean until you need power. This is a simple, relatively inexpensive feature that has an outsized impact on the daily serenity of your kitchen.
19. Select Superior Ventilation Systems: Ensuring Air Quality and Odor Removal
This is my pet peeve. People spend a fortune on a pro-style range and then pair it with a dinky over-the-range microwave vent. That’s like buying a Ferrari and putting bicycle tires on it. A proper vent hood isn’t for smells; it’s for capturing grease, steam, smoke, and volatile organic compounds (VOCs) that are released during cooking. Without it, a fine layer of aerosolized grease will eventually coat every single beautiful surface you just installed.
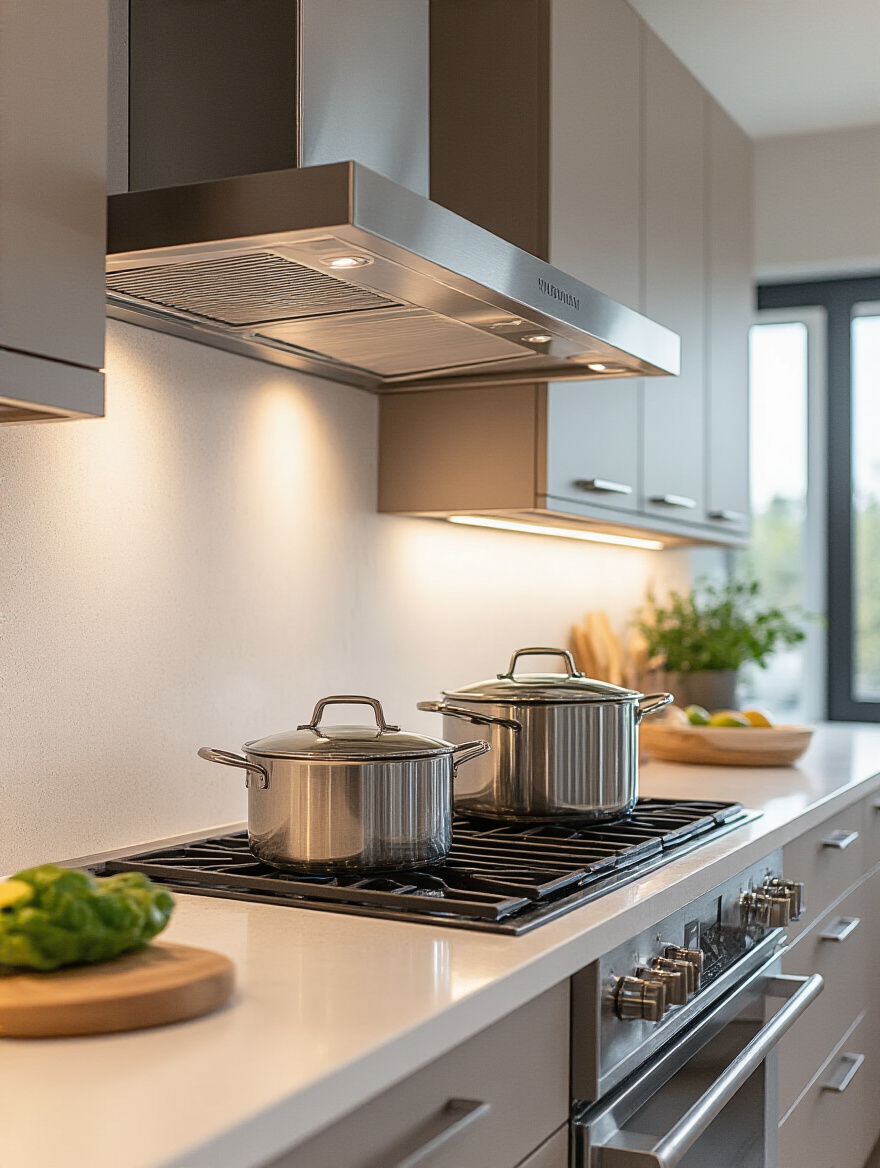
Here’s what you need to know: you need a ducted system that vents to the outside. Ductless systems just filter the air and are largely ineffective. For power, you measure it in CFM (cubic feet per minute). A good rule of thumb for a gas range is you need 1 CFM for every 100 BTUs of your cooktop’s output. Also, pay attention to the Sone rating—that’s the measure of sound. Anything under 3 Sones at a medium speed is reasonably quiet. Investing in a powerful, quiet hood is one of the single best things you can do for the cleanliness of your kitchen and the quality of your indoor air.
Phase 5: Project Management & Value Maximization
We’re in the home stretch. You have a vision, a layout, and a material palette. Now it’s about execution and smart thinking. This is where you bring in the right partners and make the final strategic choices that ensure your kitchen is not only a joy to live in but also a powerful financial asset.
20. Vet Professional Kitchen Designers: Partnering with Expertise for Best Results
I used to think I could design everything myself. I mean, it’s my job. But when I remodeled my own home, I hired another designer. Why? Because a good designer is your translator, your advocate, and your “bad idea” filter. They can see your space with fresh eyes and will save you from your own emotional attachments and costly mistakes. They know which countertop fabricator can actually execute a perfect mitered waterfall edge and which one will mess it up.

When you’re vetting a designer, look at their portfolio, of course. But more importantly, talk to their former clients. Ask them: “How did the designer handle it when something went wrong?” Because something always goes wrong. A tile is discontinued, a measurement is off, an appliance is back-ordered. You’re not hiring a designer for when things go right; you’re hiring them for their grace and ingenuity under pressure. That’s where they earn their fee ten times over.
21. Maximize Long-Term Resale Value: Strategic Design Choices for Investment Return
That ultra-bold, patterned cement tile you love? It’s stunning. But it might make your kitchen a tough sell in five years. When it comes to resale value, the smartest strategy is to keep the big, expensive, hard-to-change items timeless and neutral. Think classic Shaker-style cabinets in white, grey, or a natural wood tone. Think durable, light-colored quartz countertops. Think a simple, elegant subway tile backsplash.
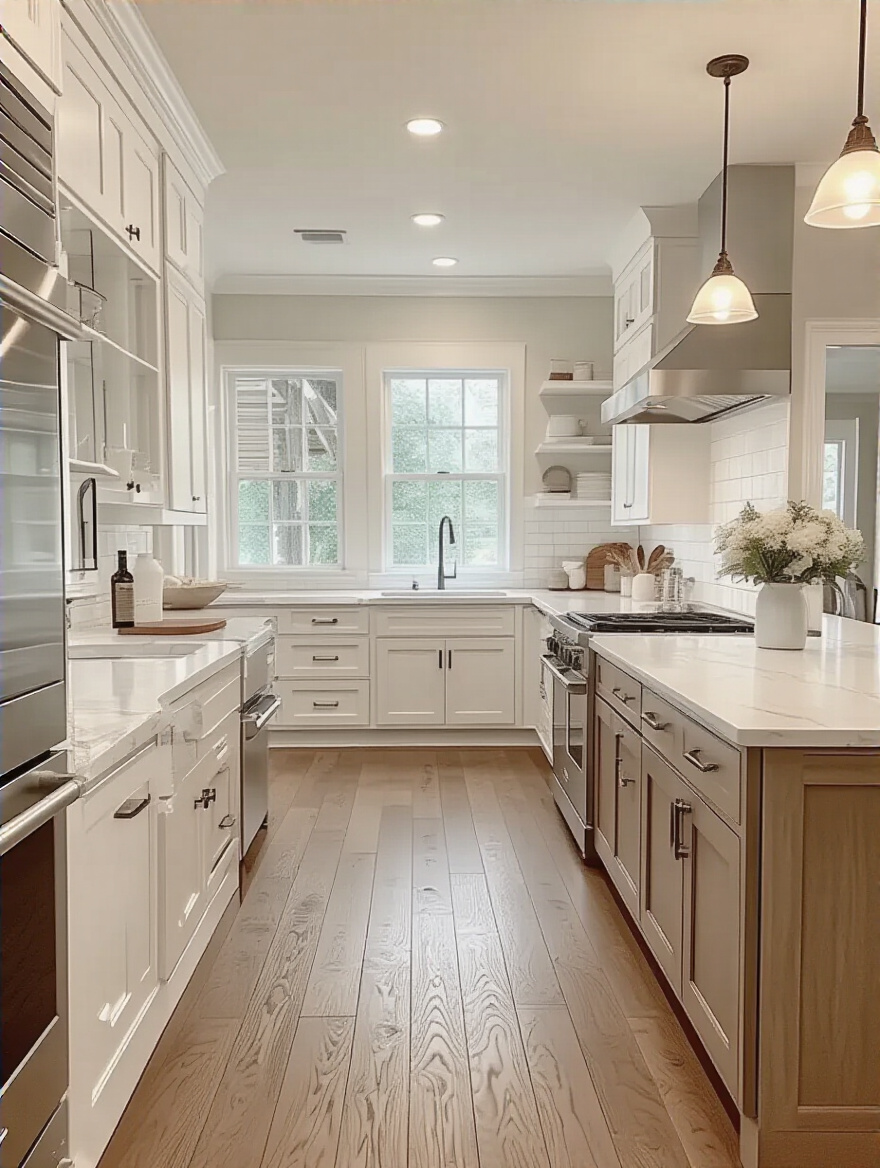
These elements create “good bones.” They are the perfect, versatile canvas that a future buyer can easily personalize. Where do you inject your unique personality? In the things that are easy and relatively inexpensive to change: the cabinet hardware, the pendant lights, the paint color, the bar stools. This allows you to create a kitchen you absolutely love today without sabotaging its appeal to a broad audience tomorrow. It’s the ultimate win-win.
Conclusion: Your Kitchen is an Experience, Not a Showroom
We’ve walked through the entire process, from the abstract vision to the very real choice of a drawer pull. The golden thread connecting every step is this: a kitchen is an experience. It’s a dynamic, sensory environment where life happens. It’s not just a collection of finishes to be photographed. It’s a machine for living, and every part of that machine should be chosen with intention, purpose, and a deep understanding of how it will perform under pressure.
Trust your senses. Let the coolness of stone, the warmth of wood, and the satisfying heft of solid hardware guide you. But back up that intuition with good science and solid planning. By focusing on a layout that flows, materials that perform, and details that support your real life, you’re not just remodeling a room. You’re crafting the heart of your home—a space that will serve you, inspire you, and bring you joy for years to come.


