You know what people always ask me? It’s not about the fanciest custom pull-outs or the perfect row of spice jars, though we can get to that. The real question, the one they ask after a long sigh while staring at a cabinet overflowing with pots and plastic containers, is always this: “Where do I even start?” They see the chaos, but they don’t see the path through it. They think they need more space, a bigger kitchen, a full gut-job.
But here’s the secret I’ve learned from years of designing custom cabinetry and then organizing what goes inside it: You don’t need more space. You need a better system. The goal isn’t just to hide your stuff; it’s to make your kitchen work for you. To turn the time you spend searching for a lid or that one specific pan into time you can actually spend enjoying your life. So let’s talk about how to do that, step by methodical step. No corporate-speak, just what actually works.
Strategizing Your Space: Laying the Groundwork for Order
This is the part everyone wants to skip. Don’t. You can’t just buy a bunch of cool organizers and expect them to magically fix your kitchen. It’s like buying expensive running shoes but never learning proper form—you’re just going to hurt yourself. Laying the groundwork is the difference between a system that lasts and a drawer that’s a mess again in two weeks. This is the “measure twice, cut once” part of organizing.
1. Begin by Decluttering Unnecessary Kitchen Items
Let’s be brutally honest. You can’t organize clutter. You can only move it around. The first, most satisfying step is to get rid of the junk. Pull everything—and I mean everything—out of one cabinet or drawer. This is the only way to see what you truly have. Then, you make four piles: Keep, Donate, Trash, and a “Quarantine Box.”
The Quarantine Box is my secret weapon for the “I might need this someday” items. Put them in a box, seal it, and write the date on it. If you don’t open that box in six months, you never needed it. Just donate the whole unopened box. It bypasses all the agonizing and gets the clutter out of your immediate space. You’ll be shocked at how much room you gain before you even buy a single organizer.
This initial purge is the most important step; it ensures you’re building a system for the life you actually live, not for the one you imagine you might have someday with three waffle irons.
2. Accurately Measure Cabinet Interiors Before Buying Organizers
Can we talk about one of my biggest pet peeves? It’s when a client proudly shows me the pile of organizers they bought, and half of them don’t fit. They measured the cabinet opening but forgot about the hinge that juts out an inch inside, or the shelf pegs, or the way the cabinet gets narrower at the back. It’s a waste of time, money, and morale.
Get a real tape measure. Measure the interior width, depth, and height. Then, measure it again in a different spot. Is it wider at the front than the back? Is there a pipe in the way? Write it all down on a little sketch. It feels tedious, but I promise you, taking five minutes to do this will save you hours of frustration and return-shipping headaches. You wouldn’t build a cabinet without a plan; don’t buy an organizer without one either.
With your measurements down, you now have a perfect map of your available space. Next, let’s figure out what needs to go in it.
3. Assess Your Current Inventory to Identify Storage Needs
Now that you’re only left with things you actually want and you know the exact dimensions of your space, it’s time to take stock. This isn’t just about counting your plates. It’s about understanding the shape and function of your stuff. Group similar items together. All your baking pans in one spot, all your coffee supplies in another.
Look at those piles. Do you have a mountain of spices? You’ll need a different solution than someone who only has salt and pepper. Do you have a set of giant, heavy mixing bowls? A flimsy plastic riser won’t cut it. This step is about matching the problem (your inventory) to the solution (the organizer). It stops you from buying a generic “pantry starter pack” and instead helps you find the specific tools that will solve your specific storage puzzles.
Once you know what you have and where it needs to live, you can create a layout that makes sense for how you actually move in your kitchen.
4. Designate Specific Cabinet Zones for Optimal Workflow
You wouldn’t keep your toothbrush in the living room, right? So why are your cooking oils across the kitchen from your stove? Zoning is about putting things where you use them. It’s the single best thing you can do to make your kitchen feel smarter and more intuitive. Think in terms of activity stations.
Stand in your kitchen and pretend to make coffee. What do you need? Mugs, coffee, sugar, a spoon. They should all live together in a “Coffee Zone” near your coffee maker. Do the same for cooking (oils, spices, pans near the stove), baking (flour, sugar, mixing bowls near your stand mixer), and daily dishes (plates, bowls, glasses near the dishwasher for easy unloading). It’s a simple concept, but it fundamentally changes how you interact with your space, cutting down on wasted steps and frantic searching.
Now that we have a plan, we can finally talk about the fun part: the organizers themselves.
Smart Cabinet Solutions: Implementing Effective Organizers
Okay, now for the good stuff. With your strategy in place, you can finally start adding the hardware that will bring it all to life. These are the tools that take your well-planned zones and make them hyper-efficient. But remember, an organizer is only as good as the system it supports.
5. Maximize Vertical Space with Stackable Shelf Inserts
Those tall cabinets with one lonely shelf halfway up are just criminal wastes of space. Everything gets stacked in wobbly, dangerous towers. A stackable shelf insert is the simplest, cheapest way to fix this. It’s basically a little table you put inside your cabinet, instantly creating a second level. Now your plates can go on the bottom and your bowls can go on top, with neither touching the other.

This is my go-to first-buy for almost any client. You get a huge return for a small investment. But the shortcut here is to buy the expandable kind. They can stretch to fit your cabinet’s width perfectly, leaving no awkward gaps. I once saw a client use three mismatched little ones, and all the space in between was just collecting dust. Get one that fits wall-to-wall for a clean, custom look that maximizes every single inch.
With the easy vertical space conquered, let’s tackle the dreaded deep cabinets.
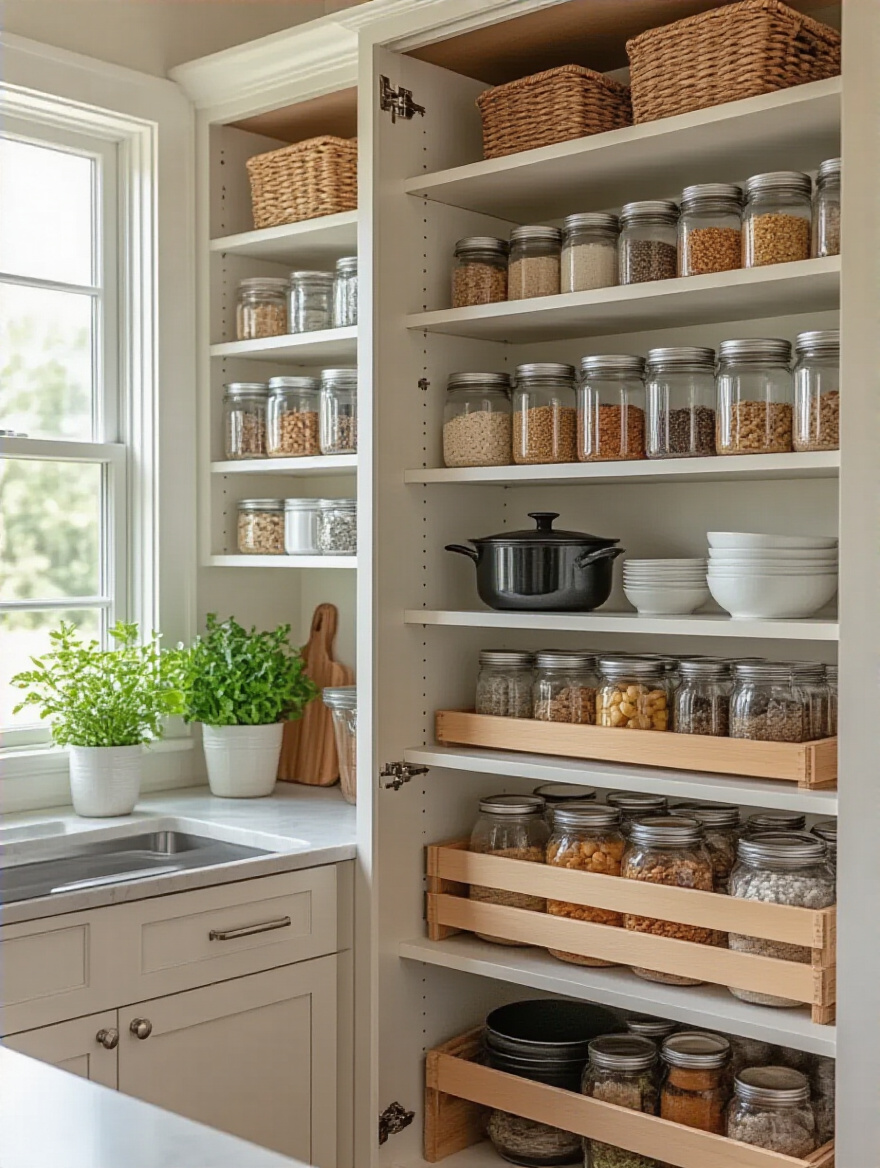
6. Conquer Deep Cabinets Using Pull-Out Sliding Drawers
Deep base cabinets are where kitchen tools go to die. Anything that gets pushed to the back is gone forever, lost to the abyss until you move out. Pull-out sliding drawers are the definitive fix. They bring the back of the cabinet to you, so you can see and reach everything without getting on your hands and knees with a flashlight.
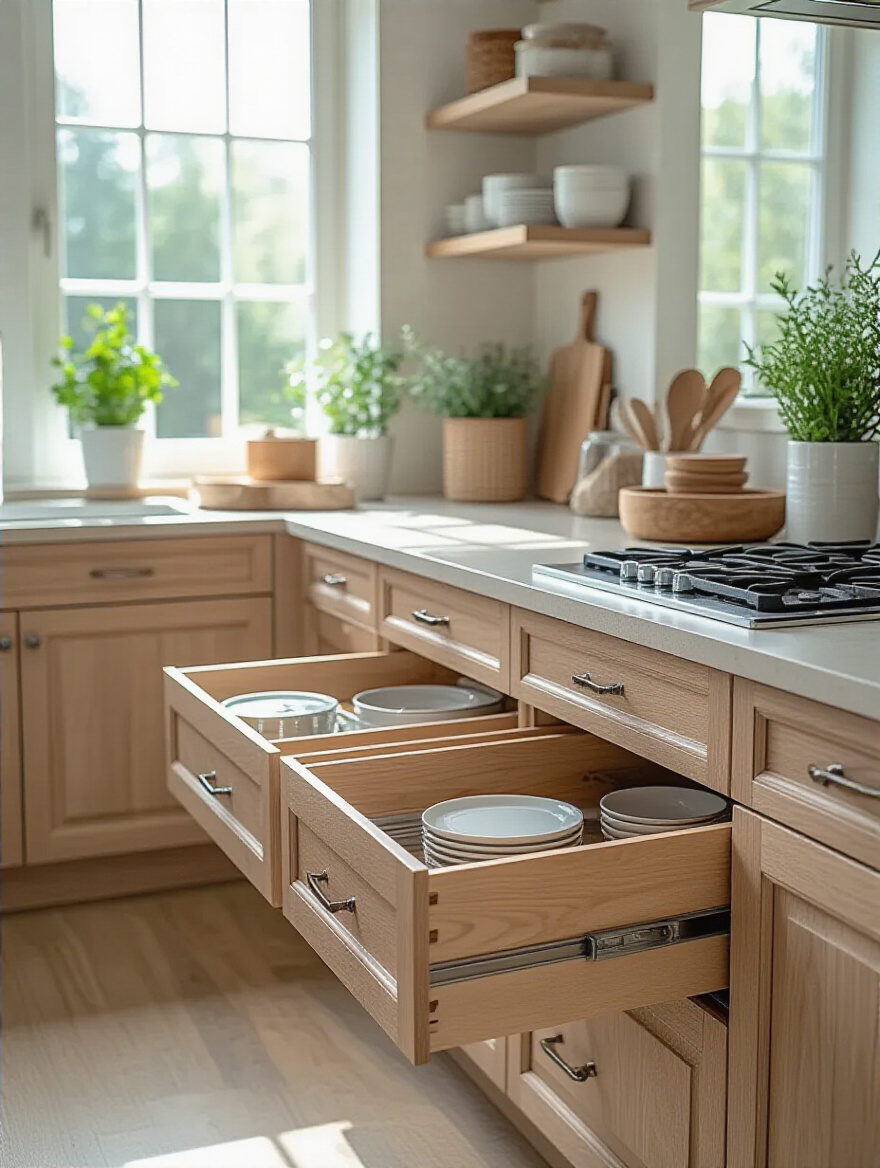
Here’s the one thing everyone gets wrong: they cheap out on the hardware. You must get full-extension glides. Standard glides only let the drawer come out about 75% of the way, leaving the back few inches still trapped inside the cabinet. Full-extension means the entire drawer clears the cabinet opening. It’s a game-changer, especially for heavy things like pots, pans, or your stand mixer. I learned this the hard way on one of my first personal projects, and I spent years cursing that last row of jars I could never quite reach.
From the depths of the cabinets, let’s move on to the clanging chaos of your cookware.
7. Streamline Pots and Pans with Dedicated Vertical Racks
Stop stacking your pans. Just stop. It’s a nightmare to get the one you want from the bottom of the pile, and it scratches up your non-stick surfaces. A simple vertical rack lets you file your pans and their lids like records in a crate. You can see every single one and slide it out effortlessly without causing an avalanche.
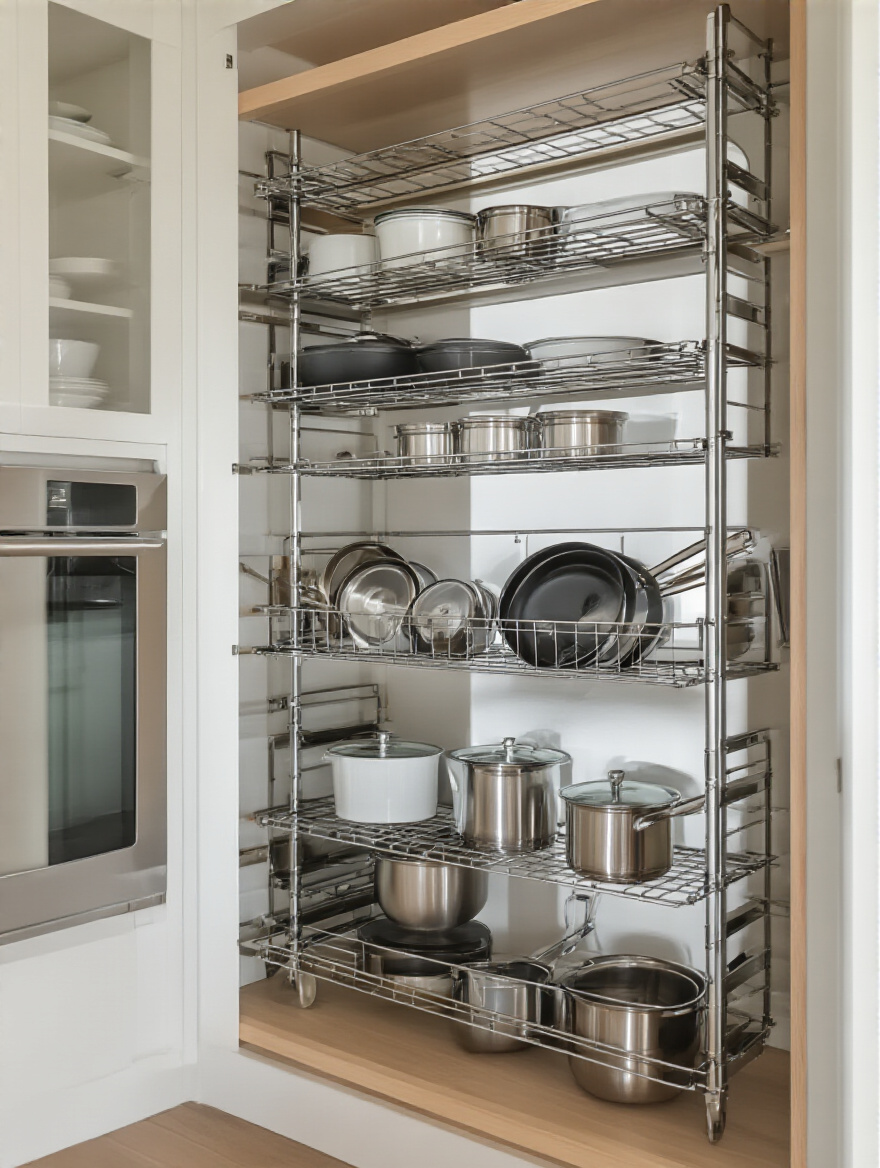
The trick is to get an adjustable one. Your pans aren’t all the same thickness. Your big cast iron skillet needs more room than your small omelet pan. An adjustable rack lets you customize the width of each slot, so everything fits snugly without rattling around or being too tight to pull out. This is one of those small details that makes the system feel truly custom-built for your stuff.
Now, let’s spin our way into the trickiest space in the whole kitchen.
8. Optimize Corner Cabinets with D-Shaped Lazy Susans
Blind corner cabinets are the absolute worst. It’s a giant cave of wasted, inaccessible space. A lazy susan is the classic solution, but not all are created equal. The standard circular ones leave weird dead zones in the corners. You need a D-shaped lazy susan. That flat side sits flush against the cabinet door, allowing for a much larger rotating surface that uses the space far more efficiently.
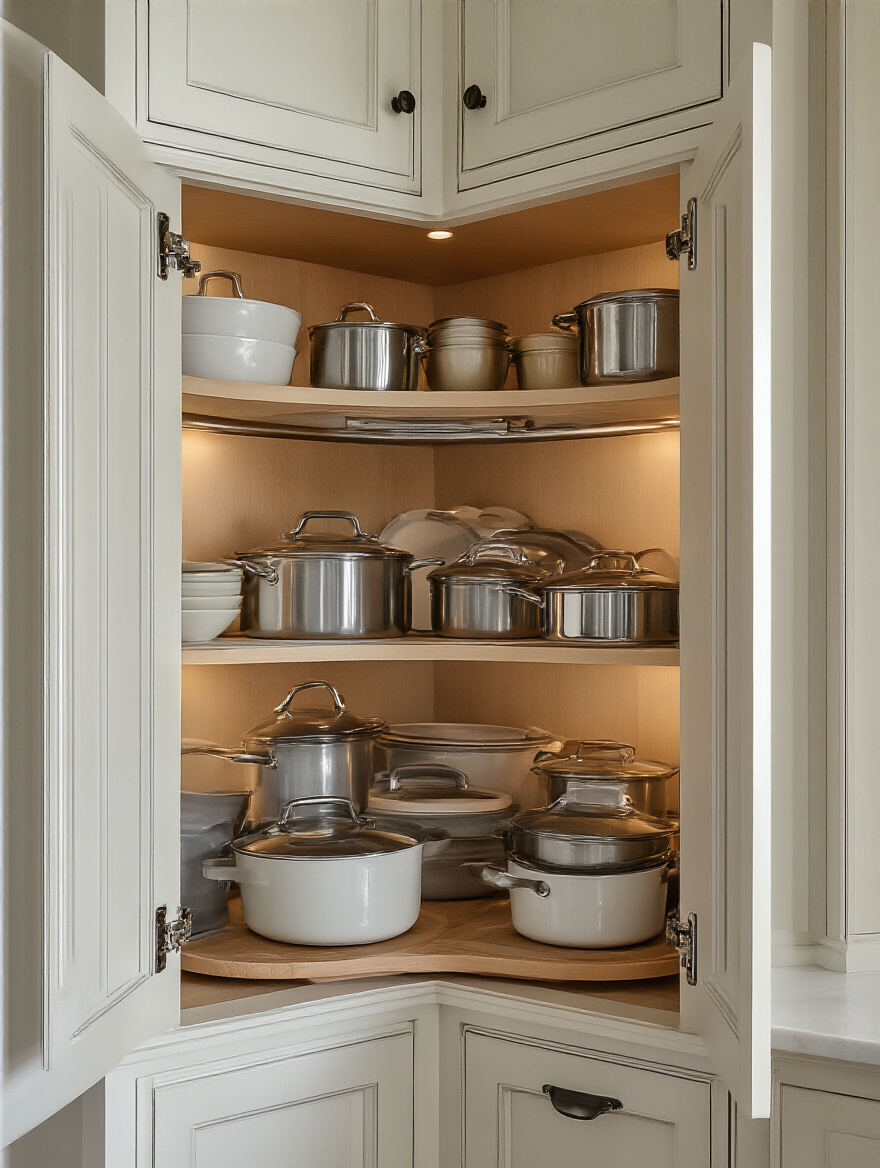
Don’t get a flimsy plastic one. It will wobble, and your stuff will fly off every time you spin it. Invest in a sturdy wood or polymer version with a small lip around the edge. And my best shortcut: put a non-slip liner on the shelves. Now your bottles and cans will stay put, turning that once-useless corner into some of the most valuable real estate in your kitchen.
Having conquered the corner, let’s head to that other black hole of disorganization: under the sink.
9. Organize Under-Sink Clutter with Multi-Tier Sliding Organizers
The under-sink cabinet is a battlefield of plumbing, a giant garbage disposal, and a graveyard of half-empty cleaning bottles. A two-tier sliding organizer is the answer. The top tier is usually shorter to accommodate the sink basin and disposal, while the bottom tier is full-depth, using all the available space below the pipes.
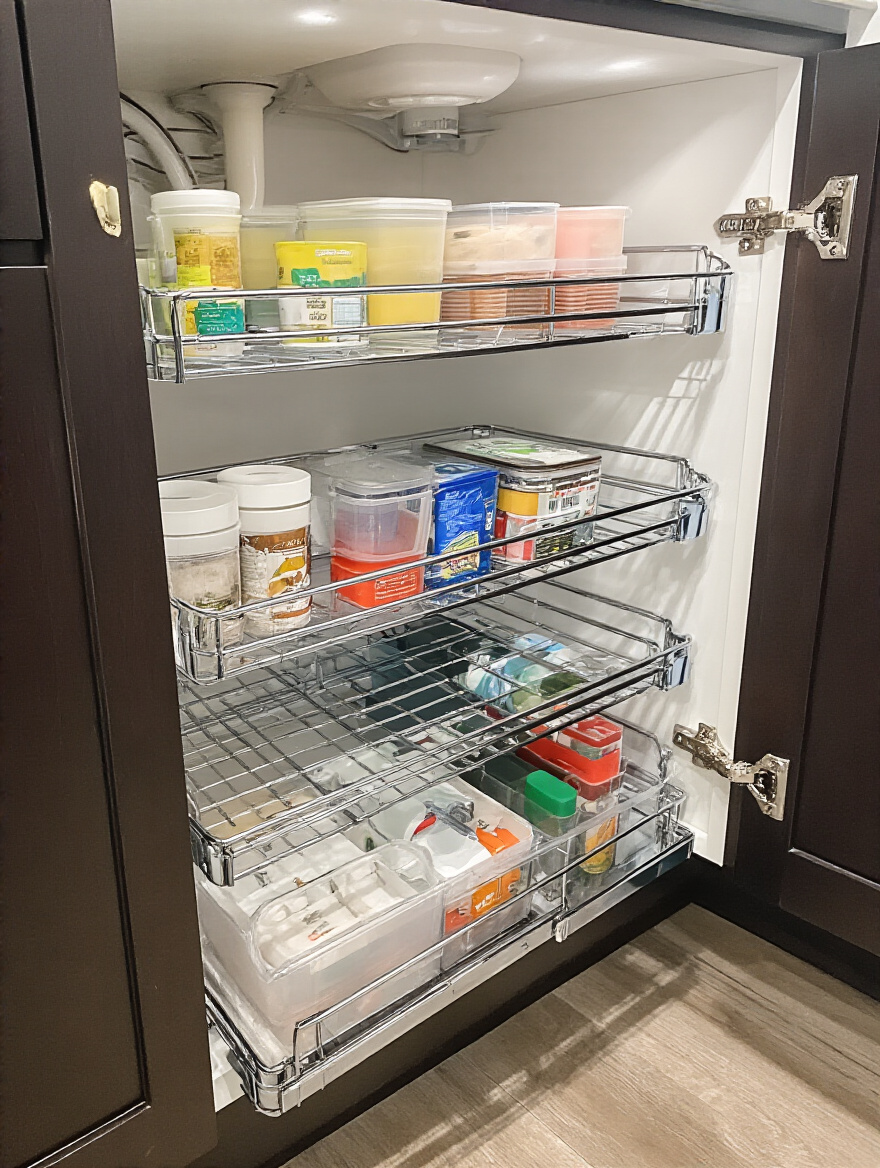
The pro move here is to get one that isn’t attached to a central pole, but instead has two independent sliding tracks. This gives you way more flexibility to position the unit perfectly around your specific plumbing setup. I had a client with a really off-center disposal, and a standard pole-based unit wouldn’t work. A two-track system fit like it was custom-made, turning that chaotic mess into a tidy, accessible cleaning station.
From under the cabinet, let’s look at the often-ignored space on the cabinet.
10. Utilize cabinet doors for Hidden Storage Racks
The inside of your cabinet doors is prime, untapped real estate. It’s the perfect place for small, skinny things you use all the time. Think spice racks, foil and plastic wrap holders, or even a slim rack for your cutting boards. This gets those items out of your precious drawer and shelf space and puts them right at your fingertips.

But here’s the BS you need to watch for: make sure you measure the clearance. A lot of people install a door rack, and then the door won’t close because the rack hits the shelf or the items on the shelf. Before you buy anything, close the cabinet door and see how much space there is between the door and the edge of your shelves. That tiny measurement is your maximum depth.
Once those small items are neatly tucked away, we can finally face the monster: food container lids.
11. Tame Food Storage Containers with Adjustable Lid Dividers
I’m convinced that half the stress in the world comes from trying to find a matching lid for a food container. It’s a law of physics that they will become a jumbled, chaotic mess. An adjustable lid divider is the only way to win this fight. It files them vertically, just like your pans, so you can see them all and grab the one you need.
The best ones are spring-loaded tension dividers or ones with adjustable pegs. You can create custom-sized slots for your giant soup container lids and your tiny snack container lids. This is way better than the fixed-slot organizers, which never seem to have the right size slots for your specific collection. Group them by shape (square, round, rectangle) and you’ll never have to excavate a lid avalanche again.
With your lids in line, let’s apply the same logic to your spices.
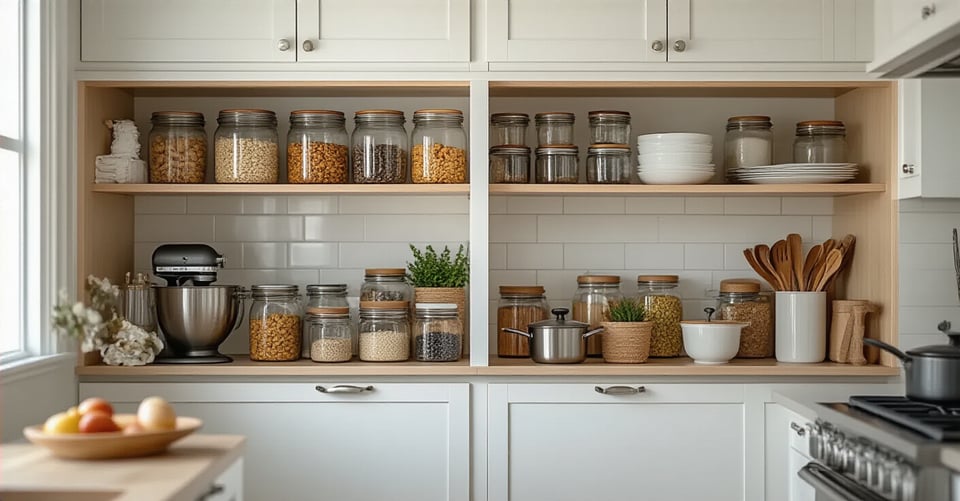
12. Display Spices Neatly with Expandable Tiered Step Risers
If your spices are all standing on one flat shelf, you can only see the front row. The rest is a mystery. Tiered step risers are the answer, turning your cabinet into a little stadium where every single spice jar is visible. You’ll stop buying your third bottle of paprika because you couldn’t find the first two.
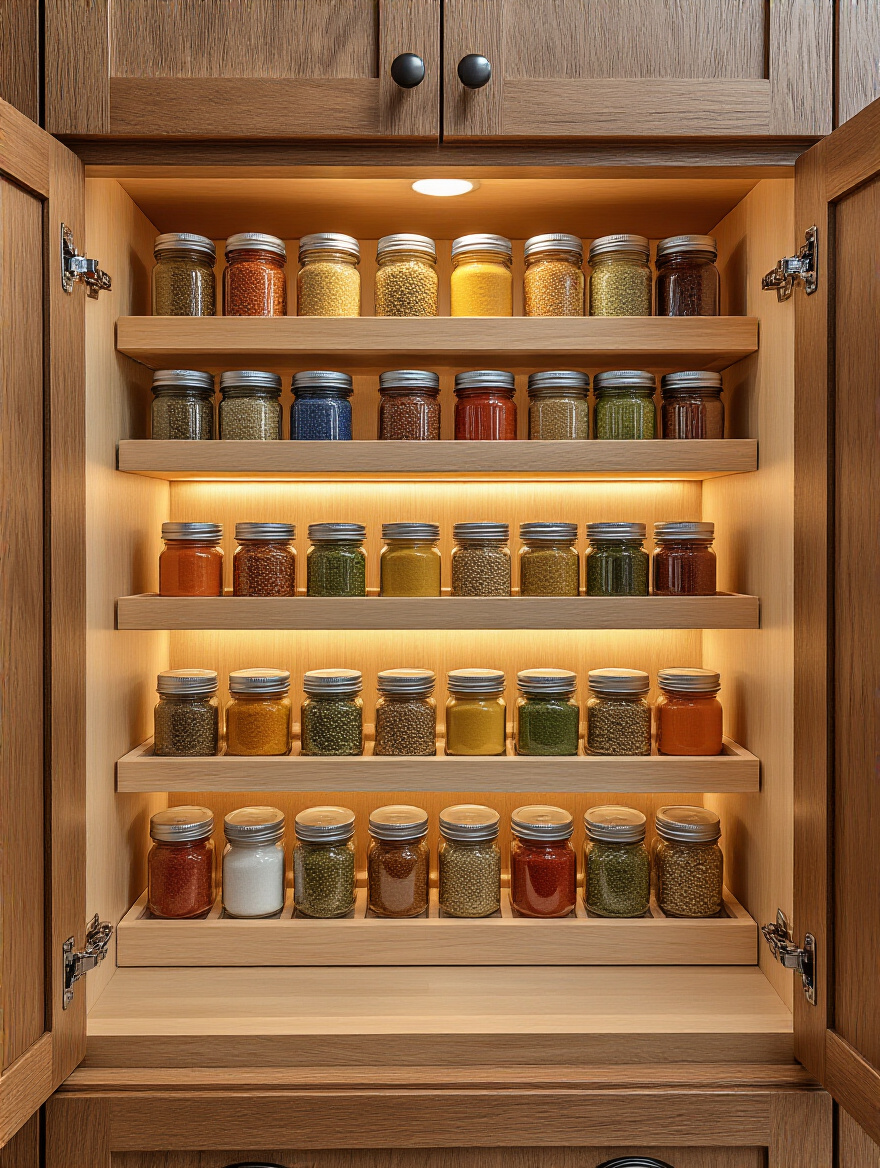
The key is to get an expandable riser. They can pull out sideways to fit the exact width of your cabinet, ensuring a perfect, built-in look. And for the ultimate pro move: buy a set of uniform glass jars and a label maker. Label the tops of the jars. That way, when you look down on your spice stadium, you can instantly read every single label without picking anything up. It’s a thing of beauty.
Now let’s bring that same upright-and-visible logic to another common point of clutter.
13. Store Bakeware Conveniently with Upright Wire Dividers
Just like with pots and pans, stacking baking sheets, muffin tins, and cutting boards is a noisy, scratchy, inefficient mess. A simple, sturdy wire divider is all you need. It creates vertical slots to file everything away neatly. You can slide out your cookie sheet without having to lift three other pans and a cooling rack off of it.

Here’s a shortcut I love: instead of a freestanding wire rack that can slide around, use heavy-duty tension rods. You can buy them at any home store. Install two or three of them running from the bottom of the cabinet to the top, creating custom-sized vertical slots that are super sturdy. It’s a cheap, flexible, and surprisingly strong DIY solution that looks very slick.
Advanced Techniques & Maintenance: Sustaining Long-Term Order
Okay, your cabinets are looking amazing. The hard part is done. But how do you keep it that way? An organized kitchen isn’t a one-time project; it’s a living system. These next few steps are about locking in that order for the long haul and making maintenance feel effortless.
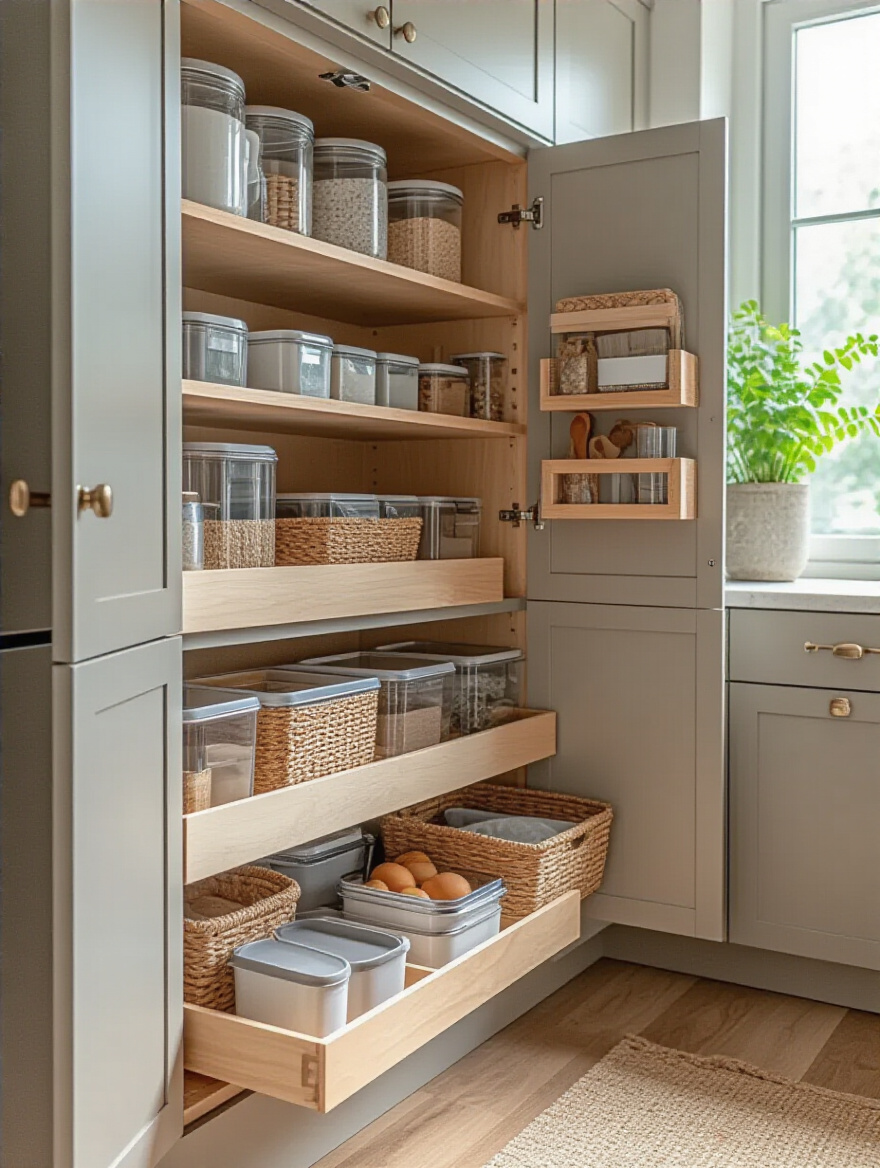
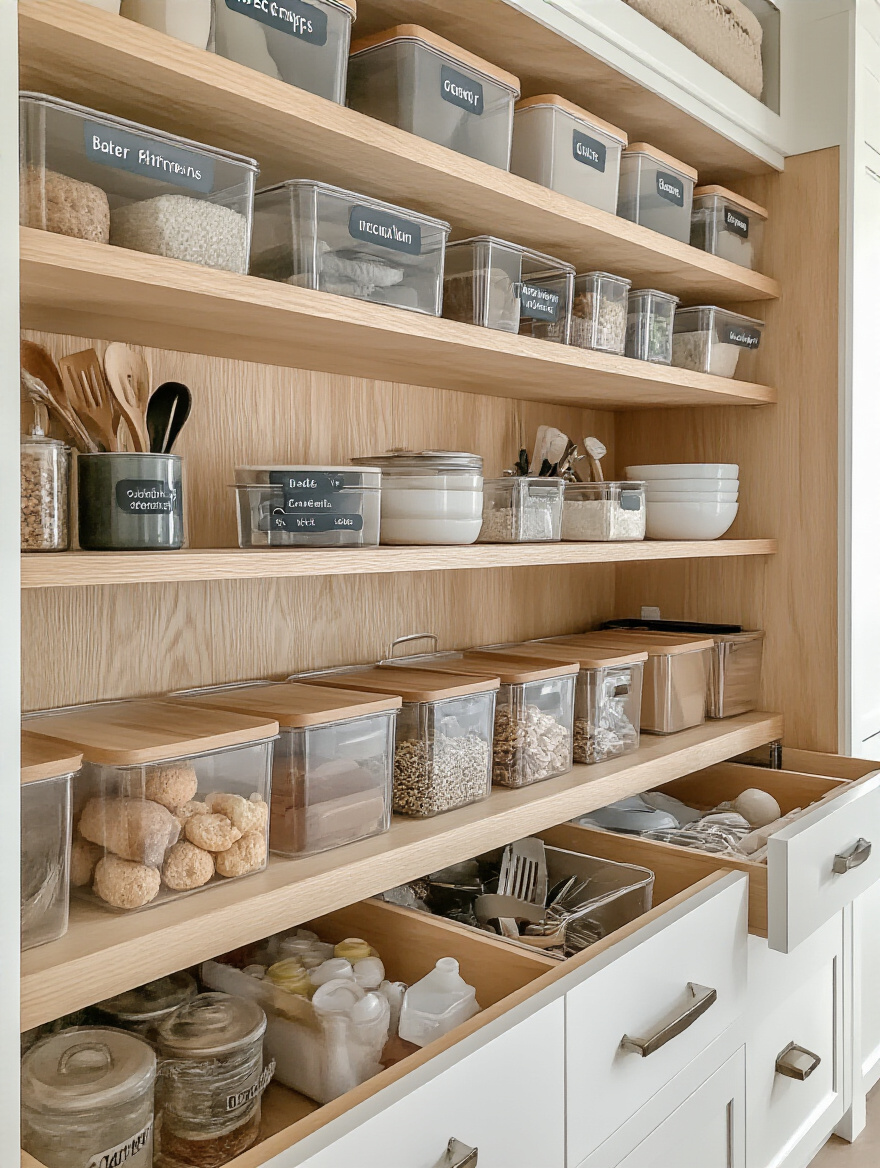
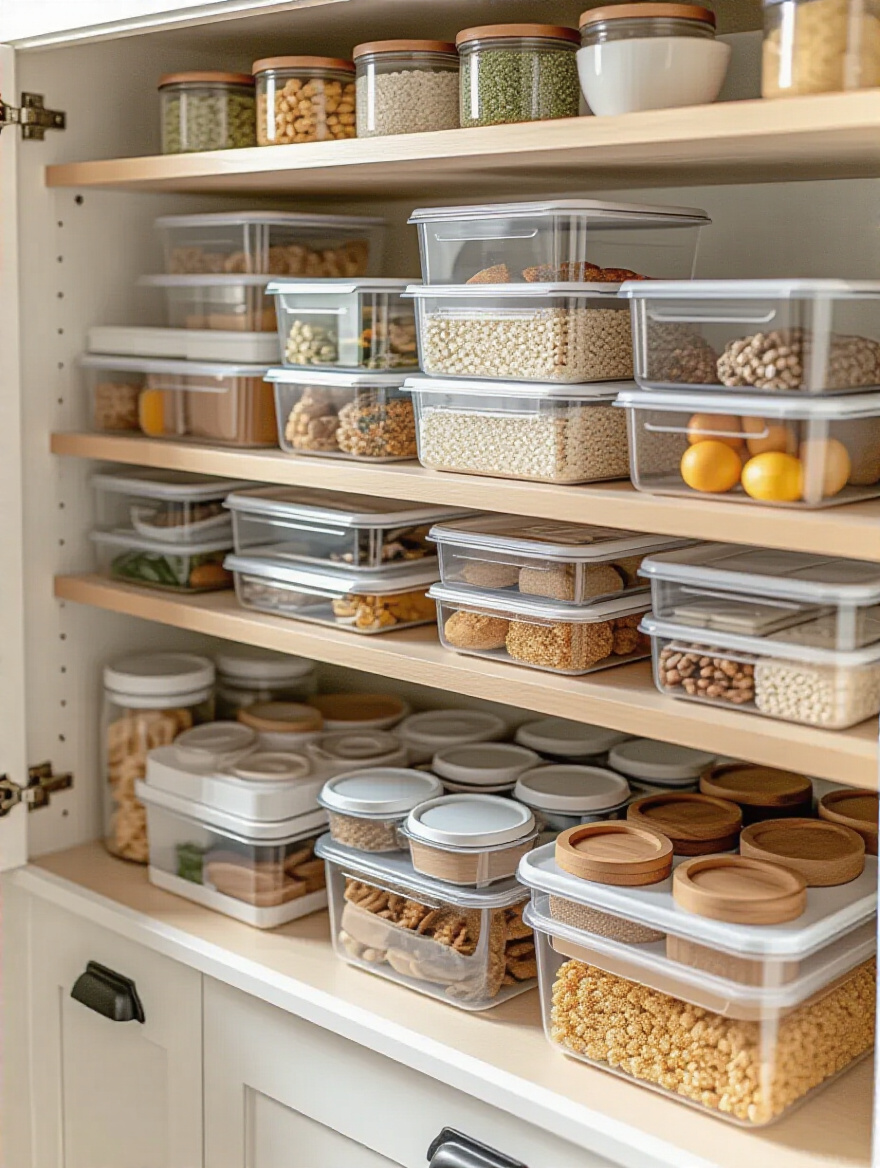
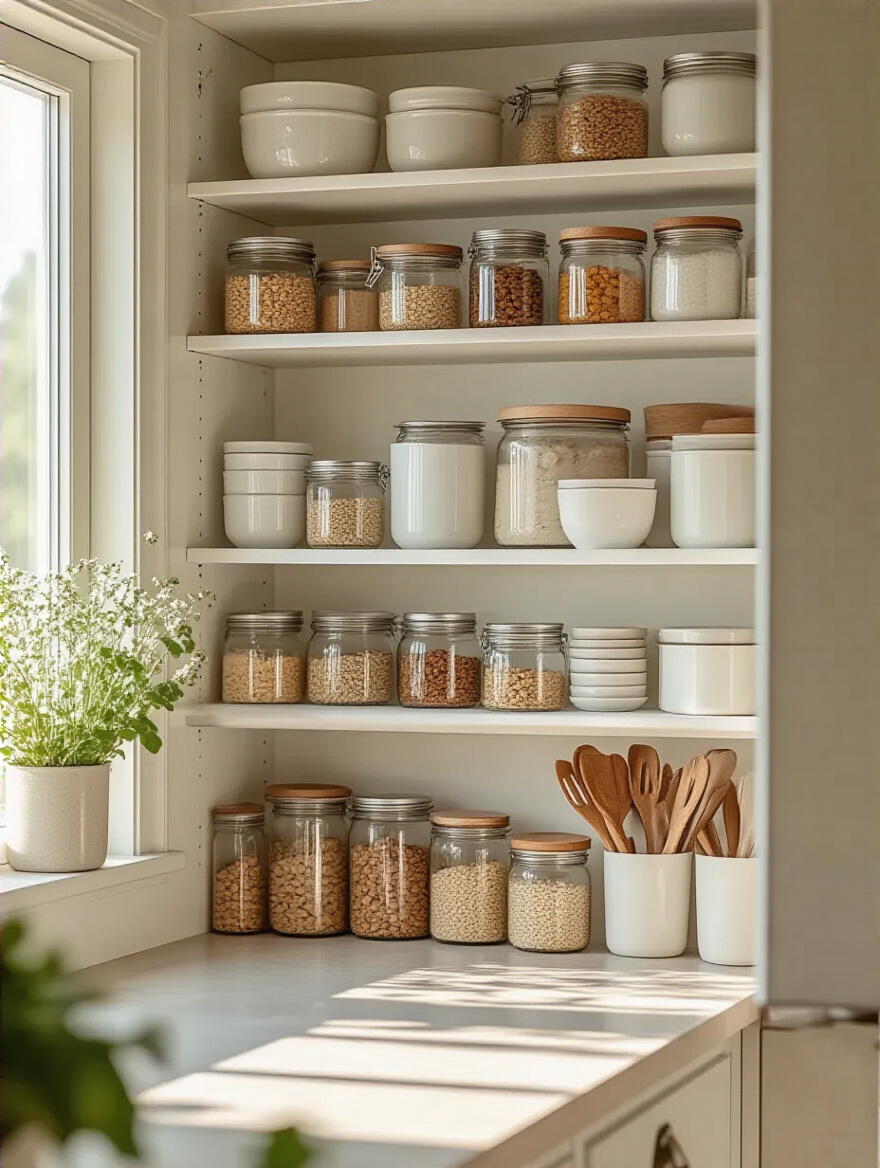
14. Implement Clear Storage Bins for Instant Visual Clarity
Out of sight, out of mind. That’s why your pantry is full of expired cans and bags of chips you forgot you bought. Swapping your opaque boxes and baskets for clear storage bins is a game-changer. You can see everything you have at a glance, which means you’ll actually use it. It turns your shelves into a series of pull-out drawers, making everything accessible.
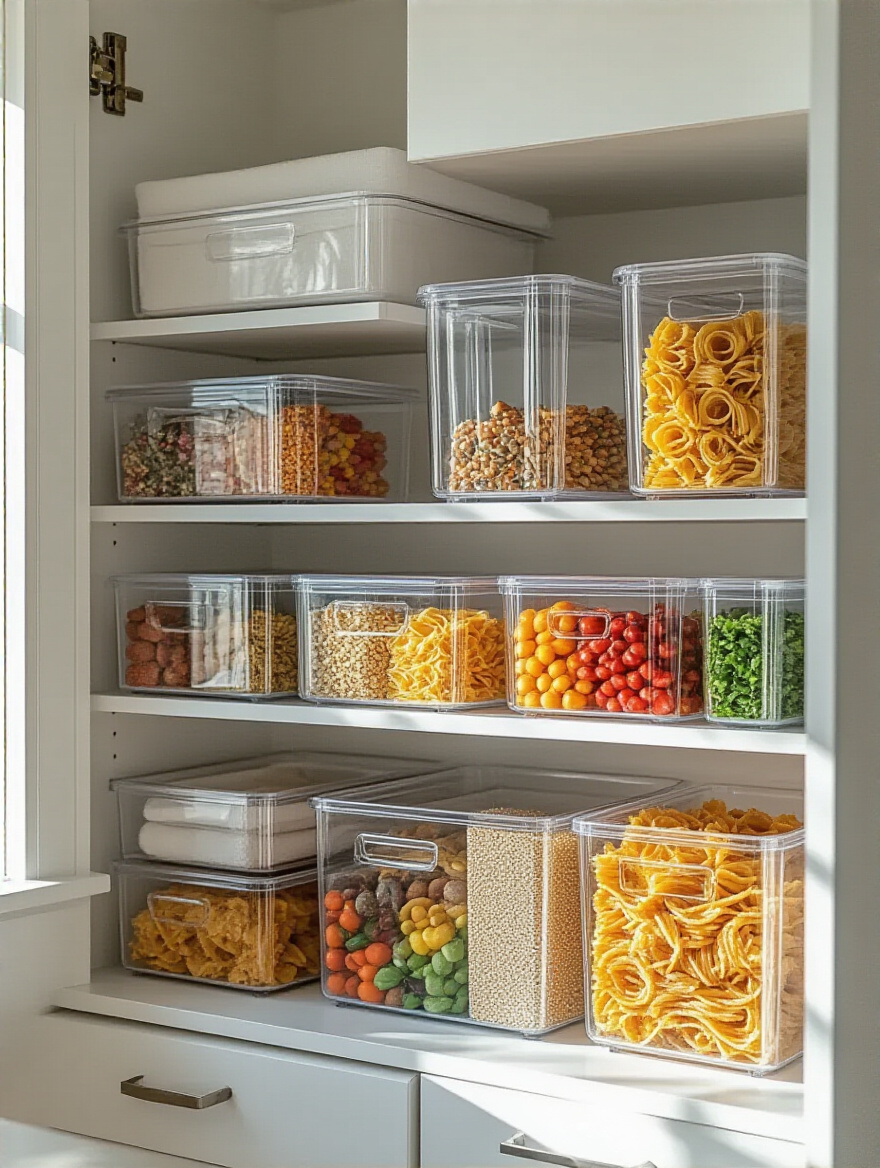
The mistake people make is thinking the clear bin is the organization. It’s not. If you just dump random stuff into a clear bin, you’ve just got a clear view of your chaos. You still have to categorize. Use one bin for “Pasta & Grains,” another for “Baking Supplies,” and another for “Snacks.” Then, and only then, does the “clear” part become magical.
With everything inside the cabinets visible, let’s talk about clearing off your countertops for good.
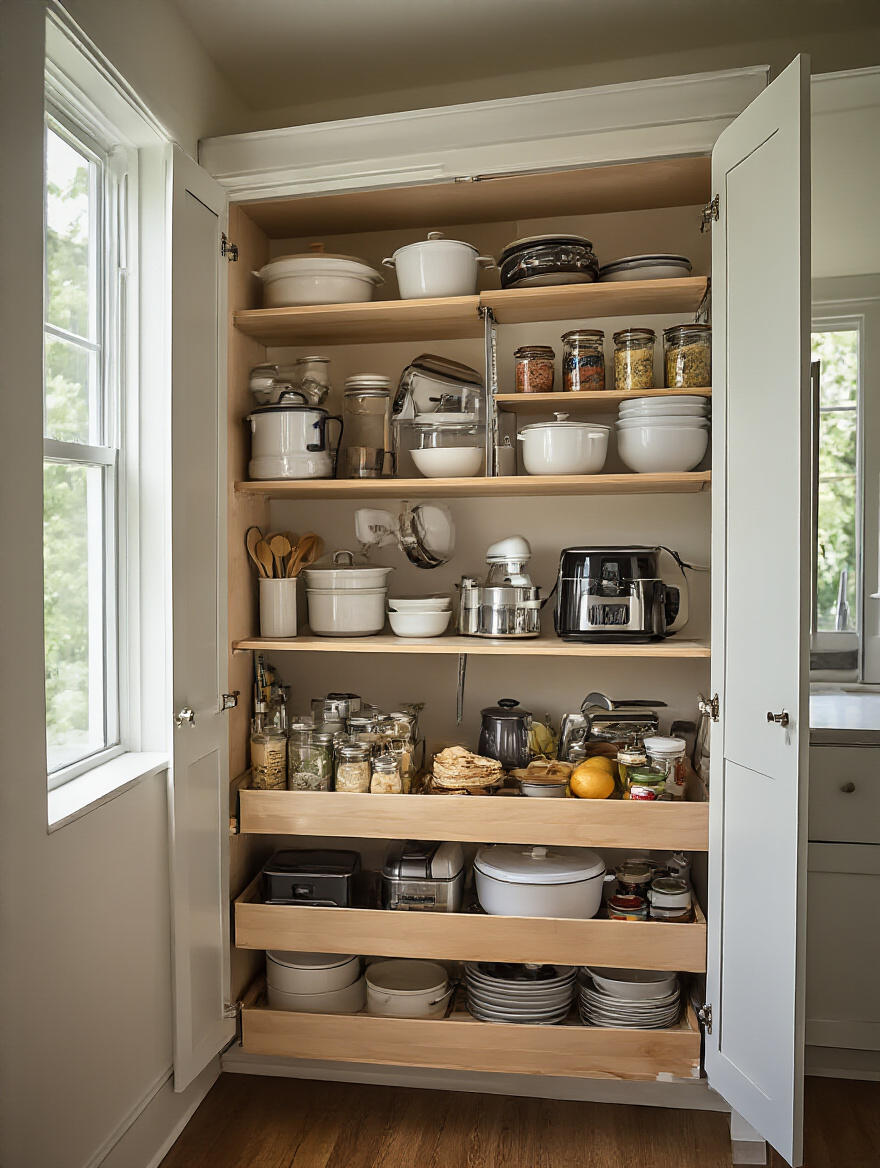
15. Create a Dedicated Small Appliance Garage Within Cabinets
Your toaster, blender, and coffee maker are countertop clutter magnets. An appliance garage is just a dedicated cabinet, usually with a lift-up or sliding door, designed to hide them away while keeping them plugged in and ready to go. It gives you that beautiful, clear-counter look without sacrificing convenience.
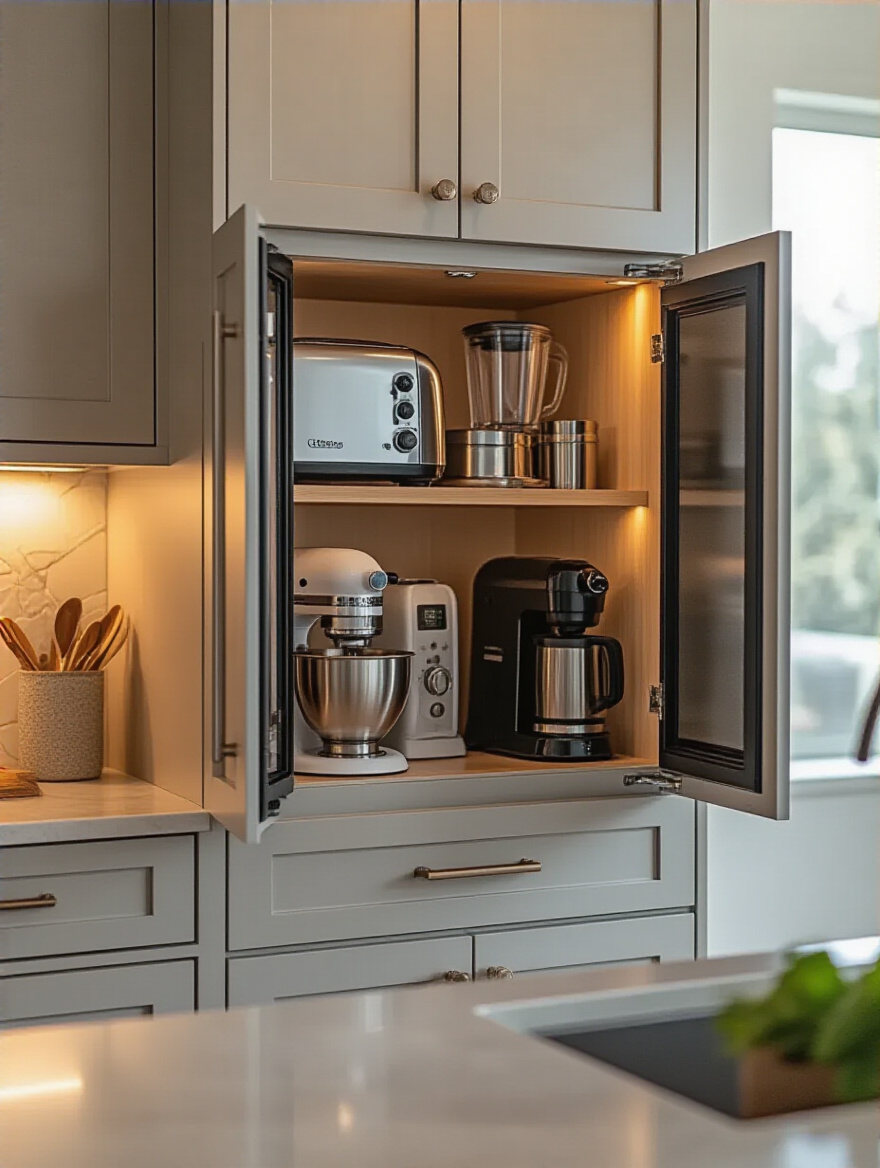
This isn’t a beginner project, but it’s the most impactful. The absolute, non-negotiable rule here is that you need a licensed electrician to install a GFCI outlet inside the cabinet. Do not, under any circumstances, just run an extension cord in there. It’s a massive fire hazard. Getting it done right turns a standard cabinet into a brilliant, functional workstation that adds major value to your kitchen.
Now that everything has a home, we need to make sure everyone knows the address.
16. Label Cabinet Contents for Effortless Item Retrieval
Let’s be real. If you’re the only one who knows where everything goes, you’re not an organizer. You’re a gatekeeper. Labels are the key to making your system work for everyone else in the house. Your partner, your kids, even a guest will know that the “Snacks” bin is where the granola bars live, and more importantly, where they go when it’s time to put them away.

A simple label maker is your best friend. Be specific. Don’t just label a bin “Flour.” Label it “Baking Flours” and another one “Gluten-Free Flours.” The more specific the label, the less thinking anyone has to do. This is the final step that transforms your personal organization project into a functional, sustainable household system.
Labels help define the groups, which brings us to the core philosophy behind it all.
17. Group Similar Items for Faster Access and Kitchen Flow
This isn’t really a separate step so much as the philosophy that ties everything together. We’ve talked about it all along—the “Coffee Zone,” the “Baking Zone”—but it’s worth saying one more time. Storing similar items together near their point of use is the foundation of an efficient kitchen.

Think of it like this: every time you have to walk across the kitchen to get something you need for the task at hand, your system has failed. The goal is to be able to stand in one spot and have everything you need for that job within arm’s reach. Grouping isn’t just about making things look tidy; it’s about minimizing movement and decision-making, which is what saves you time and mental energy every single day.
Finally, let’s make sure all this hard work doesn’t go to waste.
18. Schedule Bi-Annual Audits to Maintain Cabinet Zen
A kitchen is not a museum. It changes. You’ll try new recipes, your kids will go through a phase of only eating one snack, and things will slowly start to drift out of place. That’s normal. The trick is to schedule a quick tune-up twice a year to prevent it from spiraling back into chaos.
Put it in your calendar, like a dentist appointment. “Spring Kitchen Audit” and “Fall Kitchen Audit.” It shouldn’t take more than an hour. Just go through your zones, toss anything that’s expired, put stray items back in their labeled homes, and wipe down the shelves. It’s a simple reset that keeps your system humming and ensures that the peace and order you’ve created will actually last.
Conclusion
See? It’s not about magic. It’s a system. By starting with a ruthless declutter and a solid plan, then implementing smart organizers that solve specific problems, you can create a kitchen that feels less like a battlefield and more like the heart of your home. It’s about building a space that supports you, saves you money on duplicate purchases, and gives you back the most valuable resource you have: your time.
A perfectly organized kitchen isn’t about being a perfect person. It’s about being a smart person who would rather spend their time cooking, eating, and laughing than searching for a whisk. So pick one cabinet. Your messiest one. And just start with step one. You’ll be surprised how quickly that feeling of control spreads to the rest of the kitchen, and maybe even the rest of your life.


