In the quaint town of Quincy, where colonial charm meets modern living, the art of rustic bathroom transformation has become a cherished pastime. As we stand on the threshold of a new era in home design, let us embark on a journey through time-honored techniques and innovative ideas that will breathe life into the most intimate spaces of our dwellings.
Dear readers, prepare to be transported to a world where the patina of age is celebrated, and the imperfections of handcrafted beauty reign supreme. In this exploration of “Quincy DIY Rustic Charm,” we shall uncover ten effortless projects that promise to elevate your bathroom from mundane to magnificently rustic. From the humble pallet wood to the versatile mason jar, we will weave together a tapestry of design that pays homage to our colonial roots while embracing the comforts of contemporary living.
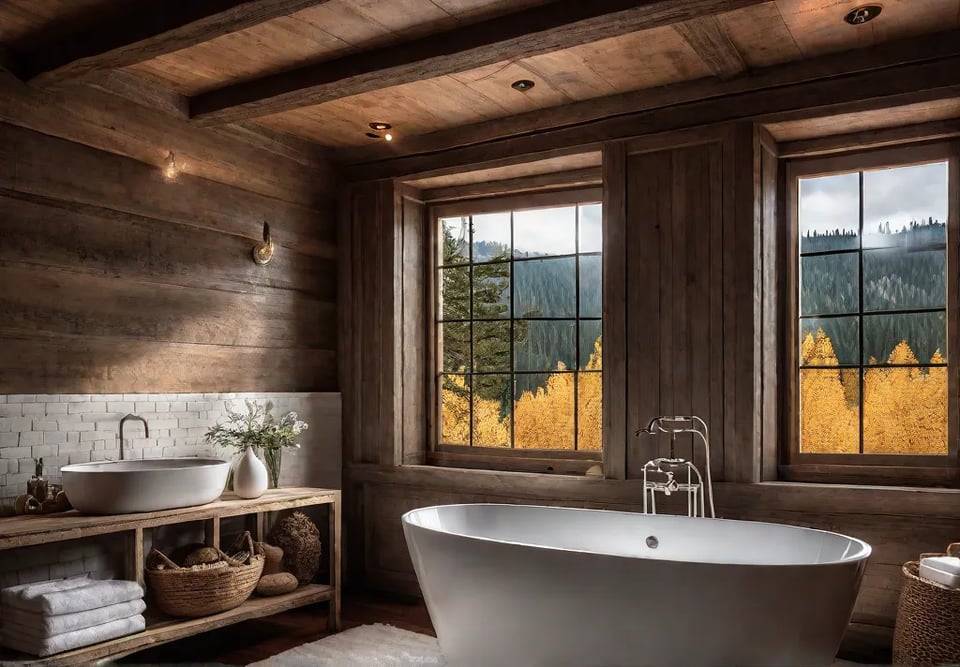
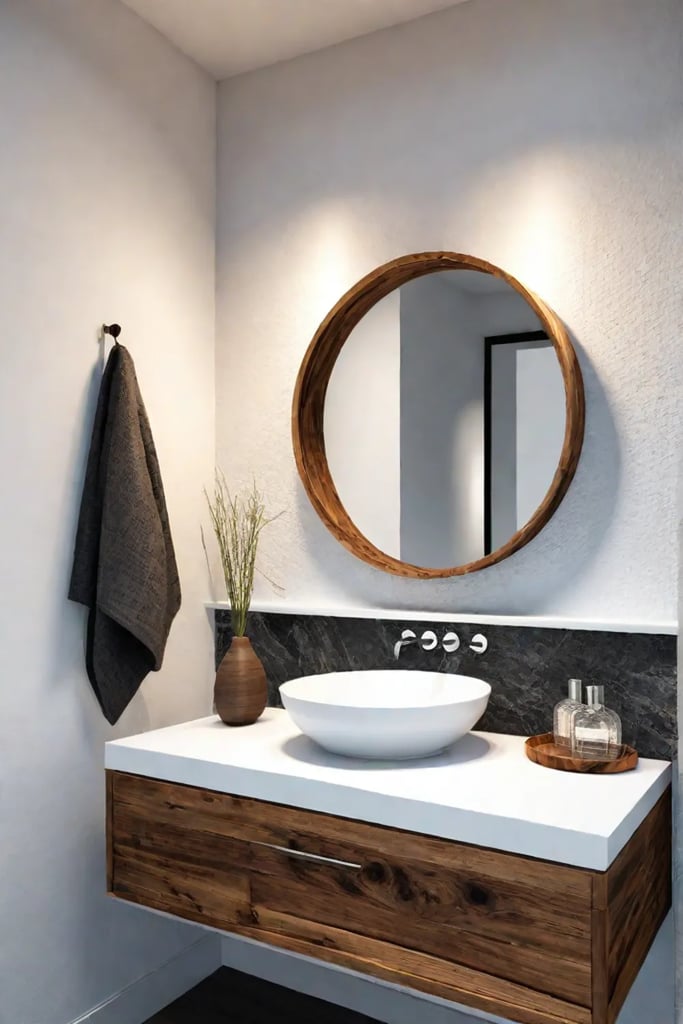
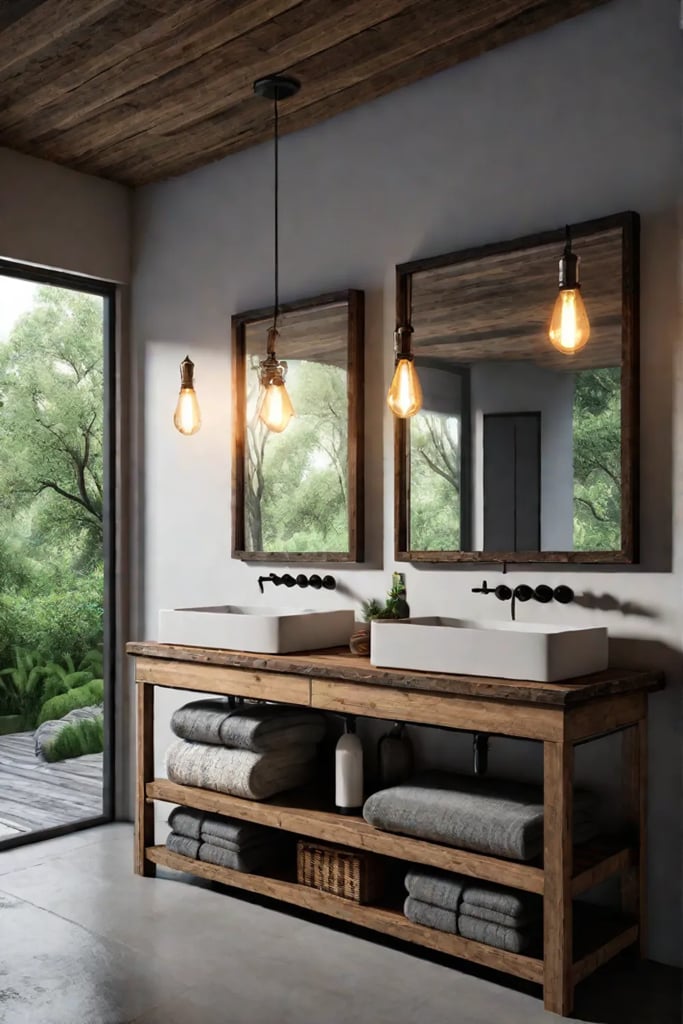
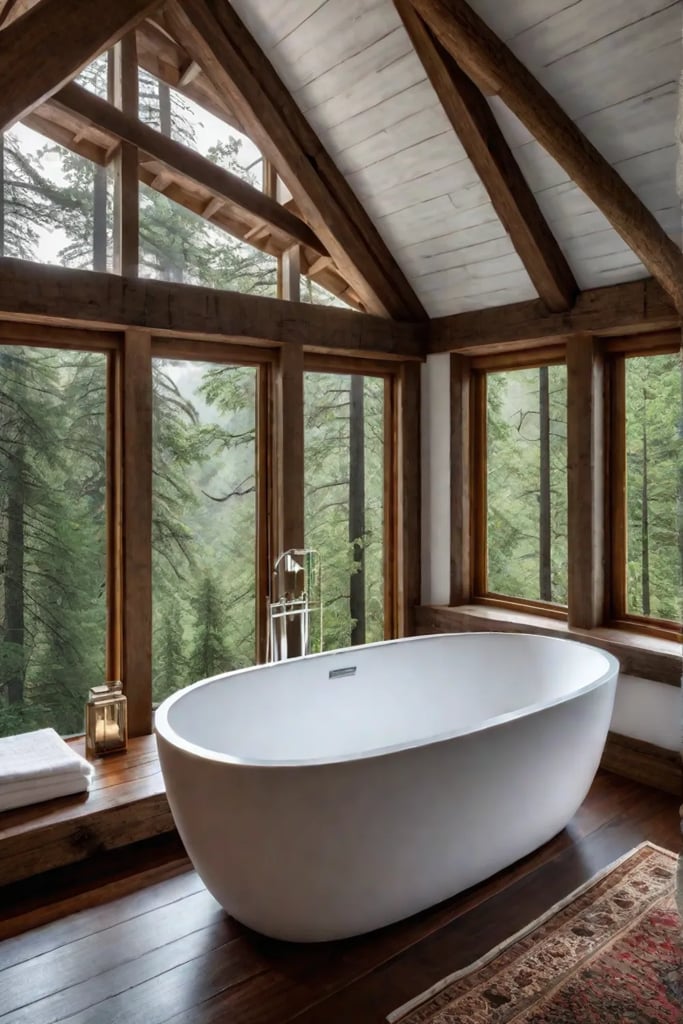
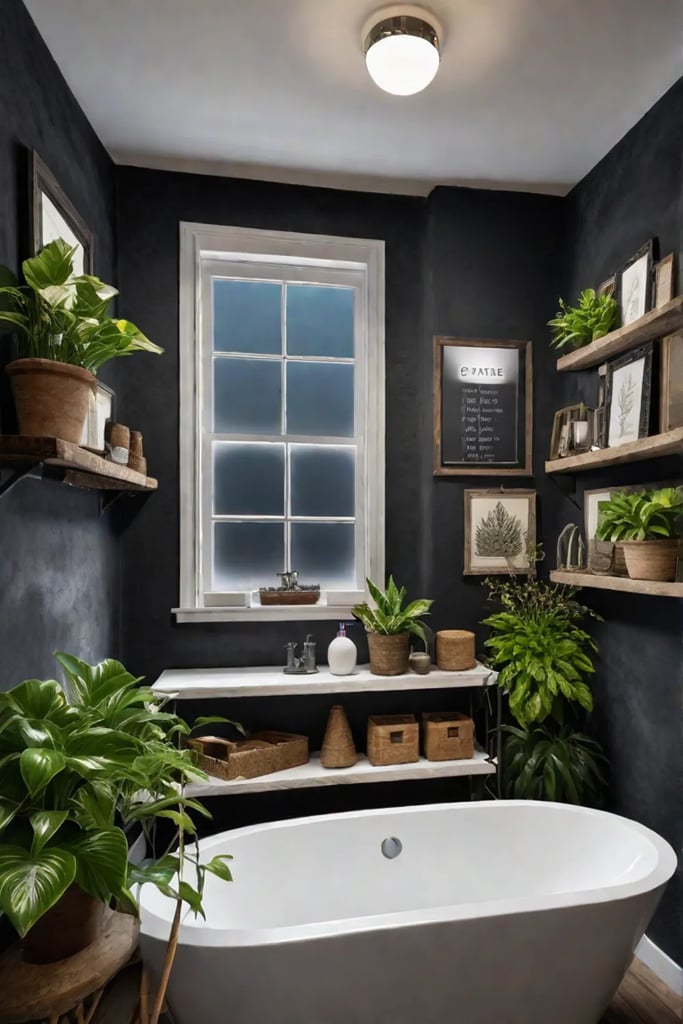
Pallet Wood Wonders: Reclaimed Wood for Rustic Bathroom Decor
In the realm of colonial and Georgian Revival architecture, there’s a certain charm in blending the old with the new. As we explore the art of transforming our bathrooms with rustic elements, let us turn our attention to the humble pallet wood – a material that embodies both history and sustainability.
The Allure of Reclaimed Pallet Wood
Pallet wood, with its weathered patina and storied past, offers a unique opportunity to infuse our bathrooms with a character reminiscent of early American craftsmanship. Each board tells a tale of utility and perseverance, much like the sturdy structures that housed our forebears.
Sourcing and Preparing Your Treasure
To embark on this journey of transformation, one must first acquire suitable pallet wood. Consider these avenues:
- Local businesses and warehouses
- Online marketplaces and classified ads
- Recycling centers and construction sites (with permission)
Once procured, the preparation process is crucial:
- Carefully dismantle the pallets, preserving the integrity of each board
- Inspect for nails or staples, removing them with precision
- Sand the wood to your desired smoothness, revealing its innate beauty
- Apply a food-grade mineral oil or beeswax finish for protection
Crafting Pallet Wood Bathroom Shelves
Now, let us delve into the creation of bathroom shelves that would not look out of place in a colonial-era home:
- Select boards of similar width and thickness
- Cut to desired lengths, maintaining the original edge character
- Arrange in a pleasing pattern, perhaps mimicking early American shiplap
- Secure to wall studs using period-appropriate iron brackets
For a truly authentic touch, consider incorporating hand-forged nails or repurposed antique hardware to affix your shelves.
A Nod to Sustainability
In our quest for rustic charm, we mustn’t overlook the ecological benefits of our endeavor. By repurposing pallet wood, we honor the resourcefulness of our ancestors while reducing modern-day waste. This practice of upcycling aligns beautifully with the enduring principles of colonial design – where function and frugality were held in high esteem.
Safe Harbor: Treating Reclaimed Wood
To ensure the longevity and safety of your pallet wood creations, consider these time-honored methods:
- Sunlight exposure naturally disinfects the wood
- A gentle scrub with a mixture of vinegar and water
- Application of boiled linseed oil for both protection and period-appropriate sheen

The Versatility of Pallet Wood in Bathroom Decor
Beyond shelving, pallet wood lends itself to a myriad of bathroom accouterments:
- A rustic towel ladder, reminiscent of those found in early American homesteads
- A charming bathroom caddy for toiletries, echoing the simplicity of colonial design
- A frame for a vintage mirror, adding depth and character to your space
As we conclude our exploration of pallet wood’s potential in rustic bathroom decor, let us turn our gaze to another vessel of history and practicality. In our next segment, we shall uncover the “Mason Jar Magic: Versatile Storage Solutions with a Rustic Flair,” where we’ll discover how these humble glass containers can elevate our bathroom’s organization while maintaining that coveted rustic aesthetic.
Mason Jar Magic: Versatile Storage Solutions with a Rustic Flair
In the realm of bathroom organization, few items possess the timeless charm and practicality of the humble mason jar. These versatile vessels, originally designed to preserve nature’s bounty, have found a new calling in the world of home decor. As we explore the myriad ways to incorporate these glass treasures into our bathrooms, we’ll discover how they can transform a utilitarian space into a haven of rustic elegance.
Organizing Bathroom Essentials in Mason Jars
The beauty of mason jars lies in their simplicity and functionality. Their clear glass allows for easy identification of contents, while their airtight seal keeps items fresh and protected. Consider these inspired uses:
- Cotton balls and Q-tips: Store these essentials in wide-mouth jars for easy access.
- Bath salts and soaps: Showcase colorful bath products in various-sized jars.
- Makeup brushes: Stand brushes upright in a tall jar filled with decorative pebbles.
- Hair accessories: Corral hair ties, bobby pins, and clips in smaller jars.
To elevate the aesthetic, group jars of varying heights on a vintage silver tray or a reclaimed wood shelf. This arrangement not only serves a practical purpose but also creates a charming vignette that speaks to the heart of colonial-inspired design.
Creating Decorative Mason Jar Dispensers
For those who appreciate the marriage of form and function, transforming mason jars into dispensers is a delightful endeavor. Here’s how to craft a soap dispenser that would be at home in even the most refined Georgian Revival bathroom:
- Select a wide-mouth mason jar and lid.
- Drill a hole in the center of the lid to accommodate a pump mechanism.
- Paint the lid with a matte black or oil-rubbed bronze finish to mimic antique hardware.
- Fill the jar with liquid soap and attach the modified lid.
This simple yet elegant creation pays homage to the ingenuity of our forebears while serving a modern purpose. For added sophistication, consider etching the glass with a delicate pattern reminiscent of 18th-century crystal.
Personalizing Your Mason Jar Collection
The true beauty of mason jars lies in their ability to be customized. Much like the skilled artisans who adorned colonial homes with intricate woodwork, we too can embellish our jars to reflect our style:
- Apply chalkboard paint to create labels that can be easily changed.
- Wrap jars with twine or lace for a touch of rustic romance.
- Use gold leaf to add a hint of luxury, reminiscent of gilded mirrors in Georgian parlors.
- Dip the bottoms of jars in pastel paint for a subtle pop of color.
Remember, the goal is to create a cohesive look that complements the existing architecture and decor of your bathroom. Just as colonial homes were designed with intention and care, so too should your mason jar collection be thoughtfully curated.
As we bid farewell to the charm of mason jars, we turn our attention to another element that brings rustic elegance to our bathrooms. In the next section, “Chalkboard Chic: Adding a Touch of Farmhouse Charm with Chalkboard Paint,” we’ll explore how this versatile medium can transform ordinary surfaces into functional works of art, reminiscent of the slate tablets used in early American schoolhouses.
Chalkboard Chic: Adding a Touch of Farmhouse Charm with Chalkboard Paint
In the grand tapestry of bathroom design, few elements capture the essence of rustic charm quite like chalkboard paint. This versatile medium, reminiscent of schoolhouse days gone by, offers a delightful blend of functionality and whimsy that can transform even the most ordinary bathroom into a haven of farmhouse-inspired elegance.
Creating a Chalkboard Accent Wall
The allure of a chalkboard accent wall lies in its ability to serve as both a decorative focal point and a practical canvas for creativity. To achieve this look:
- Choose a prominent wall, perhaps adjacent to the vanity or behind the toilet.
- Apply a high-quality chalkboard paint, available in an array of hues beyond the traditional black.
- Allow the paint to cure for at least 24 hours before use.
- Prime the surface by rubbing it entirely with chalk and then erasing it, leaving a subtle patina.
This accent wall becomes a living testament to your household’s daily rhythms—a space for inspirational quotes, reminders, or even impromptu artistic expressions.
DIY Chalkboard Labels for Jars and Containers
For those who appreciate the marriage of form and function, chalkboard labels on bathroom storage containers offer a charming solution. To create these:
- Apply chalkboard paint to the smooth surface of glass jars or metal tins.
- Use painter’s tape to create crisp edges for a more polished look.
- Label contents with chalk, easily changing as needed.
These labeled containers, reminiscent of old apothecary jars, lend an air of vintage sophistication to your bathroom while keeping essentials neatly organized.
The Versatility of Chalkboard Surfaces
The beauty of chalkboard paint lies in its adaptability. While walls and jars are common applications, consider extending this rustic touch to:
- The surface of a wooden medicine cabinet
- A framed mirror creates a message board around its perimeter
- Small wooden plaques to hang above towel hooks
Each application adds a layer of personalization, allowing your bathroom to tell your unique story.
Tips for Chalkboard Perfection
To ensure your chalkboard surfaces maintain their rustic allure:
- Use liquid chalk markers for more precise designs and easier cleaning.
- Regularly wipe down surfaces with a damp cloth to prevent chalk buildup.
- Experiment with colored chalks to complement your bathroom’s color scheme.
- Consider applying a clear sealant over chalkboard paint in high-moisture areas for added durability.
Remember, the charm of chalkboard surfaces lies in their imperfection. Embrace the slightly worn look that develops over time—it only adds to the rustic appeal.
As we conclude our exploration of chalkboard chic, we find ourselves standing at the threshold of another rustic transformation. The next section, “Distressed to Perfection: Mastering the Art of Rustic Finishes,” will guide us through the delicate process of aging and weathering surfaces to achieve that coveted patina of yesteryear. Let us turn the page and delve into the secrets of creating finishes that whisper tales of time gone by.
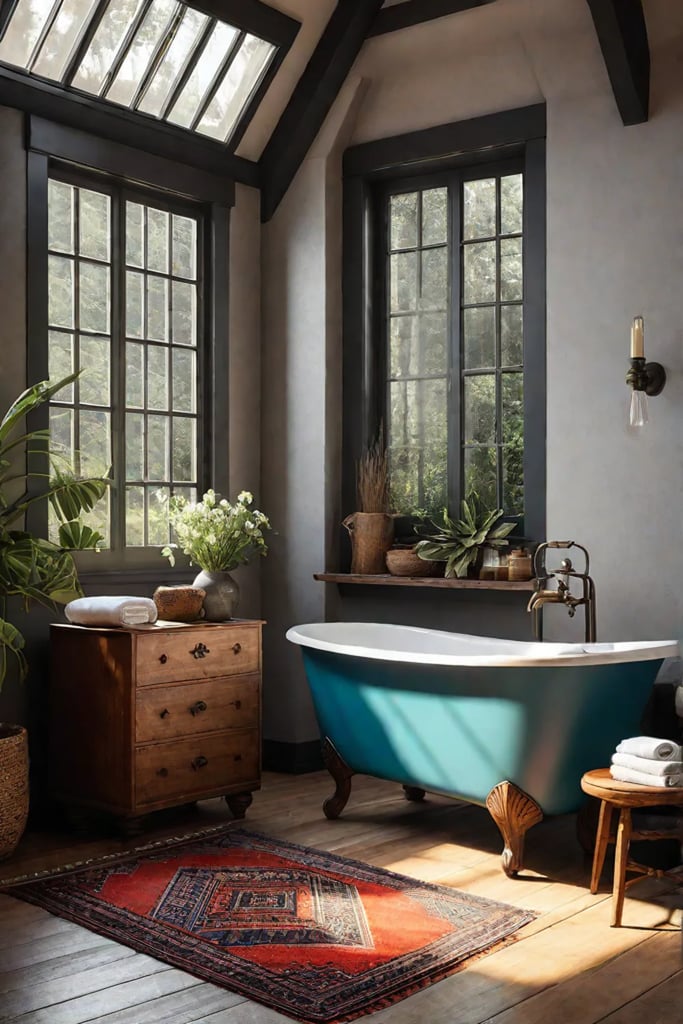
Distressed to Perfection: Mastering the Art of Rustic Finishes
In the world of rustic charm, imperfection is perfection. The art of distressing allows us to infuse our bathroom fixtures and furnishings with the patina of time, creating a sense of history and character that speaks to the soul. As we embark on this journey of transformation, let us explore the techniques that will breathe life into our modern spaces, imbuing them with the warmth and authenticity of a bygone era.
Sanding and Staining: The Timeworn Elegance of Wood
There’s something inherently captivating about the sight of weathered wood, its grain exposed and its edges softened by the passage of time. To achieve this look, we turn to the humble yet powerful tool of sandpaper.
- Begin with coarse-grit sandpaper (60-80 grit) to remove any existing finish and create deep grooves.
- Progress to medium-grit (120-150 grit) to smooth out the deeper scratches while maintaining texture.
- Finish with fine grit (220-320 grit) for a subtle, aged appearance.
Remember, dear readers, that the key to authentic distressing lies in the inconsistency of your technique. Focus on areas that would naturally wear over time – edges, corners, and high-use surfaces. As you work, imagine the countless hands that might have caressed this piece over decades, leaving their mark in the subtle undulations of the wood.
Once sanded, apply a rich, dark stain to accentuate the newly exposed grain. Allow it to penetrate deeply, then wipe away the excess, revealing the lighter wood beneath in a dance of shadow and light that mimics the passage of years.
The Alchemy of Paint and Glaze: Layered History in Color
For those pieces that yearn for a more dramatic transformation, the combination of paint and glaze offers a world of possibility. This technique allows us to create the illusion of layers of paint, worn away by time and use.
- Begin with a base coat in a rich, deep color – perhaps a colonial blue or a warm ochre.
- Once dry, apply a contrasting top coat. Cream or white often works beautifully here.
- Before the top coat fully dries, gently sand away portions to reveal the color beneath.
- Finally, apply a glaze in a warm, earthy tone to unify the layers and add depth.
As you work, consider the story you’re telling through your distress. Each chip and scratch is a chapter in the history of your piece. Perhaps that worn corner speaks of countless hurried mornings, or that faded patch recalls a sunbeam that fell just so for decades.
The Versatility of Distress: Beyond Wood and Paint
While wood and paint are the most common canvases for our distressing artistry, let us not forget the potential of other materials. A copper sink, gently aged with a patina solution, can become the crown jewel of your rustic bathroom. Or consider the charm of a mirror frame, its gilded surface carefully worn to reveal hints of red clay beneath, reminiscent of the finest 18th-century looking glasses.
As we perfect our distressing techniques, we breathe life into our spaces, creating bathrooms that feel lived-in, loved, and rich with stories yet untold. Each piece becomes a conversation starter, a tangible link to the craftsmanship and aesthetics of our forebears.
As we conclude our exploration of distressing techniques, let us turn our attention to the final touches that will complete our rustic bathroom transformation. In our next section, “Rustic Accents and Finishing Touches: Completing the Transformation,” we’ll discover how to select and place those perfect elements that will tie our newly distressed pieces together into a cohesive and inviting space.
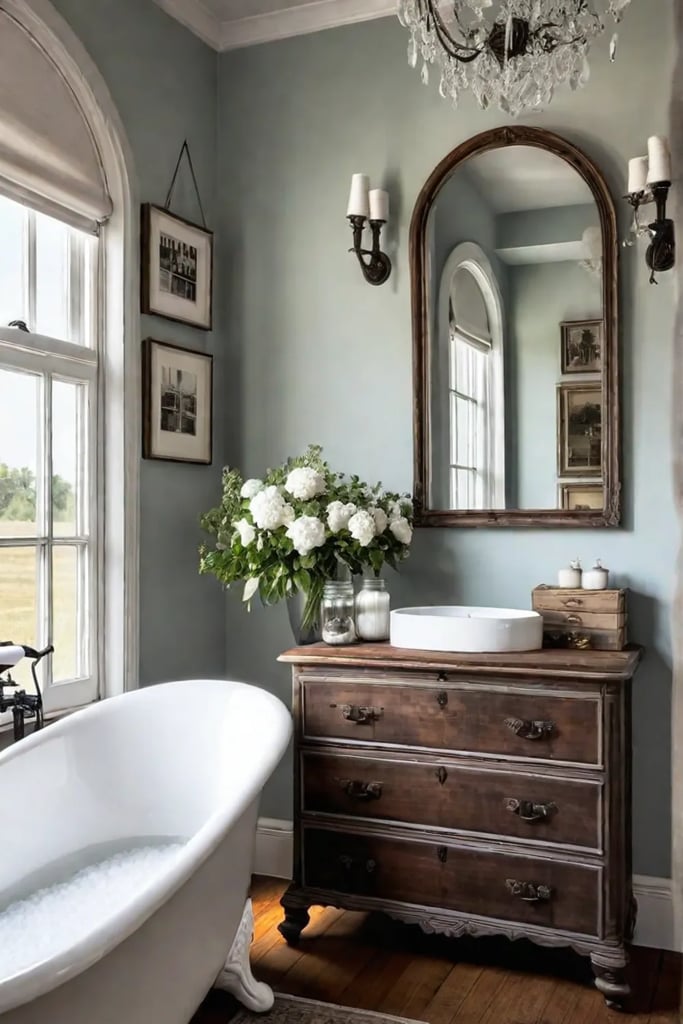
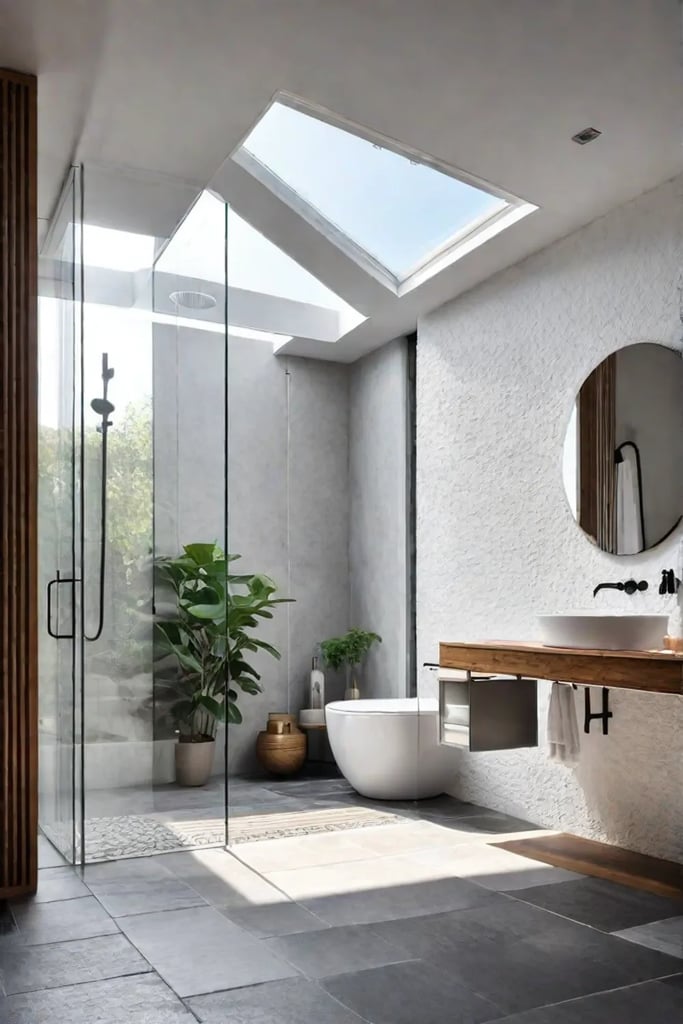
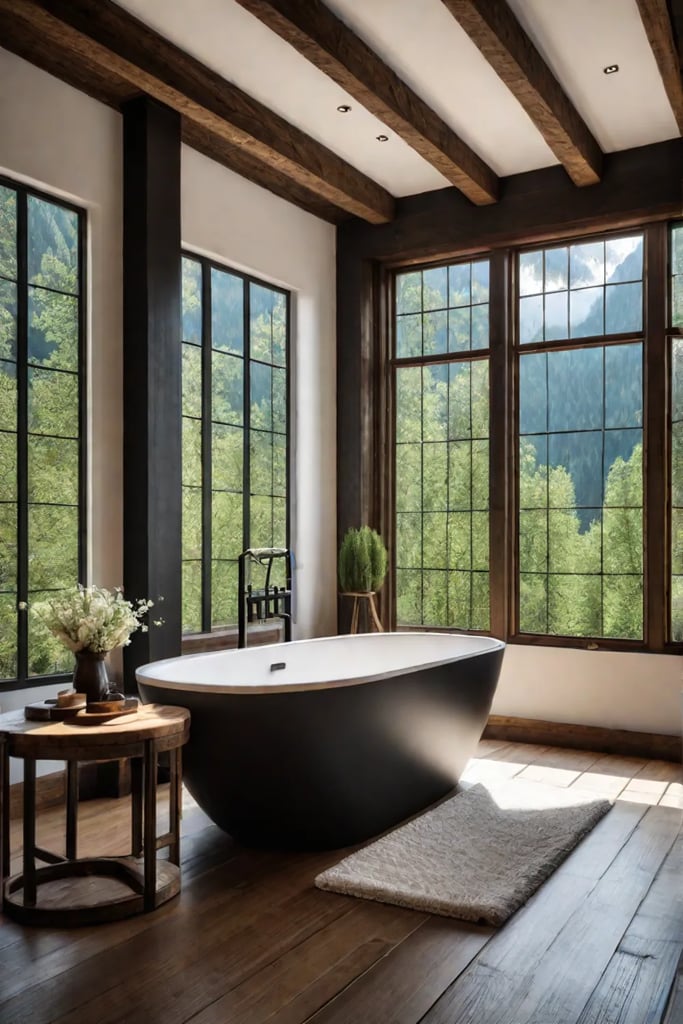
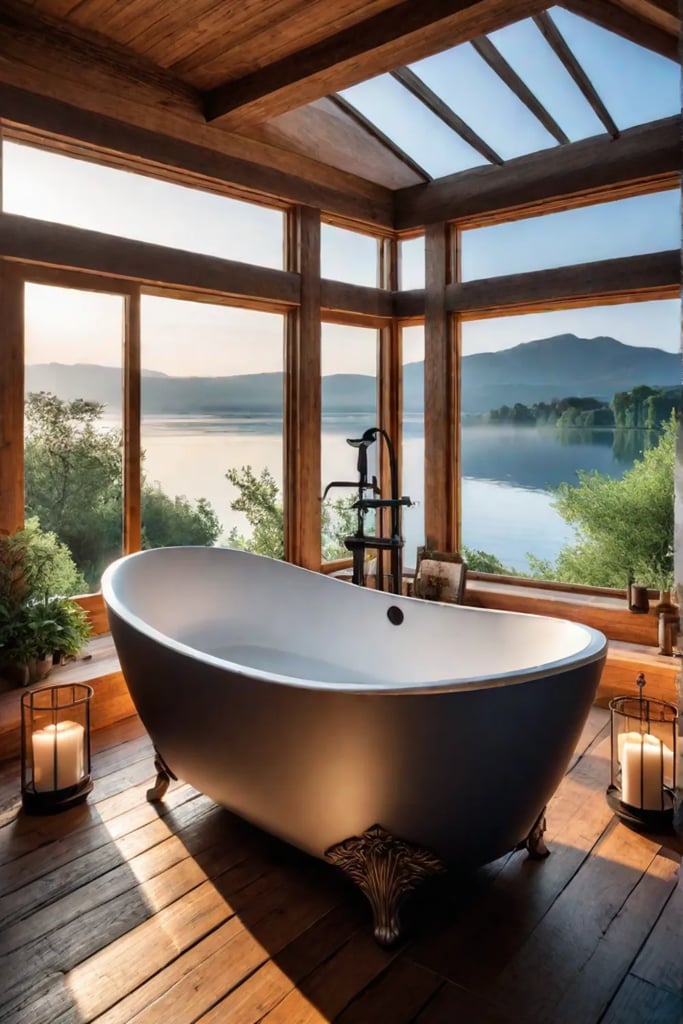
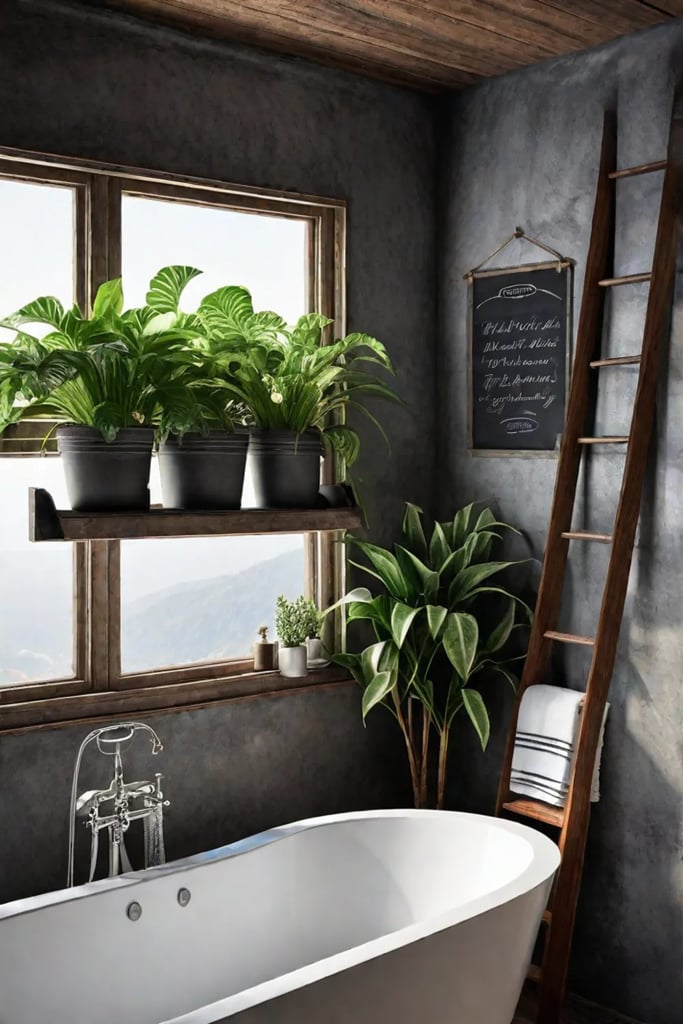
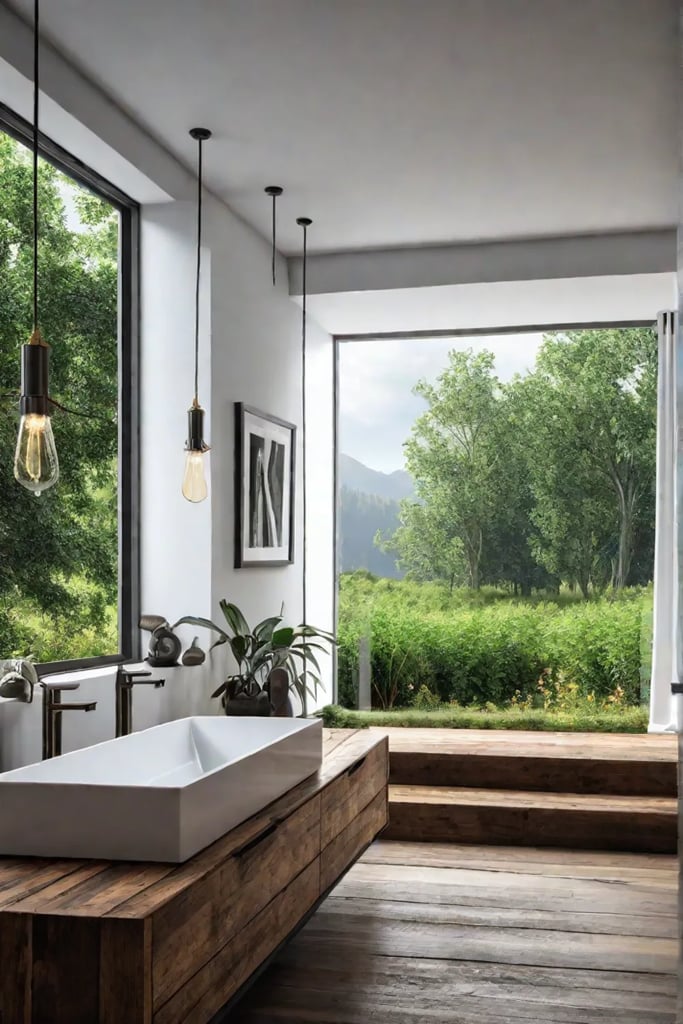
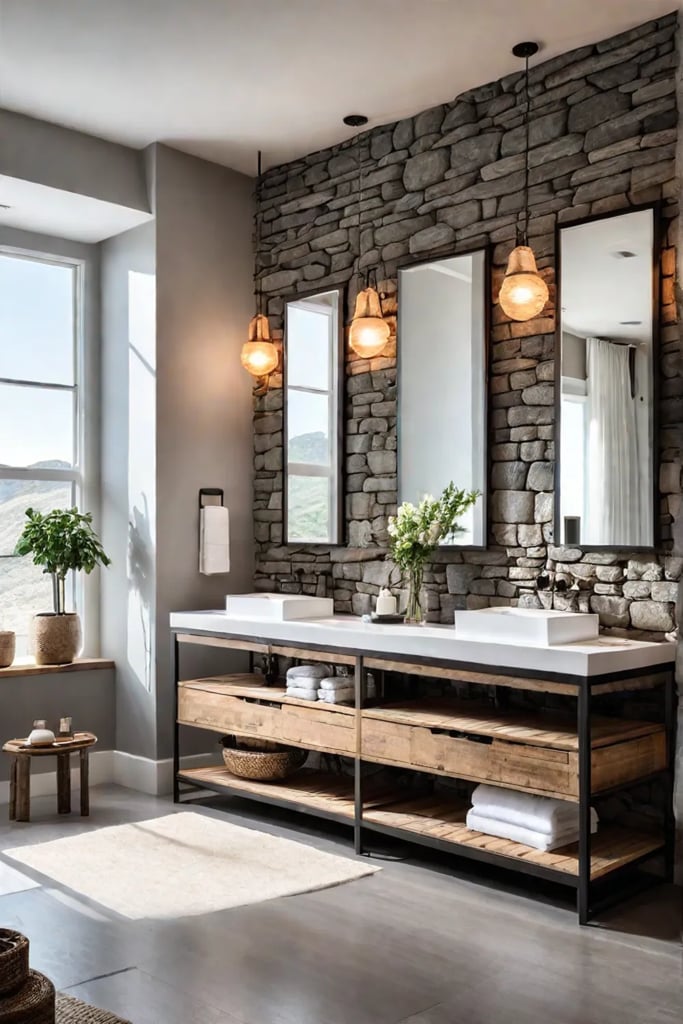
Rustic Accents and Finishing Touches: Completing the Transformation
As we approach the final stages of our rustic bathroom transformation, it’s time to turn our attention to those small yet significant details that breathe life into our newly crafted space. Much like the intricate carvings and moldings that adorn the grand colonial homes of yesteryear, these finishing touches will imbue your bathroom with character, warmth, and a sense of timeless elegance.
Incorporating Rustic Decor Elements
To truly capture the essence of rustic charm, we must look to nature for inspiration. Consider the following elements to enhance your bathroom’s ambiance:
- Natural wood accents: Incorporate reclaimed wood shelves, a weathered ladder for towel storage, or a driftwood-framed mirror.
- Stone elements: Add a pebble bath mat or a stone soap dish to bring the outdoors in.
- Botanical touches: Introduce potted herbs, air plants, or a small arrangement of wildflowers to infuse life and freshness.
- Vintage finds: Seek out antique apothecary jars, enamelware pitchers, or a well-worn wooden stool to serve as unique storage solutions.
Remember, each piece should tell a story, much like the architectural details of a historic home. A tarnished brass faucet or a repurposed farmhouse sink can transport us to a simpler time, evoking memories of summer visits to grandmother’s cottage by the lake.
Styling Tips for a Cohesive Rustic Bathroom
To create a harmonious space that pays homage to the rustic aesthetic while maintaining a sense of refinement, consider these styling suggestions:
- Embrace earthy tones: Choose a palette of warm neutrals, soft greens, and muted blues to create a soothing atmosphere.
- Layer textures: Incorporate woven baskets, chunky knit towels, and nubby linen shower curtains to add depth and interest.
- Soften the lighting: Install wall sconces with seeded glass shades or repurpose an old lantern for a gentle, ambient glow.
- Display collections: Group vintage apothecary bottles or arrange a set of antique hand mirrors to create a captivating focal point.
For those working with limited space, fear not. Even the smallest of bathrooms can exude rustic charm with thoughtful curation. Utilize vertical space with wall-mounted shelves or a ladder-style towel rack. A strategically placed mirror can create the illusion of a larger room while reflecting the beauty of your carefully chosen accents.
Where to Unearth Affordable Rustic Treasures
One need not embark on a grand tour of antique shops to discover the perfect rustic accents. Consider these sources for budget-friendly finds:
- Local flea markets and yard sales
- Online marketplaces and vintage shops
- Salvage yards and architectural salvage stores
- Craft fairs and artisan markets
- Family heirlooms and hand-me-downs
Remember, the most cherished pieces often come with a story. That weathered wooden box from your great-aunt’s farm or the hand-forged iron hooks from a local blacksmith will infuse your space with authenticity and personal meaning.
As we put the finishing touches on our rustic bathroom retreat, let us take a moment to appreciate the beauty of imperfection. The patina of age, the wear of use, and the marks of craftsmanship all contribute to the rich tapestry of rustic design. By thoughtfully curating these elements, we create a space that not only serves its practical purpose but also nourishes the soul with its timeless appeal.
As we conclude our journey through the world of DIY rustic charm, let us reflect on the transformation we’ve achieved. From the foundational elements to these final, carefully chosen accents, we’ve crafted a bathroom that stands as a testament to the enduring allure of rustic design. In our next section, we’ll take a step back to admire our handiwork and consider the lasting impact of our efforts.
Final Thoughts
As we draw the curtains on our rustic bathroom reverie, let us take a moment to reflect on the transformative journey we’ve undertaken. From the weathered warmth of reclaimed pallet wood to the whimsical charm of chalkboard accents, each project we’ve explored has contributed to a symphony of rustic elegance that would make our colonial forebears proud.
Dear friends, the true beauty of these DIY endeavors lies not just in their aesthetic appeal, but in the stories they will tell for generations to come. As you step into your newly transformed bathroom, may you feel the gentle embrace of history, the comfort of craftsmanship, and the pride of creation. For in these personal touches—be they a carefully distressed vanity or a collection of vintage apothecary jars—we find the essence of home. Let this space serve as a daily reminder of the timeless allure of rustic charm and the enduring spirit of Quincy’s colonial heritage.


