Picture this: It’s just after sunset. You’re in your backyard with a drink in hand. A few soft lights are washing up the trunks of the trees, another is highlighting the texture of a stone wall, and a warm glow is coming from the seating area where your friends are laughing. The space doesn’t just look good; it feels good. It feels intentional.
In the years I’ve spent designing lighting for high-end homes, I’ve seen countless incredible landscapes. And I’ve discovered that a truly great yard isn’t about having the most expensive pavers or the rarest plants. It’s about the hidden hours of choreography that most people never see—the careful planning that makes a space feel both effortless and magical. It’s about creating moments, not just planting shrubs. Forget the corporate speak and the overwhelming garden center aisles. Let’s talk about what actually works.
Planning Your Dream Landscape Foundation (Part 1)
Everything, and I mean everything, starts here. People get so excited about picking out flowers that they skip the most critical phase, which is like trying to furnish a house before you’ve built the walls. Get this foundation right, and the rest becomes infinitely easier and more successful. This is the behind-the-scenes work that makes the final reveal look like magic.
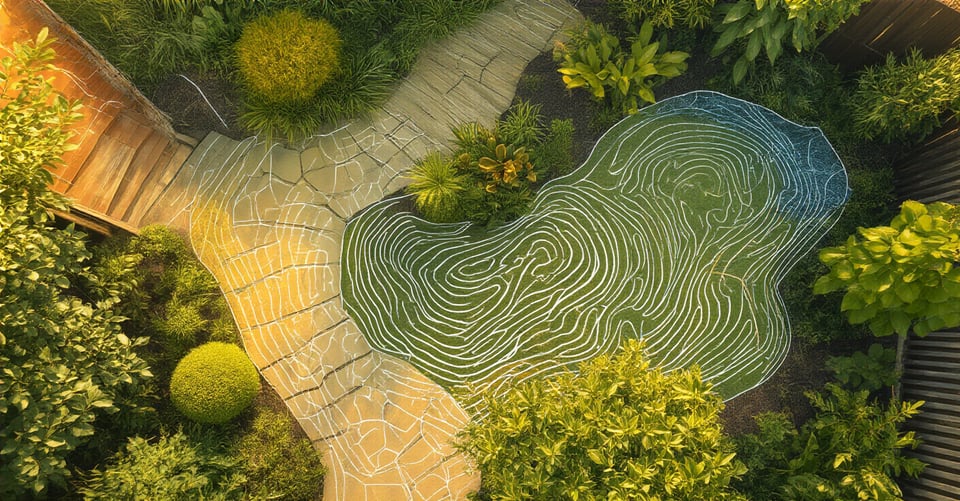
1. Conduct a Comprehensive Site Analysis for Optimal Placement
You know what people always ask me? “What plant should I put here?” And my answer is always, “I have no idea until you tell me about the light.” Before you buy a single thing, your only job is to be a detective. Spend a weekend just watching your yard. Where does the sun hit in the morning versus the afternoon? Where does rainwater pool? Is there a spot that gets blasted by wind? These aren’t minor details; they are the absolute rules your landscape has to live by.
The biggest mistake I see is people fighting their site—trying to grow sun-loving lavender in a shady, damp corner because they saw it in a magazine. It’s a losing battle that costs time, money, and morale. The shortcut you wish you knew earlier is to use a sun-tracker app on your phone. For a few bucks, it will show you the sun’s path across your property for any day of the year. This is the single best piece of data you can have.
This analysis is your blueprint for everything that follows, dictating not just plants but where you’ll actually want to sit and relax.
2. Define Your Aesthetic Vision and Functional Requirements
Can we talk about why everyone gets Pinterest wrong? People create boards full of stunning, sprawling English gardens, but their real-life need is a durable, low-maintenance space for a German Shepherd and two toddlers to run wild. Your yard has a job to do, and “look pretty” is only part of it. Before you think about aesthetics, make a list of verbs: What do you want to do out here? Dine, grill, read, play, entertain, meditate?
Get brutally honest about your lifestyle. Once you have your list of functions, then you can find an aesthetic that fits. For example, the “toddler and dog” family might lean toward a modern design with durable turf, soft-surfaced play areas, and hardy native grasses instead of delicate rose bushes. Everyone says to “find your style,” but what really matters is finding a style that serves your life. The dream yard that you never use because it’s too precious isn’t a dream yard at all.
This simple shift from nouns (patios, plants) to verbs (relaxing, playing) will guide you to a design that you actually live in, not just look at.
3. Establish a Realistic Budget and Phased Implementation Plan
Let’s be real about money for a second, because it’s the number one reason landscape projects stall out and fail. A bold statement: a small, beautifully executed project is infinitely better than a huge, half-finished one. Don’t try to build your entire dream yard in one summer unless you have an unlimited budget. The secret is to phase it out.
I once watched a client spend 80% of their budget on an enormous, elaborate stone patio. It was gorgeous. But they had almost nothing left for the plantings, lighting, or furniture that would actually make it usable. For two years, it was a beautiful but barren slab of stone. The smart move is to spend your money on a comprehensive master plan first. Then, execute it in logical phases. Phase one might be the hardscaping and drainage. Phase two, the large trees and irrigation. Phase three, the perennials and lighting. This makes the cost manageable and ensures the final result is cohesive.
Spreading the project over two or three years isn’t a sign of failure; it’s a sign of a smart, sustainable plan.
4. Evaluate and Amend Soil Health for Plant Vigor
I confess: I used to think soil was just dirt. Then I learned the hard way that it’s the living, breathing foundation for every single dollar you’re about to spend on plants. You can buy the healthiest, most expensive plants in the world, but if you stick them in compacted, nutrient-poor clay, you’re basically throwing them into a cement tomb. They will suffer and die.
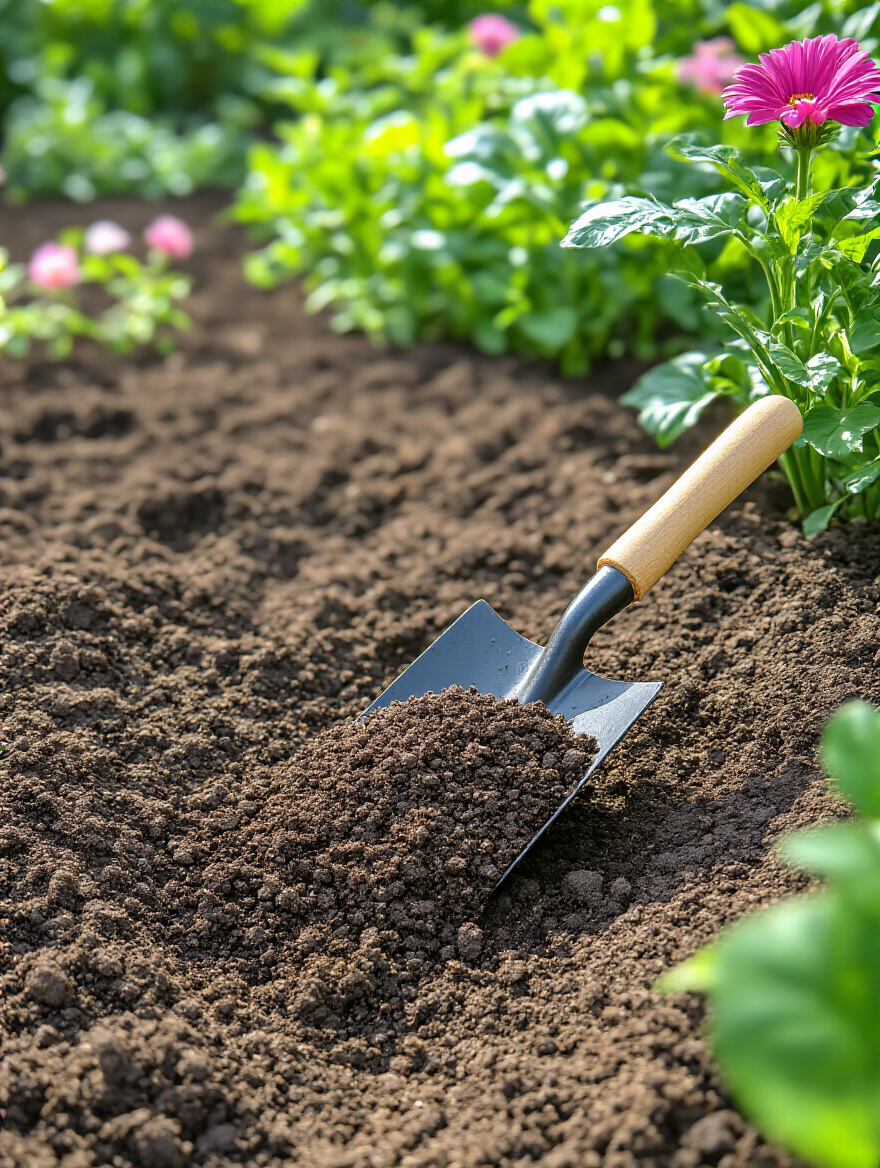
The BS everyone believes is that you can just fix bad soil with fertilizer. That’s like trying to survive on energy drinks instead of real food. What your soil needs is structure and life, and that comes from organic matter—compost, aged manure, leaf mold. Get a soil test from your local university extension office. It’s cheap (around $20-$50) and it will tell you exactly what you’re working with—pH, nutrient levels, the works. It’s the ultimate shortcut that saves you from years of guessing.
Amending your soil before you plant is the single most important physical task you will do. It’s heavy, unglamorous work, but it pays off for years to come.
Planning Your Dream Landscape Foundation (Part 2)
Once you’ve done your homework on your site, your vision, your budget, and your soil, now—and only now—can we start talking about the fun part: the plants. But even this has a critical rule that separates the pros from the amateurs.
5. Research and Select Climate-Appropriate Plant Species
Here’s a pet peeve of mine: homeowners who are determined to grow plants that simply don’t belong where they live. They’re fighting a constant, uphill battle against their own climate, spending a fortune on water, fertilizers, and fungicides to keep a struggling plant on life support. It’s madness. The single biggest shortcut I can give you is this: embrace your location.
Forget the catalog from a national chain. Go to your local botanical garden or a reputable independent nursery and see what’s thriving there with minimal fuss. Pay attention to the yards in your neighborhood that look fantastic but seem to have no one tending to them. Those are your superstar plants. Choosing plants that are native or well-adapted to your region—your rainfall, your humidity, your soil—means you’ll be working with nature, not against it.
“The single biggest mistake is choosing a plant for its flower, not for its ability to thrive where you plant it. That’s a recipe for a high-maintenance, low-reward garden.”
Your plants will be healthier, more disease-resistant, and require drastically less water and intervention. This isn’t about limiting your options; it’s about choosing a winning team from the start.
Core Installation and Planting Techniques (Part 1)
With a solid plan in hand, it’s time to break ground. This is where the vision starts to become a physical reality. These next few steps are the structural bones of your outdoor space, and getting them right ensures your landscape will last for decades, not just a season.
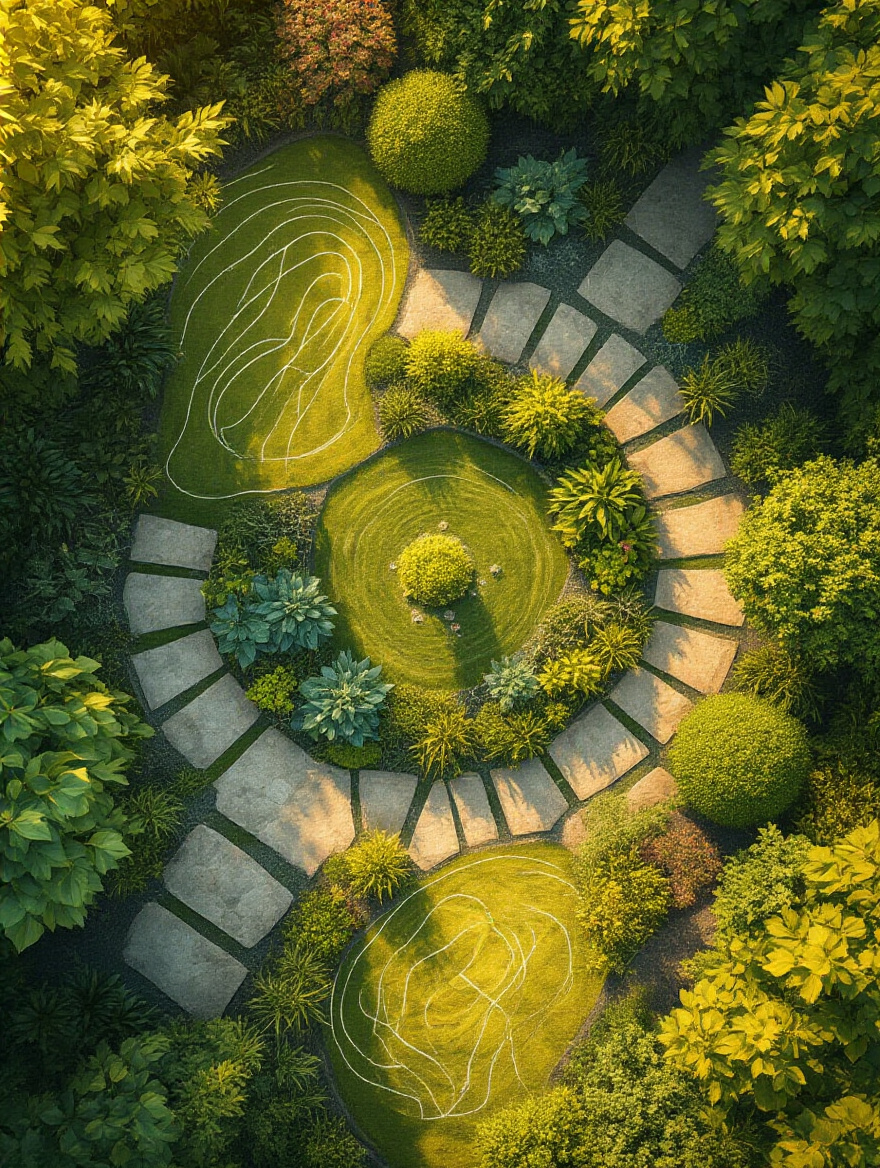
6. Strategically Design and Install Hardscaping Elements
Think of hardscaping—patios, walkways, retaining walls—as the furniture and architecture of your outdoor rooms. It’s what makes the space usable. Before you lay a single paver, walk the space with string and landscape paint. Physically outline where that patio or path will go. How does it feel? Does it connect the back door to the seating area in a logical way? Is it big enough for the table and chairs you want?
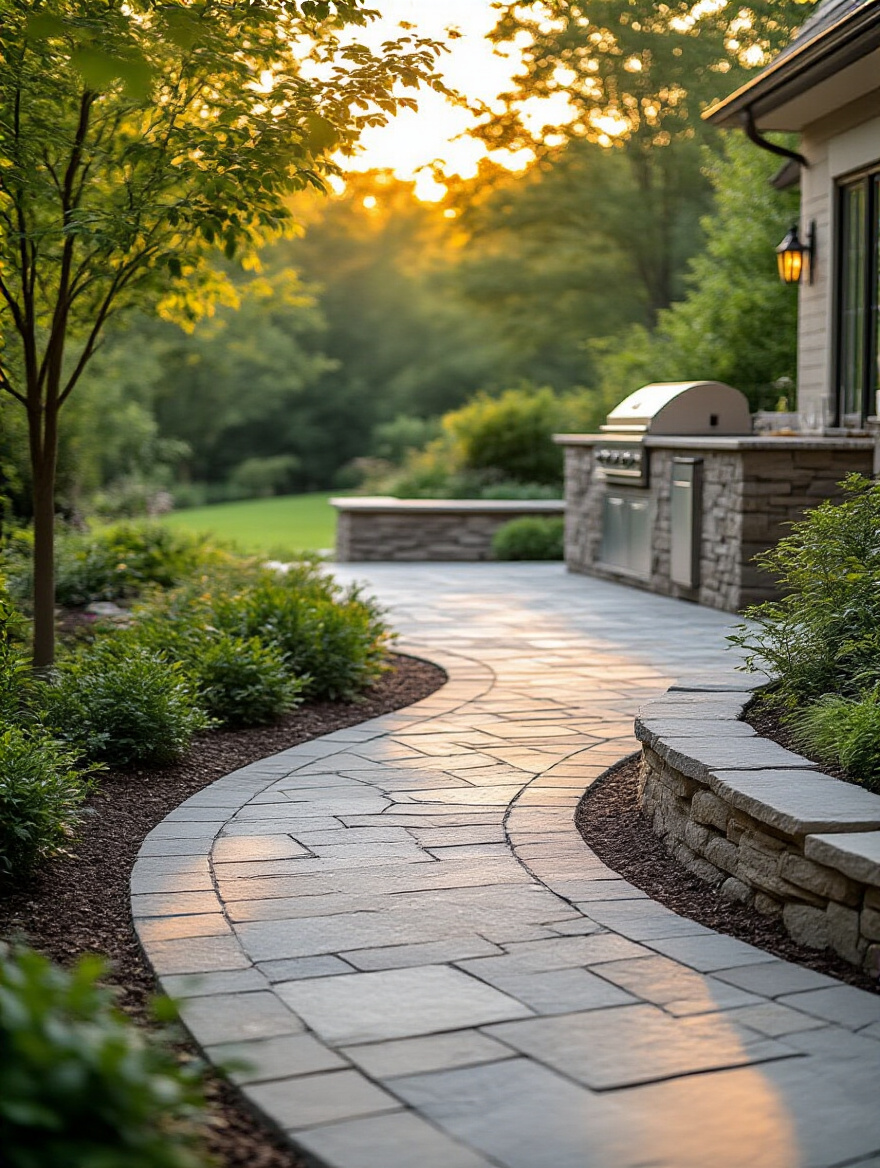
The most common mistake is undersizing a patio. A 10×10 foot space sounds big, but once you put a table and four chairs on it, there’s no room to walk around. A quick rule of thumb: allow for at least three feet of clear space around any furniture for traffic flow. And here’s the real inside scoop: the most important part of your hardscape is the part you never see. A properly prepared and compacted base is what prevents sinking and cracking. I’d rather have a cheap paver on an expertly prepared base than an expensive paver on a poorly prepared one.
Good hardscaping defines your space and anchors the entire design, making the softscape—the plants—shine even brighter.
7. Implement Proper Drainage Solutions to Prevent Waterlogging
This is one of those “ounce of prevention is worth a pound of cure” situations, and I can’t stress it enough. Bad drainage won’t just kill your plants; it can destroy your hardscaping, erode your soil, and in the worst-case scenario, damage your home’s foundation. If you have a spot where water consistently pools after a rain, you have a problem. Do not ignore it.
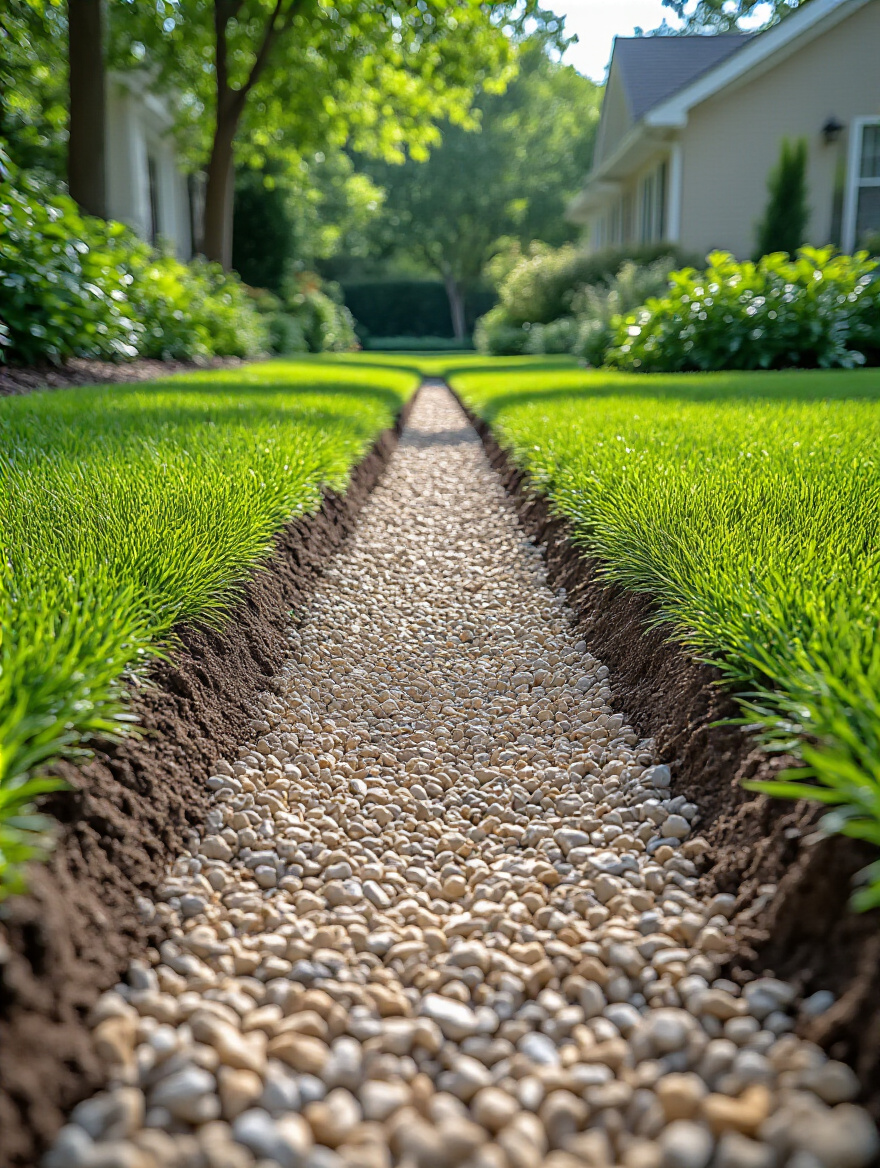
People think drainage is complicated, but often the solutions are surprisingly simple and can even be beautiful. A French drain can discreetly move water away from a soggy area. A dry creek bed, made of river rocks, can become a stunning landscape feature that also channels runoff. Creating a gentle slope, or “grade,” away from your house is the most fundamental principle.
I once worked with a client whose “lawn problem” was actually a major drainage issue. We stopped trying to grow grass in a swamp and instead designed a beautiful rain garden with water-loving native plants. It solved the problem and became the most interesting feature in their yard. Don’t fight water; give it a clear, intentional path to follow.
This is the behind-the-scenes hero that ensures the longevity of your entire project.
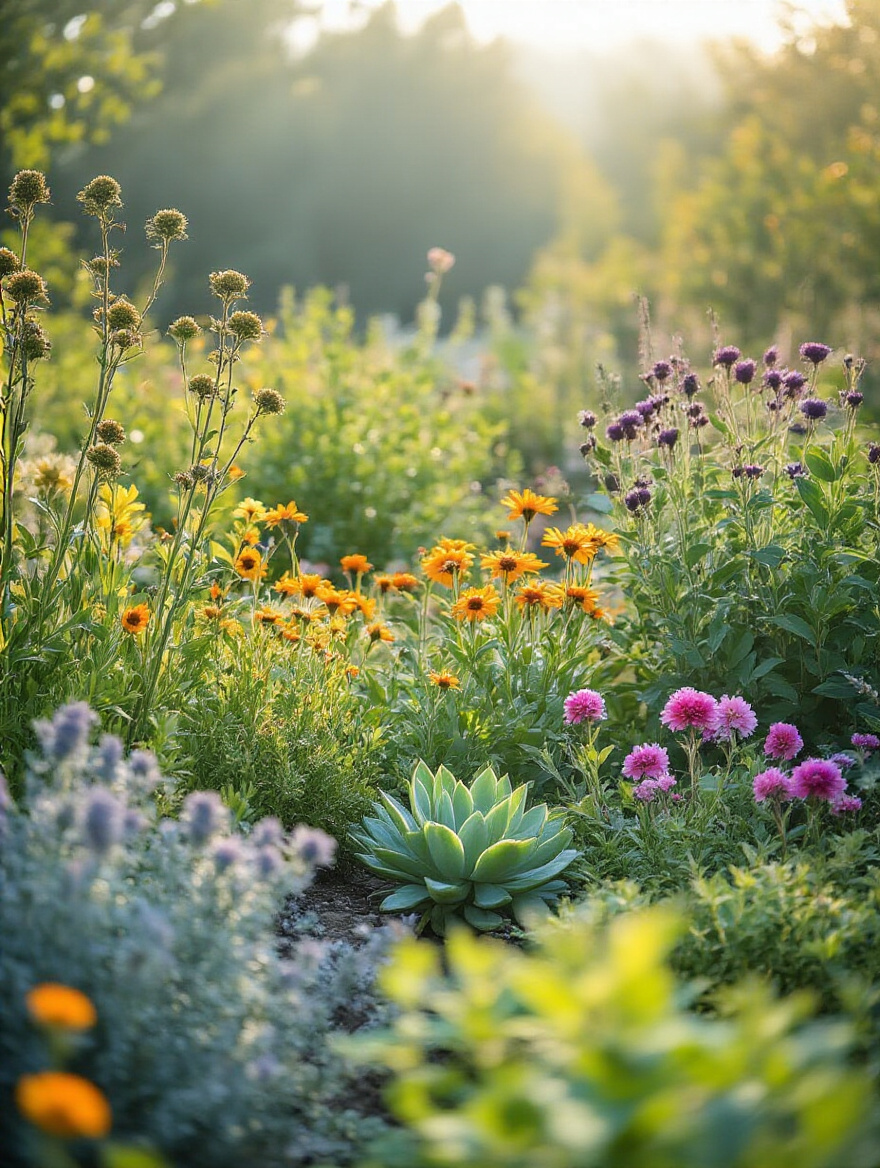
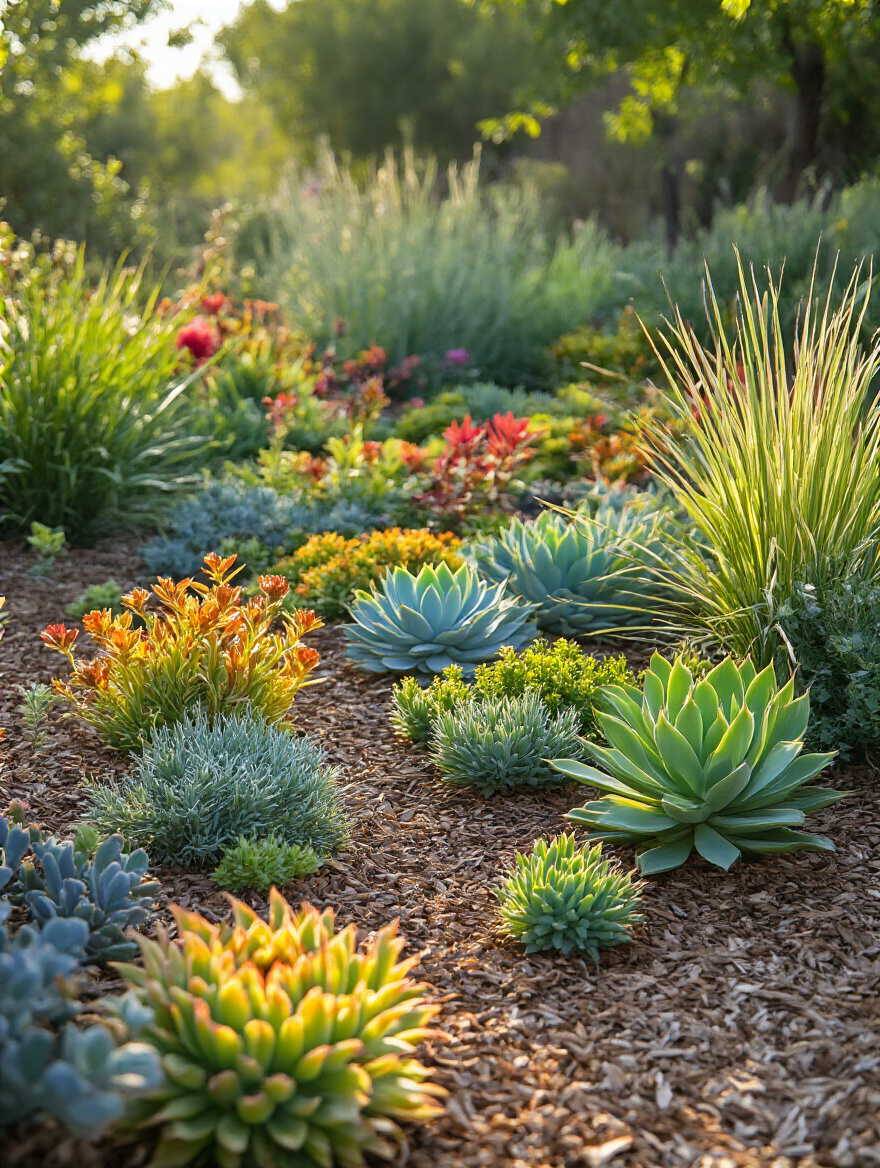
8. Select Diverse Plant Material for Year-Round Interest
Here’s a truth from a lighting guy: your yard needs to look good even when the flowers are gone. People get so fixated on spring and summer blooms that they end up with a garden that looks completely dead from October to April. That’s a huge missed opportunity. The key to a truly sophisticated landscape is year-round interest, which comes from a diversity of textures, forms, and structures.
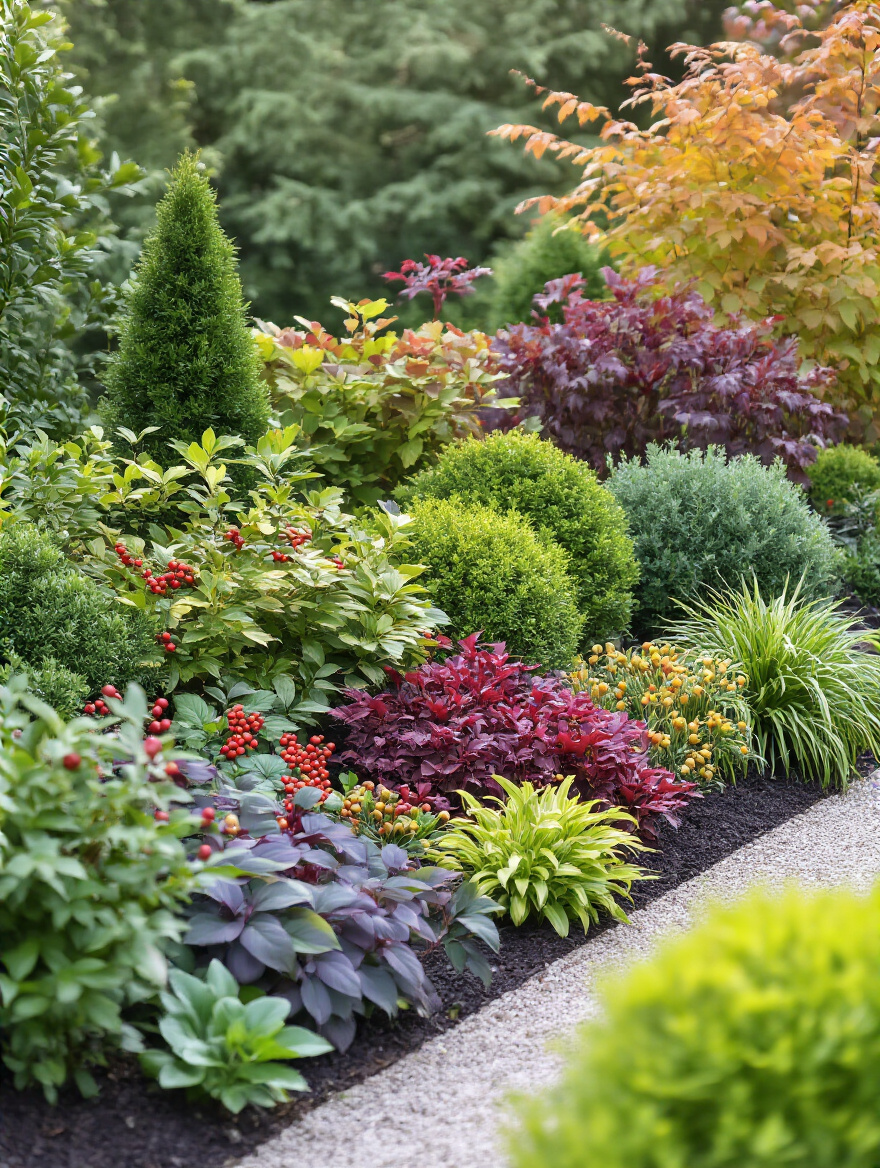
You need an “evergreen backbone”—conifers, broadleaf evergreens like rhododendrons or hollies—that will provide color and form in the dead of winter. You need plants with interesting bark, like a river birch or a paperbark maple. You need ornamental grasses that look incredible when covered in frost. You need shrubs that produce colorful berries for winter birds. Flowers are the fleeting, flashy guests at the party. Structure, texture, and form are the hosts that are there from start to finish.
Think about your garden in four seasons. When you’re at the nursery, ask yourself: “What will this look like in January?” That one question will completely change how you design.
9. Master Correct Planting Depths and Spacing for Growth
Okay, listen up, because this is the tip that will save you more money and heartache than almost any other. Stop planting your trees too deep. It’s an epidemic. Trees and shrubs have a “root flare” where the trunk widens out just before it meets the roots. This flare needs to be visible at or slightly above the soil line.
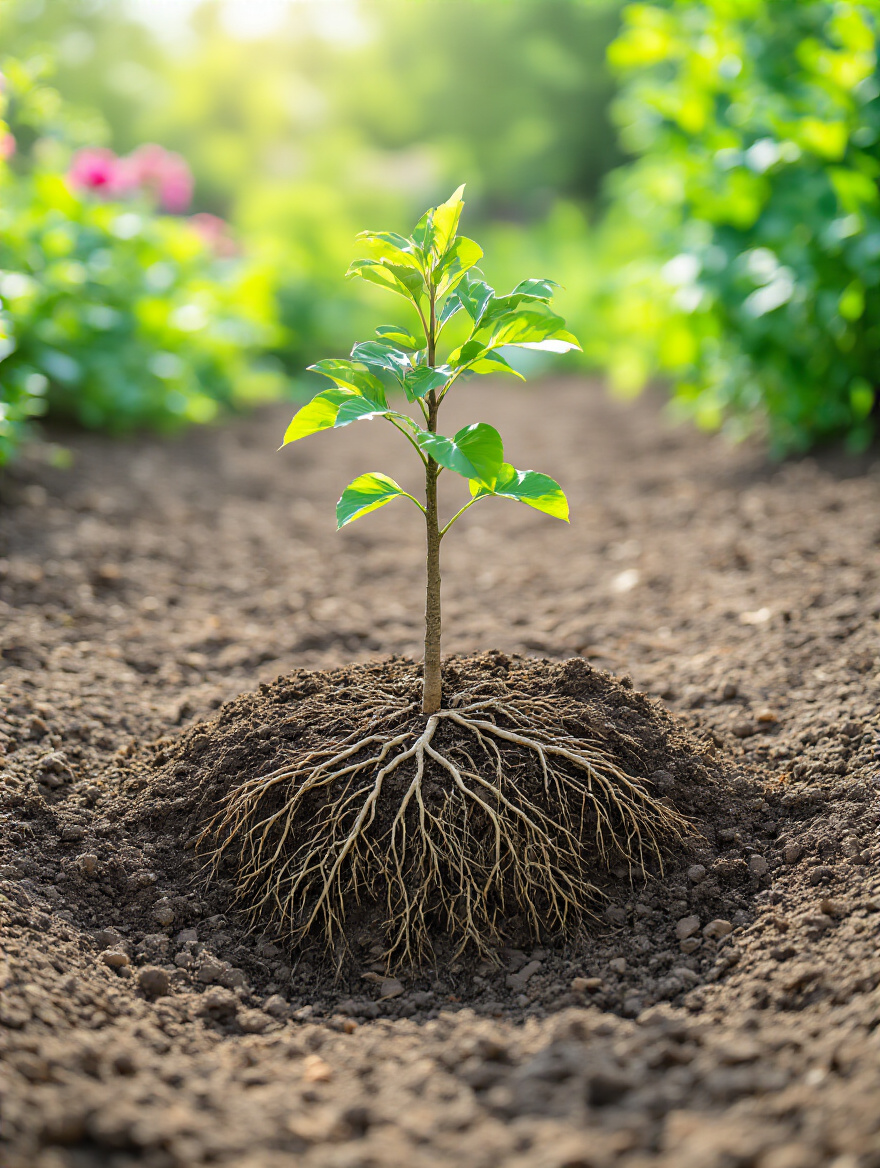
Nursery pots often have extra soil piled on top. When you pull the plant out, you need to gently excavate the top until you find that flare. That’s your guide. Digging a deep hole is not helping; it’s suffocating the plant. The number one killer of newly planted trees is being buried alive. And for spacing, read the tag! That tiny shrub will become a 6-foot-wide beast. Give it room to grow. Crowding plants leads to disease, poor air circulation, and a maintenance nightmare as you constantly have to prune them back.
“A plant tag isn’t a suggestion; it’s the instruction manual written by the plant itself. Read it, and believe it.”
This isn’t just about plant health; it’s about respecting the future version of your garden and saving yourself a ton of work later on.
Core Installation and Planting Techniques (Part 2)
We’ve covered the heavy lifting and the core planting principles. Now, let’s talk about the systems you put in place to keep your new landscape thriving with less effort. This is about working smart, not hard.
10. Incorporate Efficient Irrigation Systems for Water Savings
Everyone thinks landscaping means higher water bills. It doesn’t have to. The culprit is usually old-school, inefficient sprinkler systems that spray water everywhere—the sidewalk, the driveway, the side of the house. That’s just throwing money away. The revolution in smart landscaping is targeted watering.

For garden beds with trees, shrubs, and perennials, nothing beats drip irrigation. It’s a network of tubes with small emitters that deliver water directly to the root zone of each plant. You have almost zero water loss to evaporation or runoff. It’s incredibly efficient and promotes deep, healthy root growth. For lawns, swap out your old sprinkler heads for new, high-efficiency rotary nozzles and install a smart controller that adjusts watering schedules based on the local weather forecast.
I had a friend who retrofitted his system with these two changes. He cut his outdoor water use by nearly 50% and his landscape looked healthier than ever. The investment pays for itself in just a few seasons. It’s a total game-changer.
Enhancing Aesthetic Appeal and Functionality (Part 1)
With the foundation set and the plants in the ground, we can now layer on the elements that create mood, beauty, and true functionality. This is where we elevate the space from a simple yard to a genuine outdoor oasis.
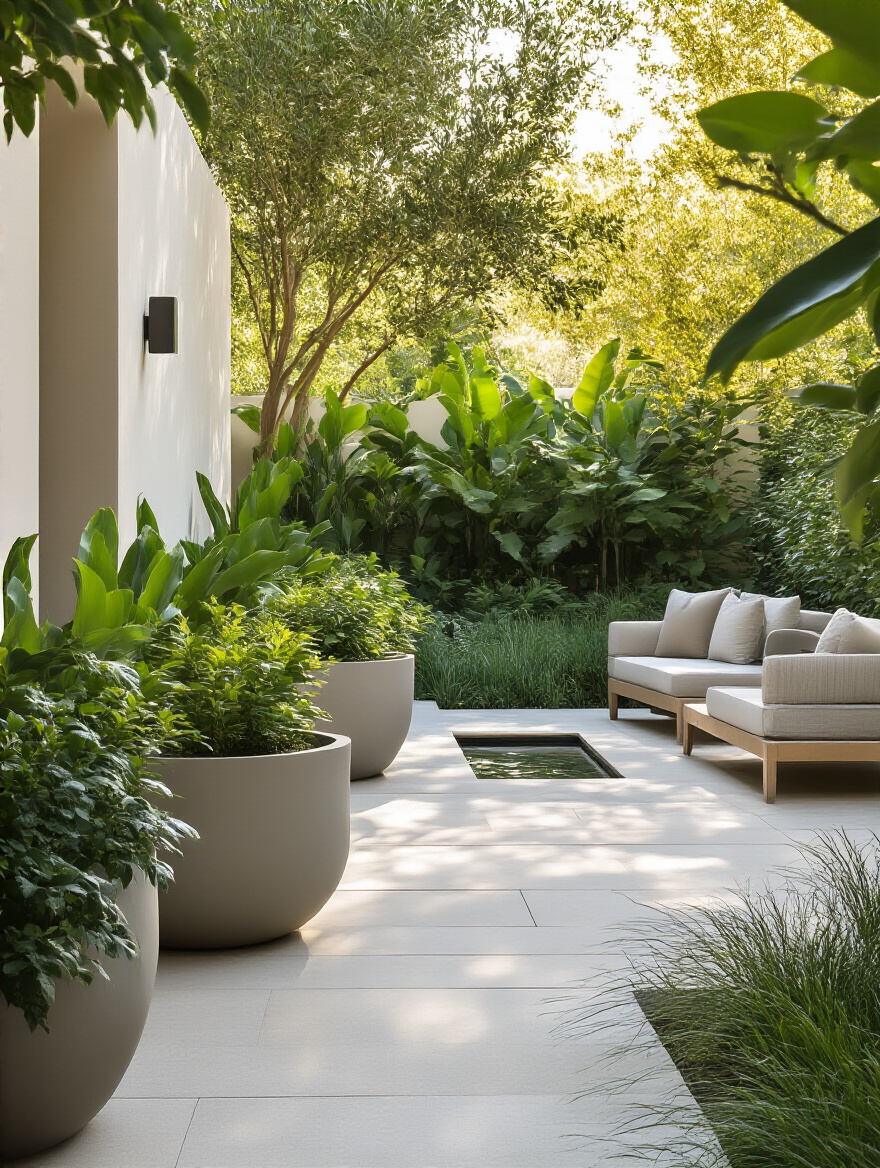
11. Design Inviting Outdoor Living Spaces and Seating Areas
An empty patio is just a slab of concrete. An outdoor living space is an invitation. The difference is in the details that make it feel like a true extension of your home. The biggest secret is to define the space. Use an outdoor rug to anchor a seating area. Use large planters or a low hedge to create a sense of enclosure and privacy, like walls in a room.
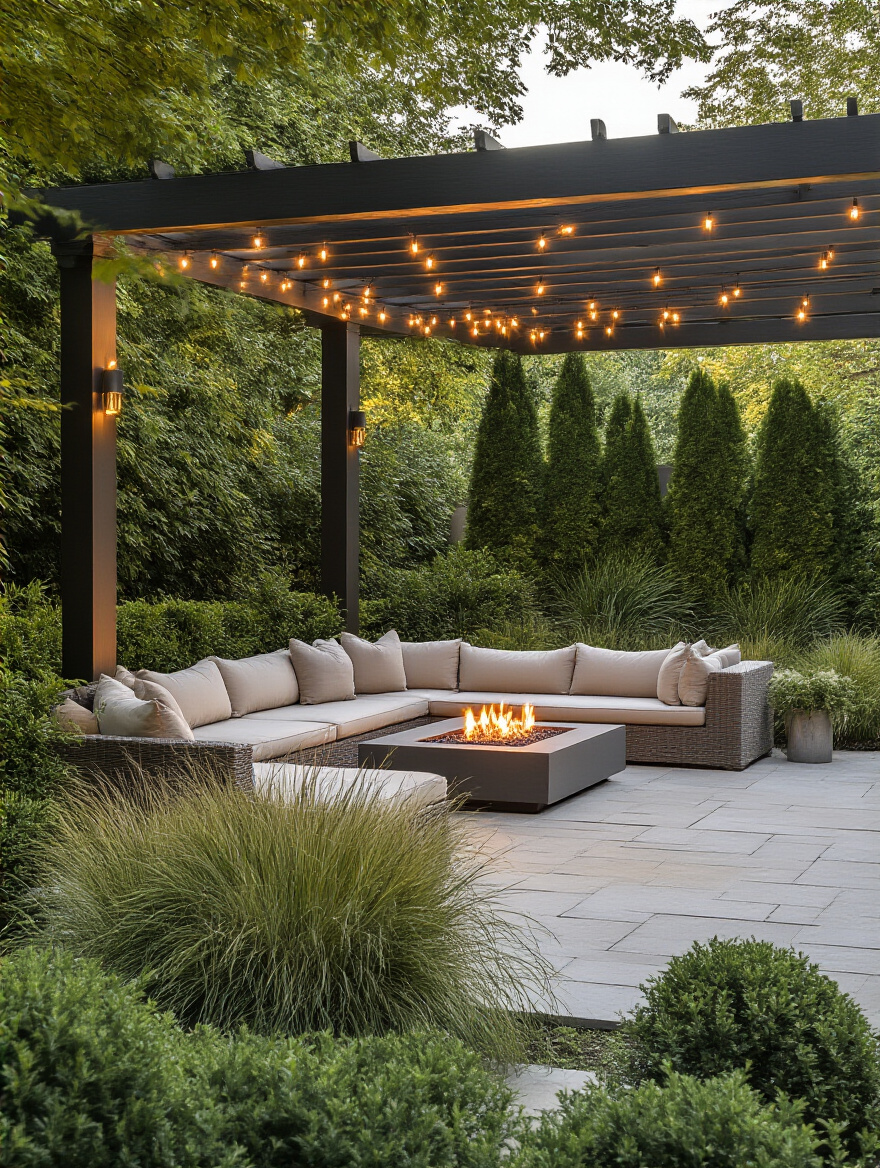
And think in layers, just like you would indoors. You need your primary seating—the sofa or dining table—but you also need side tables, maybe an ottoman, and good task lighting for reading or cooking. A fire pit or a small water feature can provide a focal point and ambient sound that makes the space feel special.
Don’t just put furniture outside. Curate an environment that draws people in and makes them want to stay. This is how you maximize the return on your investment, not just financially, but in pure enjoyment.
12. Create Engaging Focal Points with Sculptures or Water Features
Every good design—whether it’s a room, a painting, or a landscape—needs a focal point. It’s a place for the eye to land and rest, giving the whole scene a sense of purpose and order. Without it, a garden can feel chaotic and messy. A focal point doesn’t have to be a giant, expensive bronze statue.
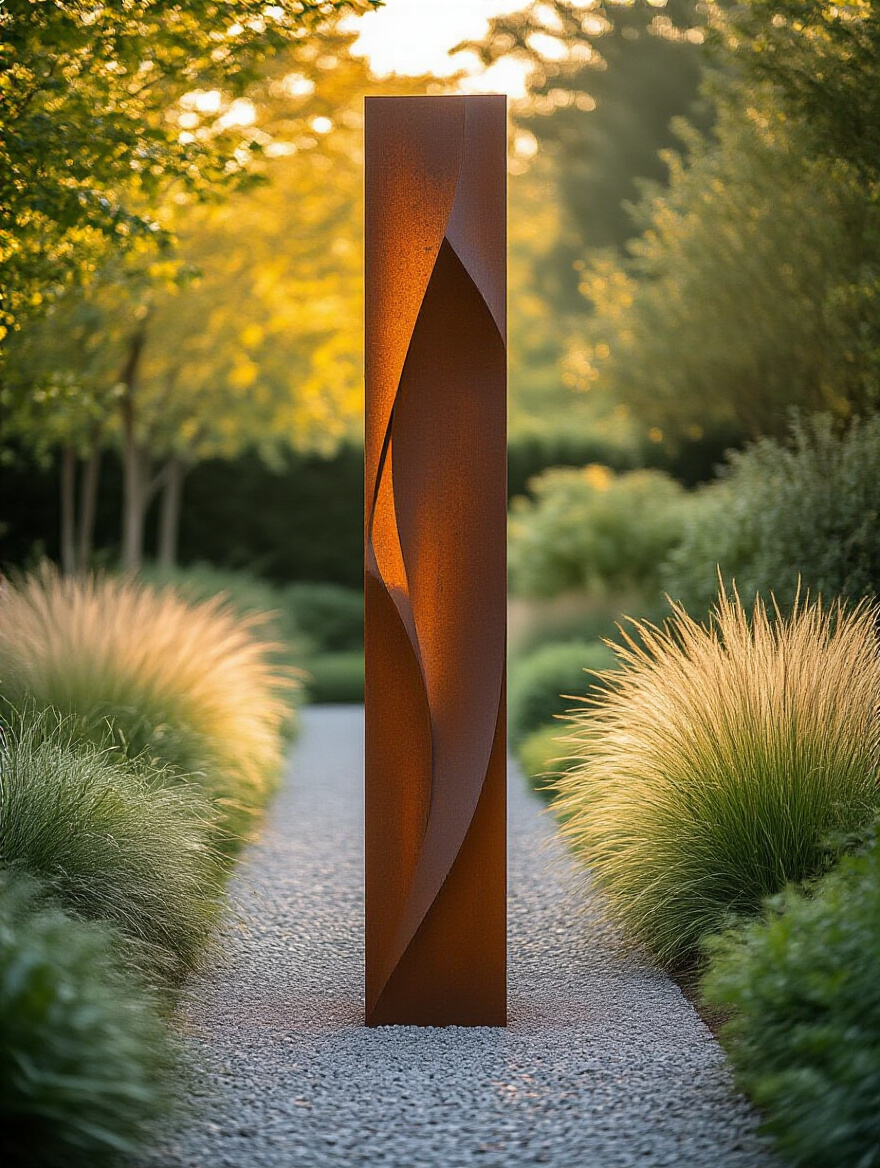
It can be a single, beautifully shaped Japanese maple, a simple bubbling urn, a sculptural birdbath, or even a brightly painted bench placed at the end of a path. The key is to place it strategically. Position it so it’s visible from a key window inside your house, or use it to draw people toward a destination in the yard.
I once saw a small urban backyard that was completely transformed by one single element: a tall, narrow water wall. It added height, the soothing sound of moving water that masked city noise, and became a piece of living art. It’s about making one bold, intentional statement.
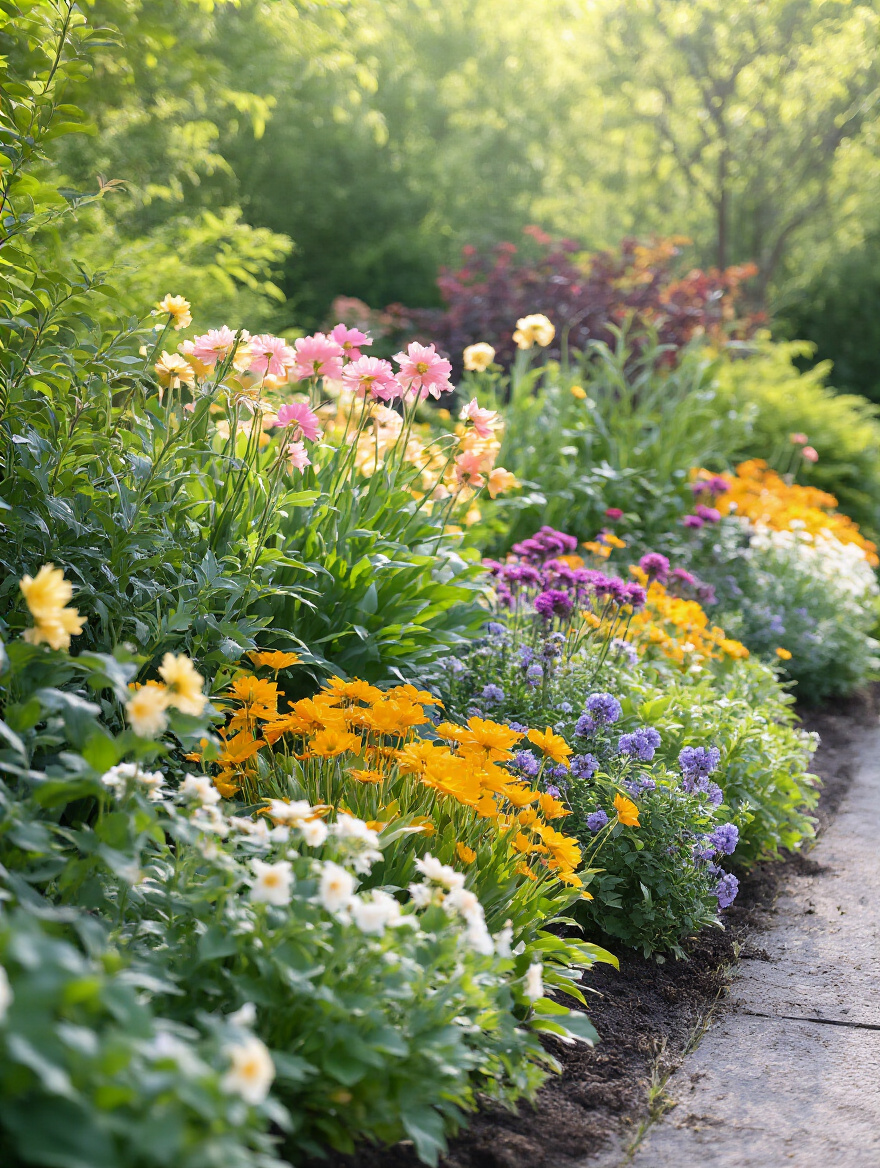
13. Utilize Layered Planting for Dynamic Visual Depth
You know what separates a flat, boring garden bed from one that looks lush and professional? Layers. It’s a simple concept that has a massive impact. Think of it like painting a picture. You don’t just have one thing; you have a foreground, a mid-ground, and a background. This creates depth and makes the space feel much larger and more immersive.
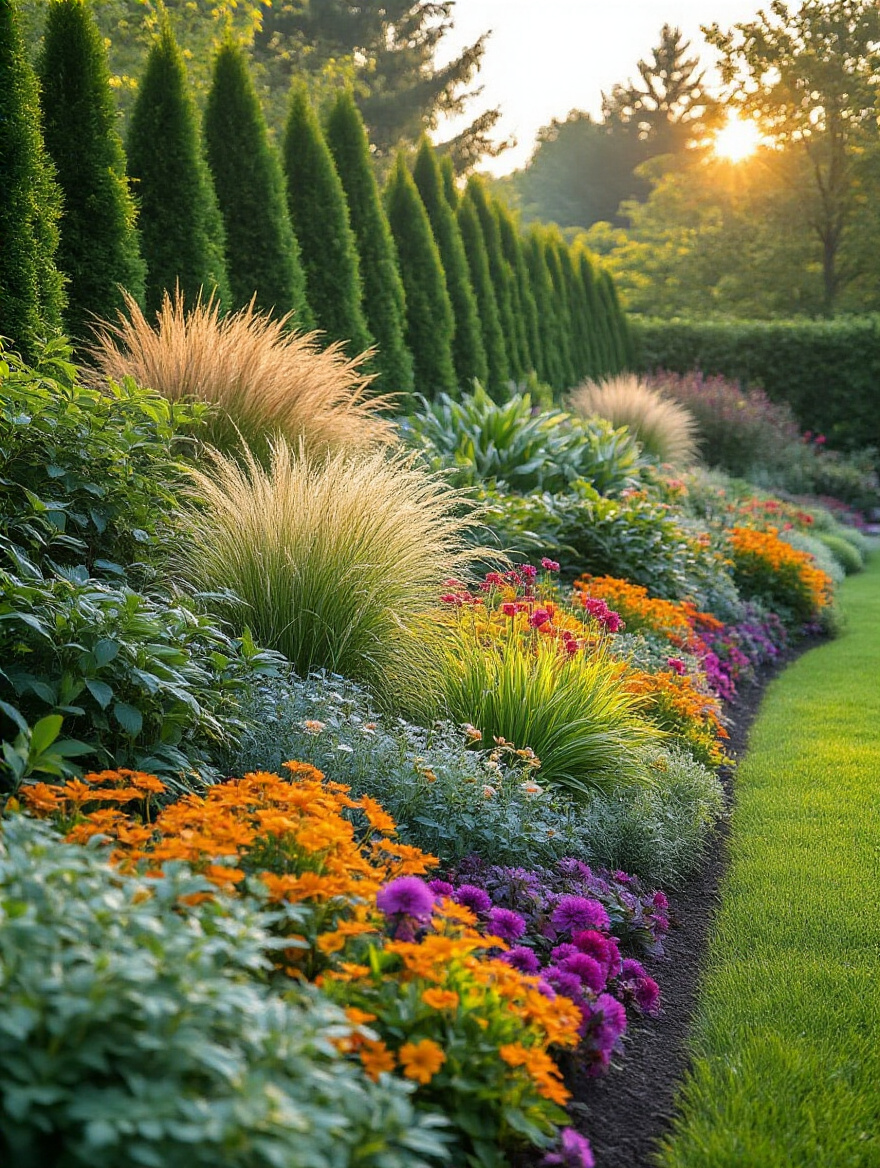
The rule is simple: tall plants in the back, medium-sized plants in the middle, and short, low-growing plants in the front.
- Background: Taller shrubs, small trees, or vines on a trellis provide the backdrop.
- Mid-ground: This is where your workhorse perennials and smaller shrubs go, adding color and texture.
- Foreground: Low groundcovers, annuals, or creeping plants soften the edge of the bed and lead the eye into the design.
By mixing heights, textures (think bold hosta leaves next to feathery ferns), and forms, you create a rich, dynamic tapestry that is interesting to look at from every angle.
14. Integrate Thoughtful Landscape Lighting for Evening Ambiance
Okay, this is my sweet spot. Can we all agree that the single, glaring floodlight mounted on the corner of the garage is a crime against landscape design? It creates harsh shadows, obliterates any sense of mood, and makes your yard look like a prison compound. Good lighting is subtle. It’s about creating magic, not just visibility. The goal isn’t to light up the whole yard; it’s to selectively reveal its beauty.
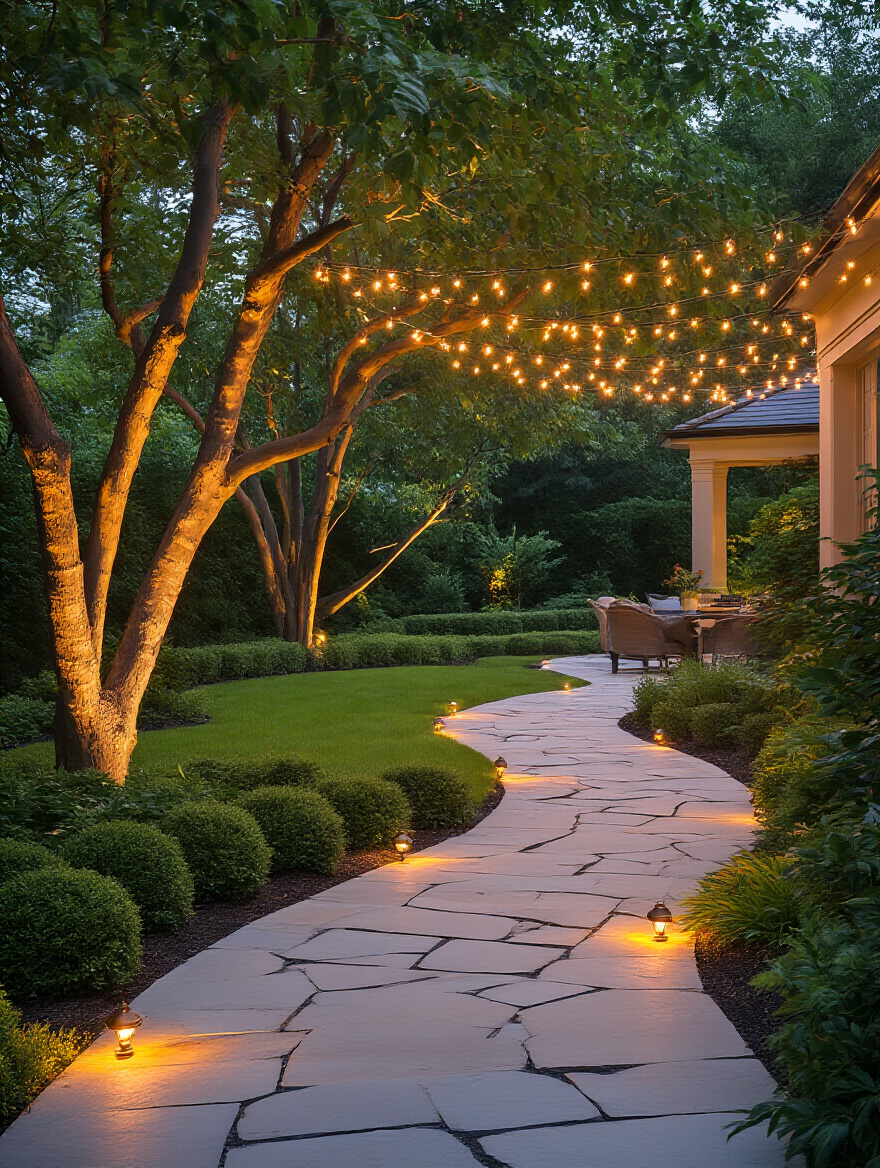
Focus on a few key techniques:
- Uplighting: Place a fixture at the base of a tree with beautiful bark or an interesting canopy. This creates drama and highlights natural sculpture.
- Path Lighting: Use low, shielded fixtures to cast pools of light on walkways for safety, without creating glare. The light source itself should be nearly invisible.
- Downlighting/Moonlighting: Mount a fixture high up in a mature tree and aim it downwards. The light filters through the leaves and branches, creating a beautiful, natural dappled effect on the ground below.
Use low-voltage LED lights with a warm color temperature (around 2700K-3000K). This creates a soft, inviting glow, not a harsh, blue-white glare. A little bit of well-placed light goes a very, very long way.
Enhancing Aesthetic Appeal and Functionality (Part 2)
We’re in the home stretch, focusing on the finishing touches and ongoing practices that keep your landscape looking polished and performing at its best. This is where you refine the details that make all the difference.
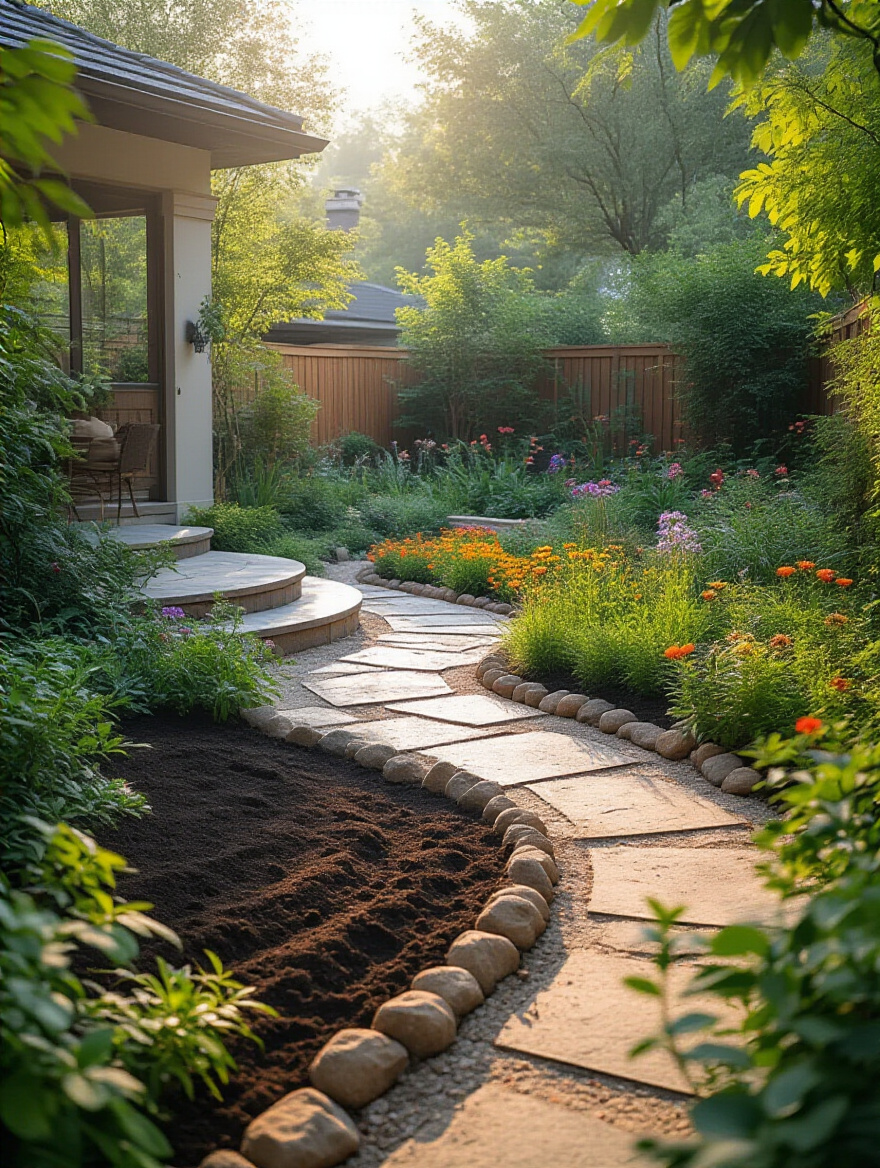
15. Choose the Right Mulch for Aesthetics and Moisture Retention
If soil is the foundation, mulch is the finishing touch that ties everything together. It’s like the perfect accessory that completes the outfit. It gives your garden beds a clean, uniform look, makes your plants pop, and suppresses weeds. But its most important job is invisible: it’s a superhero for your soil.
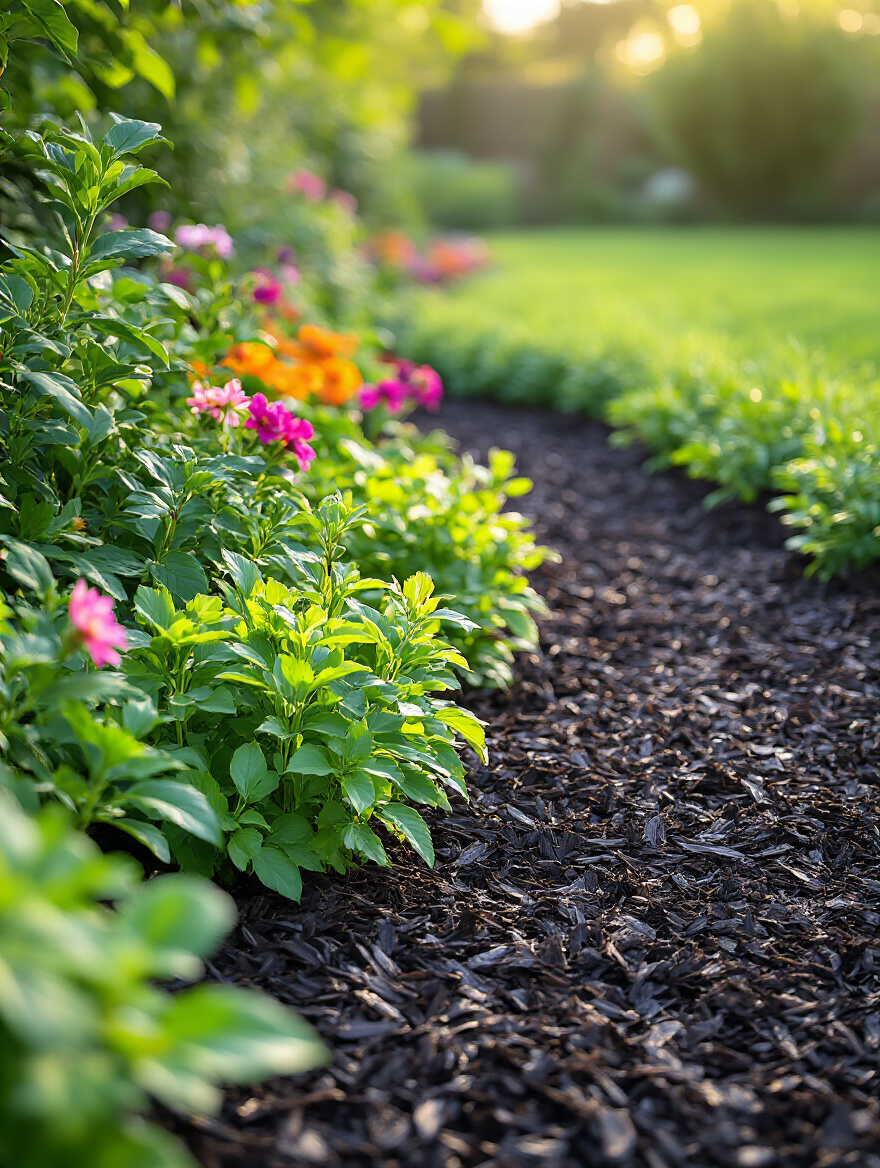
A good 2-3 inch layer of organic mulch (like shredded hardwood, pine bark, or cedar) acts like a blanket. It holds moisture in the soil, drastically reducing how much you need to water. It keeps the soil cool in the summer and insulated in the winter. And as it breaks down, it enriches the soil with organic matter. The one critical mistake to avoid is the “mulch volcano”—piling mulch up against the trunk of a tree. This traps moisture and invites rot and disease. Always pull mulch back a few inches from the base of your plants.
It’s the simplest, most effective thing you can do to improve the look and health of your garden beds instantly.
Sustainable Practices and Long-Term Maintenance (Part 1)
A great landscape isn’t a one-and-done project; it’s a living system that evolves. The goal of long-term maintenance isn’t to constantly fight your garden into submission. It’s to establish a rhythm of smart, sustainable practices that allow it to thrive with minimal, targeted effort.
16. Develop a Consistent Schedule for Pruning and Trimming
Pruning isn’t about punishment; it’s a conversation with your plants. The goal is to encourage healthy growth, improve structure, and promote more flowers or fruit. The biggest BS I see is people going after their shrubs with electric hedge shears, shearing them into unnatural green meatballs. This is terrible for the plant. Good pruning is selective.
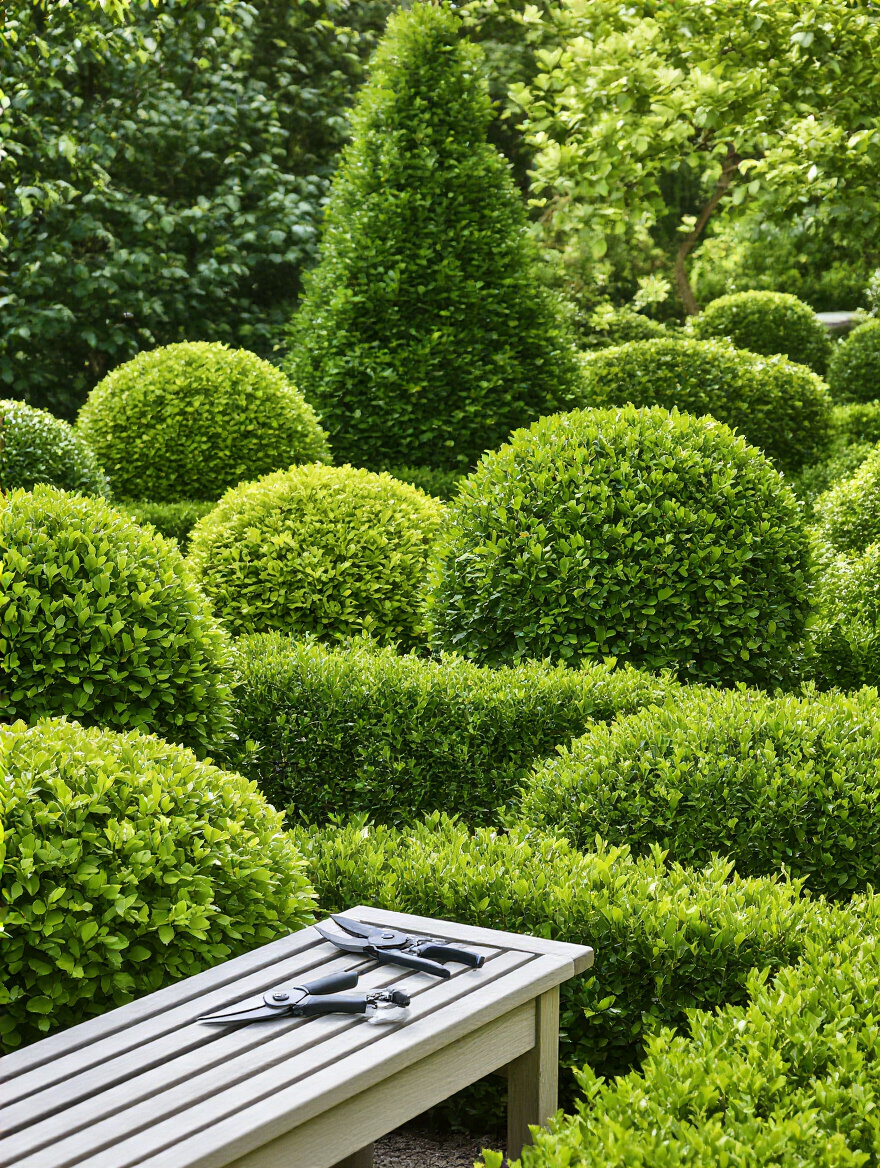
The key is knowing when to prune. Here’s the shortcut: for plants that bloom in the spring (like azaleas or lilacs), prune them right after they finish flowering. This gives them a full year to set buds for the next season. For plants that bloom in the summer (like hydrangeas or butterfly bushes), prune them in late winter or early spring before they start growing. This encourages vigorous new growth that will produce flowers. And anytime you see a dead, damaged, or diseased branch, cut it out, no matter the season.
A little bit of thoughtful pruning at the right time is far better than a massive, corrective hack-job once every few years.
17. Implement Natural Pest and Disease Management Strategies
I used to think the only way to deal with bugs was to spray them into oblivion. But a healthy garden isn’t sterile; it’s a bustling ecosystem. The real goal isn’t to eliminate every insect, but to create a balanced environment where the “good guys” keep the “bad guys” in check. Your best defense is a good offense: keep your plants healthy. Stressed plants are magnets for pests and diseases.

That means giving them the right amount of sun and water, and feeding your soil. After that, invite some allies to the party. Plant things that attract beneficial insects—think dill, fennel, yarrow, and cosmos. Ladybugs, lacewings, and predatory wasps will flock to your yard and provide free, 24/7 pest control.
And if you do have a problem, start with the least toxic solution first. A strong blast of water from the hose can knock off aphids. Insecticidal soap can handle many soft-bodied pests. Save the chemicals as an absolute last resort. A healthy garden polices itself.
18. Practice Water-Wise Landscaping (Xeriscaping) Principles
Let’s clear something up: xeriscaping does not mean your yard has to be a barren wasteland of gravel and cacti (unless you live in the desert, in which case that’s a great idea). Xeriscaping is just a smart, practical approach to creating a beautiful garden that doesn’t demand a ton of water. It’s something everyone, in every climate, should be practicing.
It’s based on a few simple principles, many of which we’ve already covered:
- Plan and design: Group plants with similar water needs together (this is called hydrozoning).
- Limit lawn: Your lawn is the thirstiest plant in your yard. Reduce its size to only what you truly use.
- Choose adapted plants: Use native and low-water species.
- Mulch: A thick layer of mulch is a xeriscaping superstar.
- Irrigate efficiently: Use drip systems instead of wasteful sprinklers.
This isn’t about sacrifice; it’s about being smart and strategic. It leads to a landscape that is not only beautiful and sustainable, but also requires way less work from you.
19. Regularly Test Soil and Replenish Nutrients as Needed
Think of this as an annual check-up for your garden’s foundation. Your plants are constantly pulling nutrients out of the soil, and those nutrients need to be replenished. But blindly throwing a “one-size-fits-all” fertilizer around is like taking medicine without a diagnosis. You might be adding something you don’t need, while completely missing what your soil is actually craving.
That’s why a soil test every few years is so important. It gives you a precise prescription. The report might say your phosphorus is fine, but your potassium is low and your pH is a bit too acidic. Now you can address those specific issues with the right amendments, like adding some wood ash for potassium and a little lime to adjust the pH.
This targeted approach is cheaper, more effective, and far better for the environment than the old “guess and toss” method.
Sustainable Practices and Long-Term Maintenance (Part 2)
This final step is the master level of gardening. It’s about thinking of your yard not as a static picture, but as a dynamic, four-dimensional performance that unfolds over the entire year.
20. Plan for Seasonal Changes and Succession Planting
A truly spectacular garden is never “done.” It’s always in a state of beautiful transition. Succession planting is the key to avoiding the “boom and bust” cycle of a garden that looks amazing for three weeks in June and then lackluster for the rest of the year. The idea is to have something new coming into its prime as something else is fading.
For example, plant spring-blooming bulbs like tulips and daffodils among your hostas. The bulbs provide the early-season show. As their foliage starts to fade, the hostas emerge and cover it up, taking over for the summer. In your vegetable garden, as soon as your spring lettuce bolts, pull it out and plant bush beans in its place. After you harvest your garlic in mid-summer, plant a crop of fall carrots in that spot.
It’s about seeing your garden as a stage and ensuring there’s always an actor ready in the wings. This keeps your yard productive and visually engaging from the first thaw to the first hard frost.
Conclusion
There you have it. The real story behind creating a yard that doesn’t just look good, but feels right and functions beautifully. It all boils down to one simple truth: a great outdoor space begins with a thoughtful plan, not a shopping spree. It’s about observing, understanding your needs, and making intentional choices that work with your property, not against it.
Don’t feel like you have to do all 20 of these things at once. Pick one. Start by just analyzing your sunlight or getting that soil test. Each small, smart step you take builds on the last, moving you closer to that incredible outdoor oasis you’re picturing in your head. Now you have the blueprint. Go create those moments.


