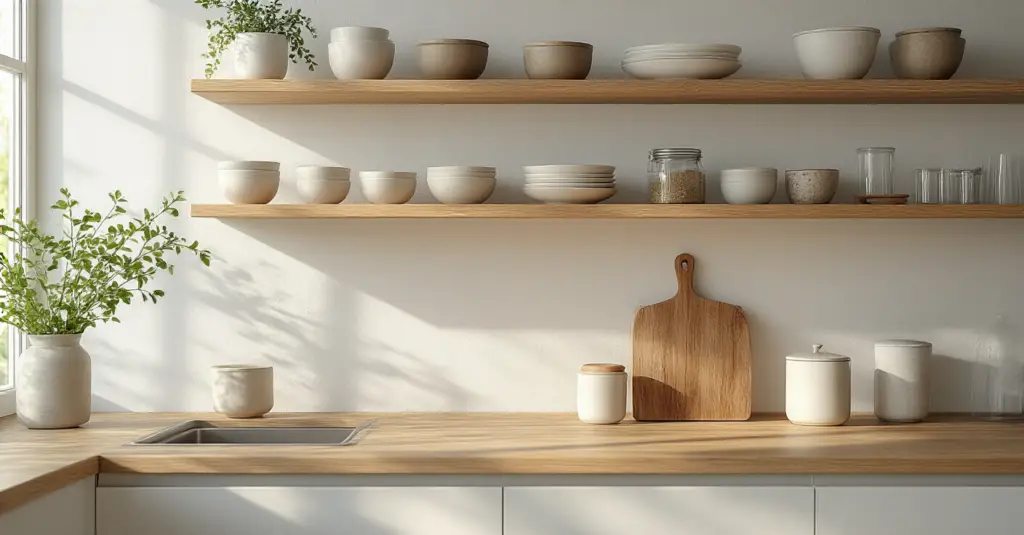
Picture this: You’re standing in your kitchen, staring at those two floating shelves you were so excited about. When you saw them in the design magazine, they looked effortless, chic, and brilliantly organized. But now, they’re just… a magnet for clutter. A random stack of mail, that mug you don’t like but can’t get rid of, and a wobbly pile of mismatched bowls. It feels more chaotic than curated.
This is the point where most people give up and just wish they’d installed another closed cabinet. But here’s the secret: beautiful open shelving isn’t magic. It’s a system. And as someone who has built custom cabinets and organized countless homes, I can tell you that a good system is what separates a stunning display from a stress-inducing mess. Let’s break down exactly how to turn that clutter zone into the functional, beautiful heart of your kitchen.
The Foundation: Preparing Your Canvas for Styling
Before you even think about placing that first pretty bowl, we have to do the prep work. This is the part everyone wants to skip, and it’s the single biggest reason their shelves fail. Think of this as laying the foundation for a house—without it, everything you build on top will eventually crumble. We’re going to create a clean, sturdy, and thoughtful canvas so the beautiful things can truly shine.
1. Declutter Ruthlessly: Optimize Shelf Space for Visual Impact
Okay, first things first. Take every single thing off your shelves. I’m serious. Put it all on your counter or dining table. You cannot properly assess what you have when it’s still sitting in place. Now, look at that pile and be honest. That chipped mug? The five nearly-identical whisks? The promotional glass from that concert ten years ago? It’s time to make some cuts.
Create four piles: Keep, Donate/Sell, Trash, and Relocate (for stuff that just doesn’t belong in the kitchen). My rule is simple: if you don’t use it often and you don’t absolutely love looking at it, it doesn’t earn a spot on your prime real estate. I had a client with a tiny galley kitchen whose shelves were suffocating under the weight of “just-in-case” gadgets. We got rid of 40% of it, and the kitchen instantly felt twice as big and a million times calmer.
This isn’t just about tidying up; it’s about a strategic purge. Your goal is to eliminate visual noise so the items you do choose to display can actually be seen and appreciated. It’s the most impactful step you can take.
2. Define Your Style Aesthetic: Harmonize Shelves with Kitchen Theme
Now that you only have the keepers, let’s talk style. Everyone says “just get stuff you love,” but that can lead to a chaotic mess if there’s no cohesive vision. You need to create a framework. Look around your kitchen. What’s the dominant vibe? Is it modern farmhouse with white shaker cabinets and butcher block? Is it sleek and minimalist with flat-panel doors and chrome hardware?
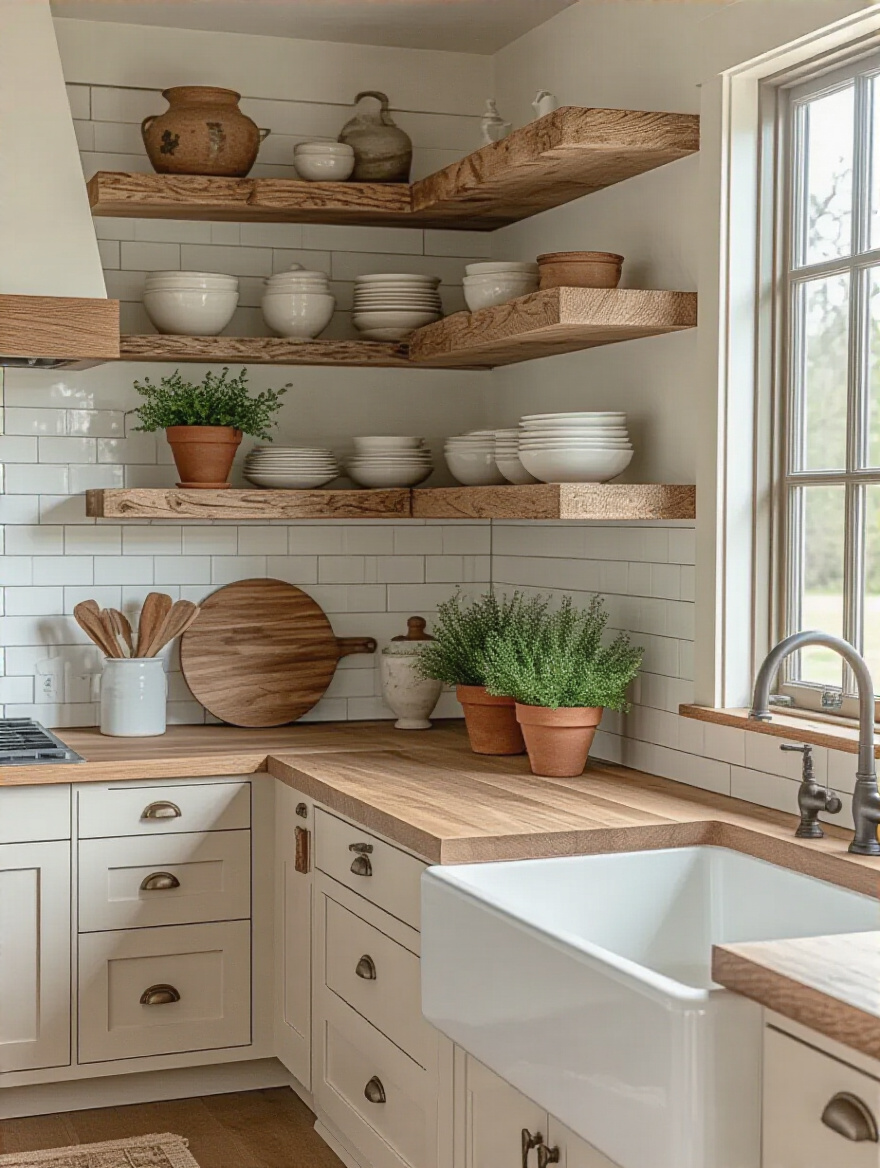
Your shelves should be an extension of that theme, not an entirely different story. If your kitchen is modern, think about clean-lined ceramics and glass. If it’s rustic, warm woods and textured stoneware will feel right at home. I once watched a client try to force a super-glam, mirrored-tray-and-crystal look onto shelves in a cozy, traditional kitchen. It felt jarring. The shortcut here is to create a quick mood board on Pinterest. Search for “farmhouse kitchen shelves” or “Modern Kitchen shelves” and see what elements pop up again and again. It will save you from buying decor that just doesn’t belong.
This simple step ensures everything feels intentional, like it was all part of a single, well-thought-out plan. It elevates the whole room.
3. Assess Weight Capacity: Prioritize Safety and Durability in Display
As a cabinet maker, this one is non-negotiable for me and it’s the one thing everyone gets wrong. Please, for the love of all that is good, know what your shelves can hold. That sleek, thin floating shelf you got from a big box store is not—I repeat, not—designed to hold your entire collection of cast iron skillets and heavy ceramic dinnerware.
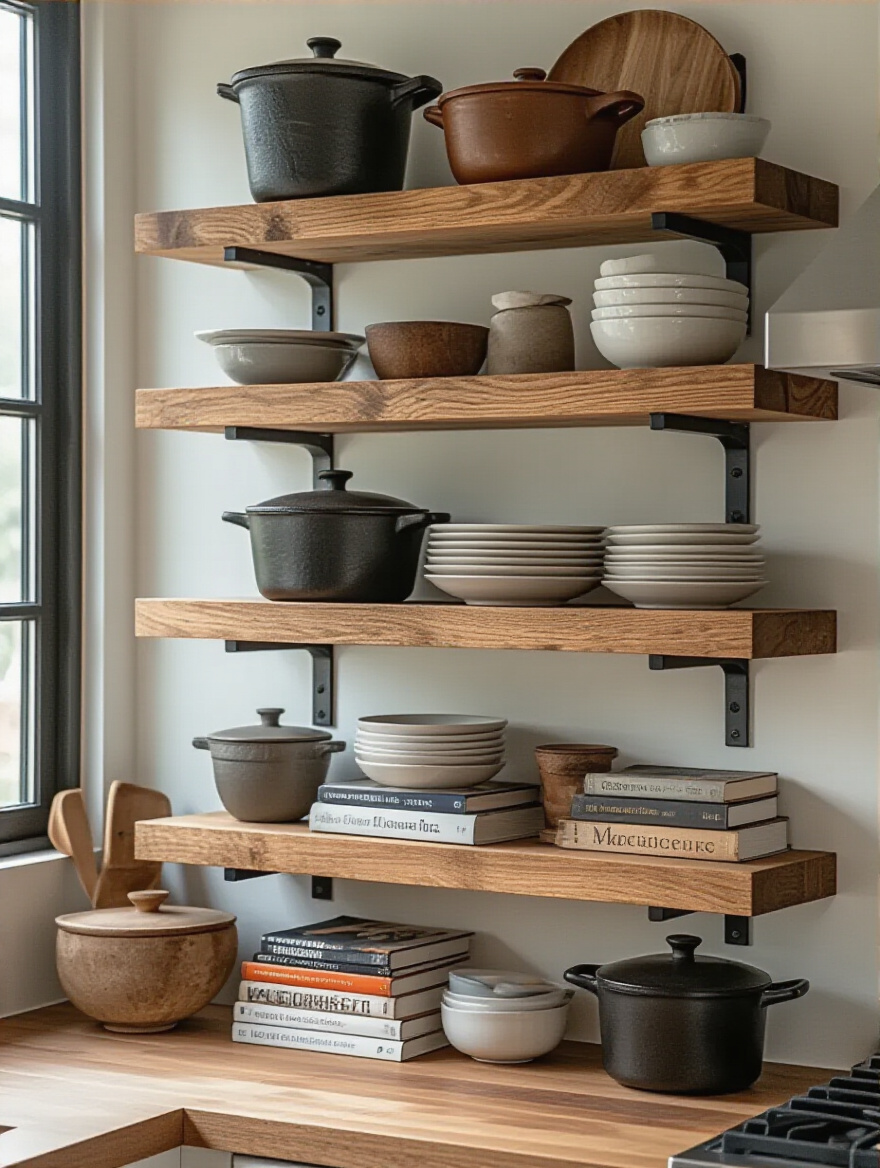
Before you load anything up, figure out how the shelf is installed. Is it screwed directly into wall studs (ideal), or is it just held in with a few drywall anchors (danger zone)? If you don’t know, a cheap stud finder is one of the best tools you can own. A stack of just eight dinner plates can weigh 15 pounds, and a few cookbooks can easily top 20 pounds. That adds up fast. The worst thing I’ve seen was a client who installed beautiful shelves with standard drywall anchors. Three months later, they came home to a pile of shattered heirlooms and a huge gash in their wall.
So, here’s the shortcut: Place your heaviest items (like stacks of plates or canisters of flour) closer to the wall and directly over the brackets or support points. Distribute the weight. And if you have any doubt, err on the side of caution and go lighter. A beautiful shelf is not worth a trip to the emergency room or a costly repair.
4. Clean and Prep Surfaces: Ensure a Pristine Base for Decor Items
You wouldn’t put on a beautiful new outfit without showering first, right? Don’t put your beautiful decor onto a dusty, grimy shelf. Kitchens are ground zero for an invisible layer of grease that attracts dust like a magnet. It’s a small step, but it makes a world of difference.
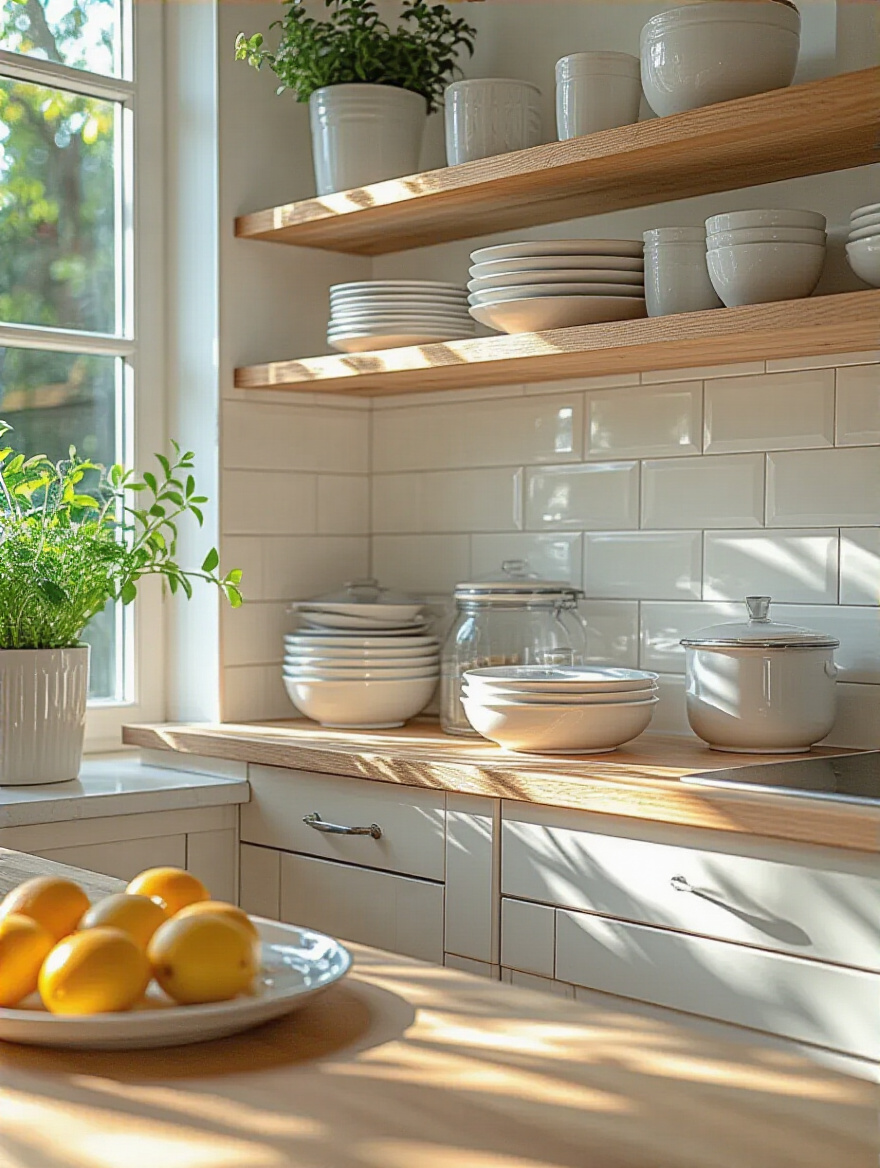
With the shelves completely empty, give them a proper cleaning. A little warm water with a drop of dish soap is usually enough to cut through any greasy film. For stubborn spots, a mix of water and vinegar works wonders. Just wipe it down, and then—this is the important part—dry it completely with a clean microfiber cloth. If you don’t dry it, you’ll just end up with streaks, which are almost as bad as the dust.
A clean surface is a pristine canvas. It makes your glassware sparkle a little brighter and your ceramics look a little richer. It’s a 5-minute task that makes everything you do next look 100% better.
5. Choose Shelf Backing Wisely: Add Instant Visual Depth and Character
Want a pro-level trick that instantly makes your shelves look custom and high-end? Pay attention to the wall behind the shelves. Leaving it the same color as the rest of the kitchen is fine, but treating it as a feature is so much better. It’s like putting a frame around your art.
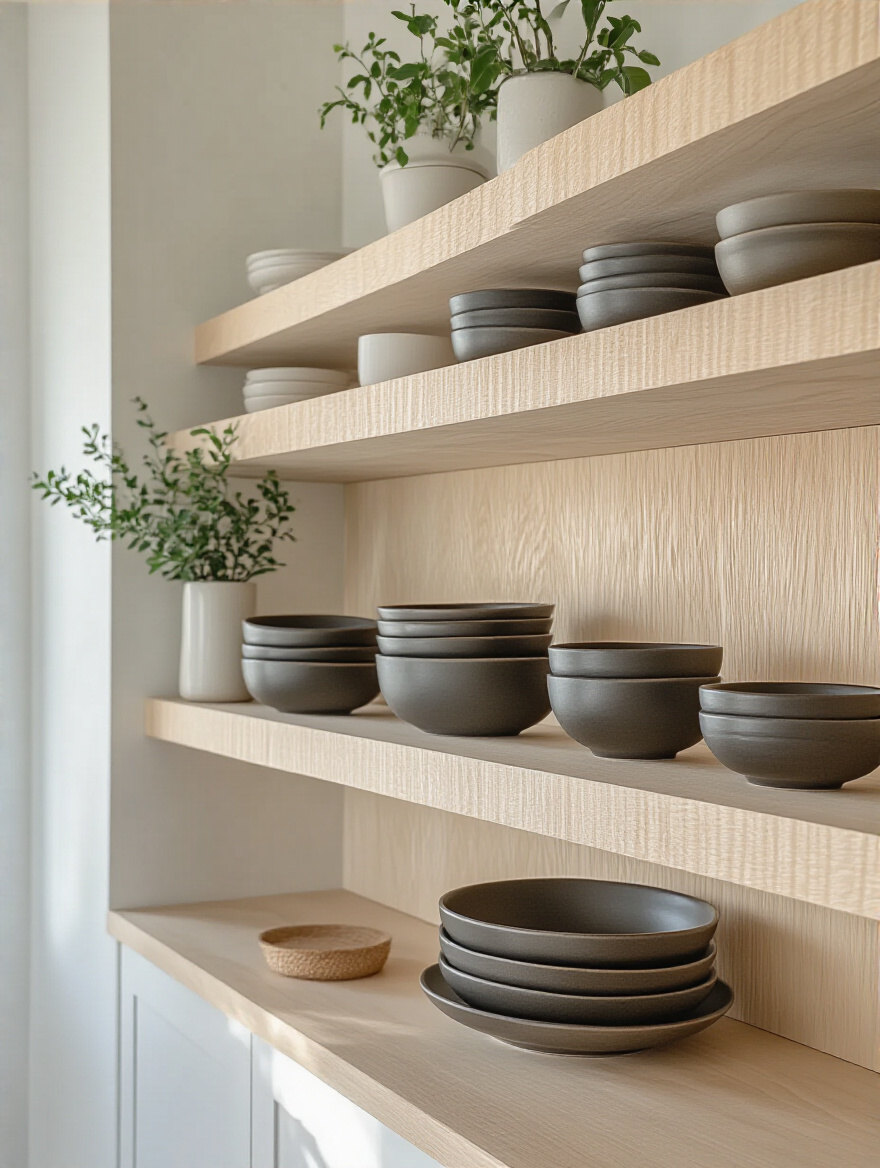
You can paint the backing a contrasting color—a deep charcoal or a rich navy can make white dishes pop. You could apply a fun, removable wallpaper for a hit of pattern and personality (great for renters!). Even peel-and-stick tiles can create the illusion of a custom backsplash. A client with a neutral, all-white kitchen felt it was a bit sterile. We added a textured, grasscloth wallpaper to the wall behind her open shelves, and it instantly added warmth and a layer of sophistication that changed the entire feel of the room.
It’s an extra step, for sure, but the visual payoff is enormous. It adds depth, character, and makes your display feel incredibly intentional.
6. Consider Under-Shelf Lighting: Enhance Ambiance and Highlight Displays
If shelf backing is the frame, under-shelf lighting is the gallery spotlight. This is my other secret weapon for making a kitchen feel luxurious and incredibly functional. It serves two amazing purposes: first, it provides brilliant task lighting for the countertop below, eliminating those annoying shadows your cabinets cast. Second, it creates a gorgeous, warm ambiance in the evening, highlighting your beautifully arranged objects.
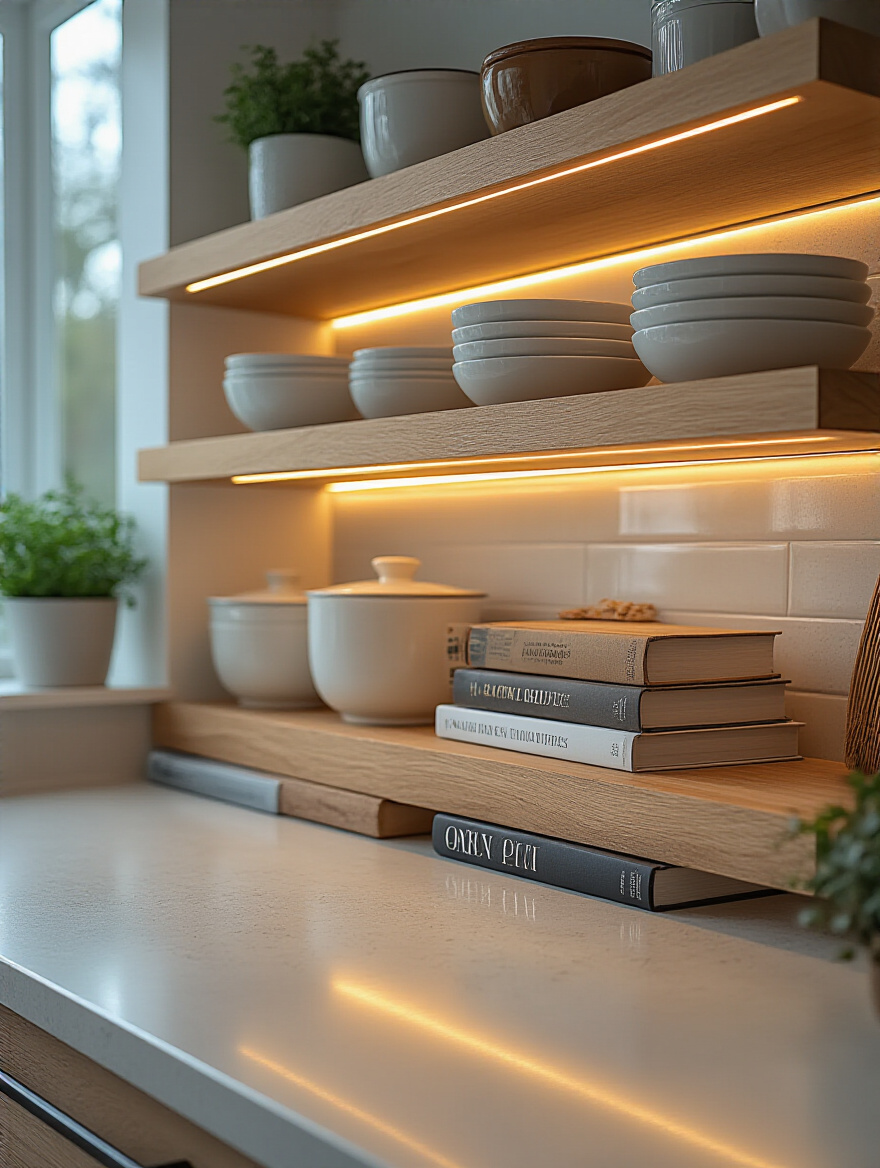
You don’t need to be an electrician. There are amazing, easy-to-install options now. You can get battery-operated “puck” lights or plug-in LED strips. For a truly seamless look, a hard-wired system is best, but start with the simple stuff. The key is to choose a warm white light (around 2700K-3000K) to avoid that cold, clinical look. A dimmer is also a must-have, so you can go from bright task lighting to a soft evening glow.
It’s one of those details that you might not notice right away, but you’ll feel its effect. It makes the whole kitchen feel more expensive, more inviting, and a whole lot more functional.
Art of Arrangement: Mastering Visual Balance and Flow
Once the grunt work is done and your foundation is solid, we can get to the fun part: the art of the arrangement. This is where we apply a few simple design rules to turn your collection of objects into a cohesive, balanced, and beautiful display. Don’t worry, these aren’t complicated—they’re just simple guidelines to help you create something that naturally looks good.
7. Implement the Rule of Three: Create Visually Appealing Groupings
If you only learn one design rule, make it this one. For some reason, our brains find things arranged in odd numbers—especially groups of three—more appealing and natural than things in even-numbered groups. A group of two things feels static; a group of four feels cluttered. A group of three feels balanced and complete.
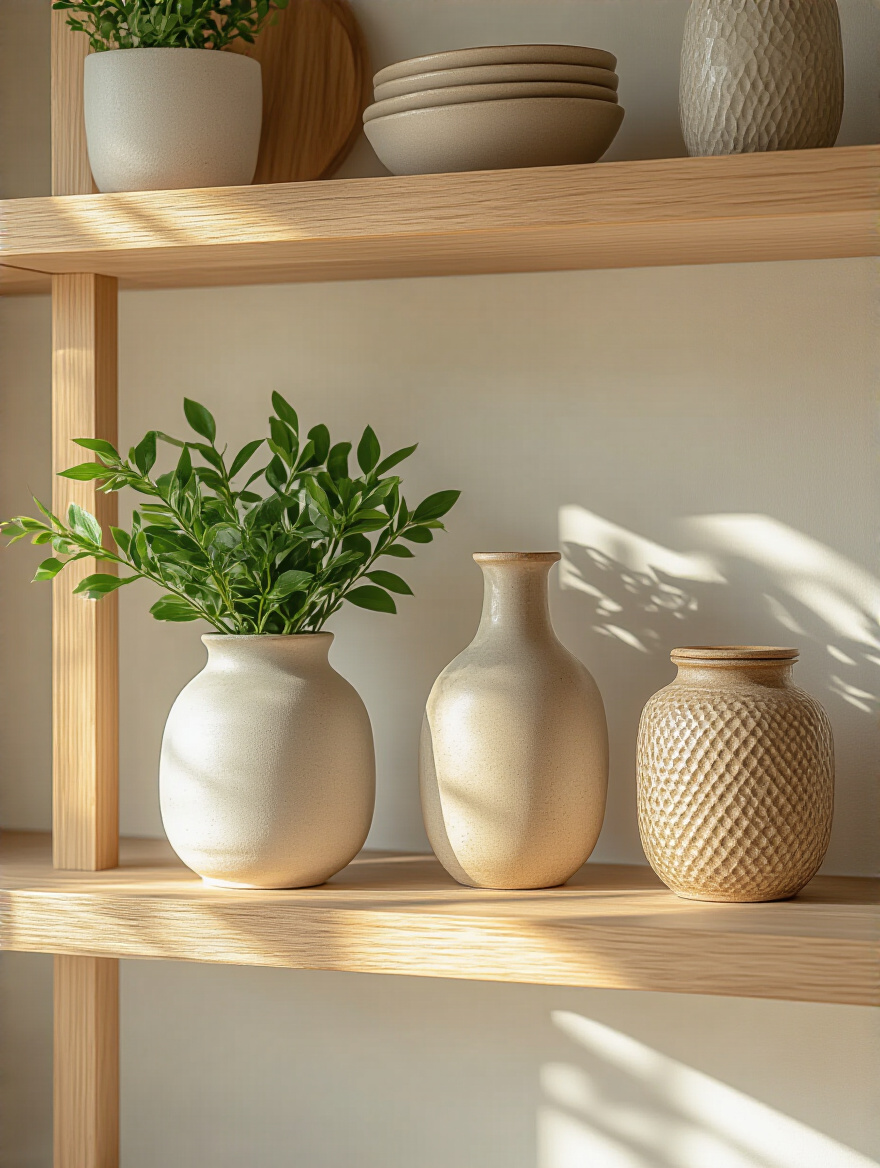
So, when you’re placing items, think in little clusters of three. For example, a small plant, a stack of two bowls, and a leaning cookbook. The key is to vary their heights and shapes. You want to create a little visual triangle. Have one tall item, one medium item, and one low item. This little trick instantly makes a shelf look styled rather than just stored.
The truth is, your eye gets bored with perfect, rigid symmetry, and it finds odd numbers—like a little trio of a plant, a bowl, and a small stack of books—to be way more engaging and natural. It just looks better. Trust me.
8. Vary Heights and Textures: Achieve Dynamic Visual Interest Naturally
This goes hand-in-hand with the Rule of Three. The biggest mistake people make is lining up all their items in a row, like soldiers on parade. Mugs all in a line, bowls all at the same height—it’s boring! You need to create visual peaks and valleys to keep the eye moving and interested.
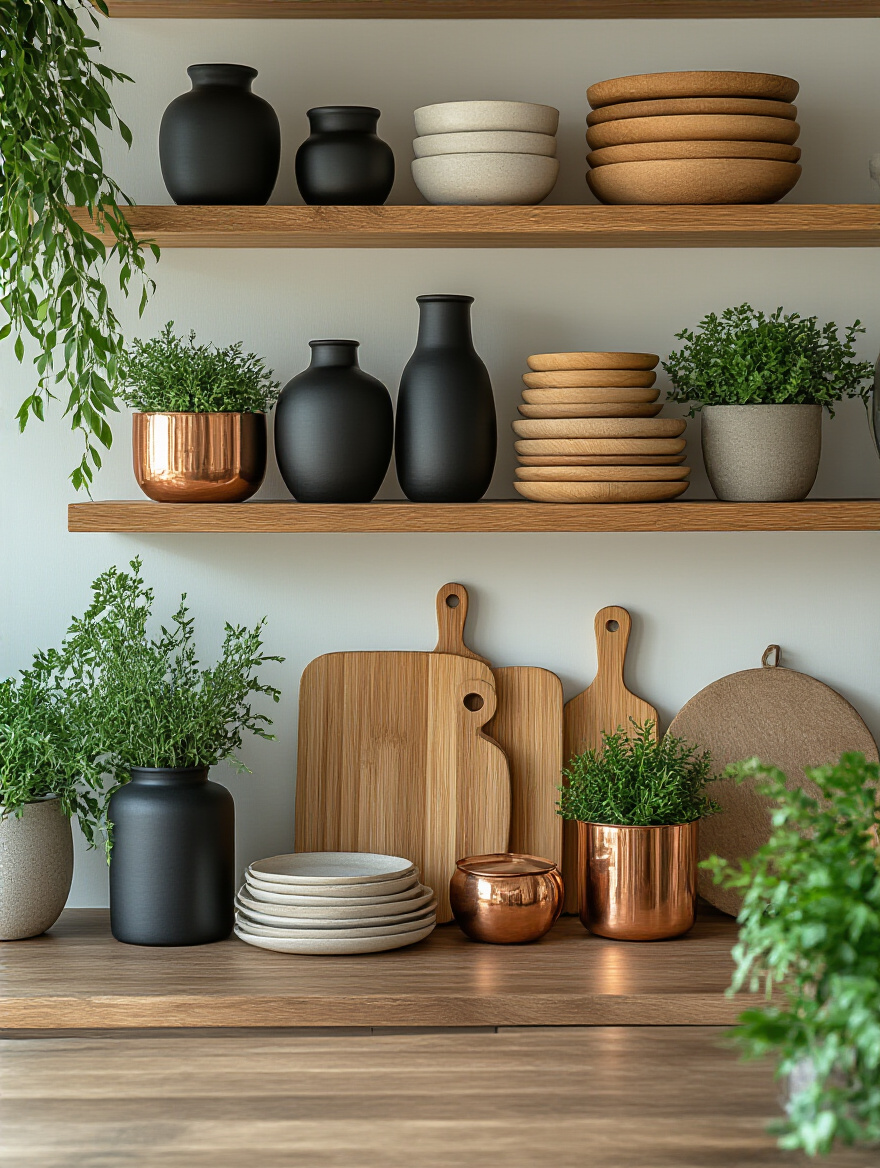
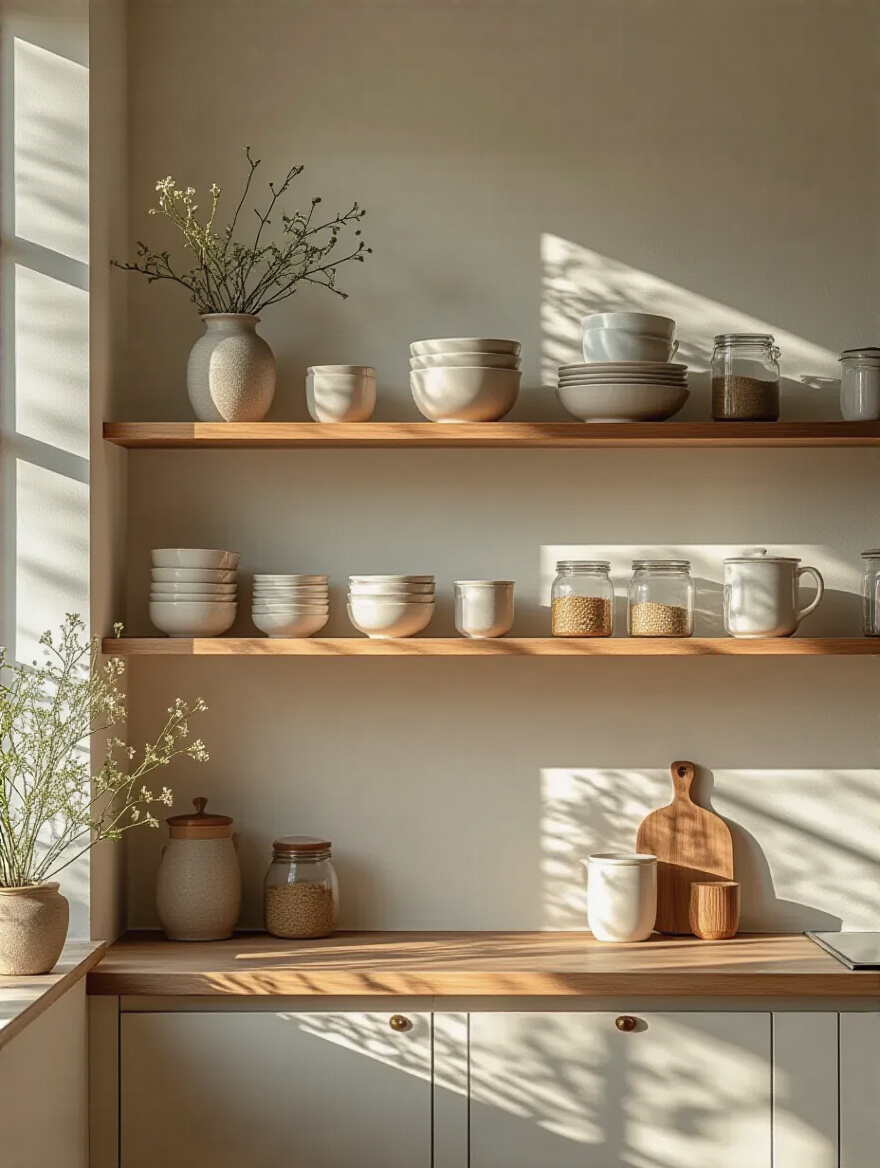
Start with your tallest items—a vase, a pitcher, a tall canister. Place them first to act as anchors. Then, fill in around them with mid-height items like stacked plates or a utensil crock. Finally, sprinkle in your smallest pieces, like a small plant or a salt cellar. Now, think about texture. If you have a lot of smooth, glossy ceramic, you need to break it up with something different. Add a rough-hewn wooden cutting board, a nubby linen napkin, or a woven basket. The mix of hard and soft, shiny and matte, is what gives a display life and warmth.
This is how you get that effortlessly chic look. It’s a carefully orchestrated mix of different shapes, sizes, and surfaces.
9. Create Intentional Negative Space: Avoid Clutter for Powerful Impact
This is the secret sauce. Negative space—the empty space around and between your objects—is just as important as the objects themselves. If you fill every single square inch of your shelves, the result is visual chaos. Nothing stands out because everything is screaming for attention.
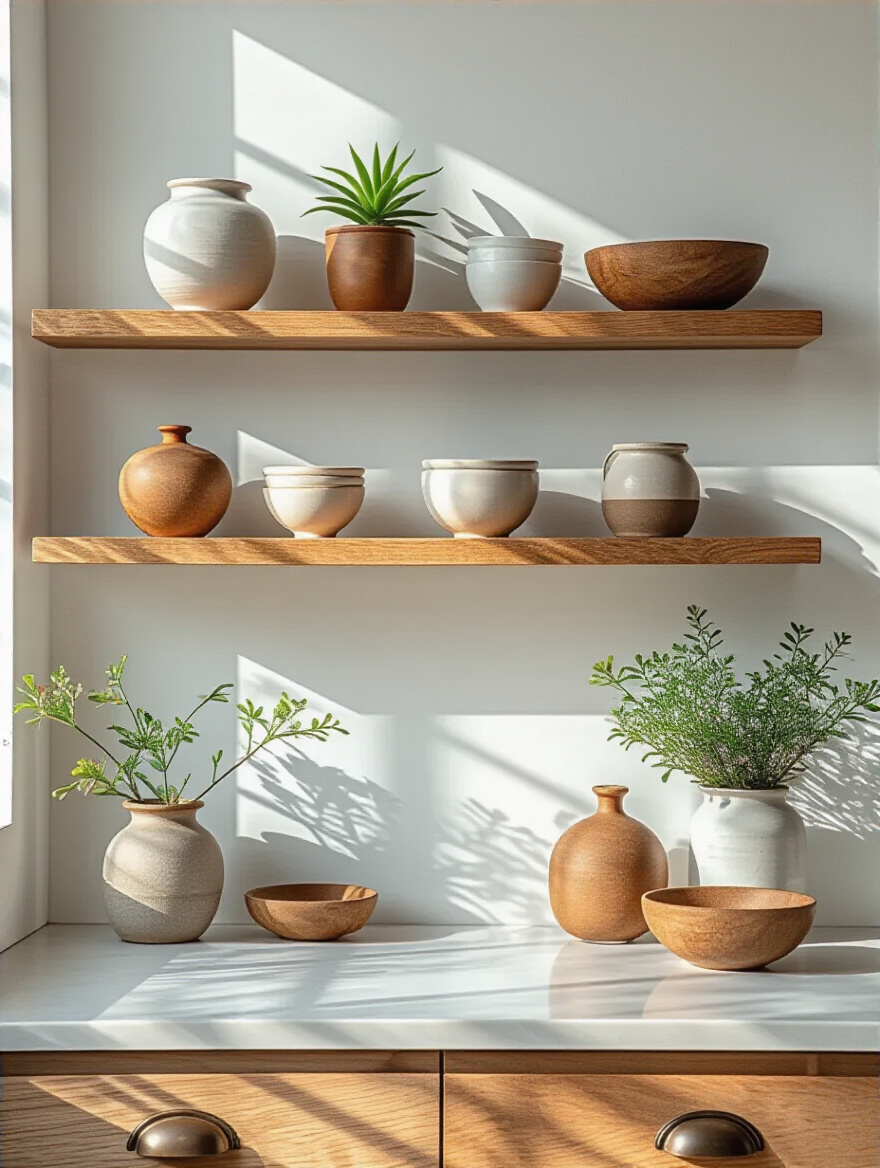
You need to give your items room to breathe. Step back and look at your shelves. Does it feel cramped? Can you clearly see the shape of each individual item? If not, you need to take something away. I always tell my clients to aim for about 60-70% full. That remaining 30-40% of empty space is what makes the whole thing feel calm, curated, and intentional. It’s the pause in a sentence; it gives a moment for the eye to rest and appreciate what it’s seeing.
Here’s a great shortcut: take a picture of your shelves with your phone. For some reason, looking at it on a small screen makes it immediately obvious if it’s too crowded. If it looks cluttered in the photo, it’s cluttered in real life. Start removing items one by one until it feels balanced.
10. Stack Smartly with Boards or Books: Add Levels and Structure to Displays
Struggling to get that height variation we just talked about? Use what you already have. A stack of two or three beautiful cookbooks lying flat creates a perfect little pedestal to elevate a bowl, a mug, or a small plant. It instantly adds a new level to your display.
Cutting boards are also fantastic for this. Lean a couple of different-sized wooden or marble boards against the back of the shelf. This not only adds great texture and warmth but also creates a backdrop for the items you place in front of them. It’s a super simple way to add layers and depth without buying a bunch of new “decor” items.
You’re using functional objects to create structure. It’s smart, it’s practical, and it makes your shelves look dynamic and interesting.
11. Employ the ‘Z’ or ‘S’ Pattern: Guide the Eye Naturally Across Shelves
Okay, this is a more advanced move, but it’s super effective once you see it. To create a really cohesive look across multiple shelves, you want to guide the eye in a gentle pattern. Don’t just decorate each shelf in isolation. Think of the entire unit as one big canvas.
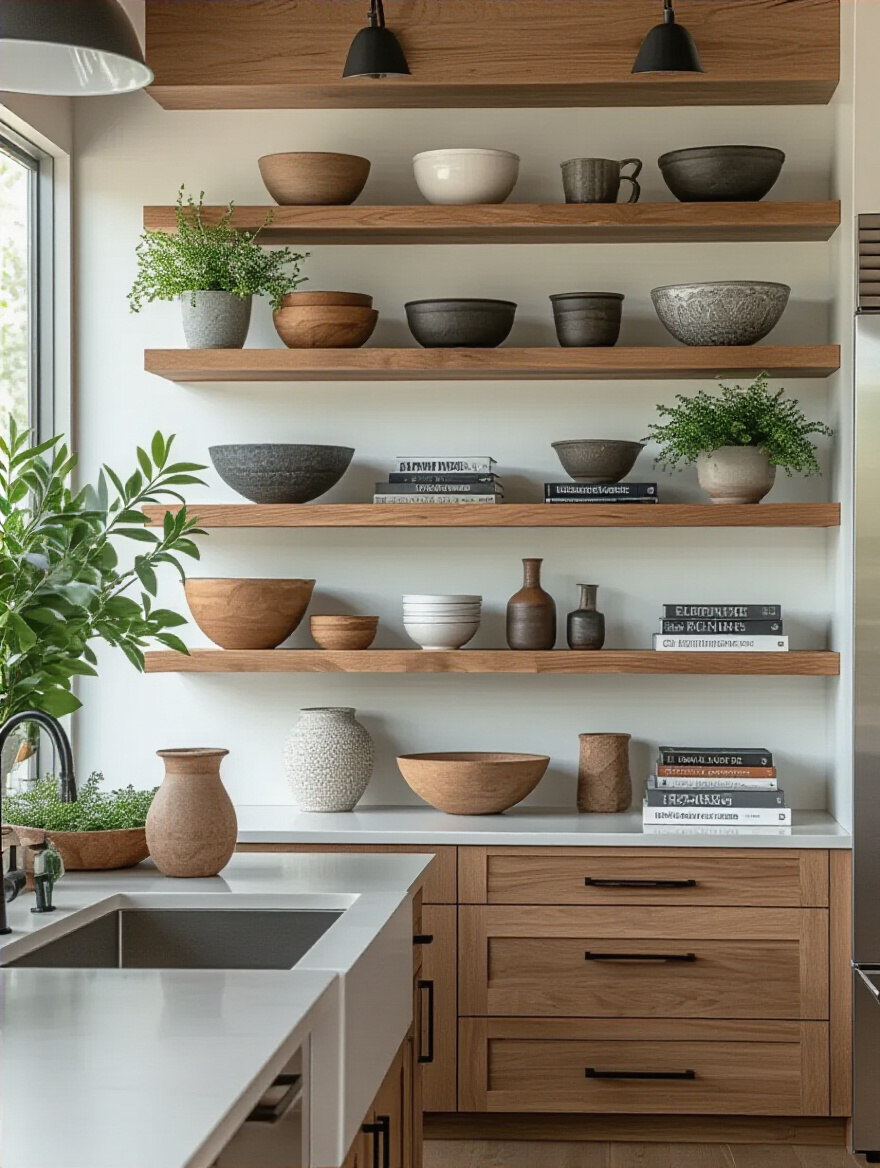
Start on the top shelf and place a dominant item on the left side. On the shelf below it, place another dominant item in the middle or on the right. On the third shelf, place a third dominant item back on the left. Your eye will naturally follow this zig-zag or “Z” pattern down the shelves, connecting the whole display. Once you have those anchor points set, you can fill in the spaces around them with your smaller, supporting items.
It sounds complicated, but just try it. It’s a trick graphic designers use all the time, and it creates a sense of flow and balance that makes the whole composition feel harmonious and professionally styled.
12. Balance Color and Tones: Distribute Hues Evenly for Harmony
Color is powerful. If you have a bunch of bright red mugs, don’t put them all in one spot. It creates a big, heavy block of color that throws off the whole balance. Instead, you want to sprinkle that color throughout your display.
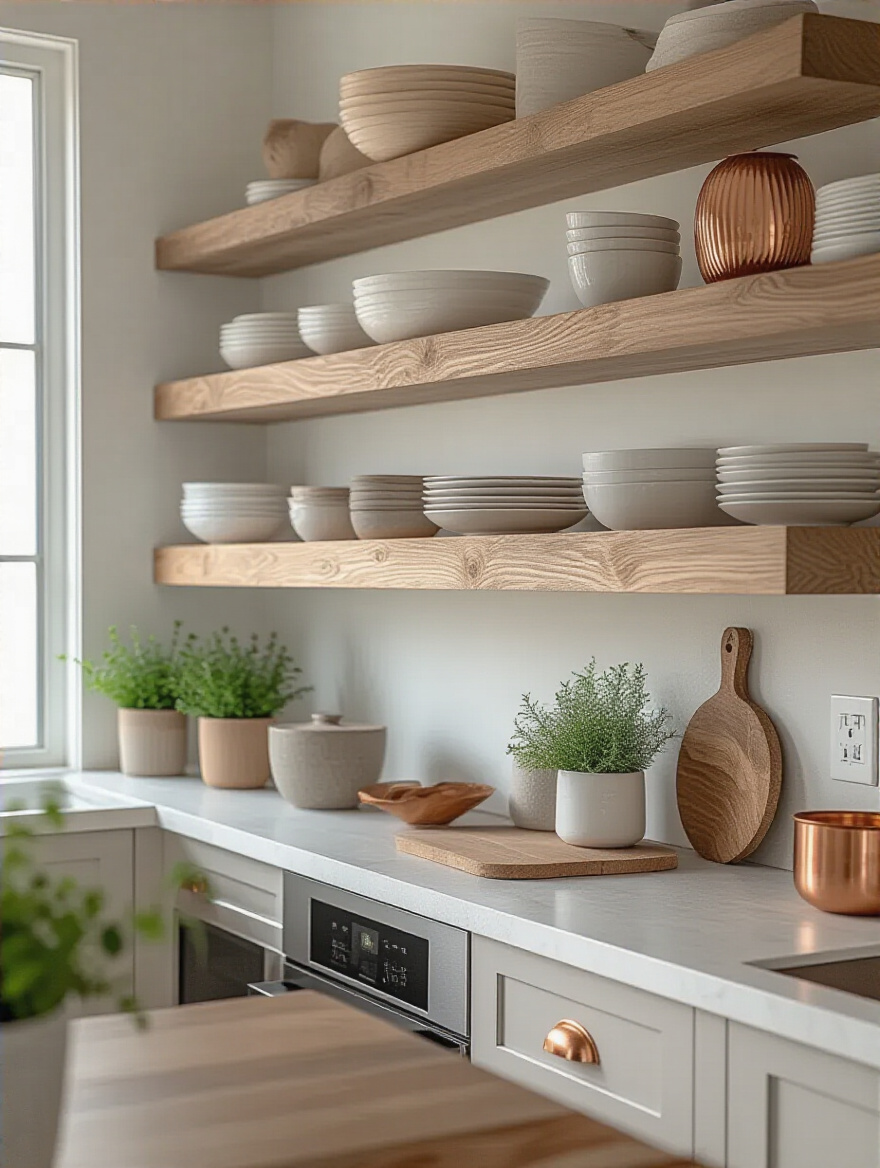
Stick to a simple color palette—maybe two or three main colors that already exist in your kitchen. Then, weave those colors through the shelves. Place a red mug on the top shelf, a cookbook with a red spine in the middle, and a small bowl with a red pattern on the bottom. This repetition of color creates a visual thread that ties everything together. The “60-30-10 Rule” is a great guideline: 60% of your items should be a dominant color (like white dishes), 30% a secondary color (like wood tones), and 10% an accent color (that pop of red).
It’s this thoughtful distribution of color that creates a sense of rhythm and harmony, making the entire display feel cohesive and calm.
13. Utilize Symmetry Purposefully: Foster Order and a Sense of Calm
While a bit of asymmetry is great, purposeful symmetry can be incredibly powerful, especially if you crave a sense of order. If your shelves flank a window or a range hood, using symmetry is a no-brainer. What you do on the left shelf, you mirror on the right.
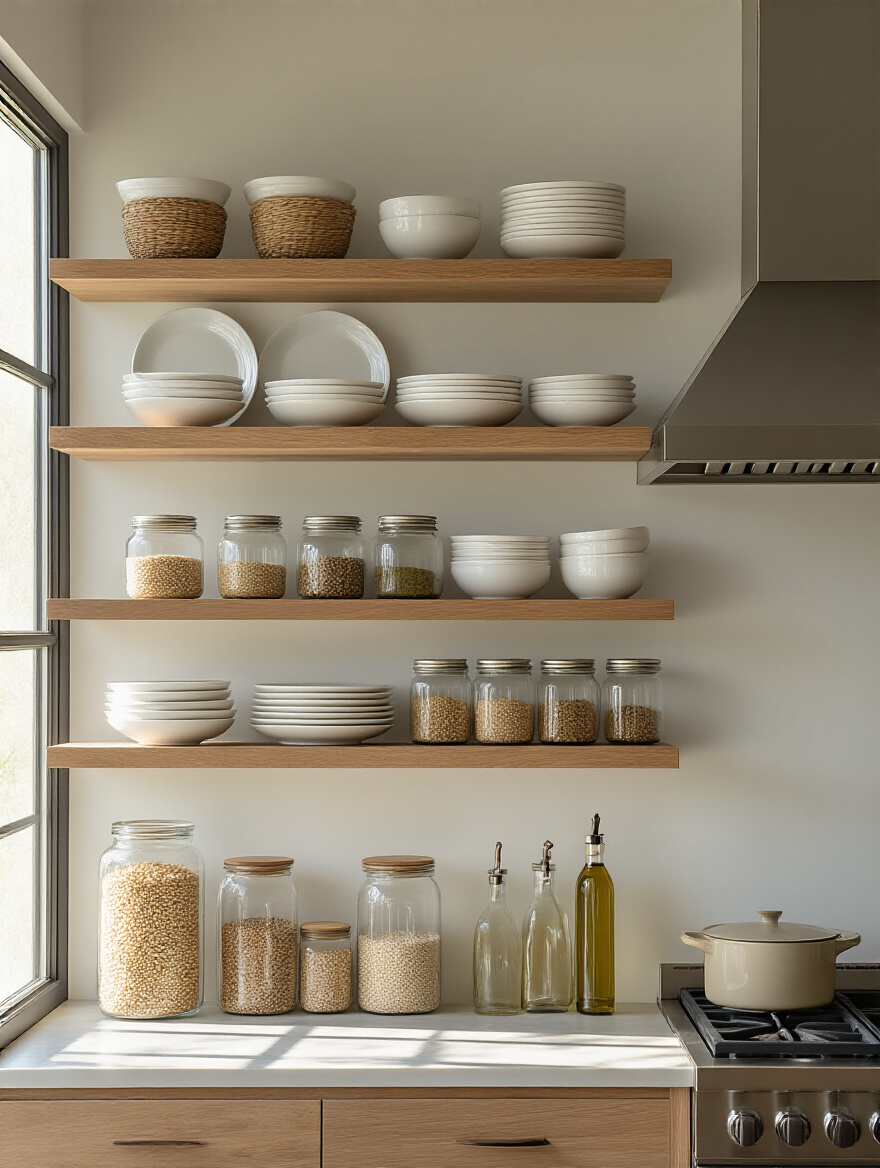
Place identical stacks of plates on each side, or matching canisters, or two similar-sized plants. This creates a very formal, clean, and balanced look. It’s incredibly calming to the eye because it’s so predictable and orderly. For people who get easily overwhelmed by visual clutter, a symmetrical arrangement can feel like a deep, calming breath.
My only warning is not to overdo it. If every single item is perfectly mirrored, it can feel a bit stiff and sterile. My pro tip is to create a symmetrical foundation with your main items, and then add one or two small, asymmetrical elements—like a single leaning cookbook or a plant with one trailing vine—to break it up just a little bit and add a touch of life.
Curating Personality: Incorporating Functional & Aesthetic Elements
Your shelves are prepped and you understand the rules of arrangement. Now it’s time to make them yours. This is where we go beyond just making things look nice and start telling your story. Your shelves should reflect who you are, what you love, and how you live. We’ll do this by artfully blending the things you actually use with the things that bring you joy.
14. Showcase Cherished Cookbooks: Inject Personality and Vibrant Color
Cookbooks are one of the best ways to inject personality and color onto your shelves. Don’t hide them away in a cabinet! The spines offer a beautiful range of colors and typography, and they instantly tell a story about the kind of food you love to cook and eat.
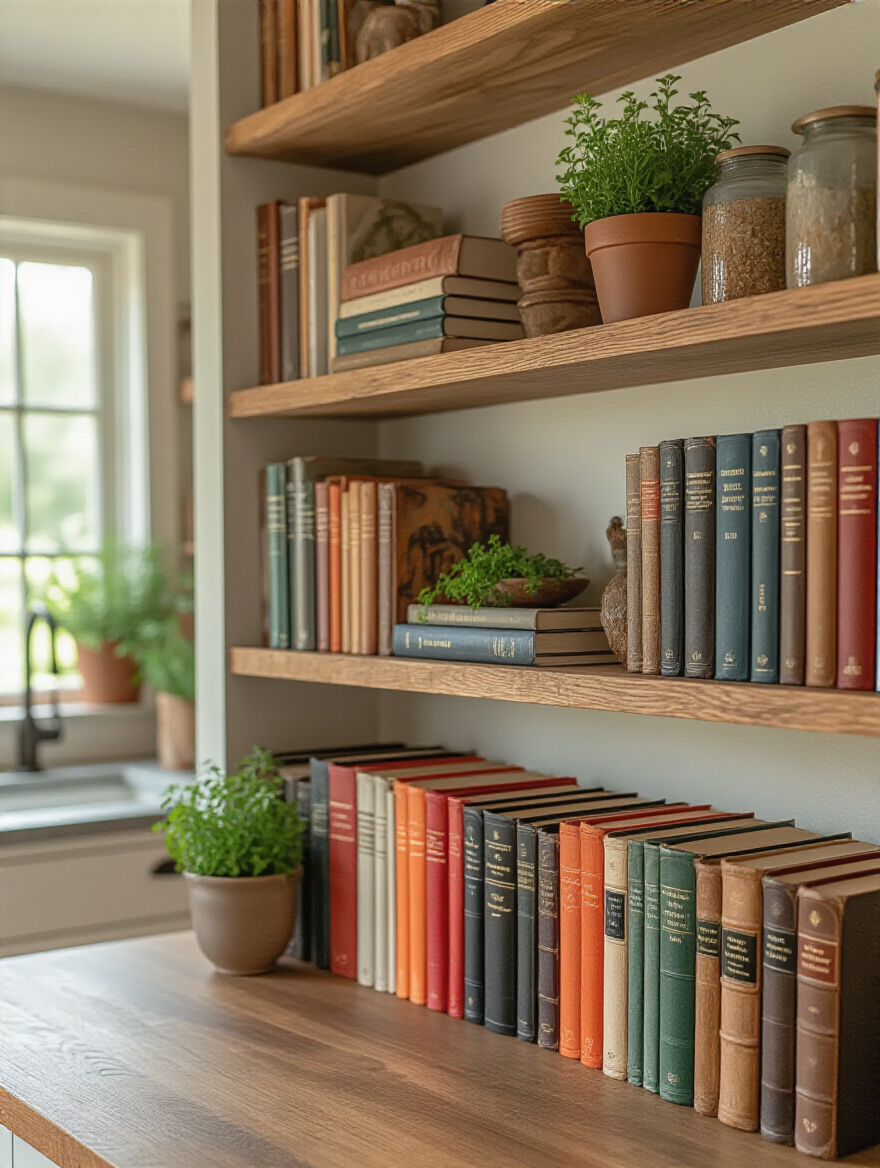
Mix up how you display them. Stand some up vertically—use a cool, heavy object like a mortar and pestle as a bookend. Stack others horizontally and use them as a riser for another object, as we discussed earlier. Curate them—put your most beautiful and most-used books on display. This isn’t the place for that tattered, sauce-stained paperback.
It’s the ultimate blend of form and function. They’re decor that you can actually pull down and use. That’s what great storage design is all about.
15. Integrate Practical Kitchen Tools: Blend Everyday Function with Form
This is my favorite trick for busy families. Instead of trying to hide everything, let’s celebrate the beauty of the tools you use every day. Just be selective. Your collection of mismatched plastic utensils? Probably not display-worthy. But a beautiful wooden cutting board, a copper measuring cup set, or a classic ceramic utensil crock? Absolutely.
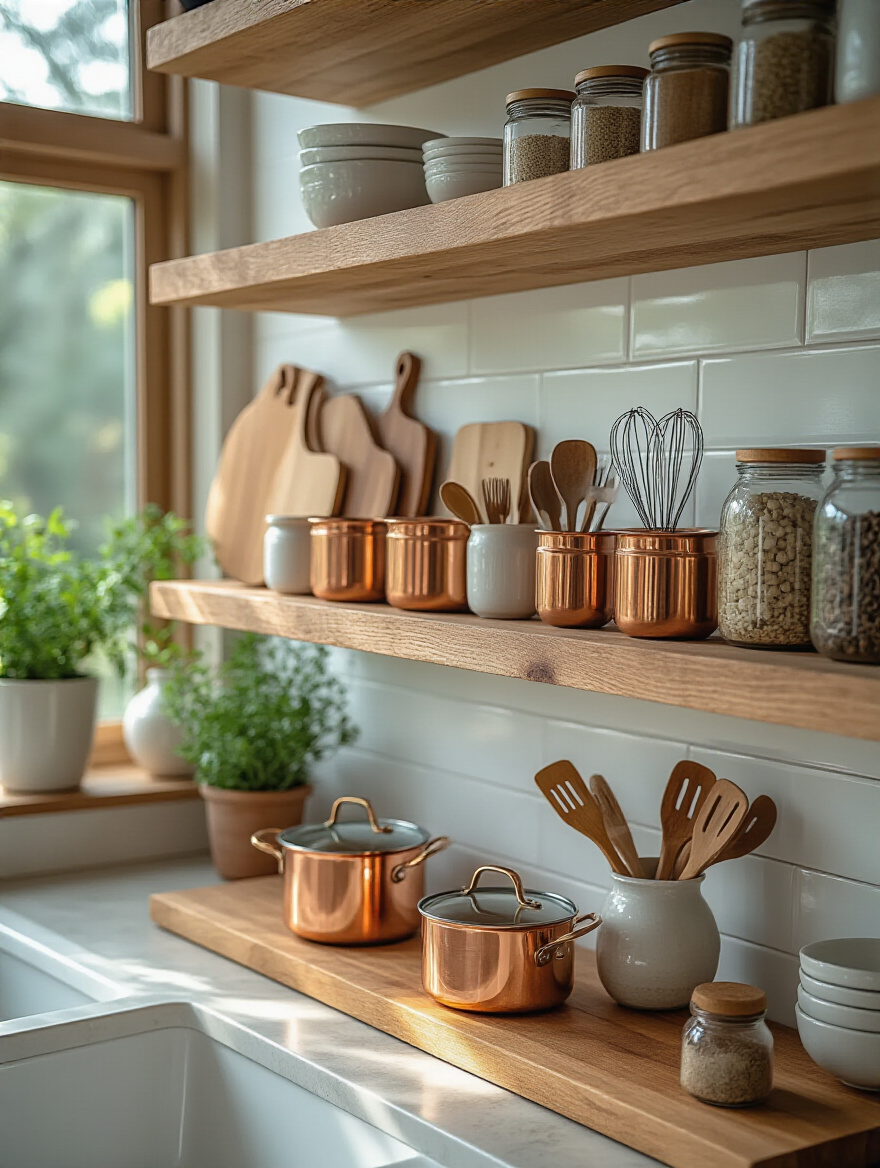
Group like items together. Put all your wooden spoons in a nice crock. Lean your collection of cutting boards against the back of a shelf. A high-quality stainless steel pot can look just as beautiful as a decorative vase if it’s placed with intention. The key is to choose tools that have an inherent aesthetic quality.
This approach makes your kitchen more efficient because your most-used items are right at your fingertips. And it reinforces the idea that the kitchen is a workspace—a beautiful, functional, and well-organized one.
16. Introduce Natural Elements: Add Warmth with Plants or Wooden Pieces
If your shelves feel a bit cold or sterile, the fastest and easiest fix is to add something natural. A small plant, a piece of wood, or even a bowl of lemons can instantly breathe life and warmth into the space.
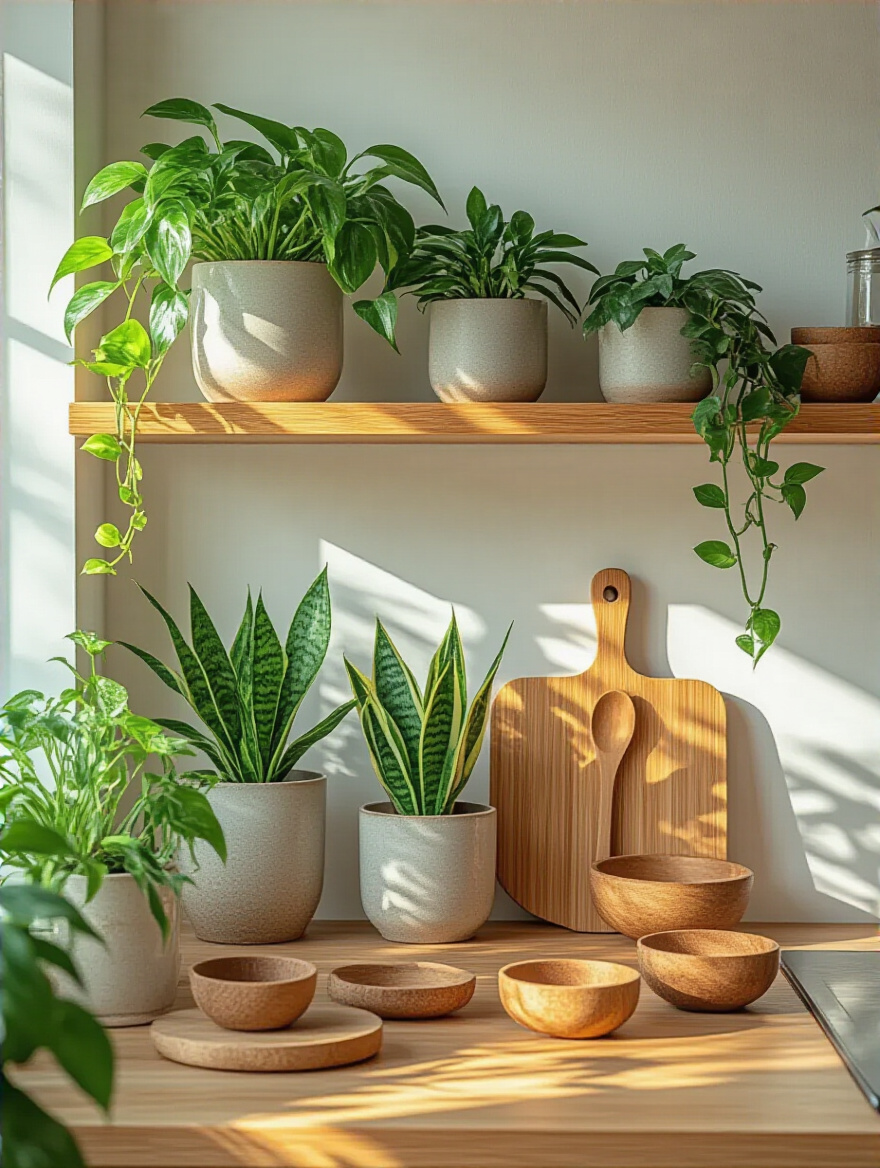
For plants, choose something low-maintenance that can handle kitchen conditions. Pothos are nearly impossible to kill and look great with their trailing vines. A small pot of herbs near a window is perfect because it’s both beautiful and functional. If you don’t have a green thumb, a high-quality faux plant can work wonders—just make sure it looks realistic. Wood is also a game-changer. Wooden bowls, cutting boards, or even just a set of wooden-handled utensils can soften the hard lines of a modern kitchen and add a layer of organic texture.
It’s a simple, foolproof way to make your display feel more alive, welcoming, and connected to nature.
17. Display Vintage Finds Thoughtfully: Tell a Unique Story with Charm
A little bit of history goes a long way. Sprinkling in a few vintage pieces is the secret to giving your kitchen soul and keeping it from looking like a page in a catalog. It could be your grandmother’s old measuring cups, a set of antique tins you found at a flea market, or a beautifully aged silver pitcher.
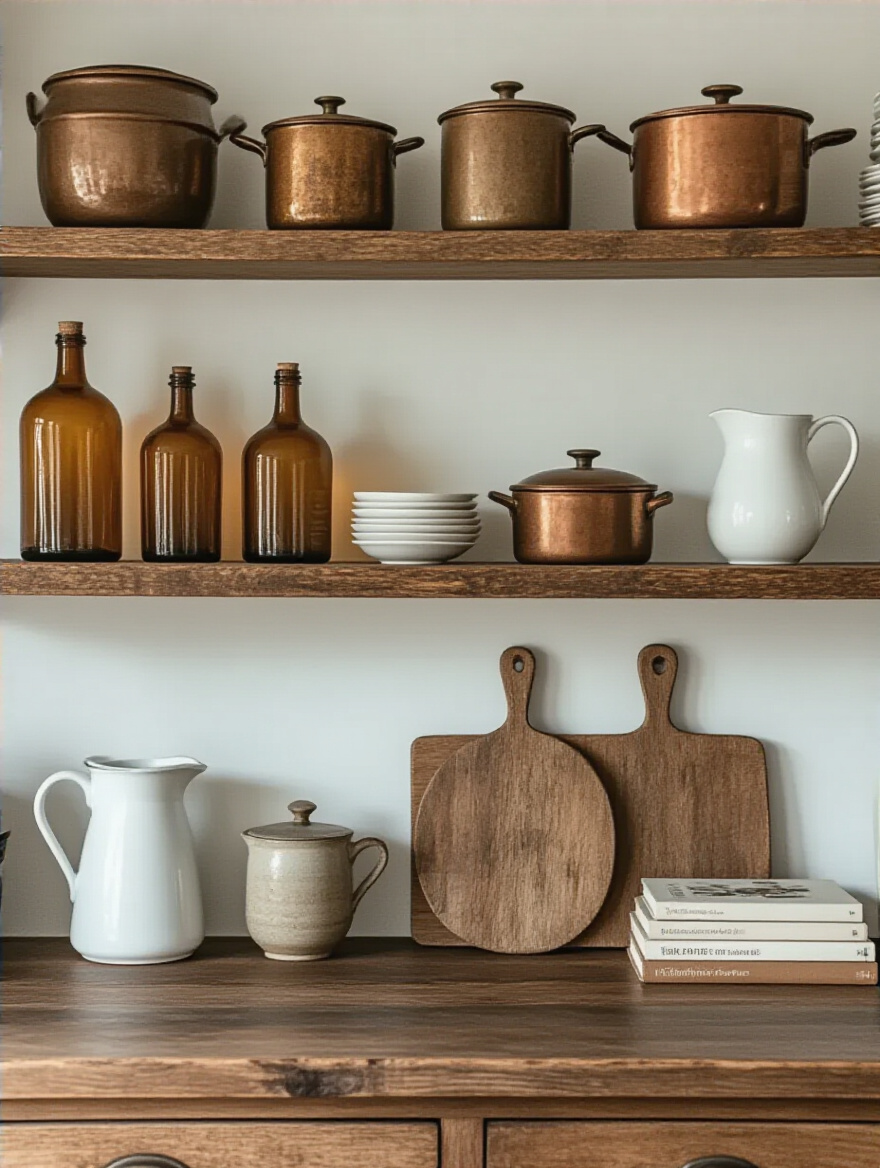
The trick is not to overdo it, or your shelves will start to look like a cluttered antique store. You want to create a contrast between old and new. Place a single vintage copper pot next to a stack of modern, minimalist white plates. The juxtaposition is what makes both items more interesting. Let the vintage piece be the star of its own little vignette.
These are the items that spark conversations and tell a unique story about you. They add a layer of personal history that you can’t buy at a big box store.
18. Select Cohesive Dishware Sets: Elevate Everyday Essentials to Decor
This is arguably the single most impactful thing you can do for beautiful open shelves. If your dishes are a mismatched jumble of colors, patterns, and sizes, your shelves will always look cluttered. Investing in a cohesive set of dishware is a game-changer.
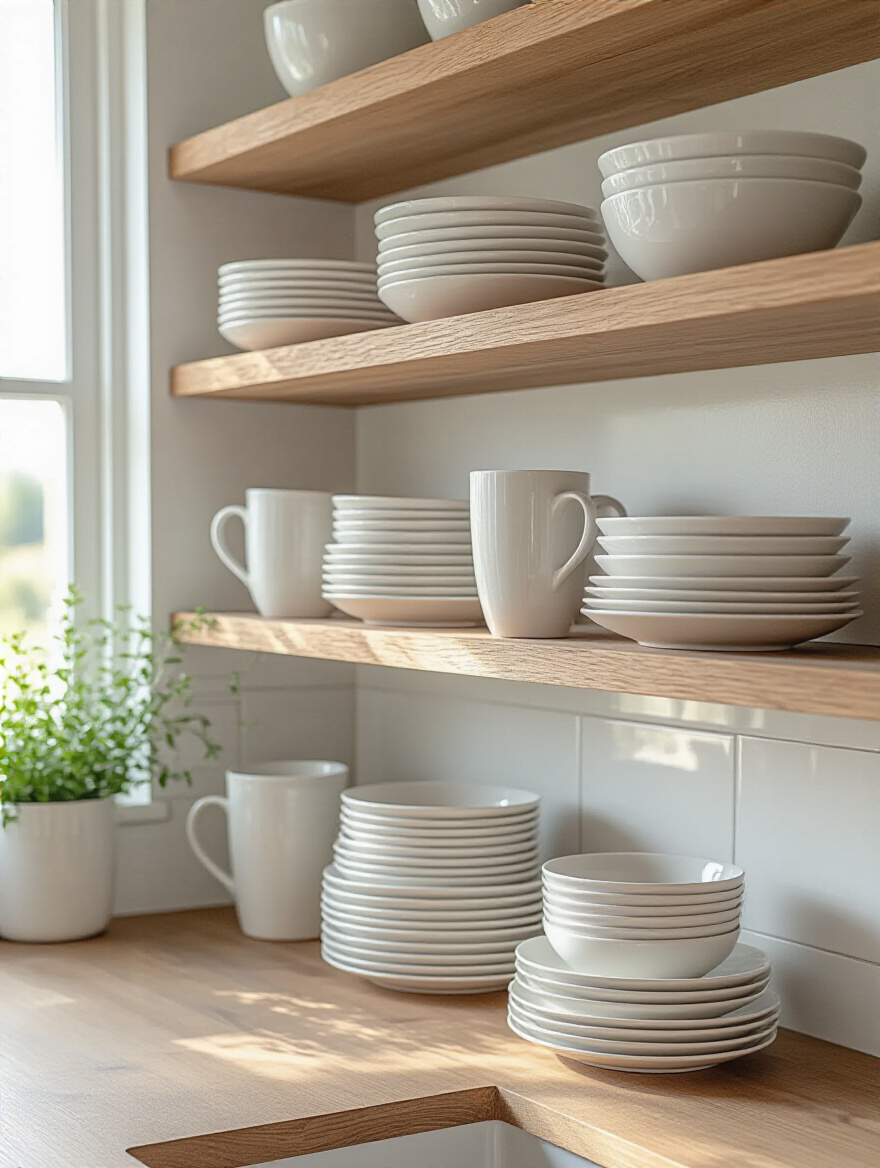
It doesn’t have to be expensive. A simple, classic white set is always a great choice because it provides a clean, neutral backdrop for everything else. It immediately creates a sense of order and calm. If you want color, go for a single solid color or a very simple, consistent pattern. Stack your plates and bowls neatly. This turns your everyday essentials into a foundational decorative element.
It’s the ultimate win-win. Your dishes are organized, accessible, and they look absolutely fantastic, creating a powerful visual anchor for your entire display.
19. Use Decorative Baskets and Bins: Contain Clutter with Understated Style
Let’s be real. Not everything in a kitchen is beautiful. You need a place for those random odds and ends: the packet of seasoning, the half-eaten bag of chips, the collection of tea bags. This is where decorative baskets and bins become your best friends.
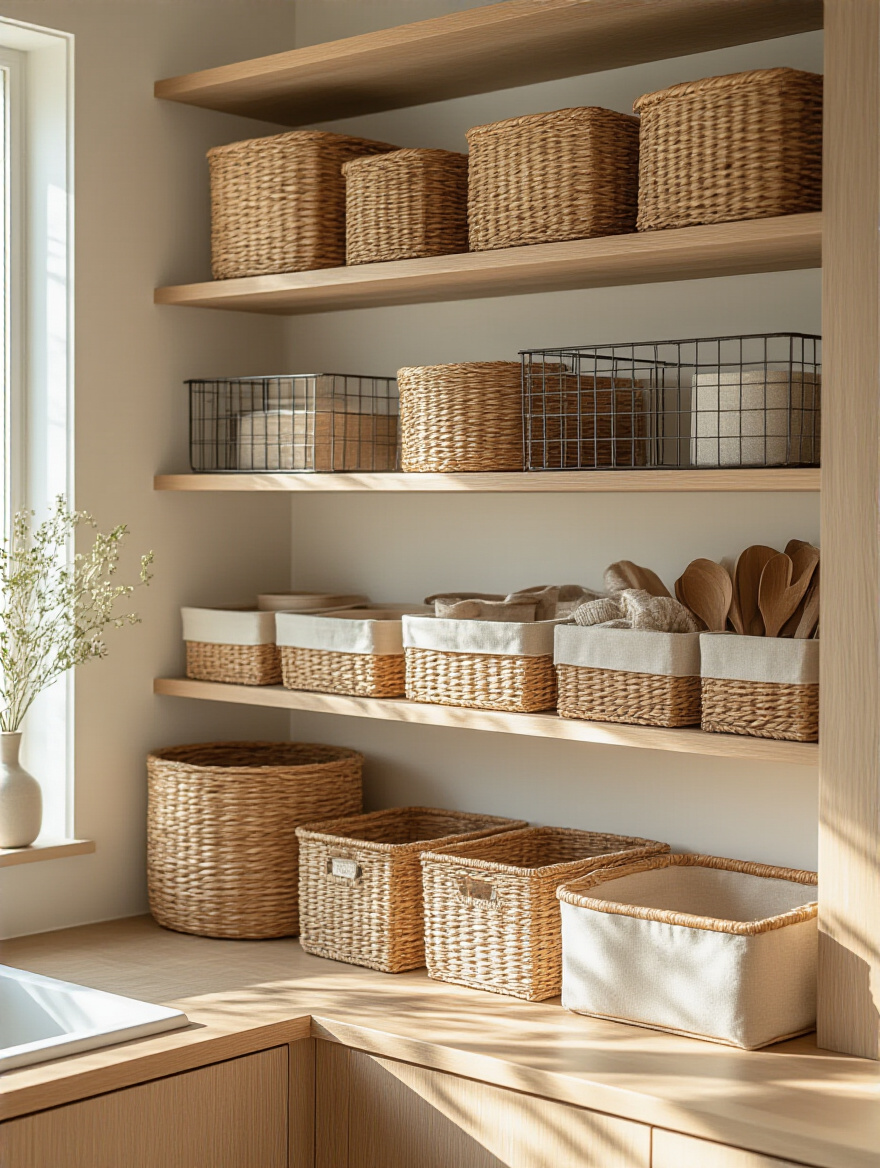
Find a set of matching baskets—woven, wire, or canvas—that fit your shelves and your style. Designate one for snacks, one for linens, one for coffee supplies. Instantly, all that visual clutter disappears into a tidy, attractive container. The texture of the basket adds warmth, and the uniform look creates a sense of order. You can even add small, stylish labels so you know what’s inside.
This is the key to making open shelving work in a real, busy household. It’s the system that allows you to hide the mess in plain sight, maintaining that beautiful, curated look.
20. Incorporate Small Art and Mirrors: Reflect Light and Express Individual Style
This is the finishing touch that most people never think of. A small piece of framed art or a little mirror leaning against the back of a shelf can completely elevate your display. Art injects personality and a pop of color, making your shelves feel like a tiny, curated gallery.
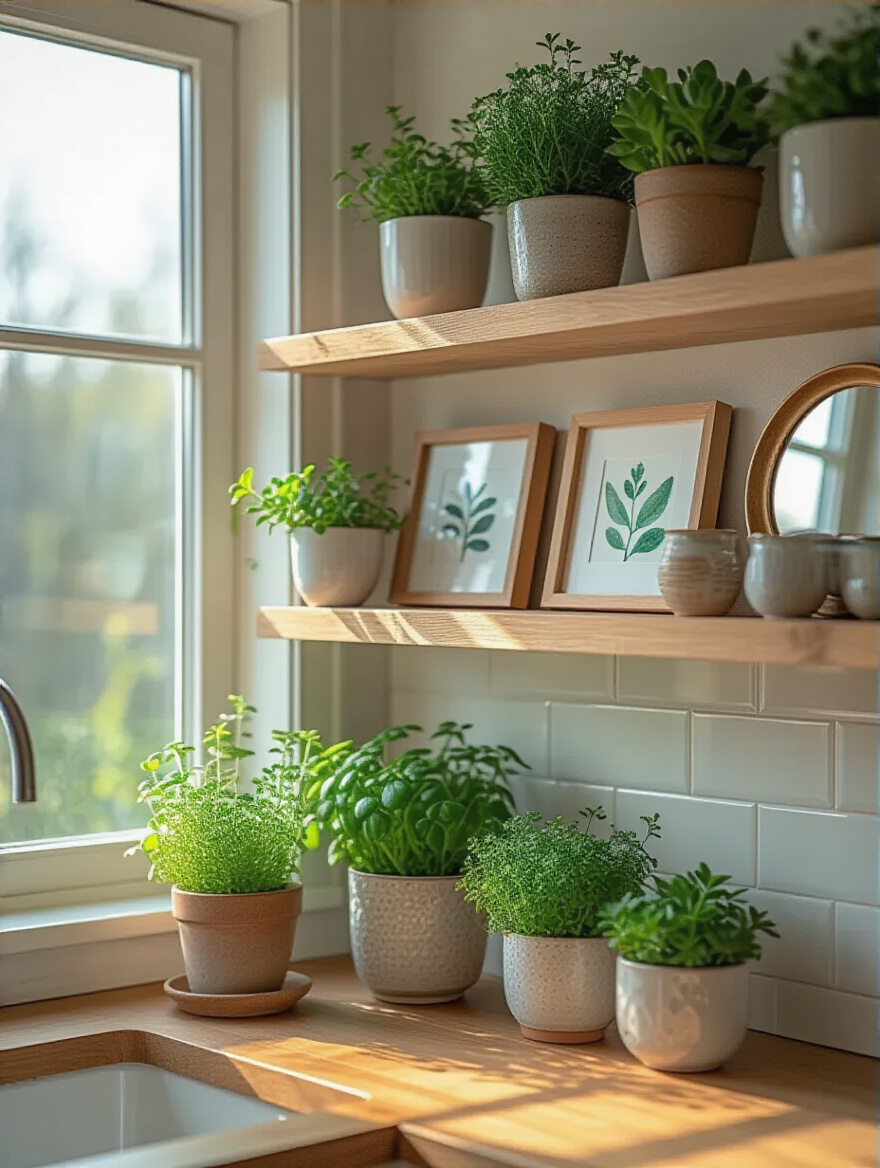
A mirror is a brilliant trick for small or dark kitchens. Place it opposite a window, and it will bounce light around the room, making the whole space feel brighter and more expansive. It also adds a touch of unexpected glamour. You’re not trying to make a huge statement; a small, simple piece is all you need to add a final layer of sophistication.
It’s an unexpected element that shows real thought and intention went into your design, moving it beyond mere storage and into the realm of true personal style.
Refinements & Seasonal Updates: Keeping Your Decor Dynamic
You’ve done it. Your shelves are organized, balanced, and full of personality. But the work isn’t quite over. A truly great space evolves. To keep your shelves looking fresh and inspiring, you need a simple plan for maintenance and updates. This is how you prevent “decor blindness”—where you get so used to seeing something that you stop noticing it altogether.
21. Rotate Seasonal Decor Items: Keep Displays Fresh and Engaging Annually
To keep things from feeling static, embrace the seasons. This doesn’t mean you have to go all out with holiday themes. It can be as simple as swapping a few key items. In the fall, you might add a few mini white pumpkins and a plaid linen napkin. In the spring, a small vase of tulips and a pastel-colored bowl.
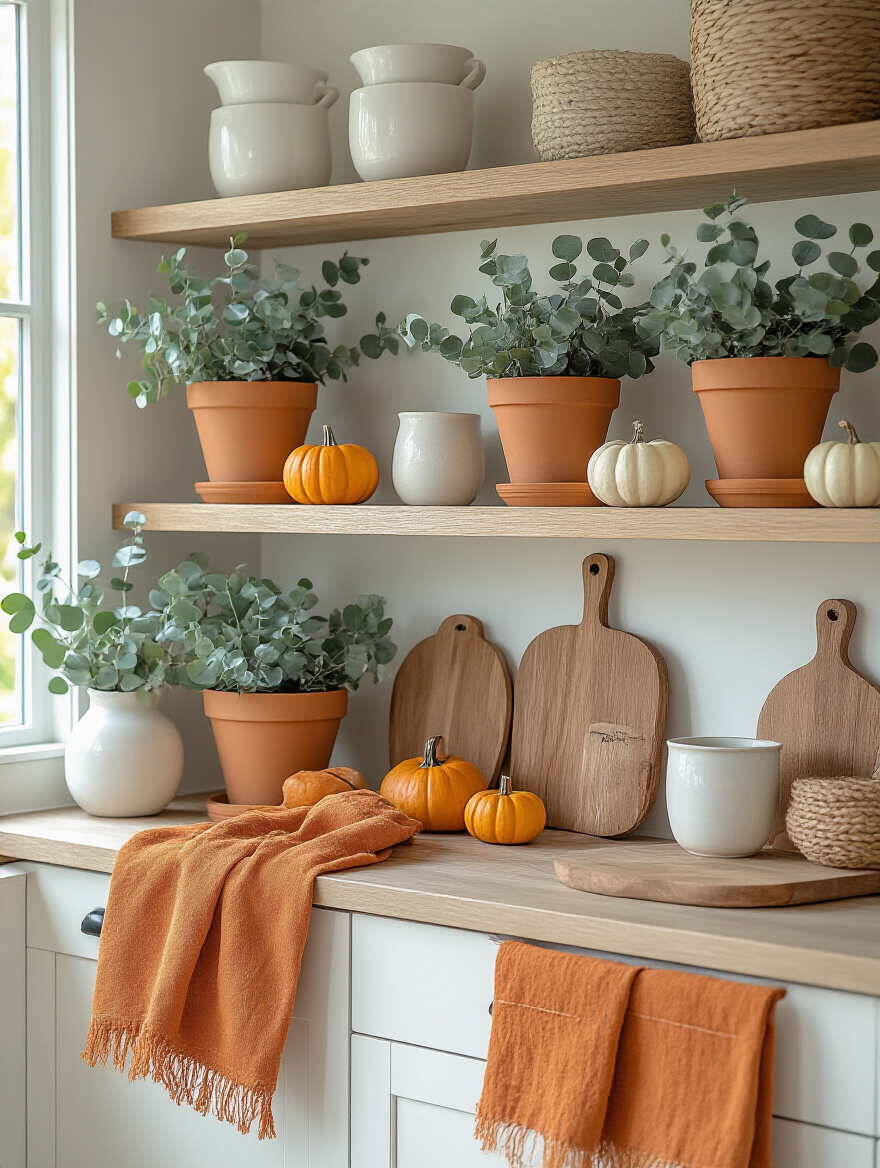
The key is to have a “core” set of items that stay year-round (like your white dishes and wooden boards) and a small, rotating collection of “accent” pieces. Keep your off-season decor in a clearly labeled bin. This little ritual of swapping things out every few months forces you to re-evaluate your shelves, dust everything off, and keep the display feeling fresh and intentional.
It’s a fun, low-effort way to make your kitchen feel connected to the time of year and ensures you’ll never get bored of looking at it.
22. Refresh with Low-Maintenance Faux Greenery: Add Lasting Vibrancy
While I love real plants, kitchens can be tough environments for them. If you want the look without the work, invest in high-quality faux greenery. The keyword here is high-quality. A cheap, plastic-looking fake plant is worse than no plant at all.
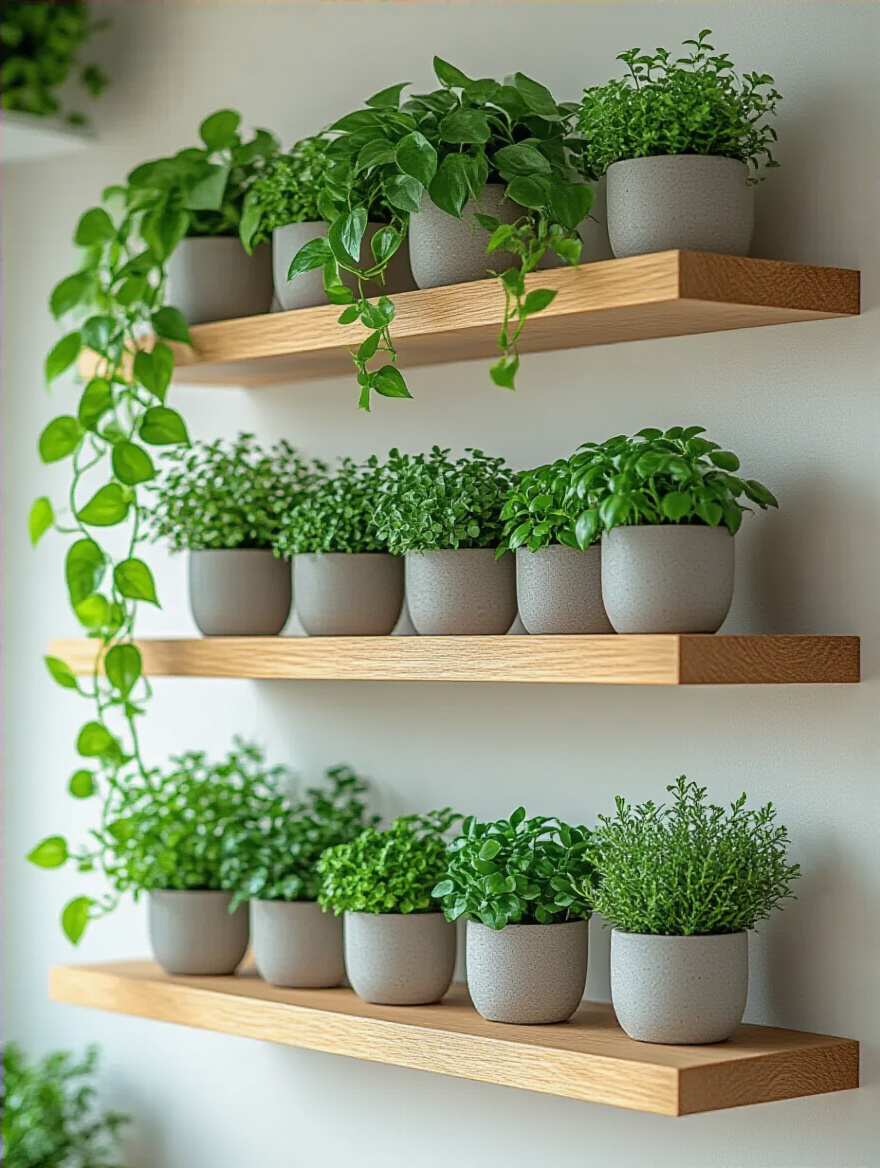
Look for plants with realistic color variations in the leaves and natural-looking textures. A good faux trailing plant cascading down from a top shelf or a cluster of small faux succulents can provide that pop of green all year long, with zero maintenance. My pro tip: dust them! A dusty fake plant is a dead giveaway. A quick wipe with a microfiber cloth every now and then is all it takes to keep them looking fresh.
This is your set-it-and-forget-it solution for adding lasting life and color to your shelves, no green thumb required.
23. Embrace Practical Decanters: Store Bulk Staples with Elegant Uniformity
This is the ultimate professional organizer move. Go to your pantry, grab those crinkly, half-open bags of flour, sugar, rice, and pasta, and decant them into a set of matching, airtight containers. Glass or clear acrylic canisters are perfect for this. It is, without question, one of the most transformative things you can do for open shelving.
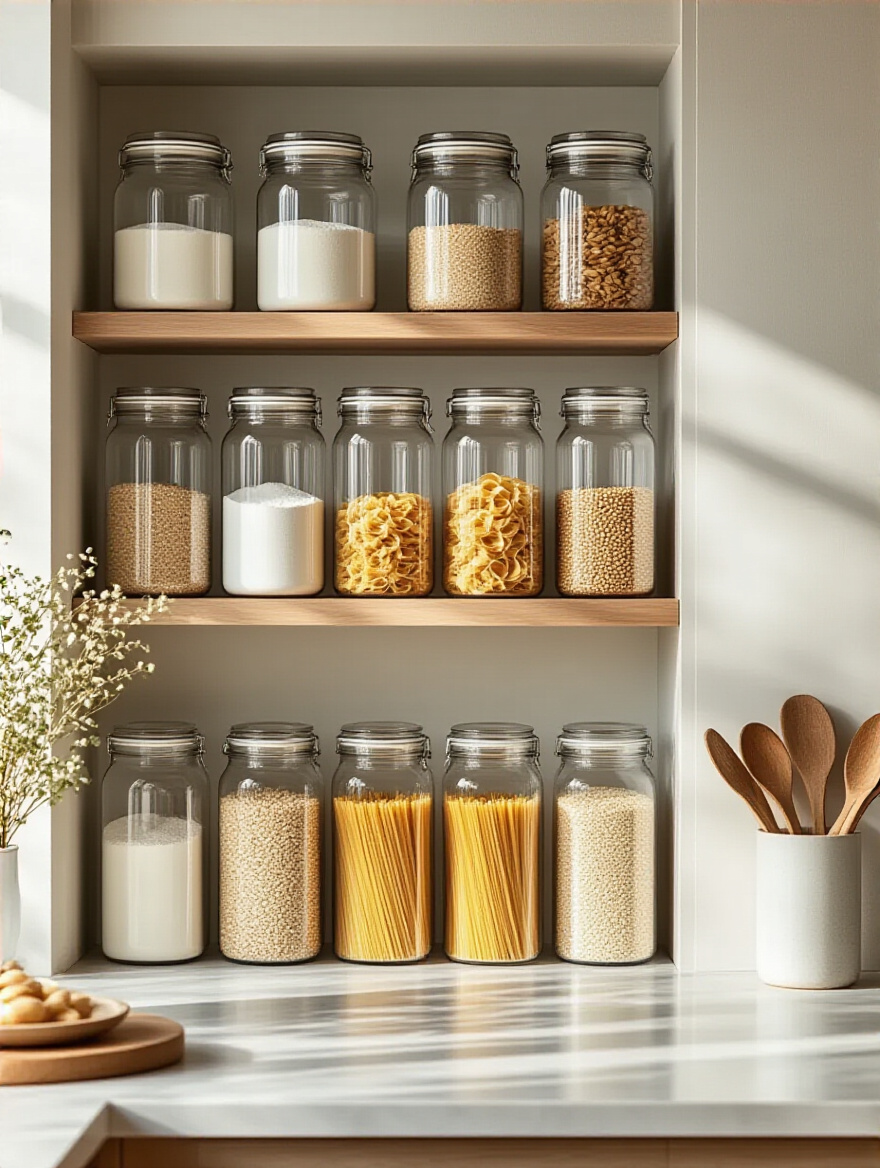
Not only does it create an incredibly calming, uniform look, but it also keeps your food fresher for longer and makes it easy to see when you’re running low. Get a set of stackable, square containers to be super-efficient with space. Add some simple, elegant labels, and you’ve just turned your mundane pantry staples into a chic, functional display.
It looks incredibly high-end, but it’s a simple, practical system that makes your life easier. This is the very definition of great design.
24. Conduct Regular Dusting and Polishing: Maintain Pristine Visual Appeal
Finally, the boring but essential truth: you have to dust. Open shelves, especially in a kitchen, are dust and grease magnets. The good news is, if you do it often, it’s a quick and painless task. A weekly once-over with a microfiber duster is all it takes to prevent that sticky buildup.
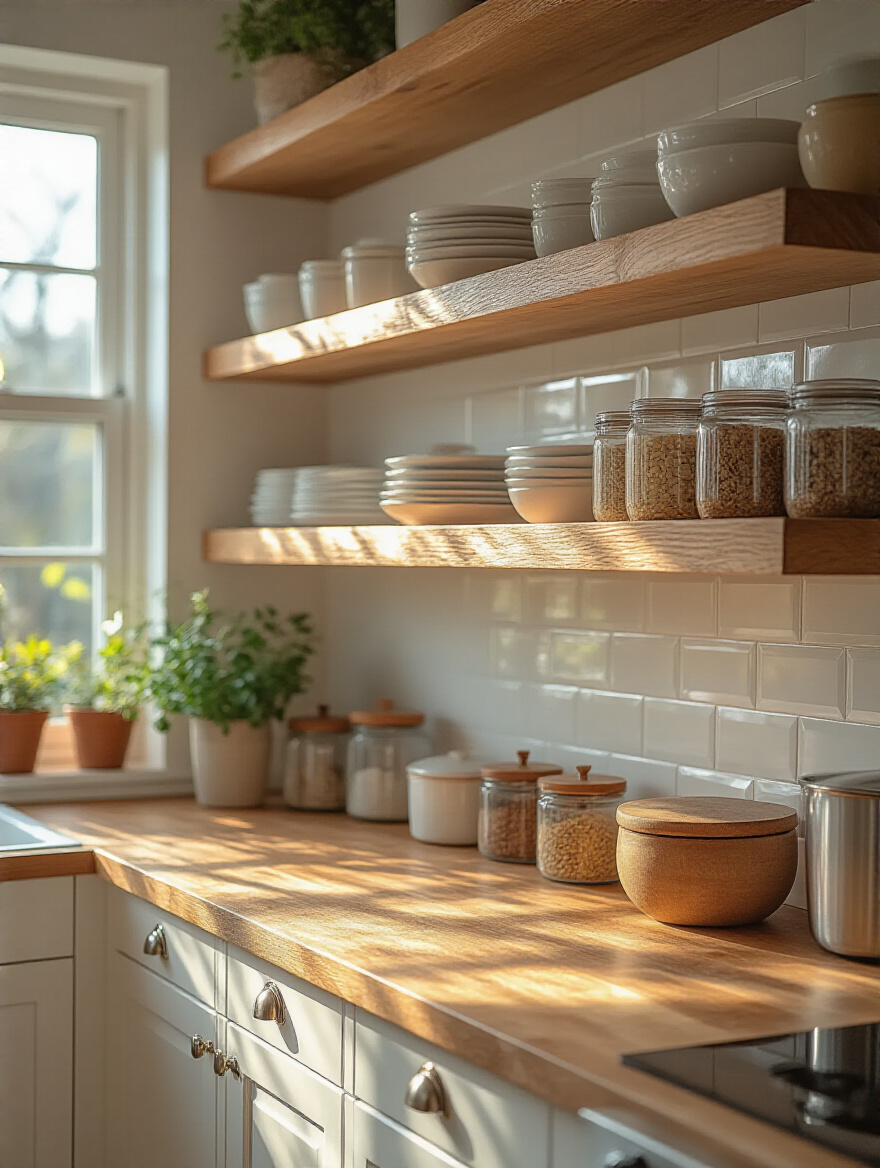
For a deeper clean, use my “Two-Cloth Method.” Use one cloth, slightly damp with an appropriate cleaner, to wipe everything down. Then, immediately follow with a second, completely dry microfiber cloth to buff away any streaks. This works wonders on glassware, mirrors, and shiny ceramics, leaving them with a brilliant, streak-free shine.
This simple routine is what preserves all the hard work you’ve put in. It ensures your beautiful, curated display stays looking that way, day in and day out.
Your Dream Kitchen Awaits
Transforming your kitchen shelves from a cluttered drop-zone into a stunning display isn’t about having a bigger budget or a designer on speed dial. It’s about having a system. It’s about being intentional, starting with a solid foundation, understanding a few simple rules of arrangement, and committing to a little bit of upkeep. It’s about creating a space that is not only beautiful to look at but also makes your daily life easier and more joyful.
Don’t feel like you have to tackle everything at once. Start small. Pick one shelf. Clear it off, clean it, and try arranging just a few of your favorite items using the Rule of Three. See how it feels. Great design is a process, a series of small, thoughtful choices that add up to something wonderful. Your kitchen can and should be a reflection of you, and with these steps, your shelves will become one of its most beautiful and personal stories.
