Picture this: You’re standing in your kitchen. It’s got “good bones,” but it’s tired. The counters are a color you didn’t choose, the floor has seen better days, and the lighting makes everyone look a little… unwell. You scroll through Instagram and see these stunning, perfect kitchens, and your heart sinks a little because you’re convinced that kind of transformation costs more than a car.
I used to think that, too. I figured having a beautiful, functional kitchen—especially one that could stand up to my chaotic crew of a rescue dog and two cats—meant I had to be secretly rich. But after years of designing spaces for families just like mine and leaning on my background as a vet tech, I learned the secret isn’t about having more money. It’s about being smarter with the money you have.
The internet will tell you to gut everything. It’s noise. The real story, the stuff that actually matters, is in the strategic, small moves that feel huge. So let’s talk, friend to friend. Here are the shortcuts I wish someone had told me years ago.
Strategic Planning & Smart Assessment (Part 1)
Okay, before you even think about picking out a paint chip or swooning over a faucet, we need to do the “boring” stuff. Except it’s not boring—it’s the secret sauce. This is where you save thousands of dollars and countless headaches. Getting this part right means your project will actually get finished, stay on budget, and result in a kitchen you (and your furry copilots) will love for years.
Think of it like building a solid foundation. You wouldn’t put up walls on shaky ground, right? Same principle. This is about making a rock-solid plan, understanding how you actually use your kitchen, and figuring out where you can save big before you spend your first dollar. Let’s dive in.
1. Establish a Realistic, Detailed Renovation Budget
Everyone tells you to “make a budget.” What they don’t tell you is that your budget needs a line item for chaos. I’m serious. A non-negotiable 15% contingency fund is what separates a smooth project from a disaster. I once worked with a family whose Great Dane, appropriately named Moose, got stressed by the construction noise and ate a section of drywall. It wasn’t in their original budget. The contingency fund saved them from a massive panic and let them hire a pro to fix it right away without derailing the whole renovation.
Your budget isn’t just a number; it’s your roadmap. It tells you where you can spend and where you need to be creative. List out everything: cabinets, counters, flooring, paint, labor, permits, and that “Moose ate the wall” fund. This is the single most important document you will create. It’s not about limiting you; it’s about empowering you to make smart choices. And trust me, it feels so good to end a project on-budget instead of eating ramen for six months.
2. Conduct a Comprehensive Kitchen Needs Audit
Before you tear anything out, spend a week being a detective in your own kitchen. Where does the mail pile up? Where do the dog bowls actually end up, versus where you wish they were? Do you curse the Tupperware cabinet every time you open it? This isn’t about what looks pretty; it’s about what drives you nuts on a daily basis. Your renovation should solve problems, not just cover them up with new finishes.
For pet parents, this audit is critical. Maybe you realize you need a dedicated “pet station”—a lower cabinet with pull-out bins for food and treats. Or maybe you discover the reason your floors are always gross is because there’s no designated spot by the back door for wiping muddy paws. I have a client who designed a brilliant little recessed nook for their dog’s water bowl so they’d stop tripping over it. That’s the kind of practical, life-changing detail a needs audit uncovers. It ensures your money goes toward things that make your life genuinely easier.
3. Optimize Existing Layouts to Avoid Costly Structural Changes
Can we talk about why everyone gets this wrong? The myth of the “open concept” has convinced people that the first step to any renovation is knocking down a wall. That is the fastest way to drain your budget. Moving walls means moving plumbing, electrical, and HVAC. It means permits, engineers, and a whole lot of dust and dollars. Unless your current layout is truly a safety hazard, leave it alone.
Instead, work magic within the footprint you have. Can you add a peninsula instead of an island to improve flow? Can you replace a bulky cabinet with slim open shelving to create a sense of space? I learned this the hard way on my first apartment. I was convinced I needed to move a wall. A savvy designer showed me how to reconfigure my cabinets and lighting for a tenth of the cost, and it felt twice as big. The shortcut is to improve the flow and function of what you have, not bulldoze it.
4. Identify Key DIY Opportunities to Slash Labor Costs
I am a huge fan of rolling up your sleeves to save money, but you need to be brutally honest with yourself. Labor costs can be half your budget, so doing some work yourself is a massive win. But you need to know your limits. Are you patient enough to paint cabinets? Yes? Awesome. Do you know how to safely wire a new outlet? If the answer is anything other than a confident “heck yes,” step away and call a pro.

The best DIY jobs are the ones with low risk and high visual impact. Demolition is a great one—it’s cathartic and saves a ton. Painting walls, assembling flat-pack cabinets, installing a peel-and-stick backsplash—these are all fantastic places to save. Leave anything involving water, electricity, or gas to the licensed professionals. I have a tiny scar on my hand as a permanent reminder of the time I thought I could handle a “simple” light fixture swap. It’s just not worth the risk to you or your home’s safety.
Strategic Planning & Smart Assessment (Part 2)
We’re still in the planning phase, but now we get to the fun part: dreaming. Before digital tools, this meant hiring a designer or trying to sketch things out on graph paper, which often ended in frustration. Now, you have powerful design software right at your fingertips—for free. This is your chance to try on a dozen different kitchens without spending a dime, ensuring that when you finally do start, you have a clear, confident vision.
5. Leverage Free Online Tools and Apps for Design Inspiration
Don’t even think about starting your project until you’ve played around with a free kitchen planner online. IKEA and Lowe’s both have fantastic ones. These tools are the secret weapon to a budget renovation because they let you “fail” for free. You can see instantly that the giant island you dreamed of will actually block your fridge door, or that the dark cabinets you love might make your small kitchen feel like a cave. It’s like a video game for your house.
This is also how you avoid arguments and costly change orders down the line. I always have my clients create a 3D model of their plan. We input the exact dimensions of their space and appliances. It helps us map out workflow, figure out exactly how many cabinets we need, and experiment with colors. Building it virtually first means you get to work out all the kinks before a single hammer swings, saving you time, money, and a whole lot of stress.
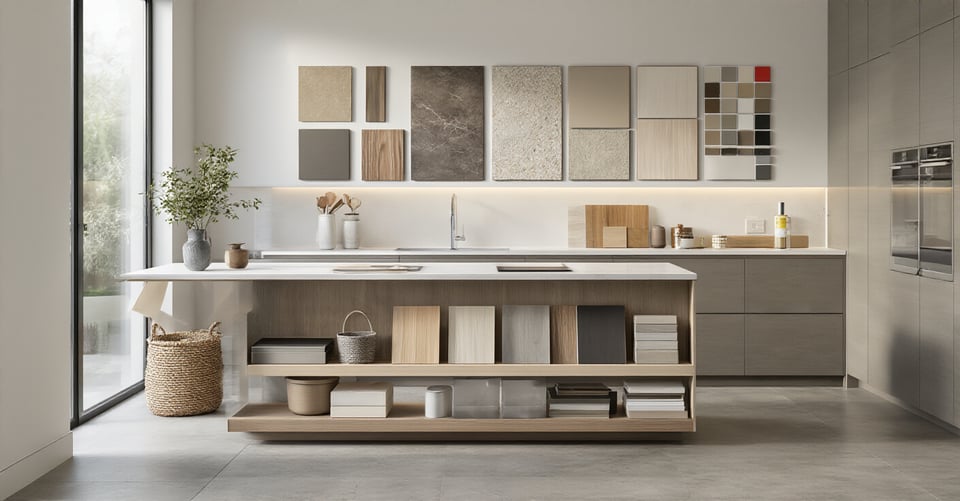
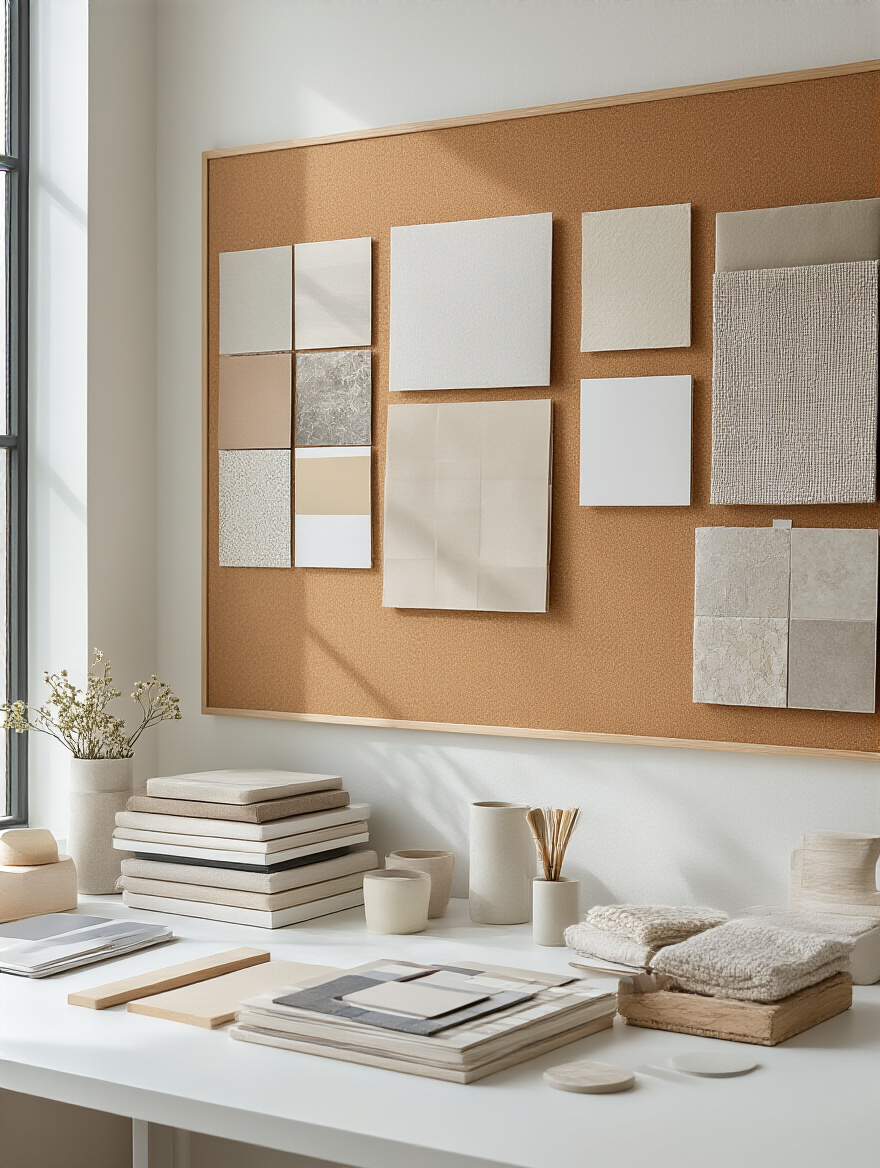
Savvy Material & Fixture Selections (Part 1)
This is where the magic happens! A gorgeous, durable kitchen isn’t about having the most expensive materials; it’s about choosing the right materials for your lifestyle and budget. You can get that high-end look for a fraction of the cost if you know where to look and what to prioritize. Get ready to feel like a design genius.
6. Reface or Repaint Existing Cabinets Instead of Replacing Them
Unless your cabinet boxes are literally falling apart, do not replace them. I will shout this from the rooftops. Repainting or refacing is the single biggest money-saver in a kitchen remodel. A professional paint job can make 30-year-old oak cabinets look like they came straight from a custom cabinet shop. It is absolutely transformative, and it costs thousands—sometimes tens of thousands—less than a full replacement.
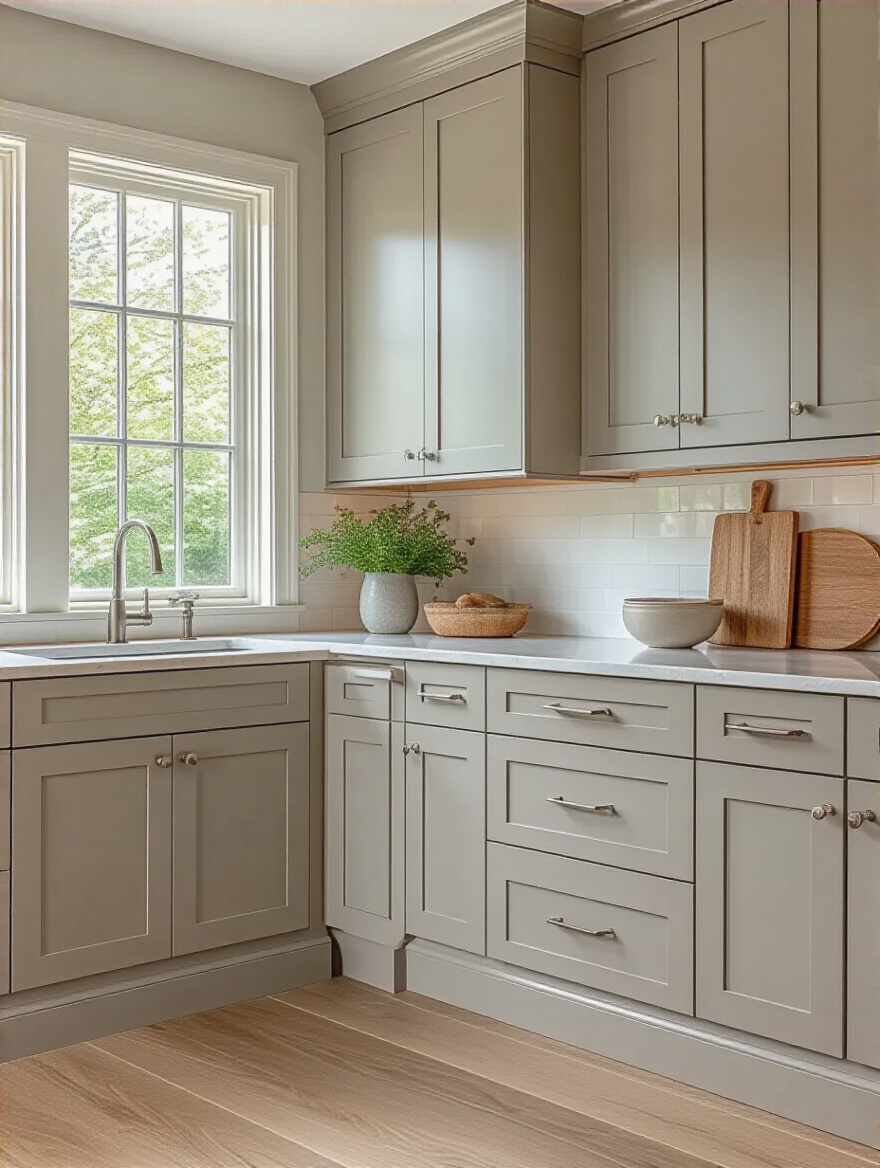
My own kitchen cabinets were a hideous honey oak when I moved in. They were solid, but ugly. For less than $500 in supplies (and a lot of weekend labor), I prepped, primed, and painted them a deep, moody green. The key is prep work—don’t skimp on cleaning and sanding! And for pet owners, this is a great opportunity to choose a durable, low-VOC paint that’s safer for your furry friends’ respiratory systems and tough enough to withstand an occasional curious paw scratch.
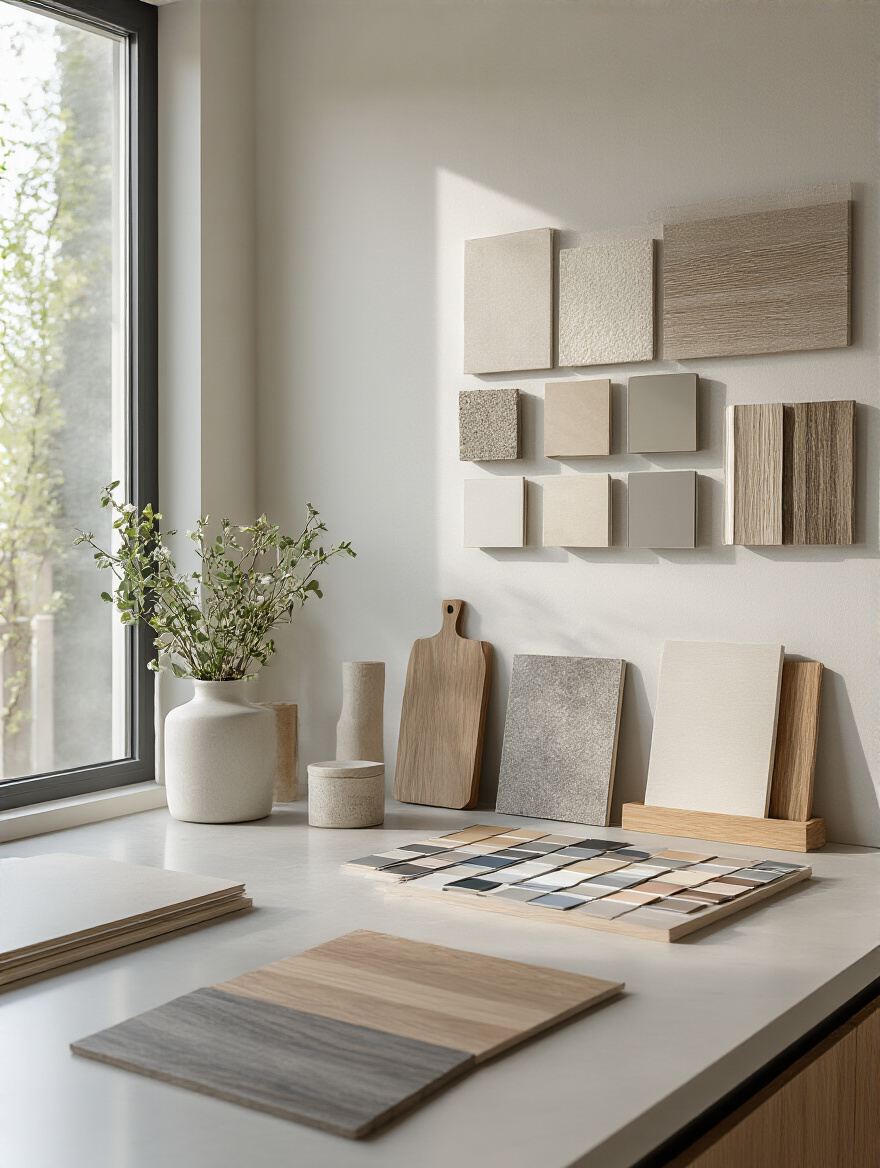
7. Explore Cost-Effective Countertop Materials like Laminate or Butcher Block
Everyone swoons over quartz and marble, and they are beautiful! They are also incredibly expensive. The good news? You absolutely do not need them for a stylish, functional kitchen. Today’s laminate countertops are unbelievable. They have sophisticated patterns that mimic stone perfectly, and they are workhorses—durable, non-porous, and so easy to clean. No sealing, no stressing, no staining.
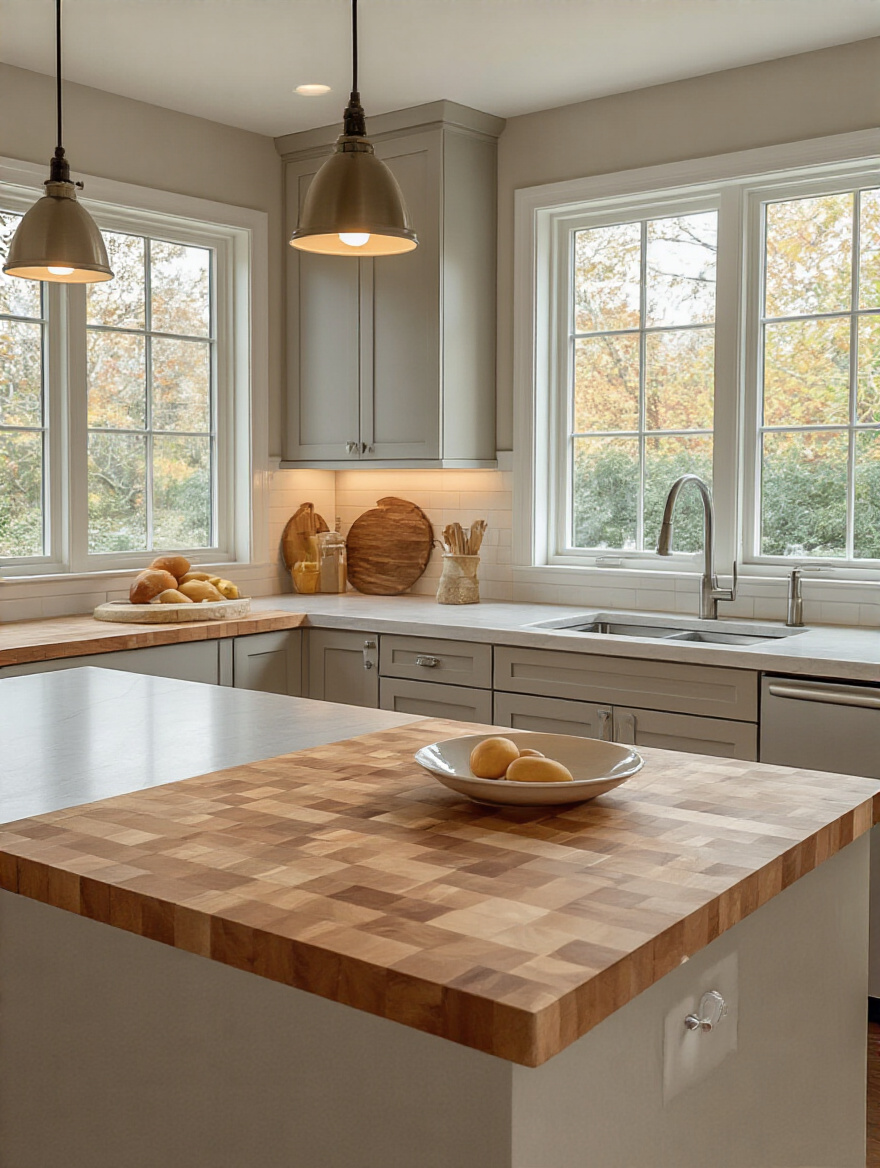
From a vet tech perspective, I lean towards materials that are non-porous. Spilled kibble or a lick from a curious cat won’t seep into the surface and harbor bacteria. Butcher block is another great budget option that adds warmth, but know that it requires regular oiling and can be scratched by pet claws. If you’re looking for low-maintenance and high-style on a budget, high-quality laminate is your best friend.
8. Install Peel-and-Stick Tiles for a Stylish Backsplash Makeover
If you can apply a sticker, you can install a peel-and-stick backsplash. It’s that simple. This is one of the most satisfying DIY projects because it’s fast, cheap, and makes a massive visual impact. You can get the look of intricate ceramic tile or sleek glass subway tile in a single afternoon with just a utility knife and a level.
This is a perfect solution for covering up old, dated tile without the mess and expense of demolition. They are surprisingly durable and easy to wipe clean—a must for that splash zone behind the sink where my cat, Leo, thinks his water bowl is a personal swimming pool. When you get tired of it in a few years, you can just peel it off and try something new. It’s a low-commitment, high-reward upgrade.
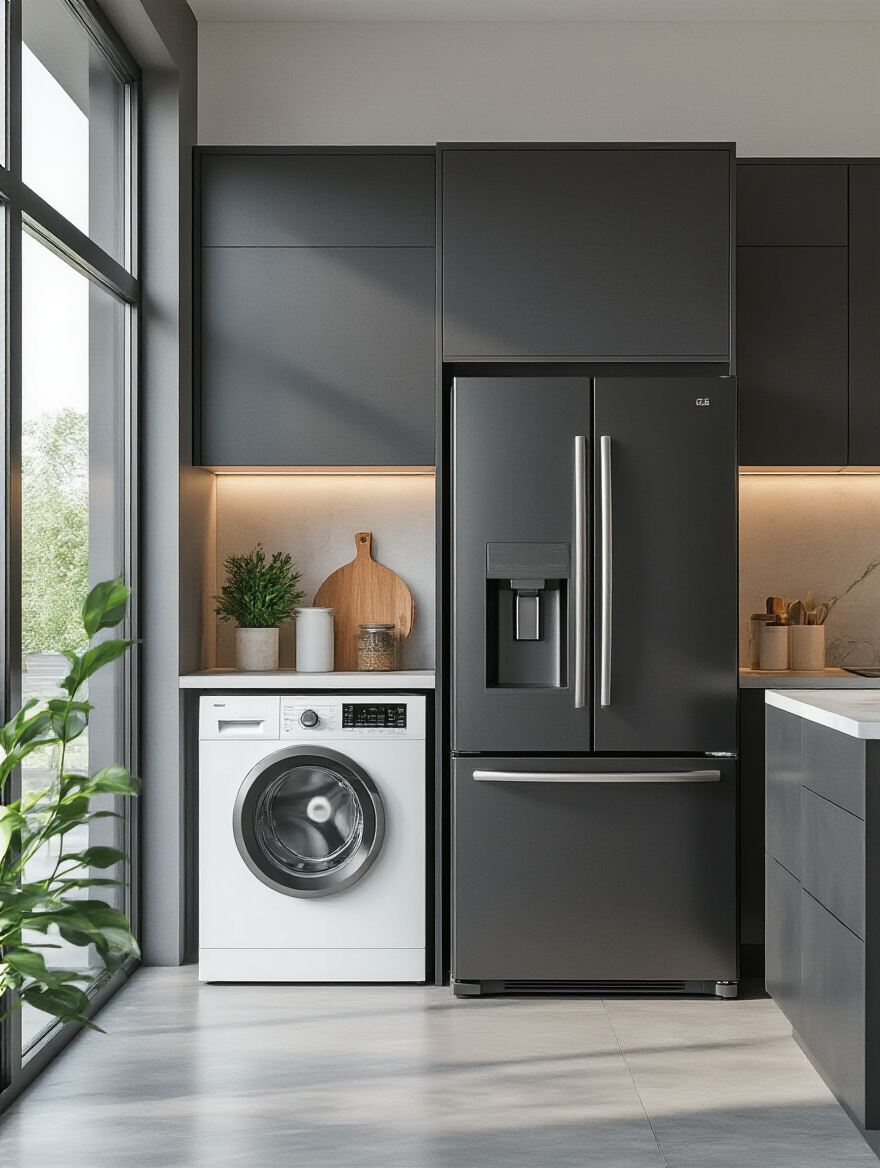
9. Shop for Second-Hand or Discounted Appliances from Outlets
Here’s a secret the big box stores don’t want you to know: their “scratch-and-dent” section is a goldmine. You can often find a brand-new, top-of-the-line appliance for 30-50% off just because it has a tiny ding on the side that will be completely hidden by your cabinets. Who cares?! It’s a cosmetic flaw that saves you hundreds, or even thousands, of dollars.
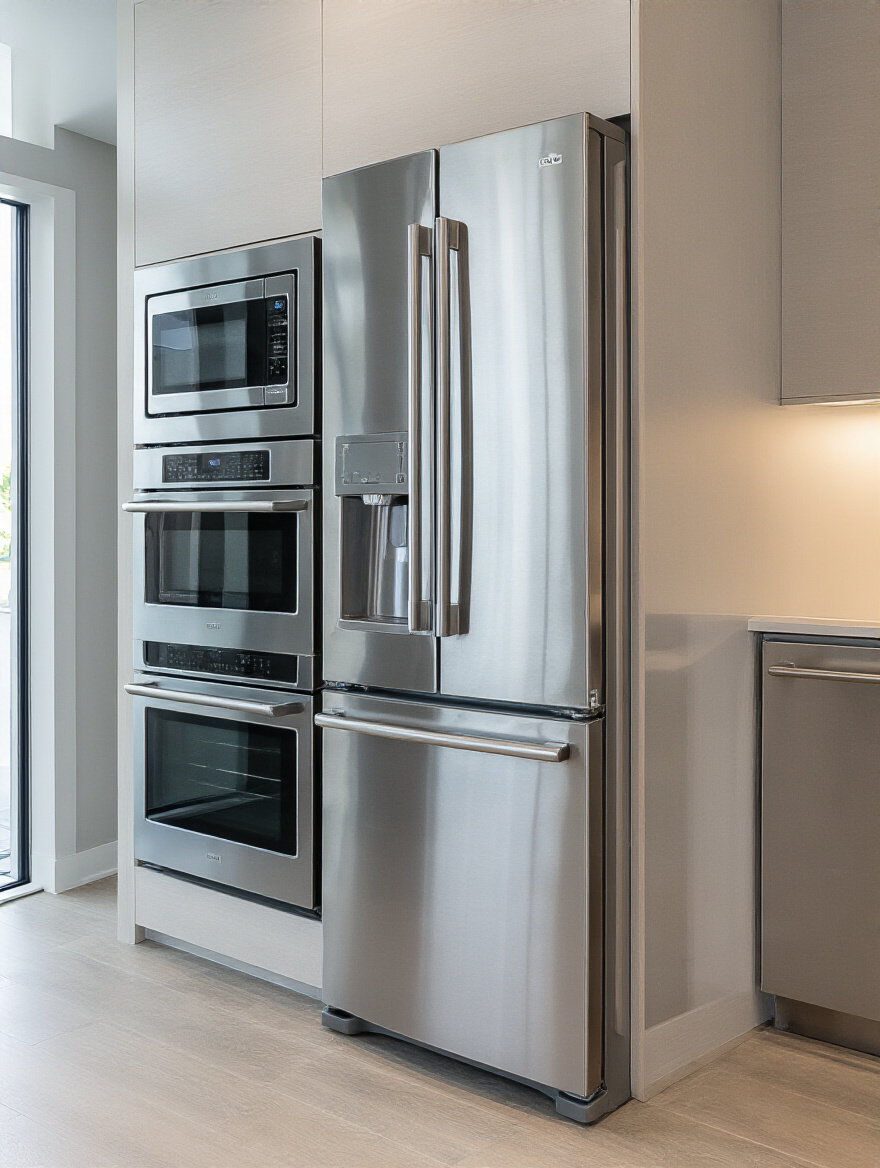
Also, check out places like Habitat for Humanity ReStores or local appliance liquidators. You can often find high-end appliances that were used for only a short time in a model home or came from another renovation. Just be sure to measure your space meticulously before you go shopping and always, always test the appliance before you buy it. Getting a great deal means nothing if it doesn’t fit or doesn’t work.
Savvy Material & Fixture Selections (Part 2)
Let’s keep the smart-shopping momentum going. We’ve covered the big three—cabinets, counters, and appliances—but the supporting players are just as important. These next two selections, lighting and flooring, are the unsung heroes of a great kitchen. They impact how the space feels, how it functions, and how safe it is for every member of your family, paws and all.
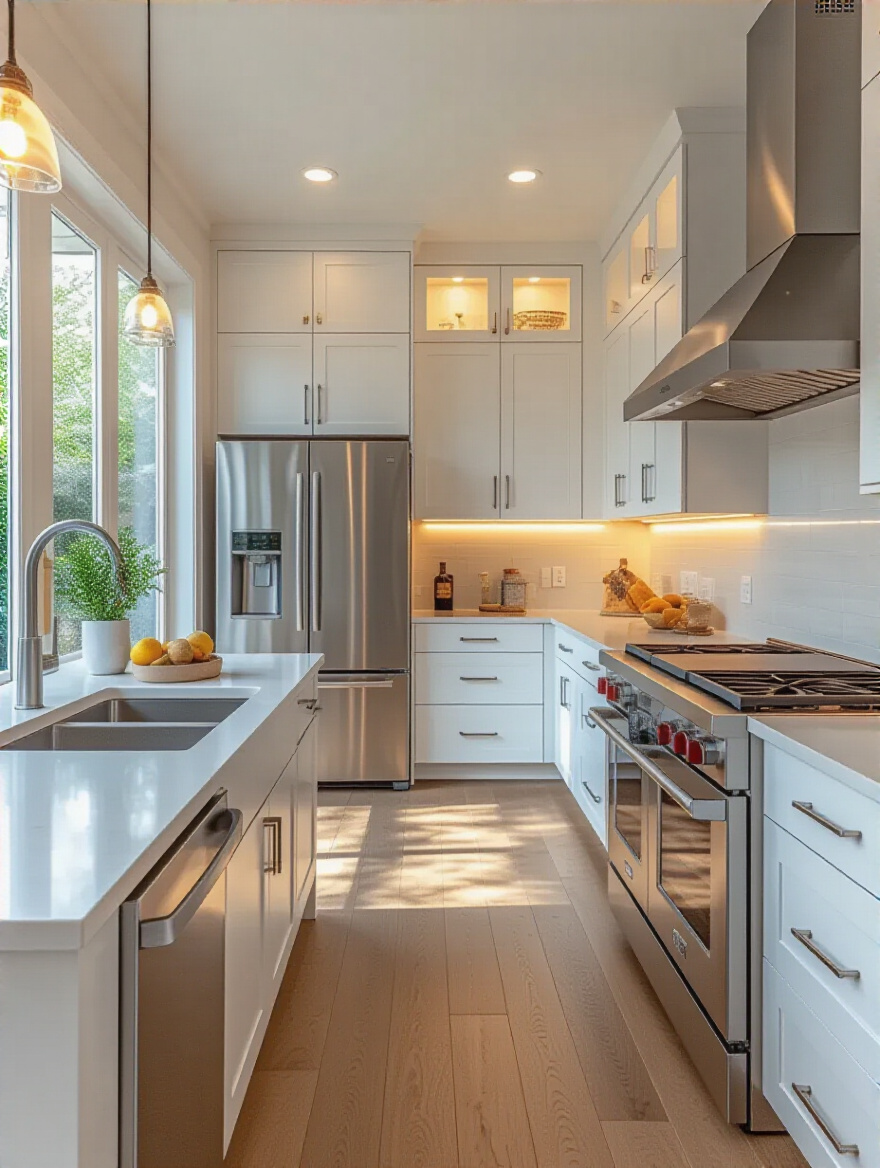
10. Upgrade Lighting with Budget-Friendly LED Fixtures
Good lighting is everything. It’s a safety feature, a mood-setter, and it can make your kitchen feel twice as big and a million times cleaner. Ditching old, dim fixtures for modern LEDs is a non-negotiable. LEDs are not only way more energy-efficient (hello, lower electricity bill), but they also give off a much cleaner, brighter light. Plus, they don’t get hot to the touch, which is a small but important safety feature for curious pets who might bump a low-hanging fixture.
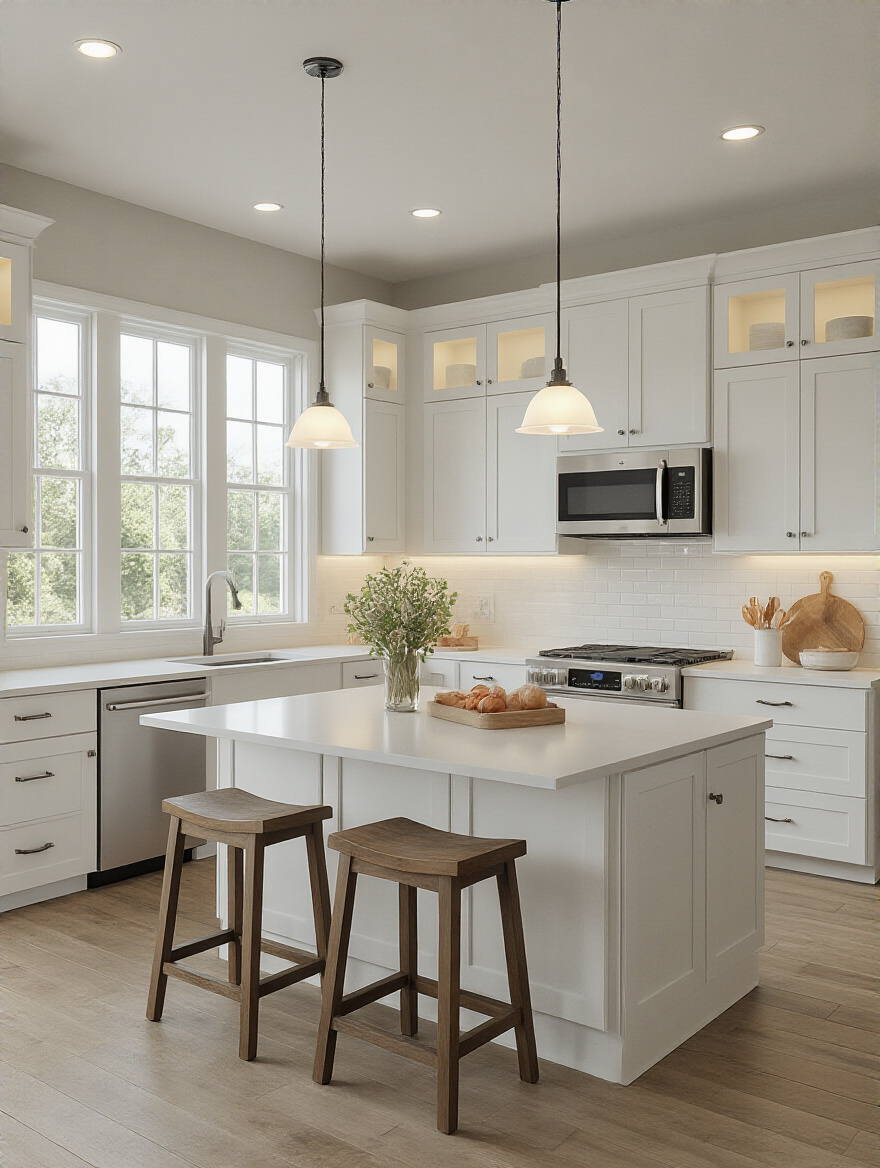
You don’t need a fancy chandelier. Think in layers: an affordable flush mount for overall ambient light, some simple under-cabinet LED strips for task lighting on your counters (this is a game-changer for meal prep), and maybe a cool pendant over the sink. Good lighting is especially important for senior pets, as their vision declines. A well-lit space helps them navigate confidently and avoid bumps or stumbles.
11. Opt for Affordable, Durable Vinyl Plank or Linoleum Flooring
This is my vet tech side coming out strong: your kitchen floor needs to be a fortress. It needs to stand up to dropped pots, spilled everything, dirty shoes, and the click-clack of pet nails. For my money, Luxury Vinyl Plank (LVP) is the undisputed champion for a pet-friendly, budget-friendly kitchen. It’s 100% waterproof, incredibly scratch-resistant, and a breeze to clean.
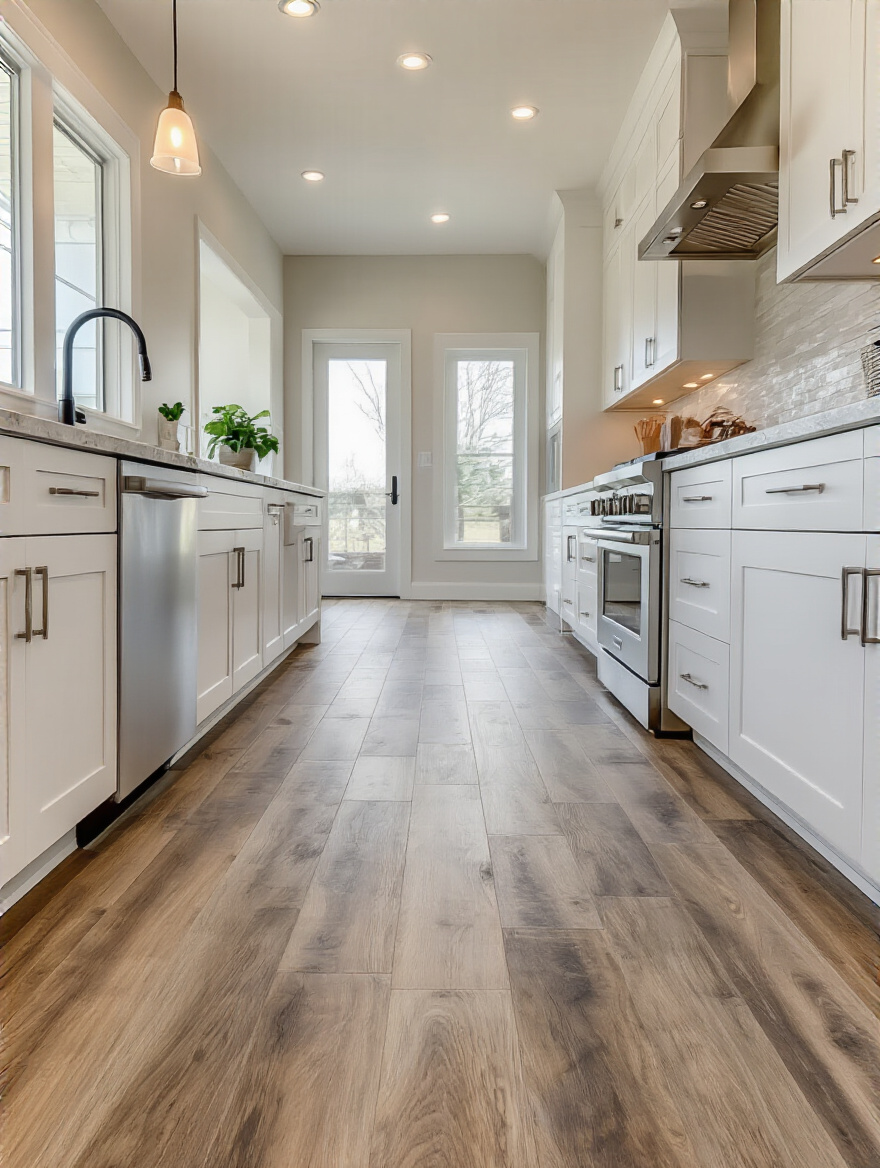
Unlike tile, which is cold, hard, and slippery, LVP has a bit more give and is warmer underfoot—a kindness for both human feet and aging pet joints. It offers better traction for dogs who might be a little unsteady on their feet. The styles today are stunning, with realistic wood and stone looks. It’s a fraction of the cost of hardwood and will outperform it in a busy kitchen every single time. It’s the ultimate combination of practical and pretty.
Impactful Cosmetic Upgrades & Enhancements (Part 1)
Now for the really fun stuff—the finishing touches that take your kitchen from “nicely renovated” to “wow, this looks amazing!” These are the small, low-cost details that pack a huge design punch. They’re the things people notice first, and they have the power to completely change the personality of your space without major surgery.
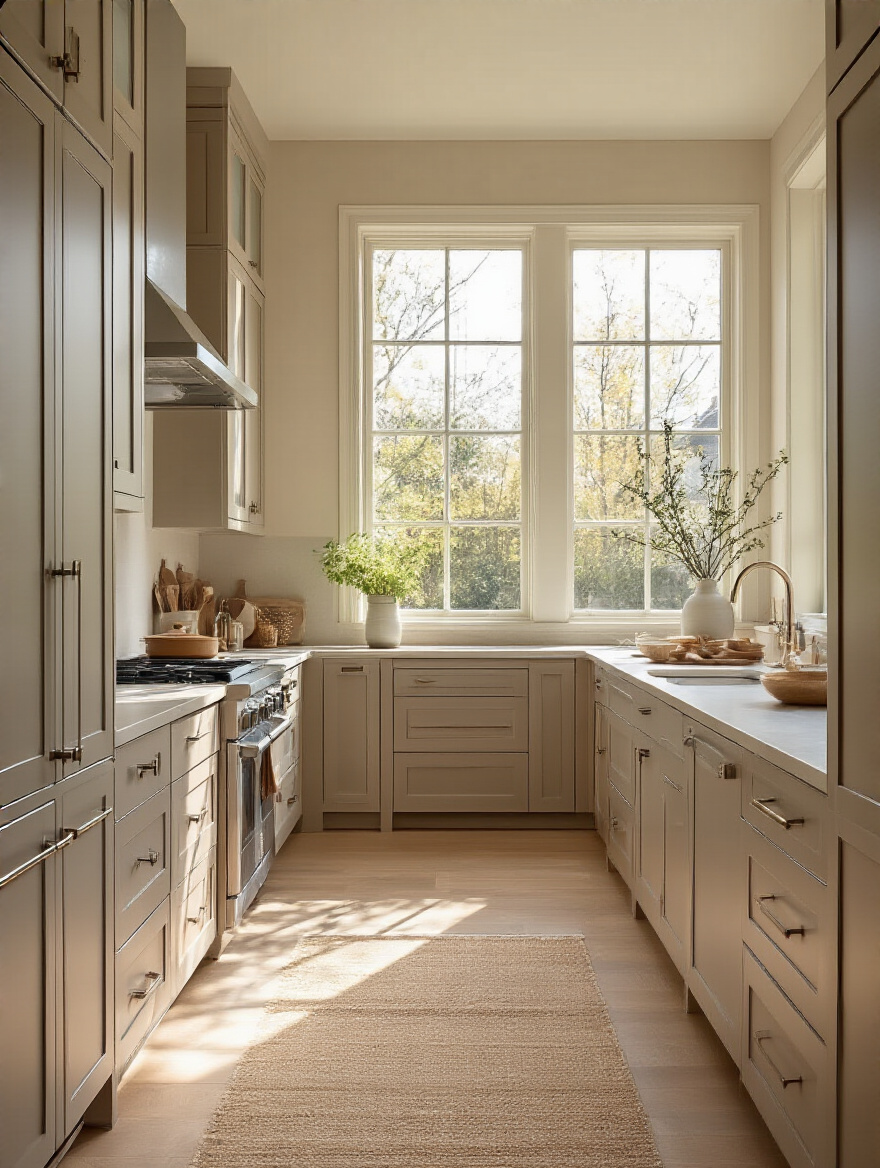
12. Refresh Walls with Fresh Paint for Instant Brightness
Never, ever underestimate the power of a can of paint. It is the cheapest, fastest way to completely transform a room. A fresh coat of a well-chosen color can make your kitchen feel brighter, cleaner, and brand new. Even if you do nothing else, painting the walls will make a huge difference.
“A fresh coat of paint in a light, neutral color is like magic; it instantly modernizes and brightens even the most dated kitchen, making it feel expansive without knocking down walls.”
My pro tip for households with pets and kids: choose a scrubbable finish like eggshell or satin. It will be your best friend when you have to wipe off mystery smudges or a bit of drool from the wall. And always opt for a low- or zero-VOC paint. It’s better for the air quality in your home, which is crucial for the sensitive respiratory systems of our pets.
13. Replace Outdated Cabinet Hardware for a Modern Touch
Think of cabinet hardware as the jewelry of your kitchen. It’s a small detail, but it has the power to completely define the style of your space. Swapping out dated, grimy old knobs for sleek new pulls is a 30-minute job that will make your cabinets look instantly more expensive and modern.
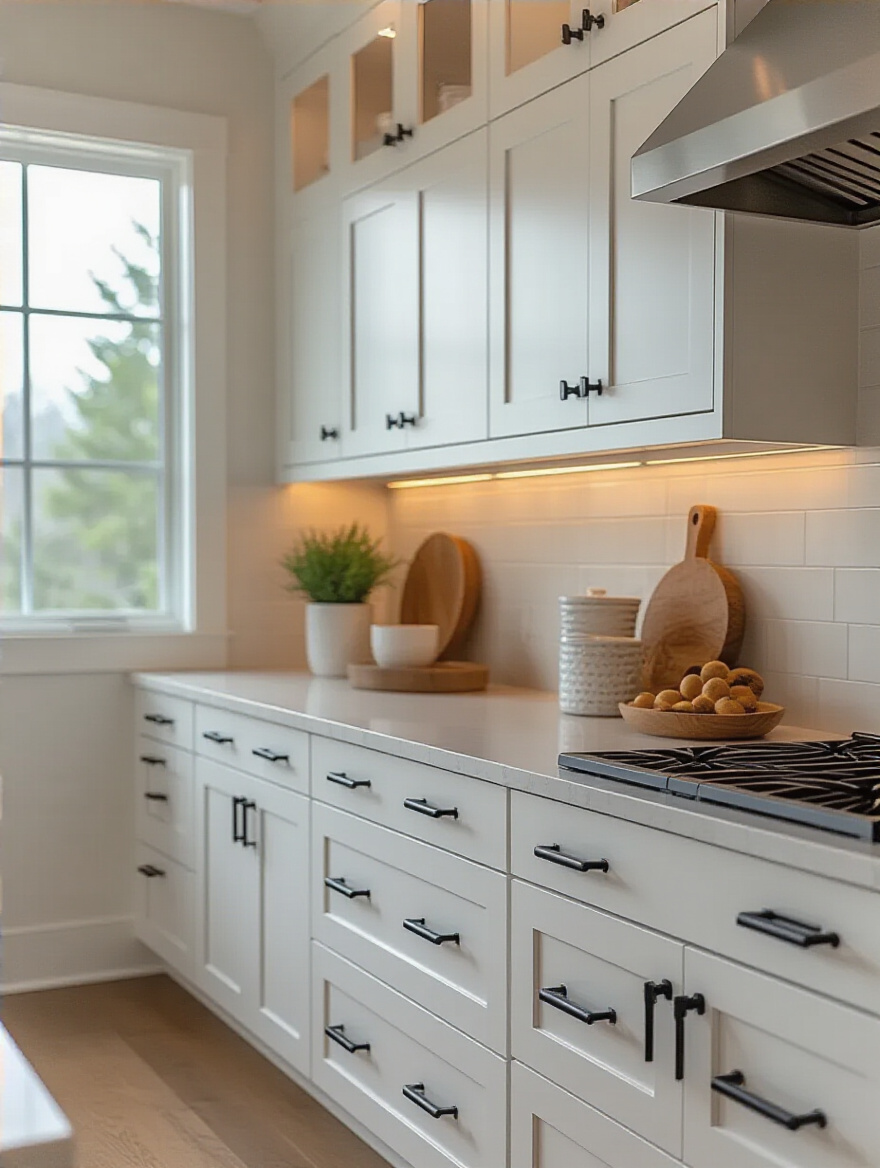
This is a perfect place to inject some personality. Go for matte black for a modern farmhouse look, or brushed brass for a touch of glam. Just make sure you measure the “center-to-center” distance on your existing pulls before you buy new ones to avoid having to drill new holes. And for pet owners, consider pulls over knobs, and choose styles that aren’t sharp or pointy, to prevent collars from getting snagged.
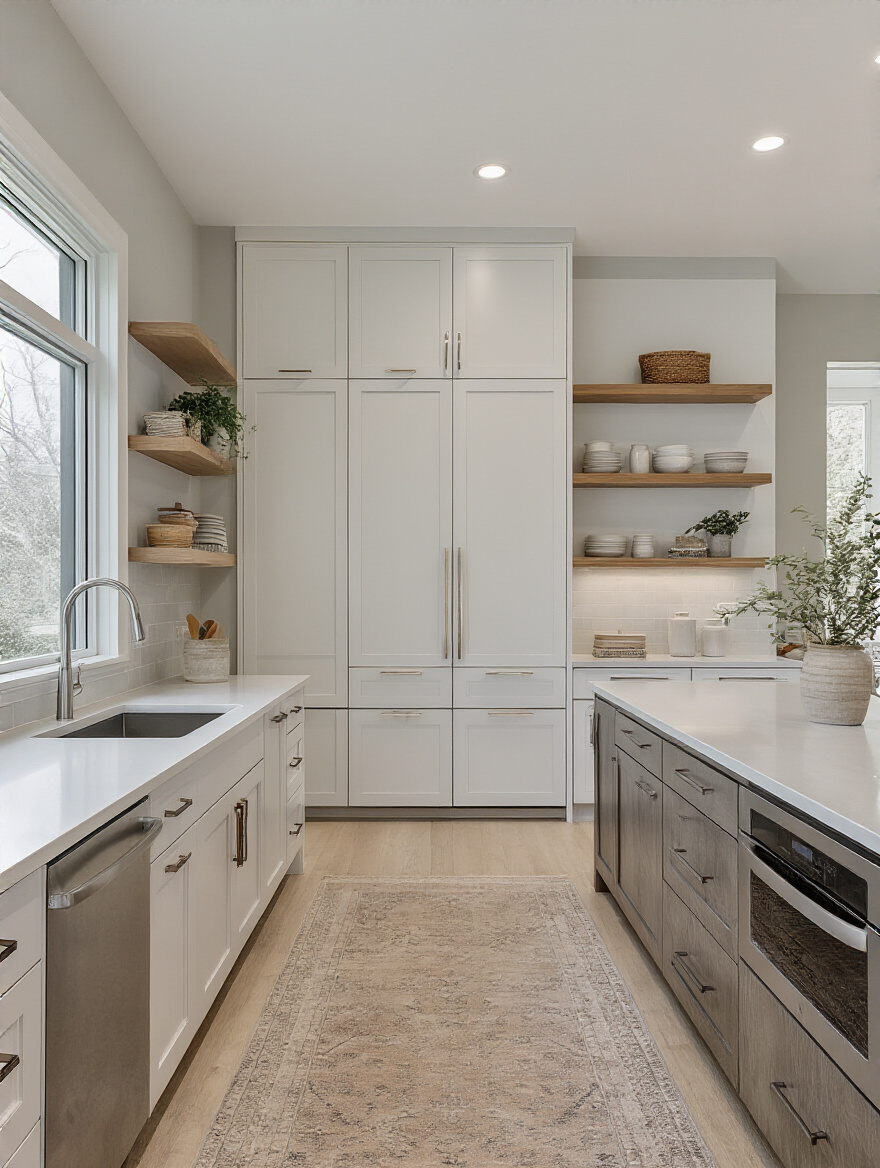
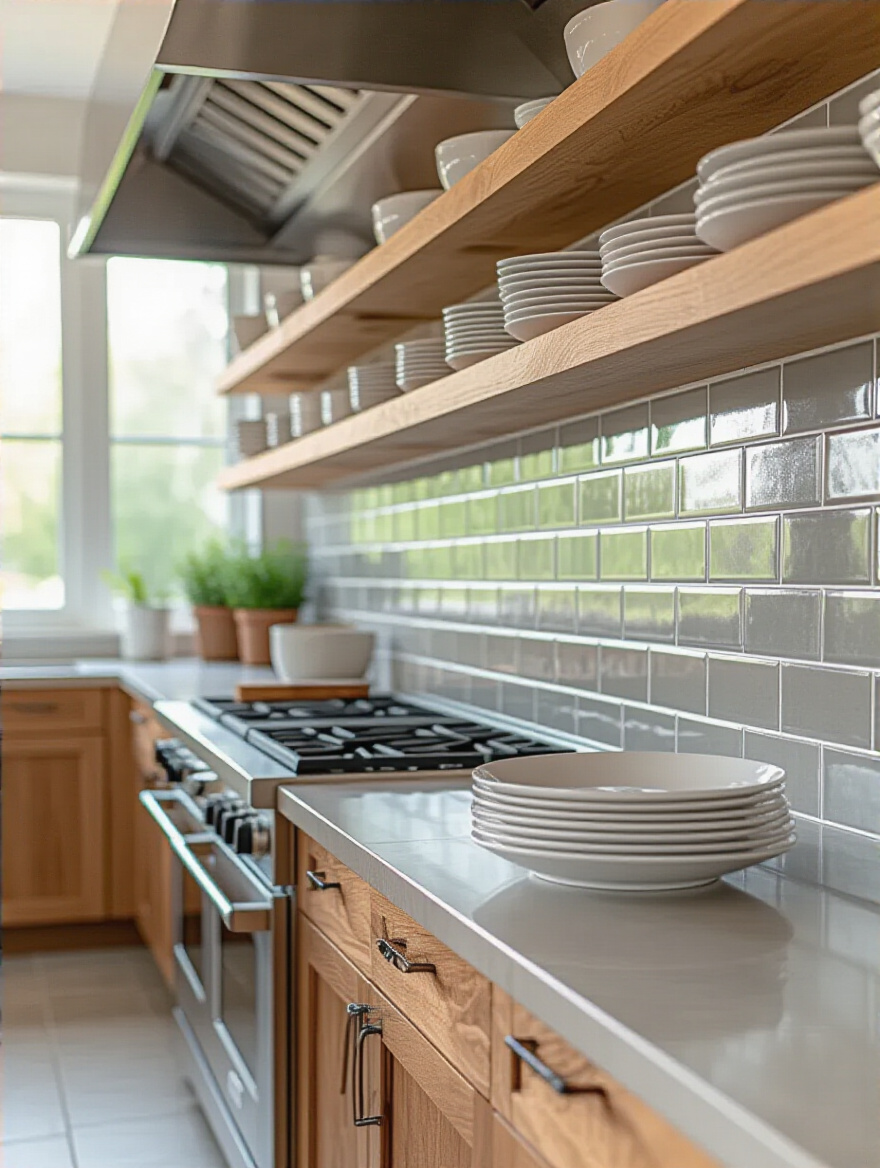
14. Install Open Shelving to Add Character and Storage
Open shelving is a fantastic way to break up a sea of cabinet doors and make a small kitchen feel more open and airy. It’s also much cheaper than buying new upper cabinets. It’s the perfect spot to display your everyday dishes, cool mugs, or a few cookbooks. The key is to be strategic. You don’t need to replace all your uppers—just one small section can make a huge impact.
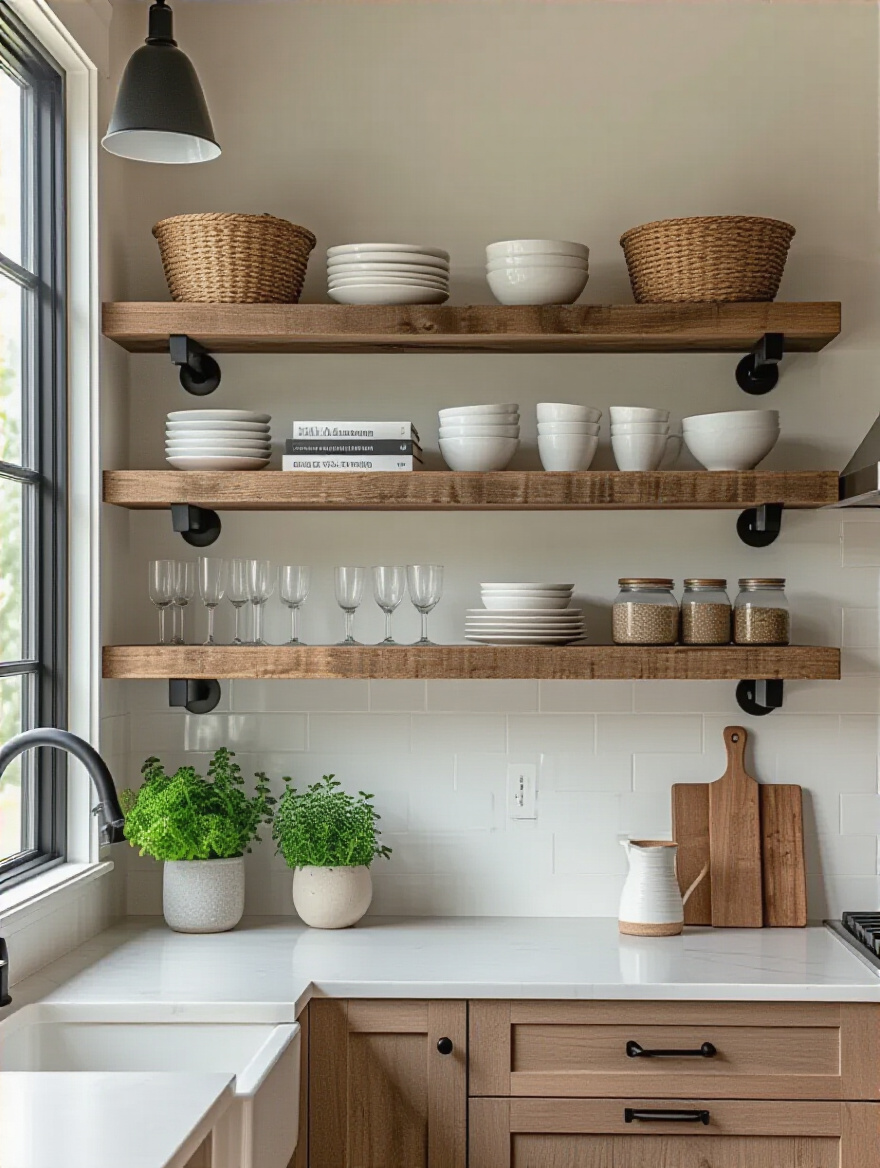
However, a word of caution for those of us with climbing cats: placement is everything. Don’t install open shelving right next to a counter or fridge that your feline friend can use as a launchpad. Use it in a spot where it’s purely decorative and out of the “cat highway” path. A few simple shelves for spices or glassware, placed thoughtfully, can add a custom look without becoming a jungle gym.
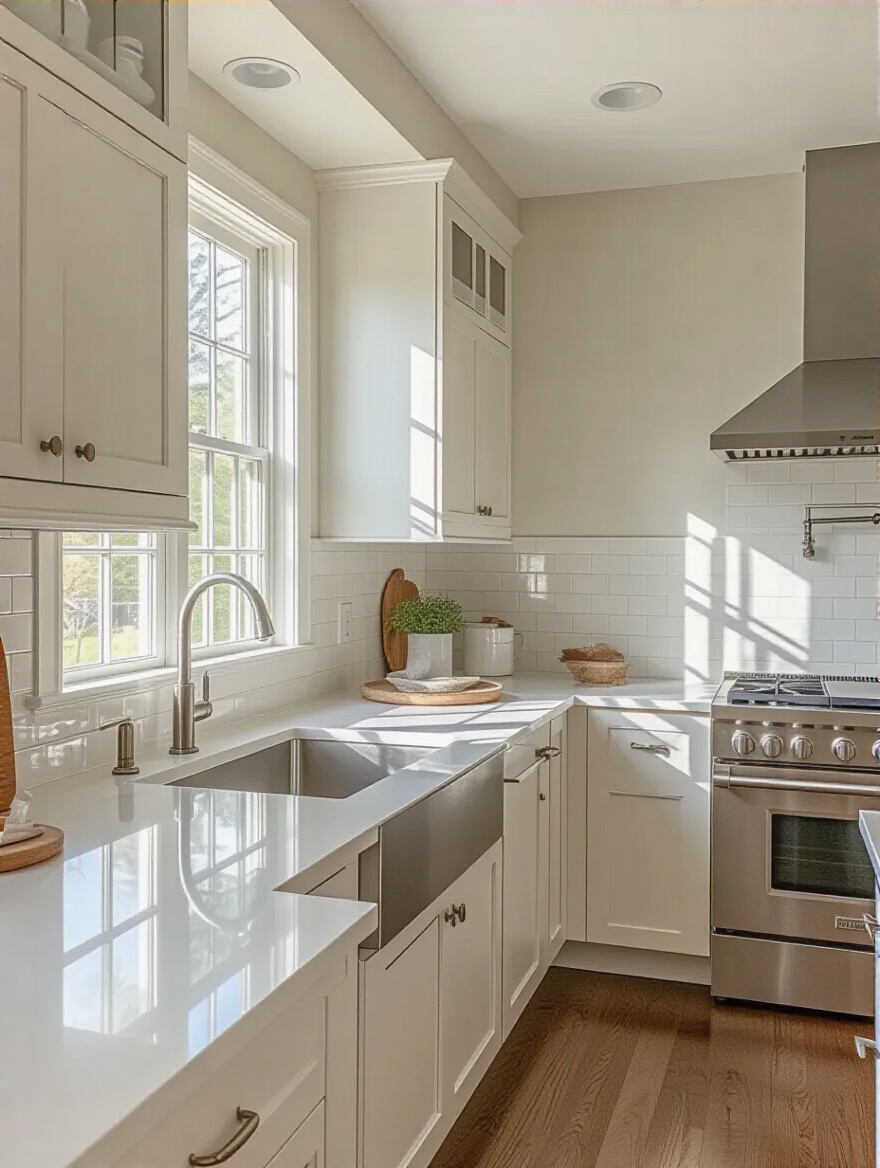
15. Update Your Faucet for a Significant Style Boost
The faucet is the workhorse of your kitchen, but it can also be a style statement. If your current faucet is leaky, dated, or just plain boring, replacing it is a relatively easy upgrade that pays off big time in both looks and function. A modern, high-arc faucet can become a beautiful focal point.
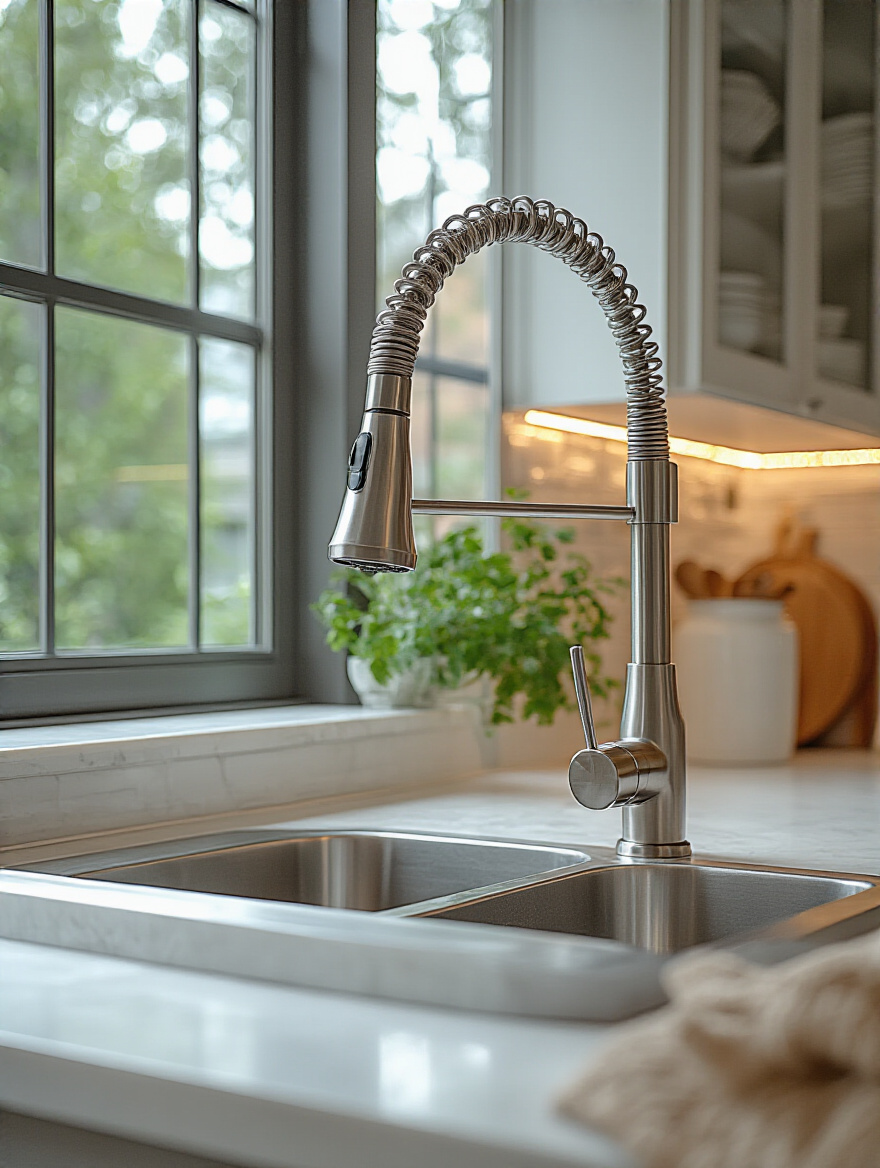
I am a massive advocate for pull-down sprayers. They are worth every penny, especially for pet owners. They make filling big water bowls a breeze, they’re perfect for rinsing off muddy paws in the sink after a walk, and they make cleanup so much faster. This isn’t just a cosmetic upgrade; it’s a functional one that you will appreciate every single day.
Impactful Cosmetic Upgrades & Enhancements (Part 2)
We’re rounding the final turn with a few more genius tricks to elevate your kitchen. These final cosmetic enhancements are all about organization and smart camouflage. They tackle the visual clutter that can make a kitchen feel chaotic and provide clever ways to hide things that aren’t so pretty, proving once again that a high-end look is all in the details.
16. Maximize Storage with Inexpensive Drawer Organizers and Racks
A beautiful kitchen that’s a chaotic mess behind closed doors isn’t a functional kitchen. Before you convince yourself you need more space, maximize the space you already have. Simple, inexpensive drawer dividers, tiered spice racks, and vertical pan organizers can completely revolutionize your cabinets and drawers. It’s the difference between a frustrating search for the right lid and grabbing exactly what you need in two seconds.
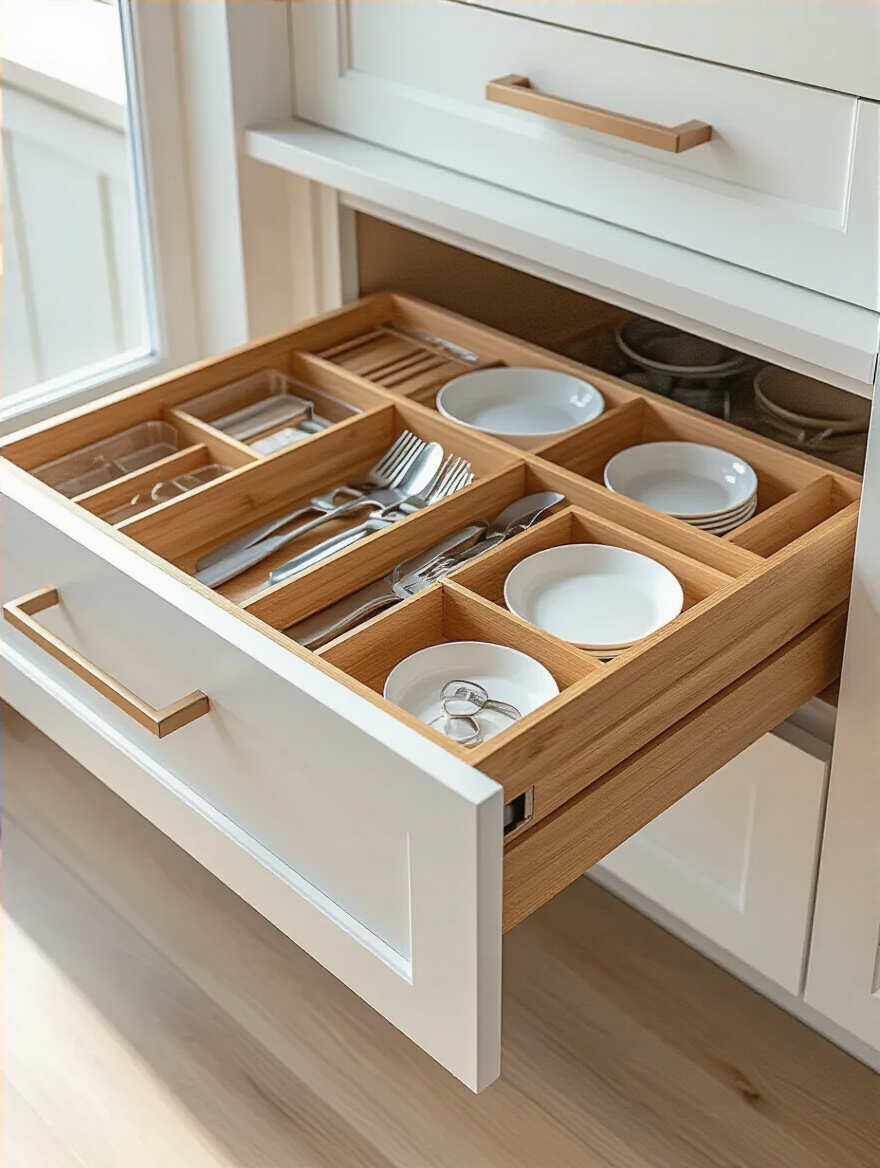
This is also your chance to create that dedicated pet station I mentioned earlier. Use a pull-out rack in a lower cabinet for food bins, and add hooks to the inside of the door for leashes and collars. Contain all the pet-related stuff in one organized zone. It calms the visual clutter and makes your routine so much smoother. You’ll be amazed at how much more storage you have when everything has a designated home.
17. Conceal Old Appliances with Contact Paper or Vinyl Wrap
Got a perfectly functional dishwasher that’s stuck in 1985 almond? Don’t replace it—wrap it! High-quality vinyl wrap or contact paper can give your old appliances a sleek, modern makeover for less than the cost of a pizza dinner. You can find wraps that mimic stainless steel, matte black, or even fun patterns.
This is a fantastic trick for renters or anyone who isn’t ready to invest in a whole new suite of appliances. The key to making it look professional is patience and a squeegee. Take your time during application to smooth out all the air bubbles. It’s a temporary fix, but it’s a brilliant and affordable one that can bridge the gap until you’re ready for a bigger upgrade.
Long-Term Value & Smart Finishing Touches
We’ve made it to the final details! These are the thoughtful touches that will make your renovated kitchen not just look good, but feel good. They focus on health, efficiency, and bringing a sense of life into your space. They’re the little things that add up to a truly finished, professional-feeling room.
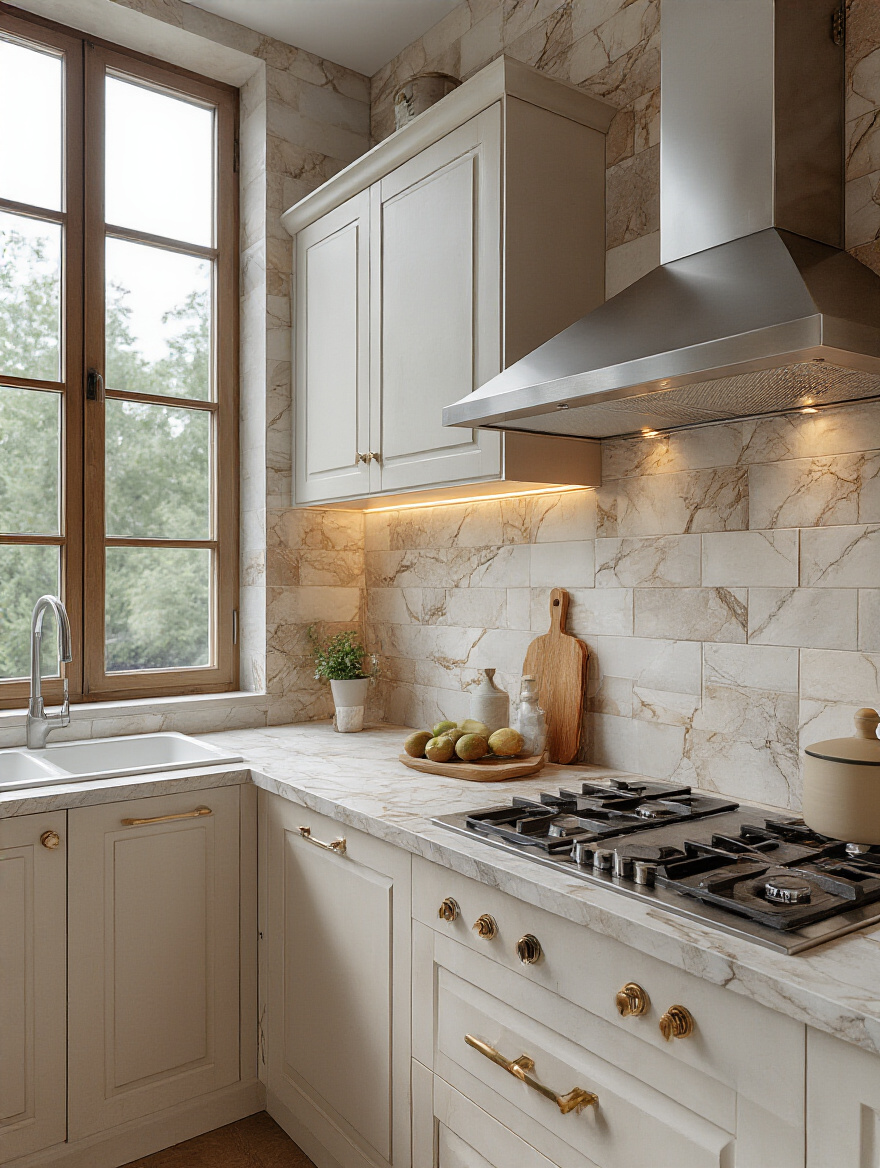
18. Improve Air Quality with a New Range Hood Filter or Fan
This is one of those “invisible” upgrades that makes a huge difference in your home’s health. Your range hood is responsible for pulling smoke, grease, and cooking odors out of the air. If the filter is clogged or the fan is weak, all that gunk is just recirculating in your home. A simple filter replacement or a slightly more powerful fan insert can dramatically improve your indoor air quality.
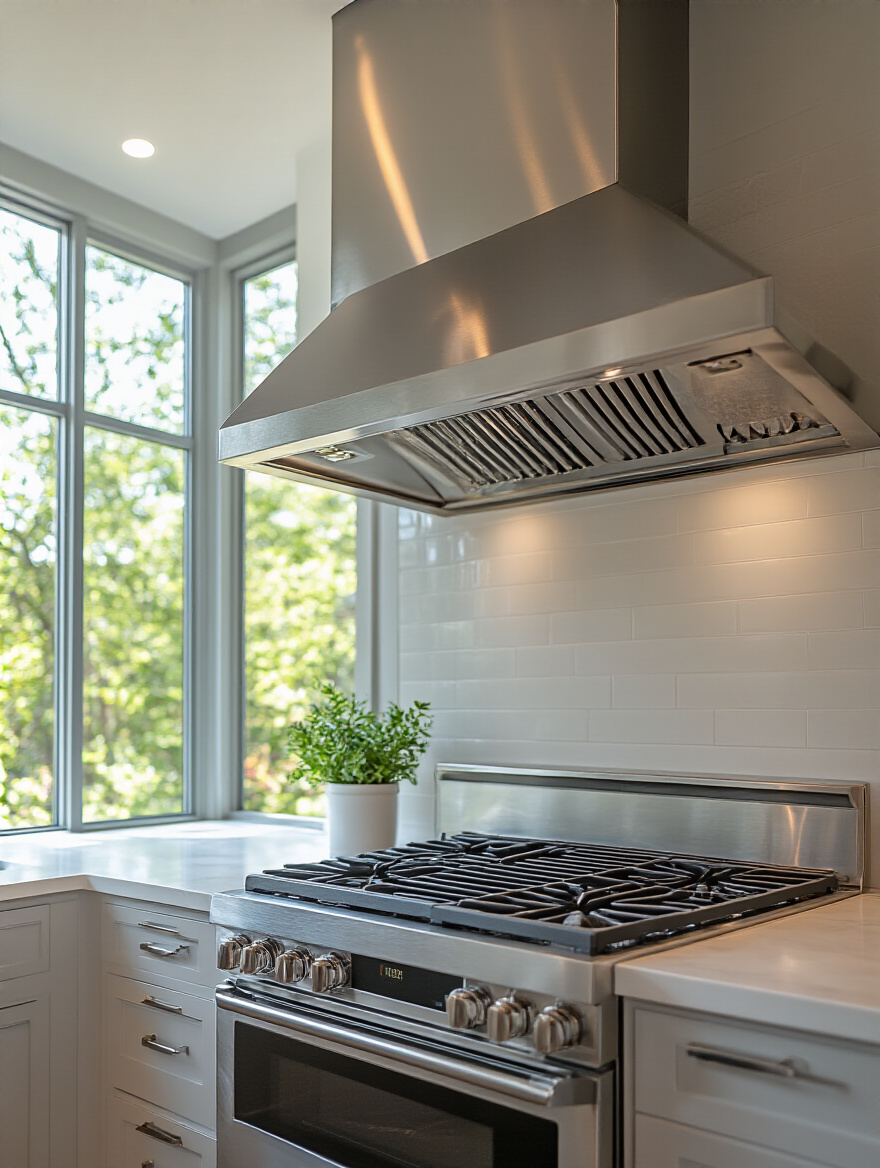
This is incredibly important for every member of your family, but especially for our pets, who have more sensitive respiratory systems and spend their entire day at floor level. Better ventilation means a cleaner, healthier environment for everyone. It’s a small investment that pays big dividends in well-being.
19. Prioritize Energy-Efficient Bulbs and Appliances for Savings
Being smart with your budget means thinking long-term. Opting for ENERGY STAR appliances and LED bulbs might have a slightly higher upfront cost, but they will save you a significant amount of money on your utility bills over time. That’s money you can put toward your next project (or an emergency vet visit!).
When you’re shopping for those scratch-and-dent deals, keep an eye out for the ENERGY STAR label. An efficient refrigerator or dishwasher doesn’t just help your wallet; it helps the planet. It’s one of the easiest ways to make your renovation a responsible and forward-thinking investment.
20. Incorporate Plants and Greenery for Natural Decor
After all the construction and hard finishes, a kitchen needs a little life. Plants are the perfect way to add color, texture, and a touch of nature to your space. A small herb garden on the windowsill, a trailing Pothos on top of the fridge, or a sturdy snake plant in a corner can make the whole room feel more welcoming and alive.

CRITICAL PET SAFETY NOTE: Not all plants are pet-friendly! Many common houseplants are toxic to cats and dogs. Before you bring any greenery into your home, do a quick search to make sure it’s safe.
- Pet-Safe Choices: Spider Plant, Cast Iron Plant, Prayer Plant, and most herbs like basil and rosemary.
- Toxic Plants to Avoid: Pothos, Snake Plant (mildly), Lilies, and Sago Palm.
A little research ensures your natural decor doesn’t become a health hazard for your furry friends.
21. DIY Grout Cleaning and Sealing for a Professional Finish
Nothing makes a kitchen look dirtier than dingy, stained grout. Before you even think about re-tiling, give your existing grout a deep clean and a fresh seal. You will be absolutely shocked at the difference it makes. A powered scrub brush attachment for a drill makes quick work of cleaning, and a good quality sealer will protect it from future stains.
This is especially crucial in a pet-friendly home. Sealing the grout on your floor means that when your dog inevitably sloshes water all over the place, it won’t seep in and cause stains or mildew. It makes cleanup a thousand times easier and keeps your floors looking fresh and clean. It’s the final, satisfying step that polishes off your whole project.
Conclusion
See? A beautiful, functional, pet-friendly kitchen isn’t an impossible dream. It’s not about having an unlimited budget; it’s about making a series of smart, intentional choices. It’s about knowing where to spend your money to get the most impact and where to save with a little creativity and elbow grease.
Your home should be a safe haven for your entire family—the two-legged and four-legged members alike. By thinking through how you all live in the space, you can create a kitchen that is not only stylish but also durable, safe, and filled with joy. So take a deep breath, pick one thing from this list to start with, and go make your dream kitchen a reality. You’ve got this.


