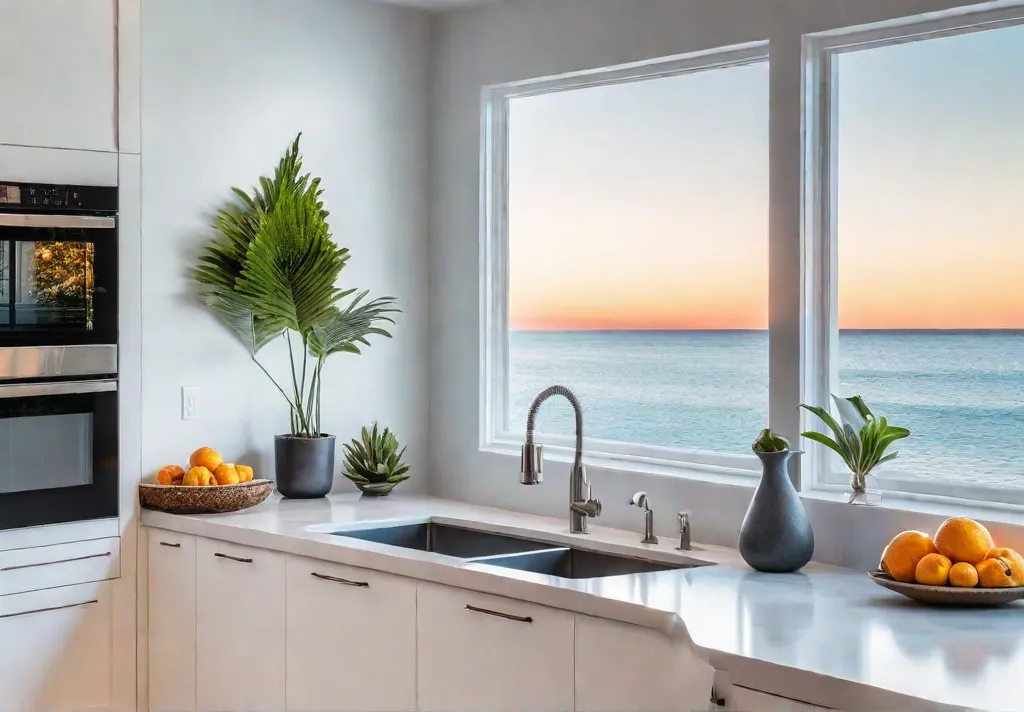
Are you tired of that outdated kitchen sapping the life out of your home? Fear not, my fellow design enthusiasts! We’re about to embark on a transformative journey where you’ll learn to breathe new vitality into your culinary haven without demolishing your budget. From the brilliant art of cabinet refacing to the showstopping impact of fresh hardware, we’ll explore an array of DIY projects sure to reignite your passion for this sacred family space.
So roll up your sleeves, and let’s get to work, shall we? After all, a home’s true character is found in thoughtful details that honor its heritage while embracing modern flair. By the time we’ve finished, your kitchen will be dripping with chic new jewels and bathed in radiant illumination—a true masterpiece worthy of your most cherished culinary memories.
Breathe New Life into Your Cabinets with Refacing
Have you ever stood in your kitchen, running weathered hands along those once-vibrant cabinet fronts now faded from decades of cheerful chaos? I know that feeling all too well, my friends. The cabinets were often the first victims of our family’s raucous holiday feasts and weekend projects gone awry in our old Colonial. Rather than forking a small fortune for new cabinets, I discovered the brilliant art of refacing – a delightfully economical way to resurrect your kitchen’s spirit without sacrificing its soul.
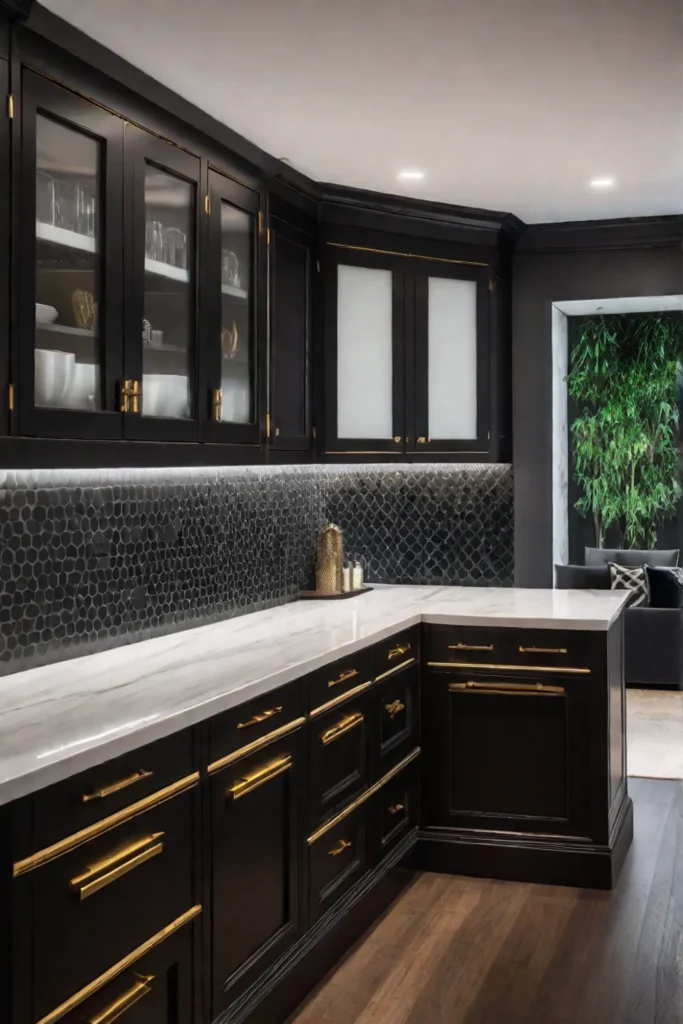
Choosing the Right Veneer: Exploring Options and Matching Styles
The key to successful refacing is selecting veneers that seamlessly complement your home’s architectural character. For my 18th-century gem, I was drawn to the distinguished warmth of traditional wood veneers like maple, cherry, and oak. Their rich patinas and pronounced grain patterns evoked a storied heritage. If you inhabit a more contemporary haven, the vast realm of modern laminates offers sleek, solid colors or earthy woodgrains to suit your aesthetic desires.
Step-by-Step Refacing Process: From Preparation to Finishing Touches
Once you’ve procured your veneers and materials, the true artistry begins with thorough preparation. I always take immense satisfaction in meticulously cleaning every nook and cranny of those cabinet carcasses – it’s akin to the ceremony, releasing decades of memories to pave the way for new stories. From there, we measure and trim the veneers with surgical precision using specialized tools, ensuring that seamless finish we crave. Finally, we apply adhesives and edge banding, standing back to revel in our handiwork before installing the crowning glory: those freshly refaced doors and drawer fronts.
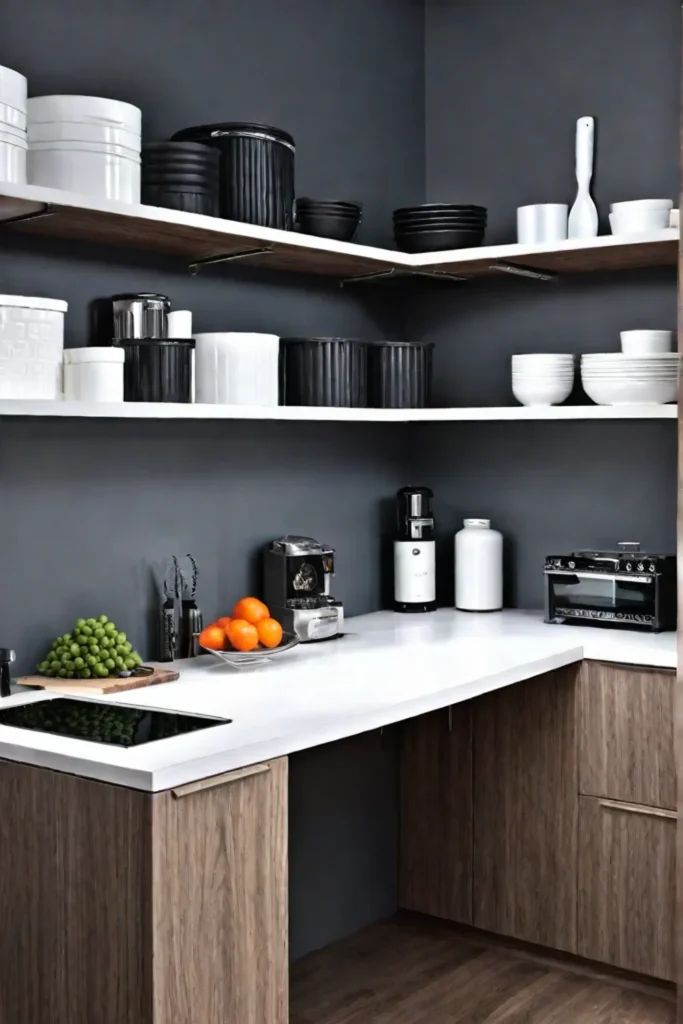
With patience and an eye for detail, you can master this rewarding process. I’ve refaced cabinets in nearly every room of our home, savoring the opportunity to breathe rejuvenating spirit into each space while honoring its history. And let’s be honest here – the money you’ll save by doing it yourself is better invested in those little indulgences that make a house a home.
The crowning achievement awaits in your kitchen, friends – an affordable renaissance that will inspire new culinary adventures and lively gatherings for years to come.
Backsplash Beauty: Creating a Stunning Focal Point
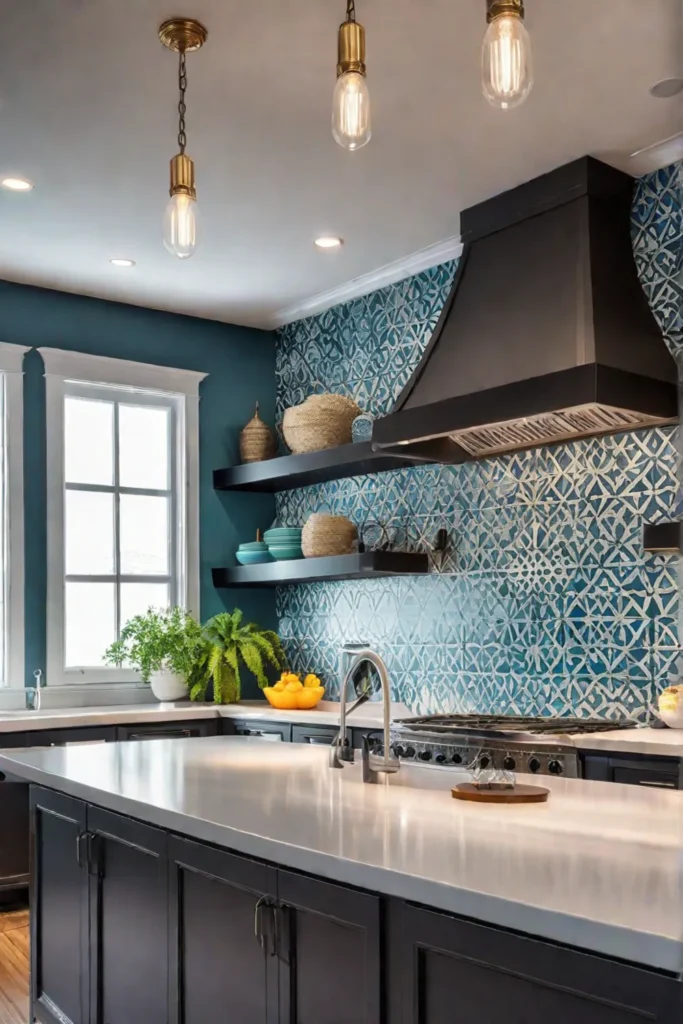
What’s the quickest way to breathe new life into a tired kitchen? Install a fresh backsplash! This humble stretch of the wall behind the stove and counters may seem minor, but the focal point anchors an entire room’s aesthetic.
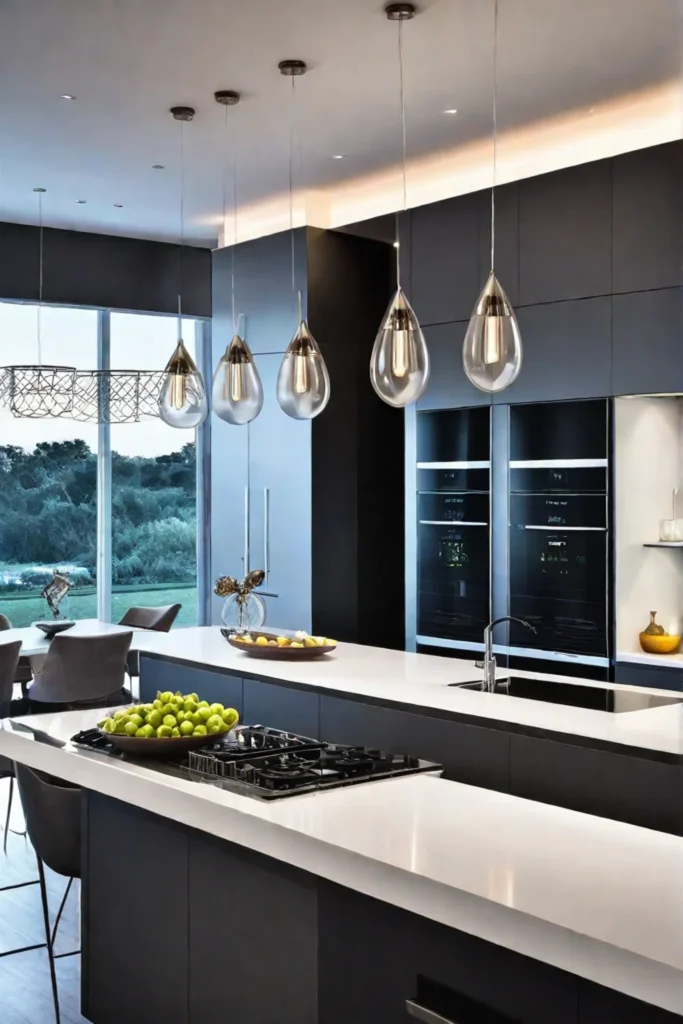
Selecting the Perfect Backsplash Material: Exploring Tiles, Stone, and More
The beauty of backsplashes lies in their incredible versatility. The material options span every imaginable style, from glossy subway tiles in a rainbow of hues to rugged slabs of natural stone or reclaimed wood. For the budget-conscious renovator, basic ceramic or porcelain tiles can cost as little as $5 per square foot, instantly elevating your kitchen for a pittance. Those craving more opulence can splurge on artisanal zellige terracotta tiles or intricate mosaics composed of glass, metal, and semi-precious stones.
Mastering the Art of Tile Cutting and Grouting for a Flawless Finish
While installing a backsplash is well within reach for the DIY enthusiast, achieving those crisp, professional results requires basic tiling skills. Don’t let the prospect of cutting tiles intimidate you—with an inexpensive scoring tool and a steady hand, you’ll soon be churning out perfect edges like a pro. The real artistry comes in the grouting phase, where consistency and an eye for detail are paramount. Use plastic tile spacers to maintain even grout lines, and seal the finished product to prevent discoloration from splatters.
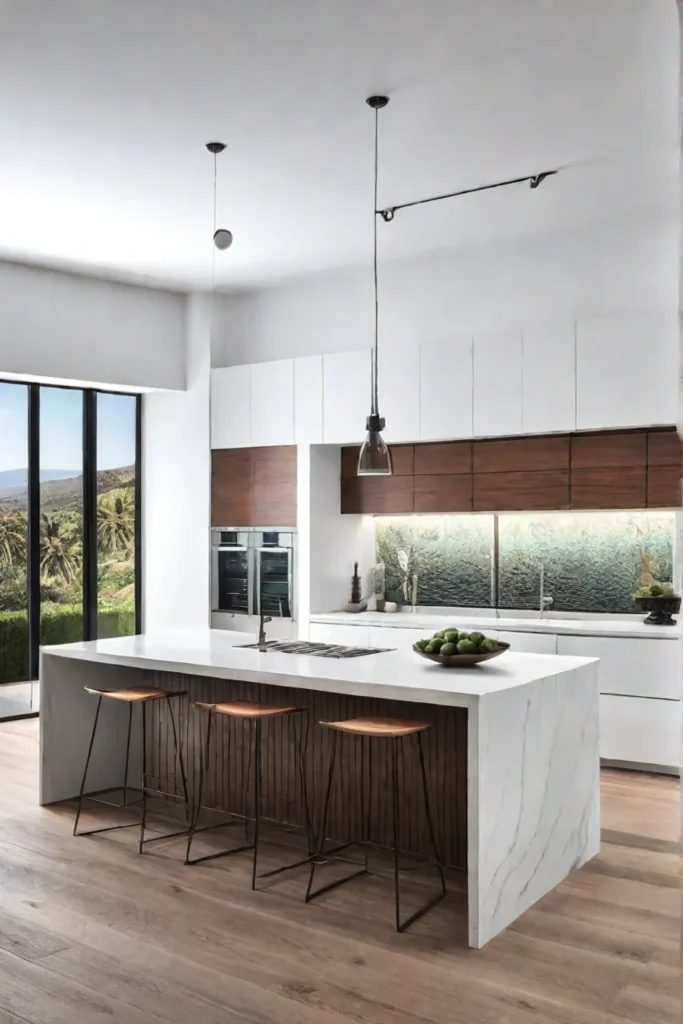
With your backsplash proudly shining as the kitchen’s crown jewel, it’s time to turn our attention to the true jewelry box of the space—those gleaming knobs, pulls, and hinges that adorn your cabinets.
Hardware That Shines: The Jewelry of Your Kitchen
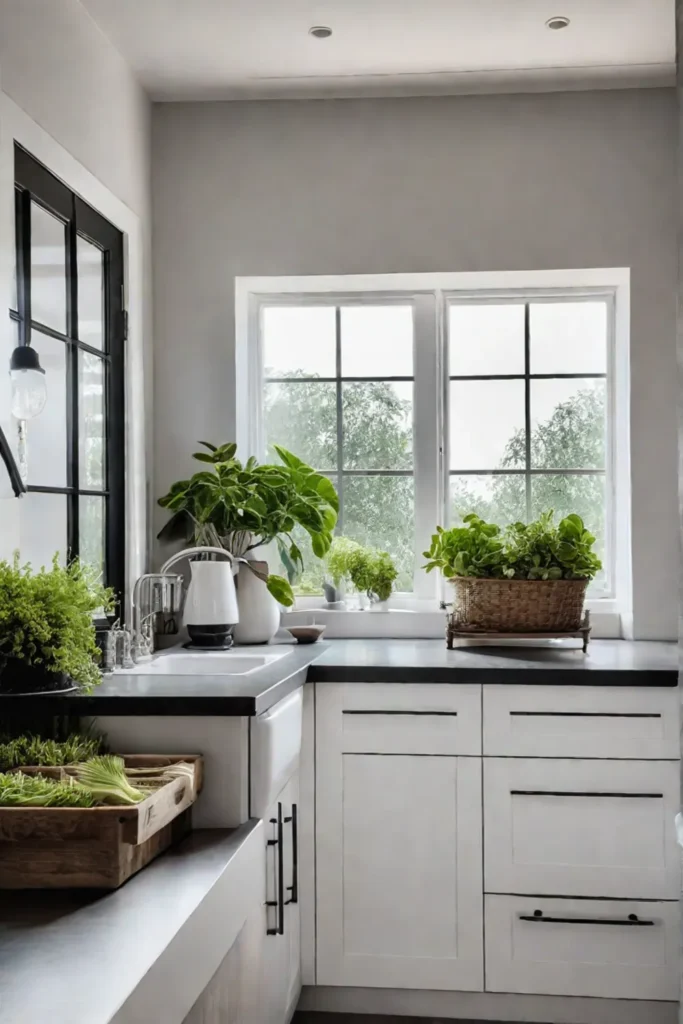
What if I told you there was an effortless way to breathe new life into your tired kitchen cabinets that cost less than a fancy meal? Replacing the hardware is a shockingly simple project with a huge aesthetic payoff. Those humble knobs, pulls, and hinges are the unsung jewelry of your kitchen design—and swapping them out can elevate the entire space.
Choosing Hardware Styles: From Classic to Contemporary
With a world of styles available from sleek modern pulls to intricate antique glass knobs, selecting new hardware opens up endless opportunities for self-expression. Perhaps you’ll opt for the timeless elegance of brushed brass? Or maybe the rustic charm of oil-rubbed bronze speaks to your soul? This is your chance to imbue those cabinets with serious personality.
Installation Tips for a Seamless and Secure Finish
Once you’ve chosen your hardware vision, precise installation is key. Use a template to map out accurate placement, ensuring those knobs and pulls are delightfully aligned. If drilling new holes, avoid pipes or wires hidden behind the cabinet facade. And, of course, tighten everything securely for a polished, squeak-free finish.
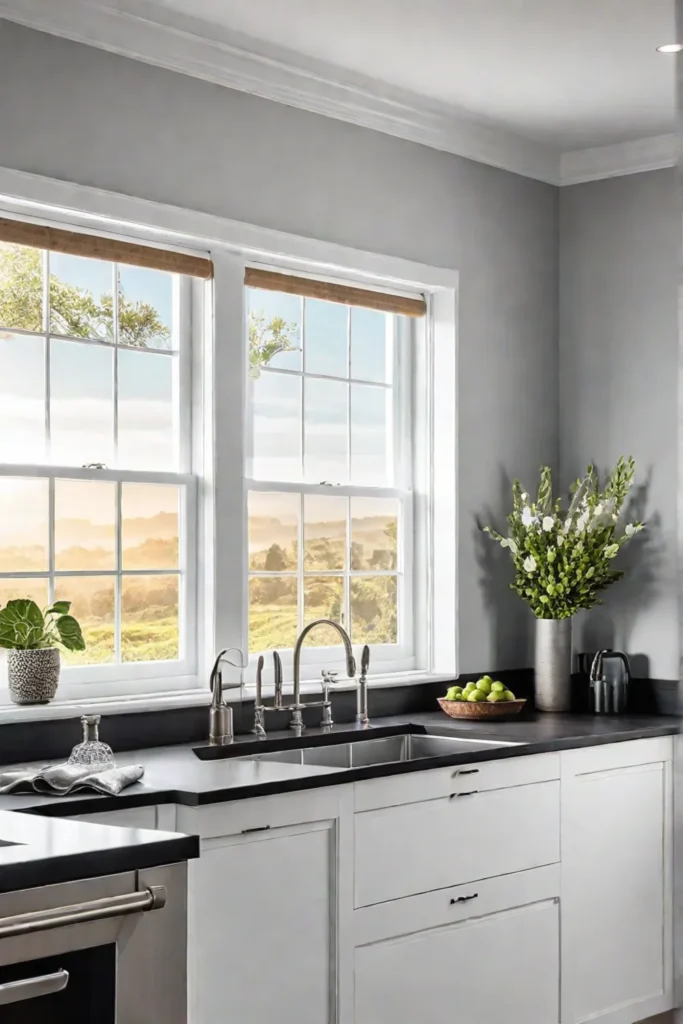
With some basic tools and an eye for style, you can transform your kitchen look on a shoestring budget this weekend. Let those gleaming new knobs and pulls be the brilliant jewels that breathe fresh life into your space. A home’s true character is found in the thoughtful details after all.
Now that your cabinets are dripping with chic new jewelry, it’s time to turn our focus to the walls.
Paint Your Way to a Fresh Look: Techniques for a Flawless Finish
Have you ever walked into an outdated kitchen and felt like it was sapping the life out of you? Those drab, dingy cabinets can bring down the whole vibe of a space. But fear not, my fellow design enthusiasts! You can breathe new life into your culinary haven with simple brushstrokes without breaking the bank.
Prepping for Paint Perfection: Sanding, Priming, and Cleaning
Ah, preparation – the unsung hero of any successful painting endeavor. First, properly sand those cabinets to ensure the new paint adheres like a long-lost lover. Next, prime those babies like a seasoned artist priming their canvas. And let’s not forget the all-important cleaning step – a little elbow grease now will save you from unsightly drips and runs later.
Brushstrokes and Spraying: Mastering the Art of Cabinet Painting
Now, the fun part! A trusty brush is your best friend for those intricate nooks and crannies, but a sprayer will give you that oh-so-smooth, professional finish for those sleek, flat surfaces. And remember, my dear friends, patience is a virtue—multiple thin coats yield far better results than one hasty, globby application.
Choosing the Right Hue: Color Theory for Your Kitchen
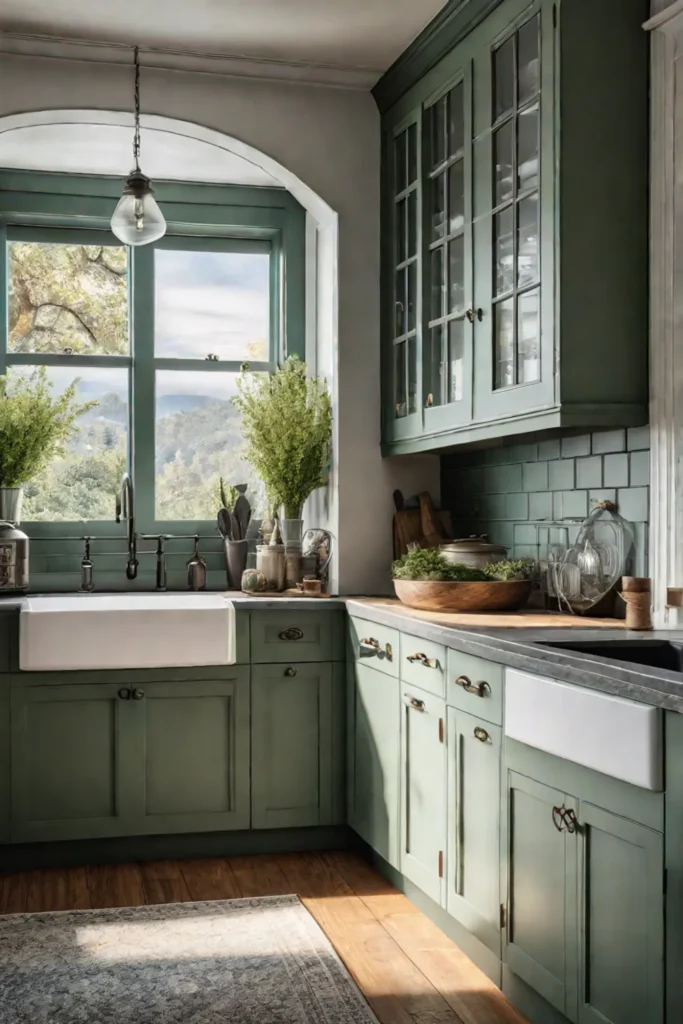
But wait, there’s more! The color you choose can completely transform the ambiance of your kitchen. Are you feeling bold? A rich, jewel-toned hue can add depth and drama. Are you craving a serene escape? Soft, muted tones can create a calming oasis. And if you’re feeling particularly daring, why not try a two-toned approach? A little contrast never hurts anyone, especially when adding visual interest.
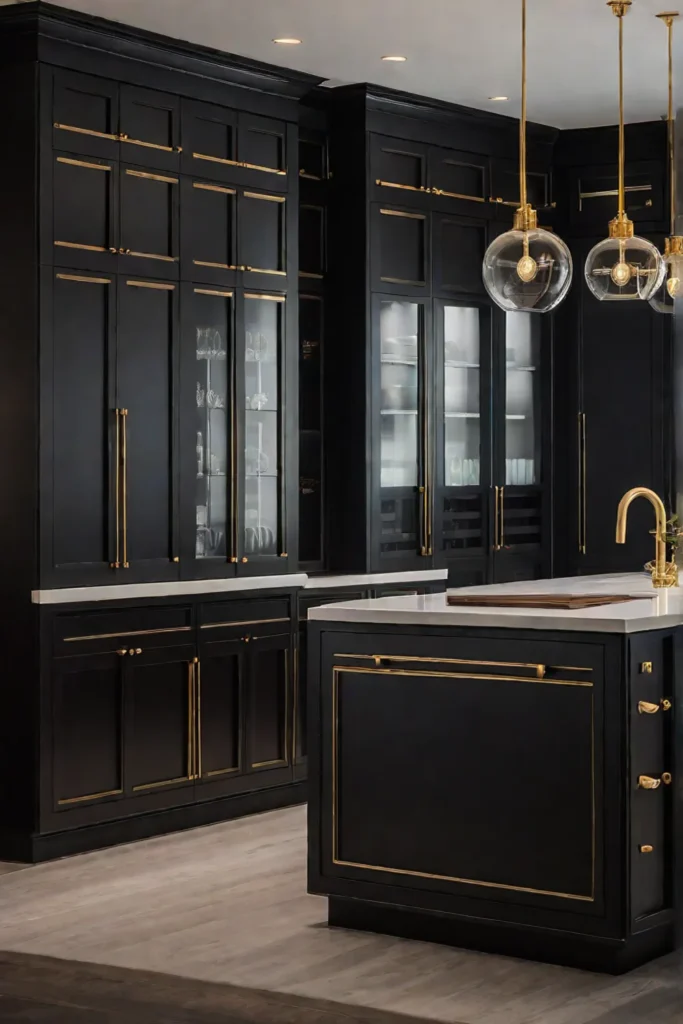
You can turn those dreary cabinets into a showstopping focal point with a little elbow grease and creativity. So grab your brushes, roll up your sleeves, and let’s get painting! And when you’re ready to tackle the next phase of your kitchen transformation, I’ll be waiting with a whole new set of design adventures.
Let There Be Light: Upgrading Your Kitchen Illumination
Have you ever noticed how adjusting the lighting can dramatically shift a room’s ambiance? Illumination plays a particularly pivotal role in the kitchen, where we gather to nourish our bodies and souls. Proper lighting can elevate a space from drab to downright delectable, casting a warm glow over your culinary creations and providing the perfect stage for memorable meals.
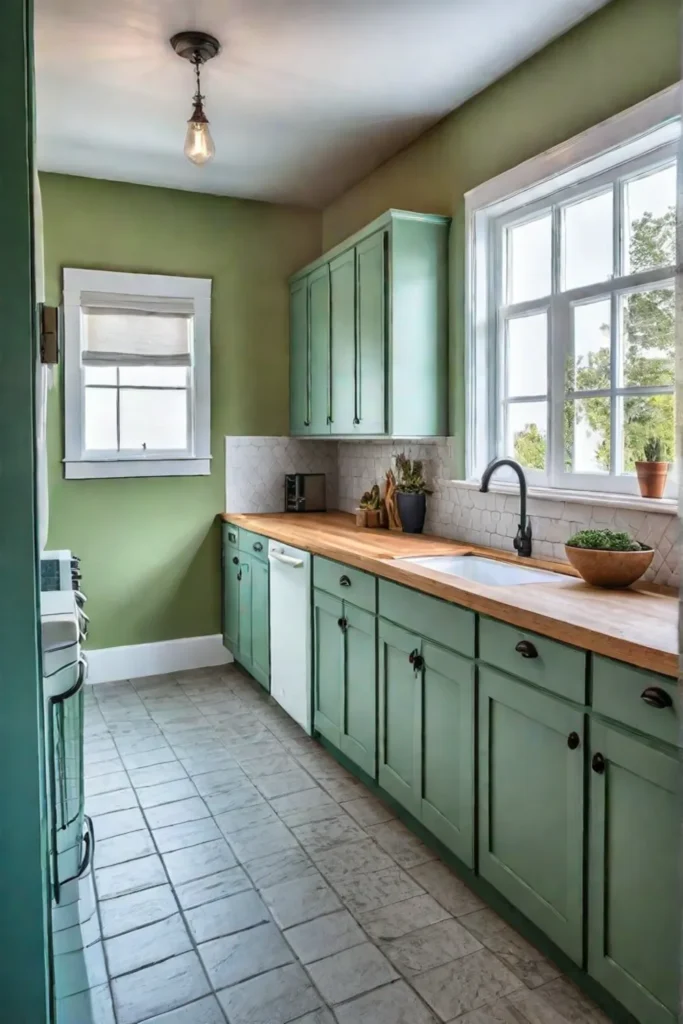
Choosing the Right Fixtures: Exploring Options for Every Style and Purpose
Regarding kitchen lighting, one size most certainly does not fit all. From the sleek modernity of LED track lighting to the rustic charm of a wrought iron chandelier, the options are as varied as the dishes you’ll whip up beneath their radiance. Perhaps you favor the task-oriented practicality of under-cabinet strip lights, or maybe you dream of a showstopping centerpiece like a vintage milk glass pendant. Whatever your aesthetic, there’s a fixture out there waiting to shine.
Installation and Wiring Basics: Safely Connecting Your New Lights
Now, let’s address the elephant in the room: the wiring. I’ll admit, the thought of tangling with electrical components can be daunting, but fear not! With some preparation and care, you’ll be safely illuminating your kitchen in no time. Start by turning off the power at the circuit breaker (safety first, folks!) and gather your tools – wire strippers, electrical tape, and a steady hand. Then, it’s simply a matter of following the instructions and making those all-important connections.
Dimming the Mood: Controlling Ambiance with a Simple Switch
But what’s a well-lit kitchen without a touch of atmosphere? Enter the dimmer switch, your secret weapon for setting the perfect mood. With a simple twist, you can transition from a bright, energizing space for meal prep to a soft, romantic glow for intimate dinners. Imagine basking in the warm, flickering light of your new fixtures as you savor a glass of wine and the company of loved ones. Now, that’s what I call illuminating.
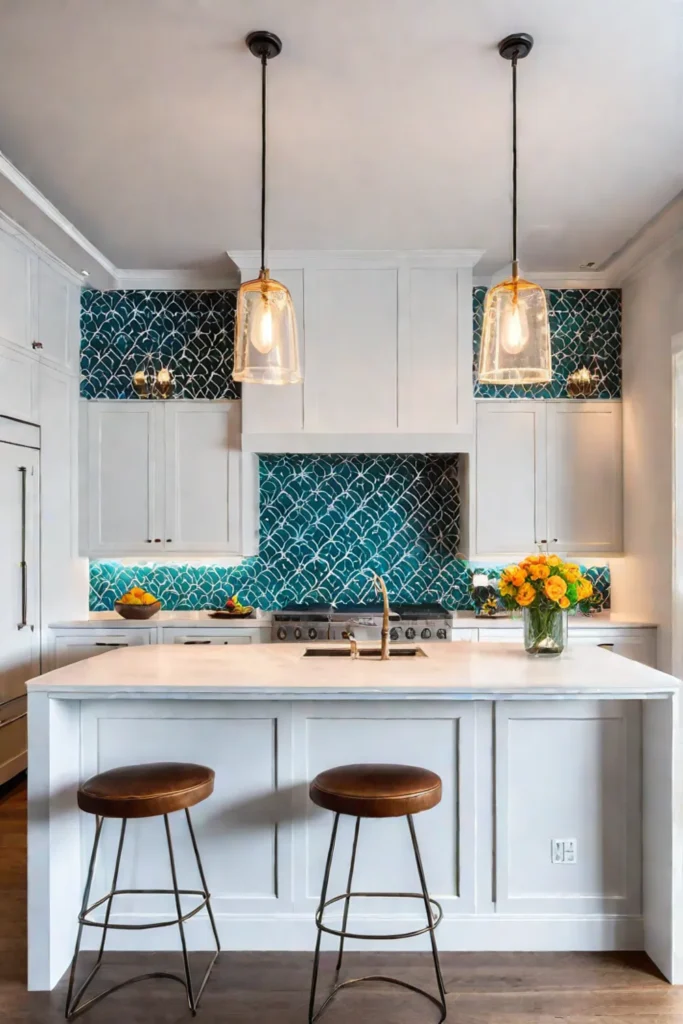
As you embark on this DIY journey, remember that upgrading your kitchen lighting is about more than just functionality—it’s an opportunity to imbue your space with character, warmth, and a touch of your unique style. So, let your creativity shine and bask in the glow of a job well done.
And just like that, we’ve cast a new light on your kitchen’s potential.
Conclusion
As we bid farewell to our delightful DIY adventures, I hope you feel inspired to breathe new life into your kitchen. From those freshly refaced cabinets brimming with stories to the gleaming new hardware adorning them like brilliant jewels, each project has been an opportunity to honor your home’s heritage while embracing modern flair.
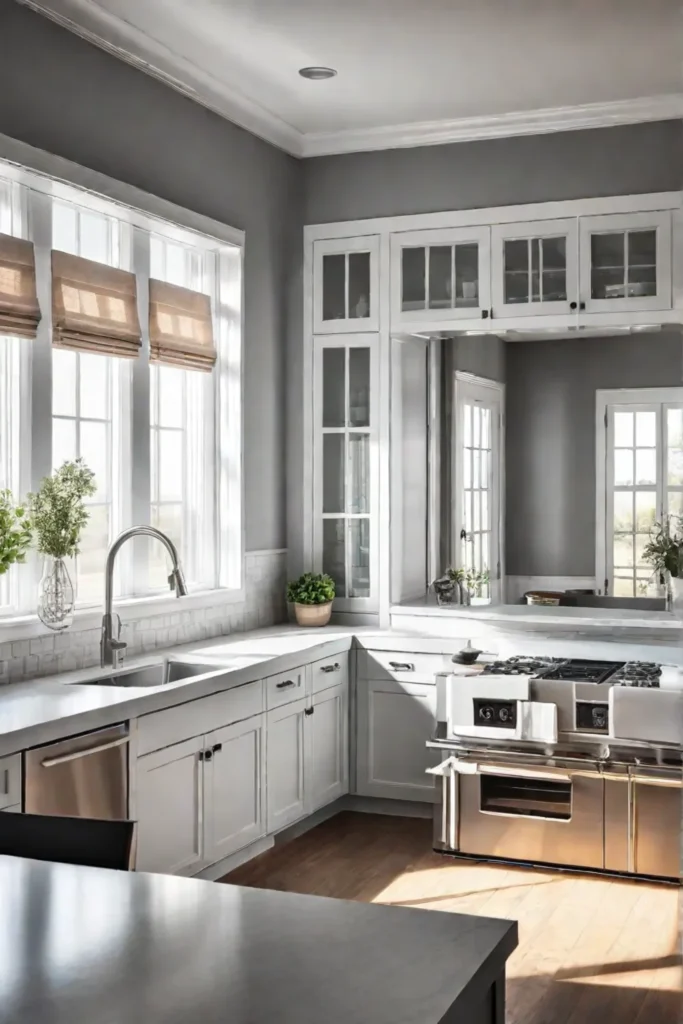
But our journey doesn’t end here, dear friends. The kitchen is the heart of the home, after all – a space where we nourish our bodies and souls through cherished recipes and lively gatherings. So, let the revitalized ambiance you’ve created be a catalyst for new culinary adventures and lasting memories.
Embrace the transformative power of your two hands and revel in the pride of a job well done. Ultimately, a home’s true character is found not in perfection but in thoughtful details that bear the unmistakable hallmarks of your family’s unique narrative.
