Can we talk about why so many expensive kitchen renovations end up feeling… sterile? It’s my biggest pet peeve. I see people drop $60,000 on custom cabinets and shimmering quartz countertops, and the final result looks like a showroom that nobody actually lives in. It’s flat. It’s lifeless. And it’s almost always because they treated lighting as an afterthought.
They pick out a single, generic fixture for the center of the ceiling and call it a day. That’s like buying a Porsche and putting bicycle tires on it. You’ve invested in all the beautiful components, but you’ve completely ignored the one element that makes it all work together: light. Good lighting isn’t just about being able to see what you’re chopping. It’s the magic ingredient. It sets the mood, makes the space functional, and turns a collection of expensive materials into a room that feels like home. So, let’s talk about how to do this right.
Strategic Planning & Budgeting Foundations
This is the boring-but-critical part. I know you want to jump straight to picking out backsplash tile, but skipping this stage is how you end up with a half-finished kitchen, a mountain of debt, and a deep-seated resentment for your spouse. Trust me, five hours of planning now saves you five months of misery later.
1. Calculate Your Realistic Renovation Budget Accurately Before Starting
Everyone hates this part, but you can’t skip it. A budget isn’t a wish; it’s a plan. Get real quotes for everything—cabinets, labor, plumbing, electrical—not just a Zillow estimate. Break it down in a spreadsheet. And here’s the most important part that 90% of people ignore: add a 15-20% contingency fund. Seriously. Do not start the project without this buffer. It’s not “if” you’ll find something unexpected, it’s “when.”
I watched a client’s budget explode because when the contractor opened a wall, he found ancient knob-and-tube wiring that was a legitimate fire hazard. It wasn’t in the original plan. But because they had that 15% buffer, it was a stressful week, not a project-ending catastrophe. They covered the cost without having to compromise on the countertops they loved. That contingency fund is your project’s insurance policy.
With your budget locked in, you can now decide what you actually need to spend it on.
2. Define Your Kitchen’s Core Function & Must-Have Features Clearly
Before you look at a single cabinet, you need to be brutally honest about how you use your kitchen. Forget the fantasy of hosting 30-person dinner parties if you only do it once a year. For one week, just observe your family. Where does mail pile up? Where does everyone gather? Is the coffee maker in the most inconvenient spot possible? Your new kitchen needs to solve those problems.
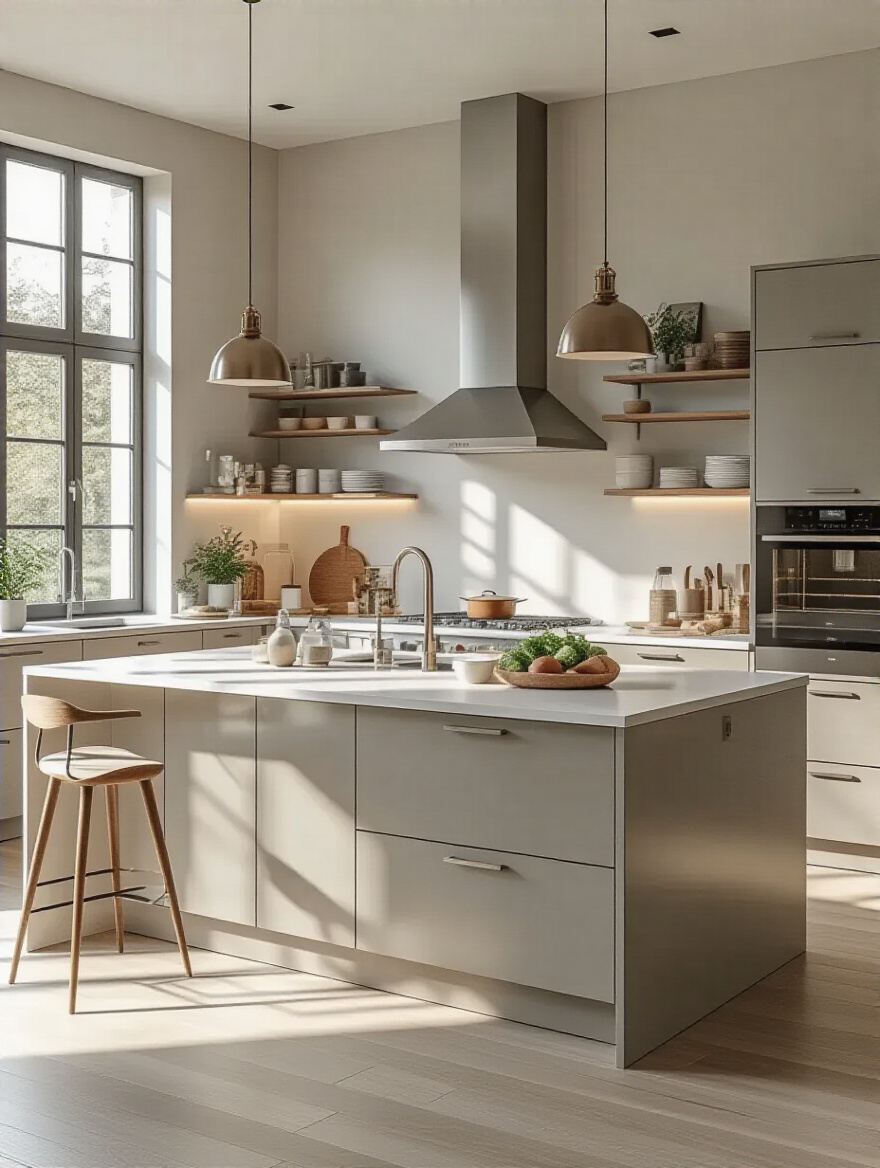
Create a simple “Needs vs. Wants” list. “Need” is more counter space because you have none. “Want” is a second, beverage-only fridge. Be ruthless. I once worked with a family who realized their biggest pain point wasn’t the cooking area; it was the chaotic “drop zone” by the door. So, we designed a small, integrated desk and charging station right there. It had nothing to do with cooking and everything to do with how they actually lived. That’s what a functional kitchen is all about.
Now for the real fun part: paperwork.
3. Research Local Building Codes and Permit Requirements Thoroughly
Look, nobody enjoys a trip to the city planning department. It’s a soul-crushing vortex of beige walls and bureaucracy. But skipping permits is one of the dumbest, most expensive mistakes you can make. It’s not just about avoiding a fine. It’s about ensuring the guy you hired didn’t do something that could burn your house down or cause a structural failure.
And here’s the kicker: when you go to sell your home, that unpermitted work is a giant red flag for buyers and can torpedo the deal entirely. A good contractor should handle pulling the permits, but it is your legal responsibility to make sure it happens. Get copies. The shortcut here is simple: hire a reputable professional who does this for a living and don’t take “don’t worry about it” for an answer. This step is non-negotiable.
Once the city gives you the green light, it’s time to map out the journey.
4. Create a Detailed Project Timeline to Minimize Disruptions Effectively
Your renovation is going to take longer than you think. Your custom cabinets will get stuck on a boat, the plumber will have a family emergency, and it will rain for a week straight when they need to vent the new hood. Accept this now. A good timeline isn’t a rigid-to-the-day schedule; it’s a realistic roadmap with built-in buffers.
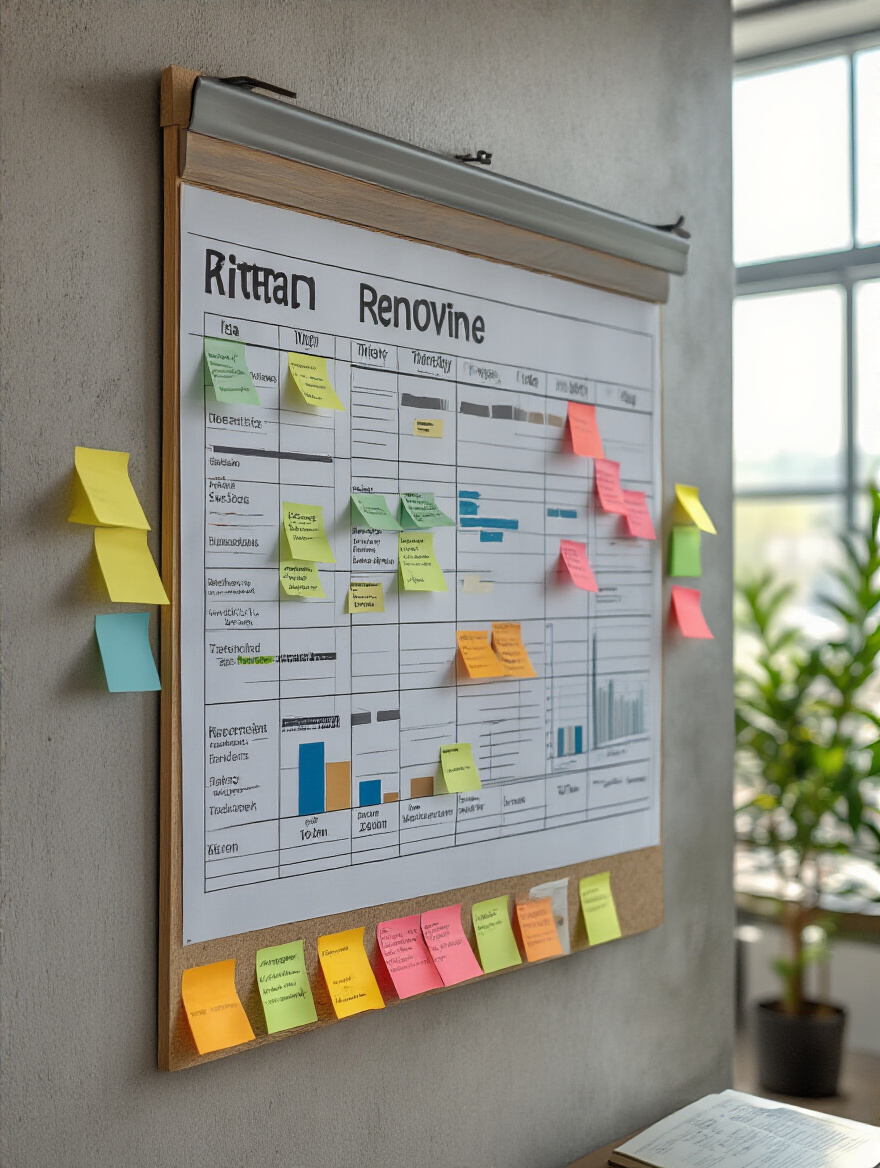
Work with your contractor to map out the phases: demolition, rough-ins (plumbing/electrical), drywall, flooring, cabinets, countertops (they template after cabinets are in—this is a common delay!), backsplash, and then final touches like paint and lighting fixtures. Ask for a weekly “look-ahead” so you know when you won’t have a sink or when the dust will be apocalyptic. Planning for the disruption is the only thing that will keep you sane when you’re washing dishes in the bathtub for the third week in a row.
Of course, a timeline is useless without the right people to execute it.
5. Hire Reputable Professionals: Designers, Contractors, or Specialists Wisely
The temptation to hire the cheapest guy is strong. Resist it. The lowest bid is often low for a reason—they’re uninsured, cutting corners, or they’ll hit you with a dozen “unforeseen” change orders later. Get at least three detailed bids from licensed, insured contractors. Call their references. Go see their past work in person. Ask the references how they handled problems, because problems will happen.
And here’s my bias showing: consider hiring a specialist. A kitchen designer can reimagine your layout in ways you never would. And an architectural lighting designer (like me) can craft a lighting plan that elevates the entire project from “nice” to “wow.” You’re not just paying for a plan; you’re paying for their experience in avoiding the thousands of mistakes you don’t even know exist. It’s an investment that pays for itself.
Optimizing Layout & Smart Design Choices
This is where we get into the artistry. The layout isn’t just about where the fridge goes. It’s about flow, efficiency, and how the room feels. Get this right, and even a small kitchen can feel spacious and easy to work in.
6. Redesign Your Kitchen Triangle for Efficient Workflow Movement
The classic “work triangle”—the path between the fridge, sink, and stove—is a great starting point. The idea is to keep these three key zones close but not cramped, with no major traffic paths cutting through. An island plopped in the wrong spot can ruin a perfectly good triangle. The legs of the triangle should ideally be between 4 and 9 feet. Too close and you feel boxed in; too far and you’re running a marathon just to make spaghetti.
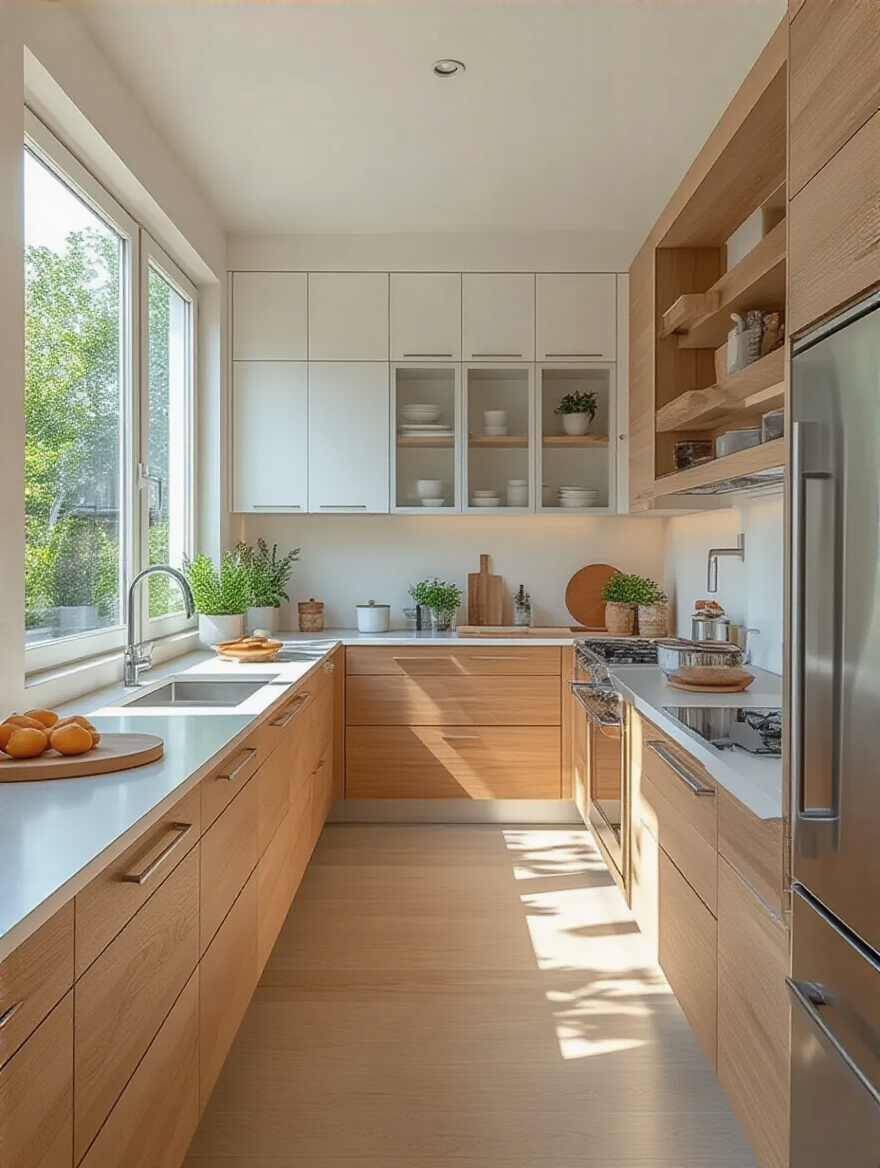
But let’s be real: modern kitchens are more like “work zones.” You might have a baking zone, a coffee zone, and a prep zone. The principle is the same: think about the tasks you do and group the tools and appliances for that task together. Your goal is efficiency. You want to be able to pivot and reach, not take five steps every time you need to grab something.
One of the best ways to anchor these zones is with a central, multi-purpose feature.
7. Integrate a Versatile Kitchen Island for Extra Countertop and Seating
Everyone wants an island, but not every kitchen can handle one. The cardinal rule is you need at least 36 inches of clearance on all sides, and frankly, 42 inches is much more comfortable, especially if appliances like the dishwasher or oven open into that walkway. Don’t cram an oversized island into a medium-sized kitchen. It will feel choked and claustrophobic.
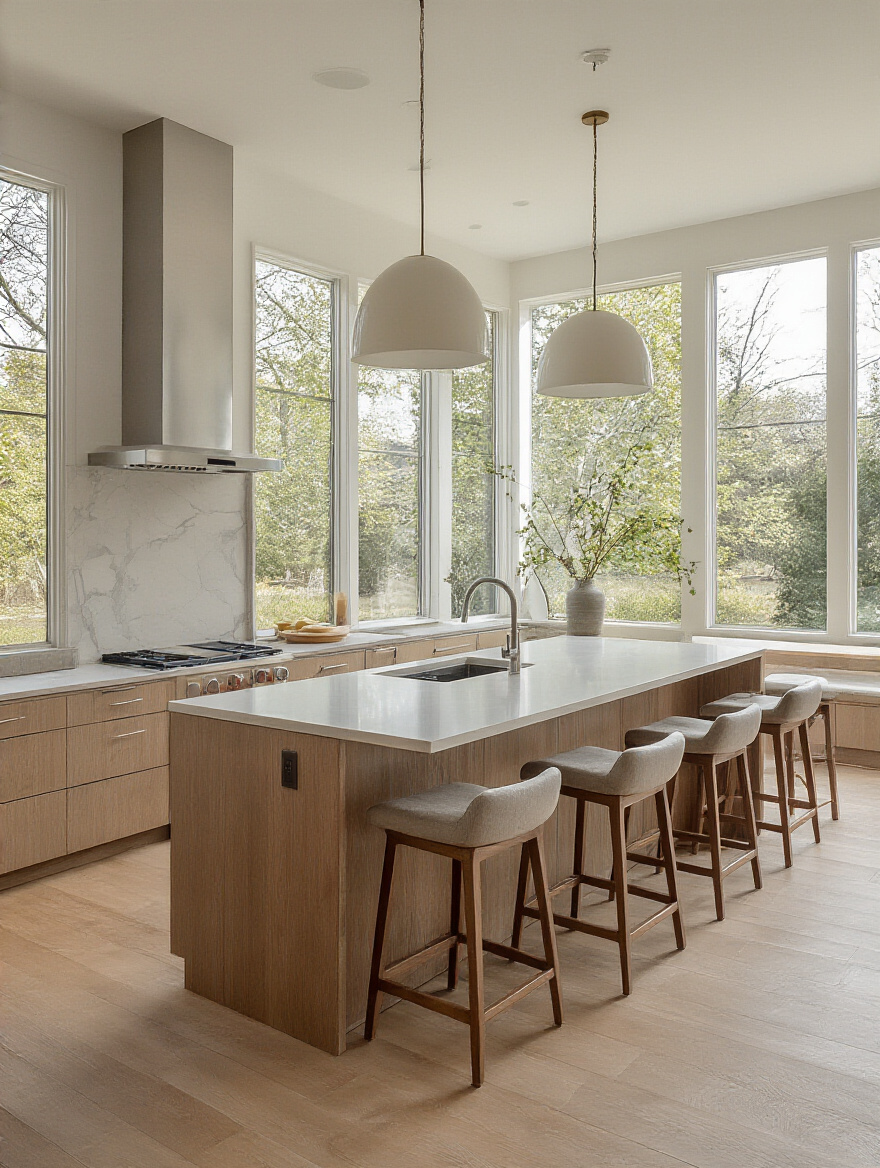
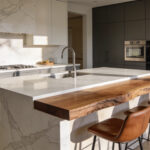
If you have the space, an island is a powerhouse. It’s extra prep space, a casual dining spot, a homework station, and a ton of storage. And it’s a fantastic opportunity for lighting. Use a row of pendants to provide dedicated task lighting over the work surface. This creates a beautifully lit focal point and ensures you can actually see what you’re doing, separating the island’s function from the general ambient light in the room.
Beyond the island, think about how you use every vertical inch of the room.
8. Optimize Wall Space with Smart Vertical Storage Solutions Effectively
Stop thinking about just lower and upper cabinets. Think floor-to-ceiling. A wall of pantry cabinets with pull-out drawers is infinitely more useful than a standard deep pantry where everything gets lost in the back. You’re using the full height of your room, which draws the eye up and makes the space feel taller.
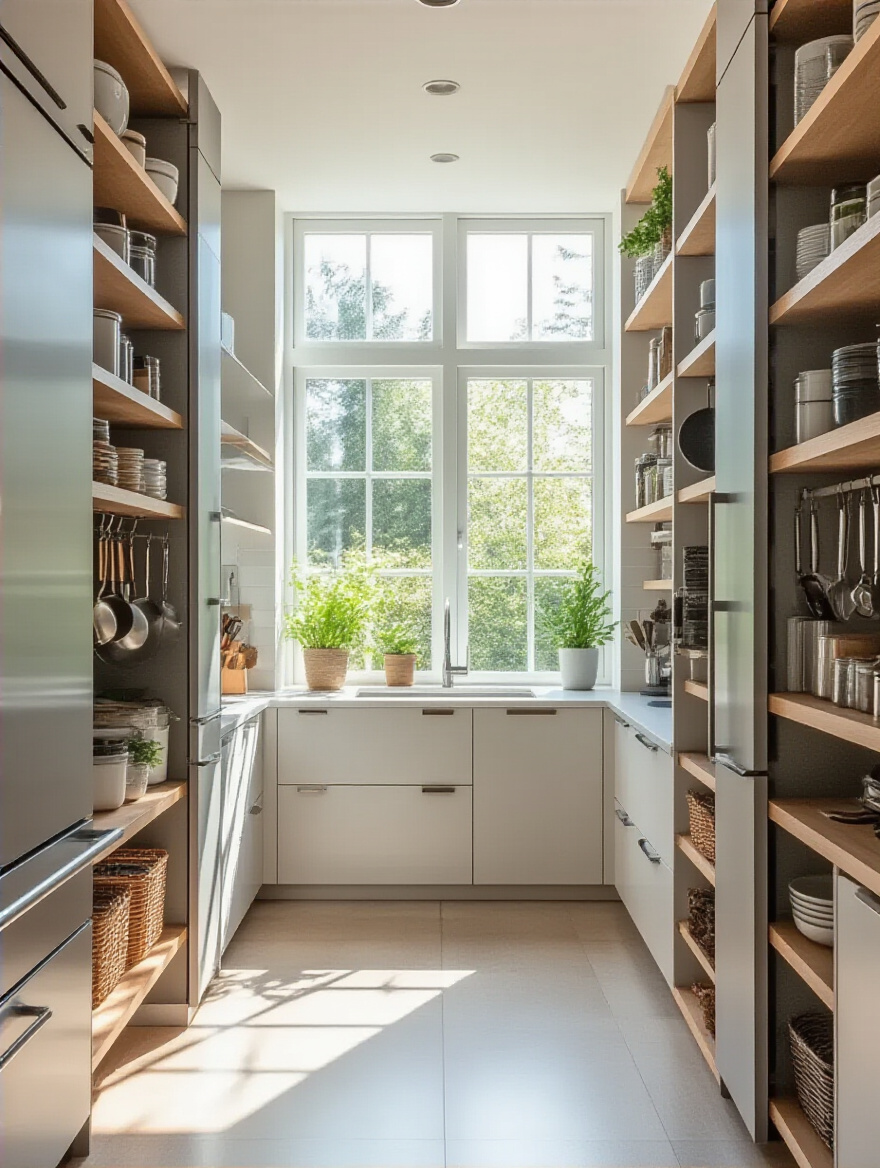
This is especially critical in smaller kitchens. Slim, pull-out spice racks, vertical dividers for baking sheets, and corner pull-out systems (like a LeMans unit) can reclaim awkward, dead space and make it incredibly functional. But here’s the pro tip: these tall, deep storage units are useless if they’re dark. You must, must, must integrate lighting. Simple, inexpensive LED strips that turn on when you open the door will change your life.
If you want to open up the space even more, you can selectively lose some of those upper cabinets.
9. Incorporate Open Shelving Judiciously for Display and Accessibility
Okay, let’s have an honest conversation about open shelving. It looks stunning in magazines, but it requires a certain lifestyle. If you’re a minimalist who owns a matched set of beautiful white dishes, go for it. If you’re a normal human with a chaotic collection of mugs and plastic kids’ cups, you might want to reconsider. Open shelves are for curation, not just storage. They are also dust magnets.
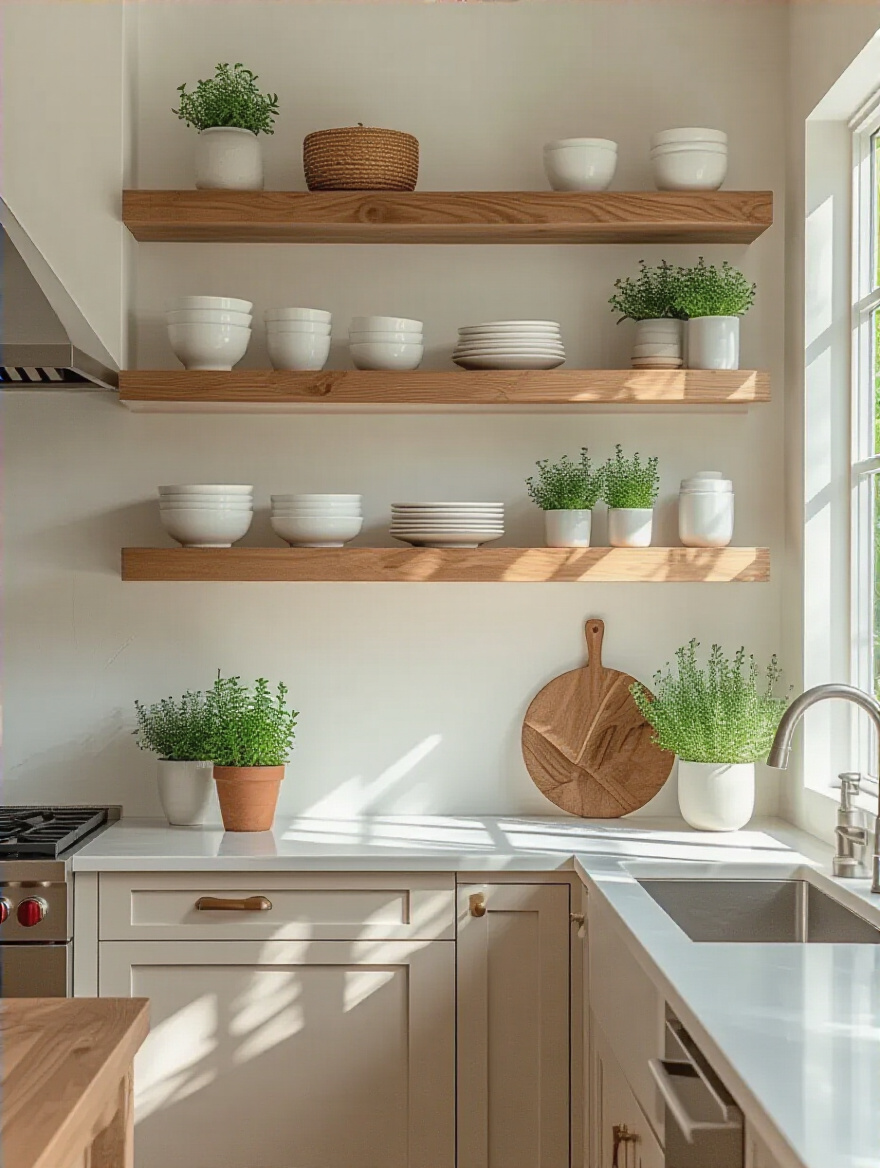
The key is “judiciously.” Don’t replace all your uppers. Use them as an accent—maybe a couple of thick, reclaimed wood shelves flanking the range hood or above a coffee bar. They are fantastic for making a small kitchen feel more open and airy. And for a lighting designer, they’re a gift. A small, hidden LED strip at the front of the shelf can wash down the wall behind it, highlighting the objects and creating a beautiful layer of accent light.
Nothing makes a space feel more open and airy, though, than the real thing.
10. Maximize Natural Light with Thoughtful Window and Door Placement
Natural light is the best light, and it’s free. During the design phase, think about how you can maximize it. Can you make an existing window larger? Can you change a solid back door to one with a glass panel? Can you add a skylight or a sun tunnel? These things make a monumental difference in how a room feels throughout the day.
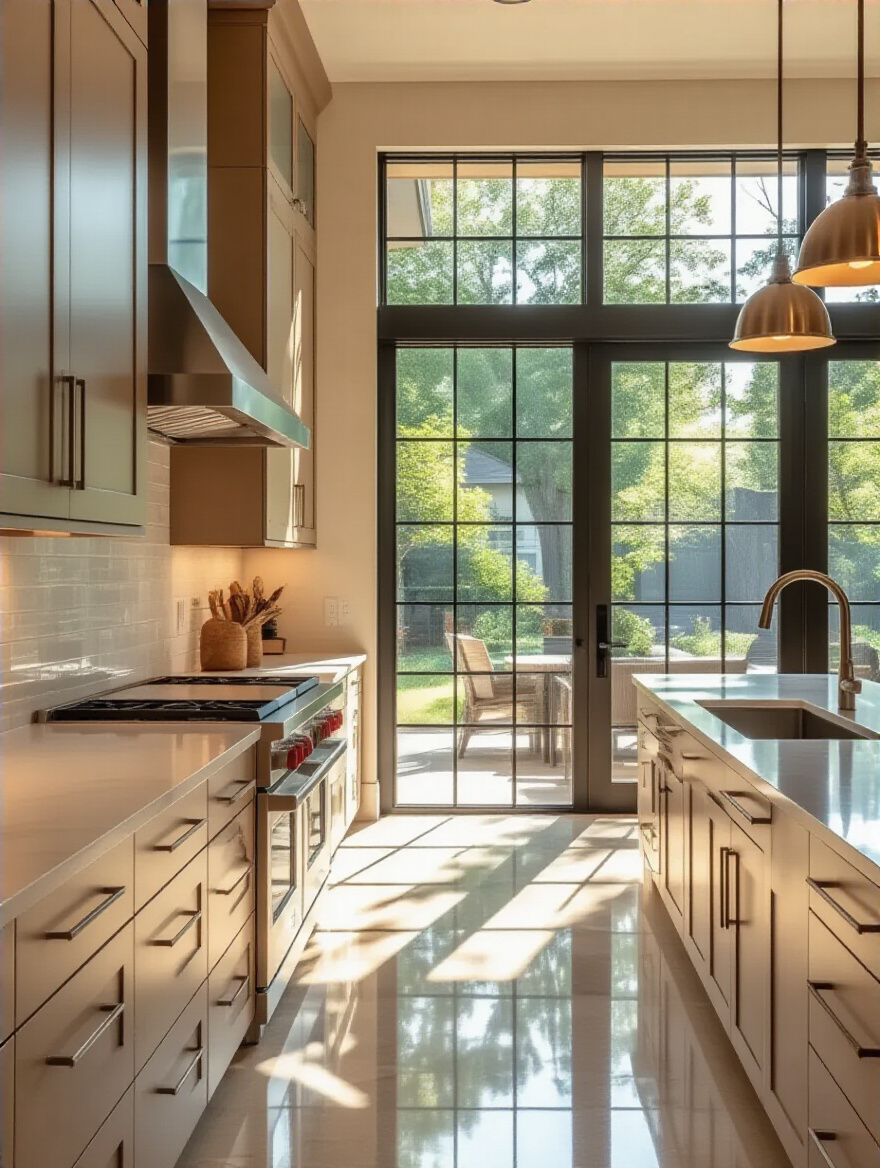
Your home’s orientation matters, too. North-facing windows provide cool, consistent, indirect light all day. South-facing windows give you intense, warm light. East is for bright morning sun, and West is for strong afternoon rays. Understanding this helps you plan your artificial lighting. A dark, north-facing kitchen will need a much more robust and warmer-feeling lighting plan to feel inviting than a sun-drenched, south-facing one.
Key Components & Aesthetic Upgrades
Okay, the plan is solid. The layout is smart. Now it’s time for the fun stuff—the materials and finishes that give your kitchen its personality.
11. Select Durable, Stylish Countertops Complementing Your Design Vision
This is one of the biggest visual and financial decisions in your kitchen. The main contenders are usually quartz, granite, and marble. Quartz is an engineered stone, so it’s incredibly durable, non-porous (no staining!), and comes in a zillion colors and patterns. Granite is a natural stone, so each slab is unique, and it’s very tough, but it needs to be sealed periodically. Marble is drop-dead gorgeous, but it’s soft. It will etch and stain if you so much as look at it with a lemon. Be honest with yourself: are you the type who will wipe up a red wine spill immediately, or will it be there in the morning?
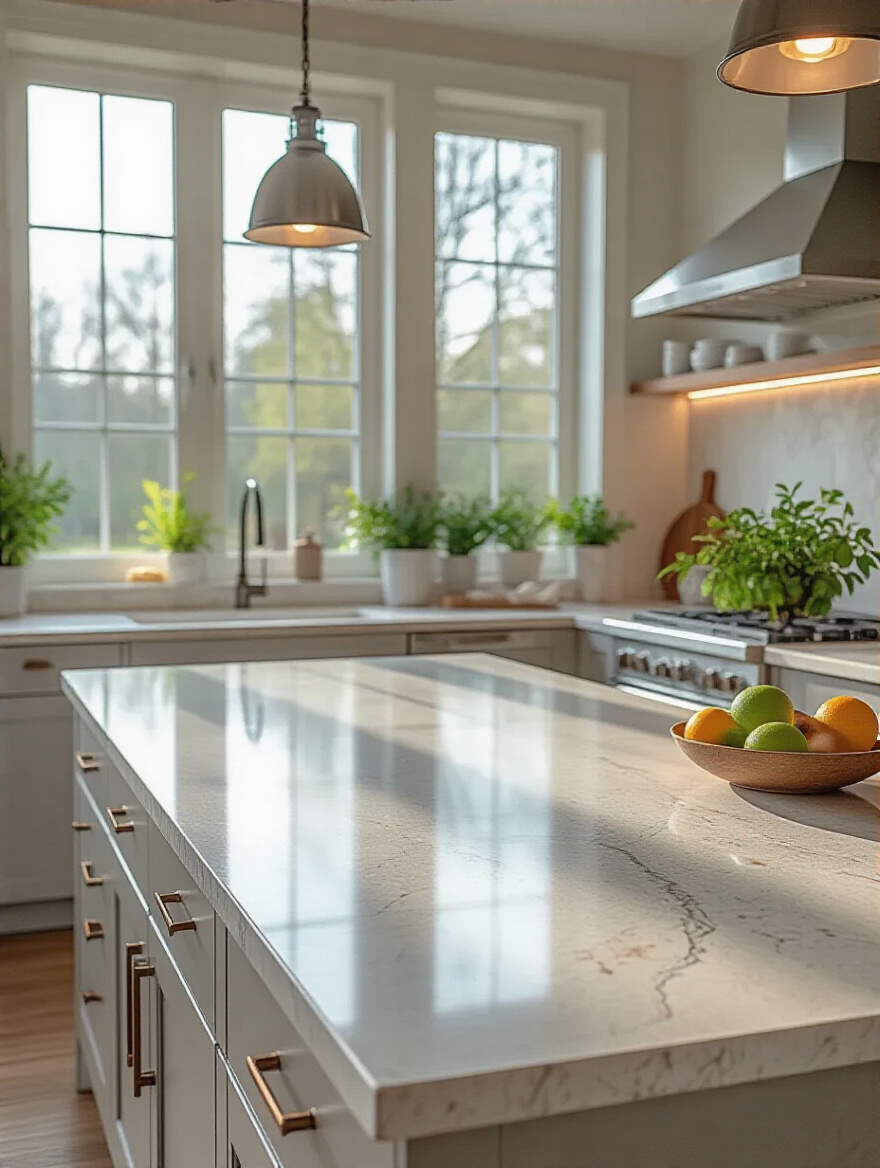
Get samples. Don’t just look at a tiny 2-inch square in the showroom. Take home a big piece and see how it looks in your kitchen’s light next to your cabinet color. The light in a big-box store is completely different from the light in your home. This is a common and very expensive mistake to fix.
Next up, the workhorses of the kitchen.
12. Choose High-Quality, Energy-Efficient Appliances for Long-Term Savings
It’s easy to get seduced by appliances with a thousand buttons and Wi-Fi connectivity. My advice? Focus on two things: build quality and energy efficiency. Read reviews from sources like Consumer Reports, not just the manufacturer’s website. A reliable, quiet dishwasher is a better long-term investment than a fancy one that breaks down in three years.
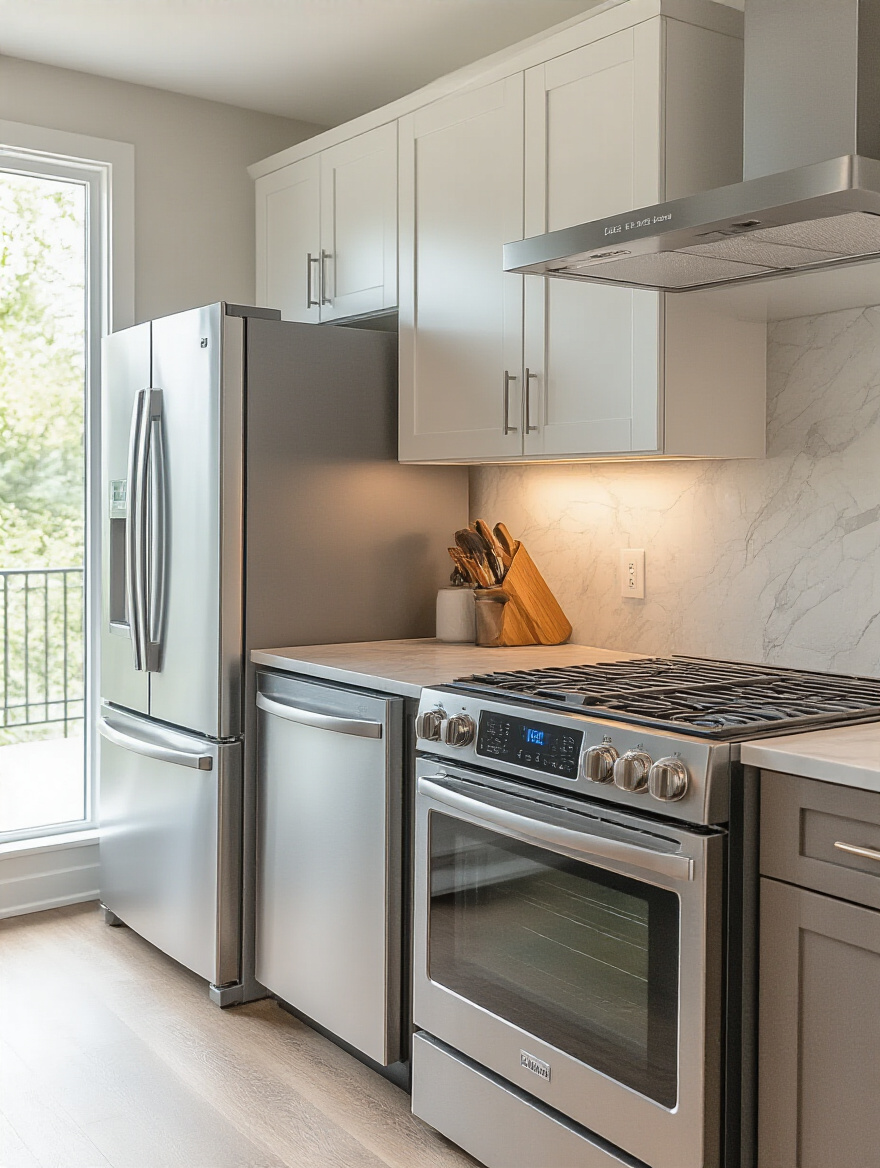
And always look for the ENERGY STAR® label. It might cost a bit more upfront, but an energy-efficient fridge or dishwasher will save you hundreds, if not thousands, of dollars on your utility bills over its lifespan. The “total cost of ownership” is what matters, not just the sticker price. This is a place where spending a little more upfront pays off every single month.
Now for the element that defines the room’s entire style.
13. Upgrade Cabinetry with Modern Finishes or Clever Custom Storage
Cabinets are the backbone of your kitchen’s style. If your existing cabinet boxes are in good shape, refacing (new doors and drawer fronts) or even just painting them can be a huge, budget-friendly transformation. If you need a new layout or your old ones are falling apart, then a full replacement is the way to go. Trends right now are moving toward warmer wood tones, deep greens and blues, and handleless, minimalist designs.
This is also where you integrate those clever storage solutions we talked about—the pull-outs, the drawer dividers, the appliance garages. But remember my earlier advice: get samples of the door styles and colors. Paint a big swatch on the wall. Live with it for a few days. See how the color changes in the morning light versus the evening light, and how it looks under the artificial lighting you plan to install.
And speaking of which, let’s talk about my favorite subject.
14. Enhance Ambiance with Layered Lighting: Task, Accent, and Ambient
This is it. This is the secret. A great kitchen has three layers of light, and they should all be on separate, dimmable controls. Ignore this, and I promise you’ll be disappointed with the final product.
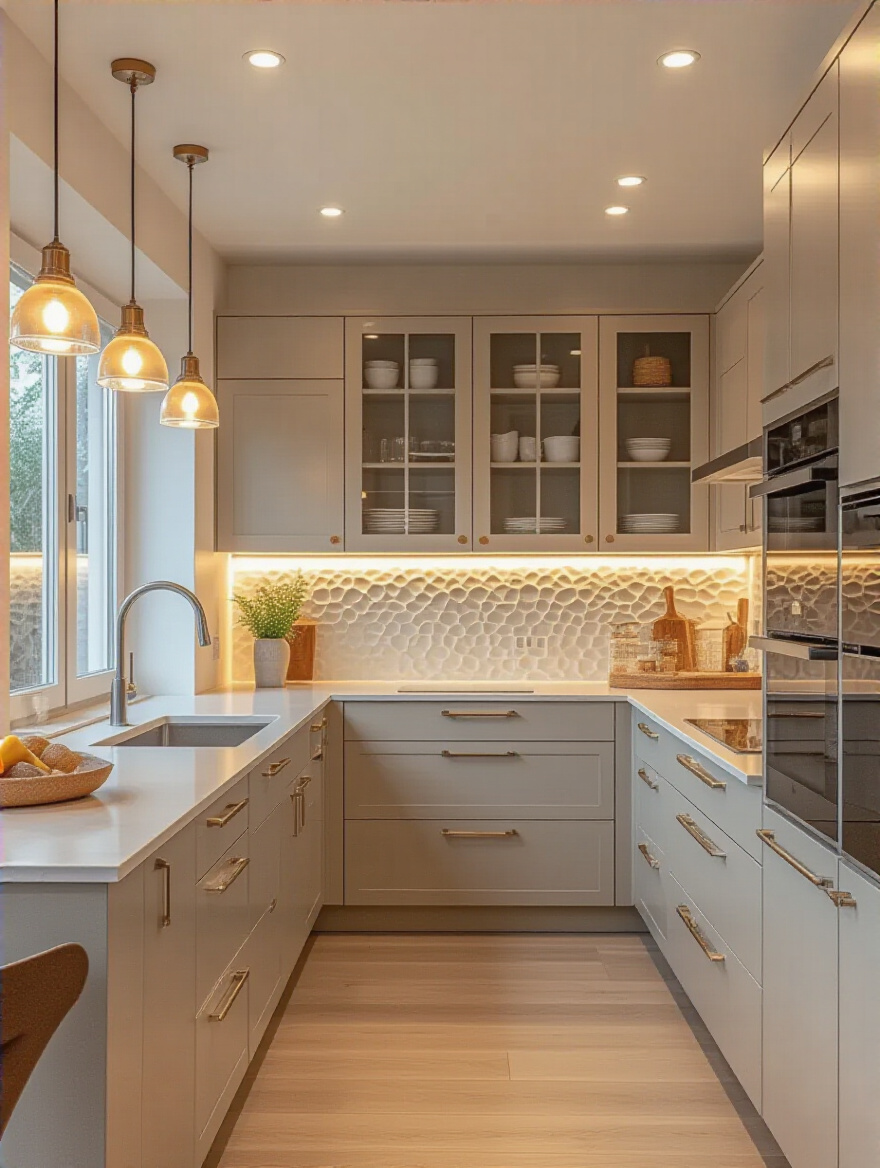
- Ambient Light: This is your general, overall illumination. It’s the replacement for that one ugly fixture in the middle of the room. It’s usually provided by well-placed recessed cans (or “downlights”) that create a clean, even wash of light across the whole space.
- Task Light: This is the most important light for functionality. It’s focused light aimed directly where you work: under the upper cabinets shining onto the countertops, and in pendants over the island. It eliminates shadows and lets you see what you’re doing without straining your eyes. I’ve never had a client complain about too much light on their countertops.
- Accent Light: This is the fun layer. It adds depth and personality. It could be puck lights inside a glass-front cabinet, a light that highlights a cool backsplash, or a tape light along the toe-kick for a floating effect. It’s the jewelry of your lighting plan.
Get these three layers right, put them all on dimmers, and you’ll have a kitchen that can be bright and functional for cooking, and then soft and atmospheric for entertaining, all with the touch of a button.
Of course, all this great light has to bounce off something.
15. Select Resilient Flooring that Withstands High Traffic and Spills
Your kitchen floor takes a beating. It needs to be durable, water-resistant, and comfortable to stand on. For a long time, tile was the go-to, and it’s still a great, bulletproof option. But the superstar material right now is Luxury Vinyl Plank (LVP). It’s 100% waterproof, incredibly tough, warmer and softer underfoot than tile, and the new styles look shockingly like real wood or stone.
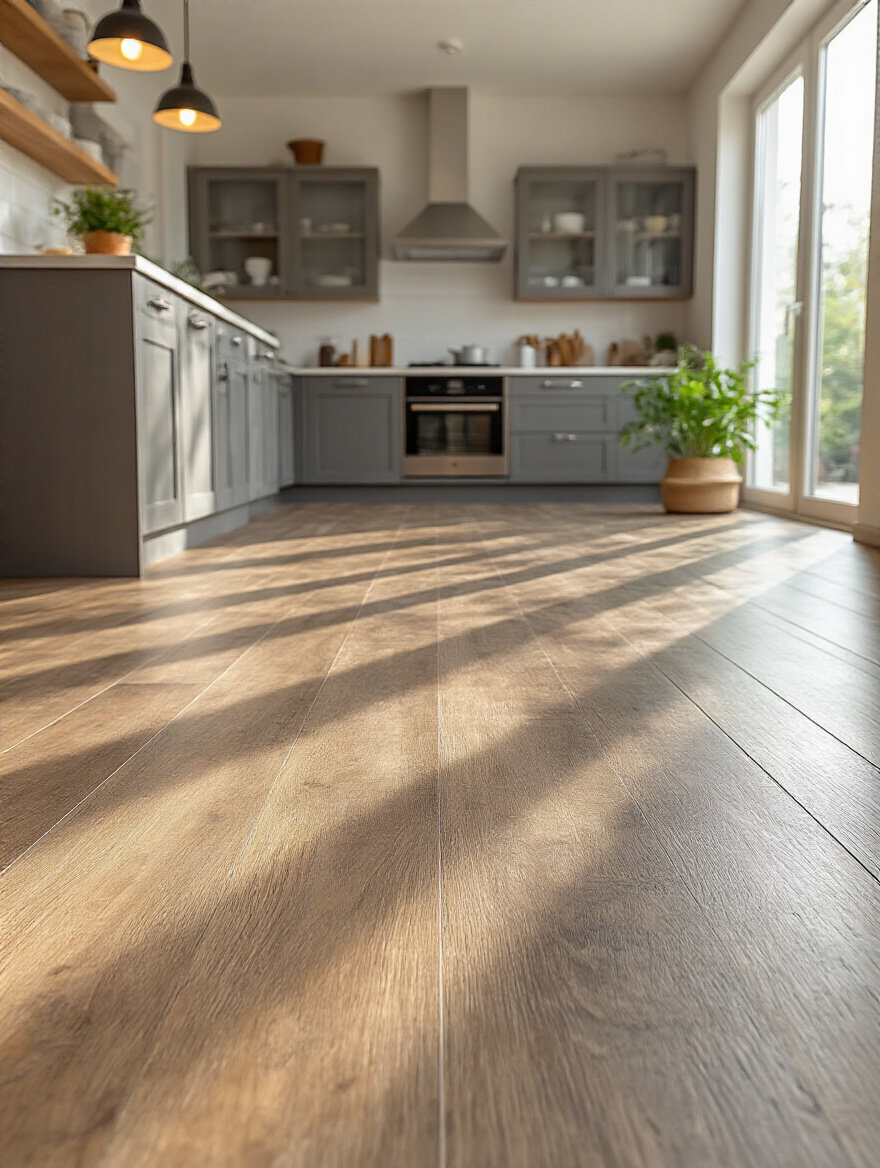
Don’t forget that the floor is a massive surface that affects the light in your room. A dark floor will absorb light, making the space feel moodier and requiring a brighter lighting scheme. A light-colored floor will bounce light all around, amplifying your natural and artificial light and making the space feel bigger and brighter. It’s a key part of the overall design equation.
Advanced Functionality & Long-Term Value
You’ve nailed the basics. Now let’s talk about the next-level upgrades that add serious convenience and make your kitchen stand out.
16. Add Smart Technology: Voice-Activated Fixtures and Appliance Connectivity
Let’s be realistic—not all smart tech is useful. A fridge that texts you when you’re out of milk is mostly a gimmick. But some of it is pure genius. A voice-activated faucet when your hands are covered in raw chicken? Life-changing. Smart lighting is a huge win, too. You can program scenes like “Cooking,” “Dinner,” or “Clean Up” that adjust all your lighting layers at once. You can even get tunable-white LEDs that let you change the color temperature from a cool, energizing white during the day to a warm, cozy glow in the evening.
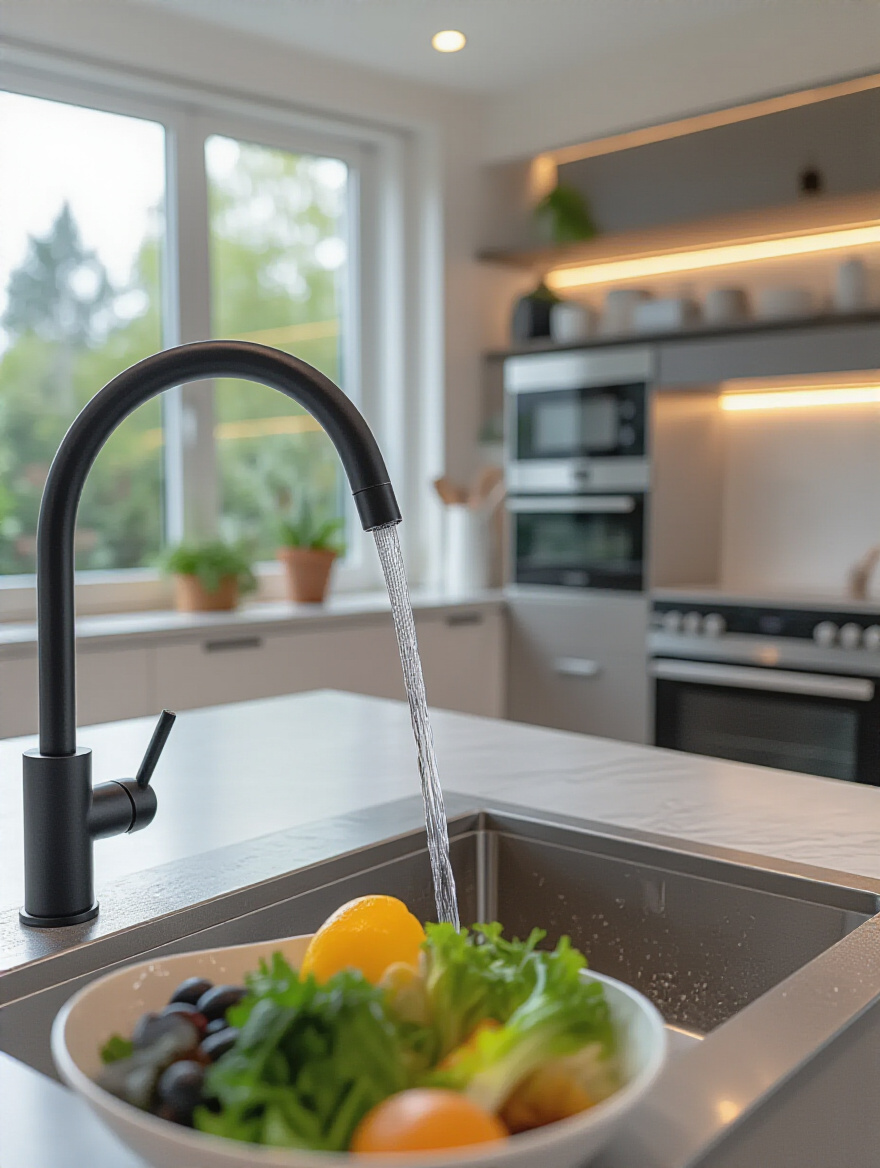
The key is to focus on smart tech that solves a real problem or adds tangible convenience, not just tech for tech’s sake. And try to stick to one ecosystem (like Google Home or Apple HomeKit) to make sure everything can talk to each other without you needing ten different apps on your phone.
Beyond tech, think about customizing the space for your specific rituals.
17. Install Dedicated Zones: Beverage Nook, Homework Station, or Pet Area
This is what elevates a kitchen from a generic box to your kitchen. If you’re a coffee fanatic, build a dedicated coffee bar with its own small sink, built-in storage for mugs and beans, and a beautiful spotlight to highlight it. If your kids always do homework at the island, carve out a small section with built-in power outlets and a durable countertop surface.
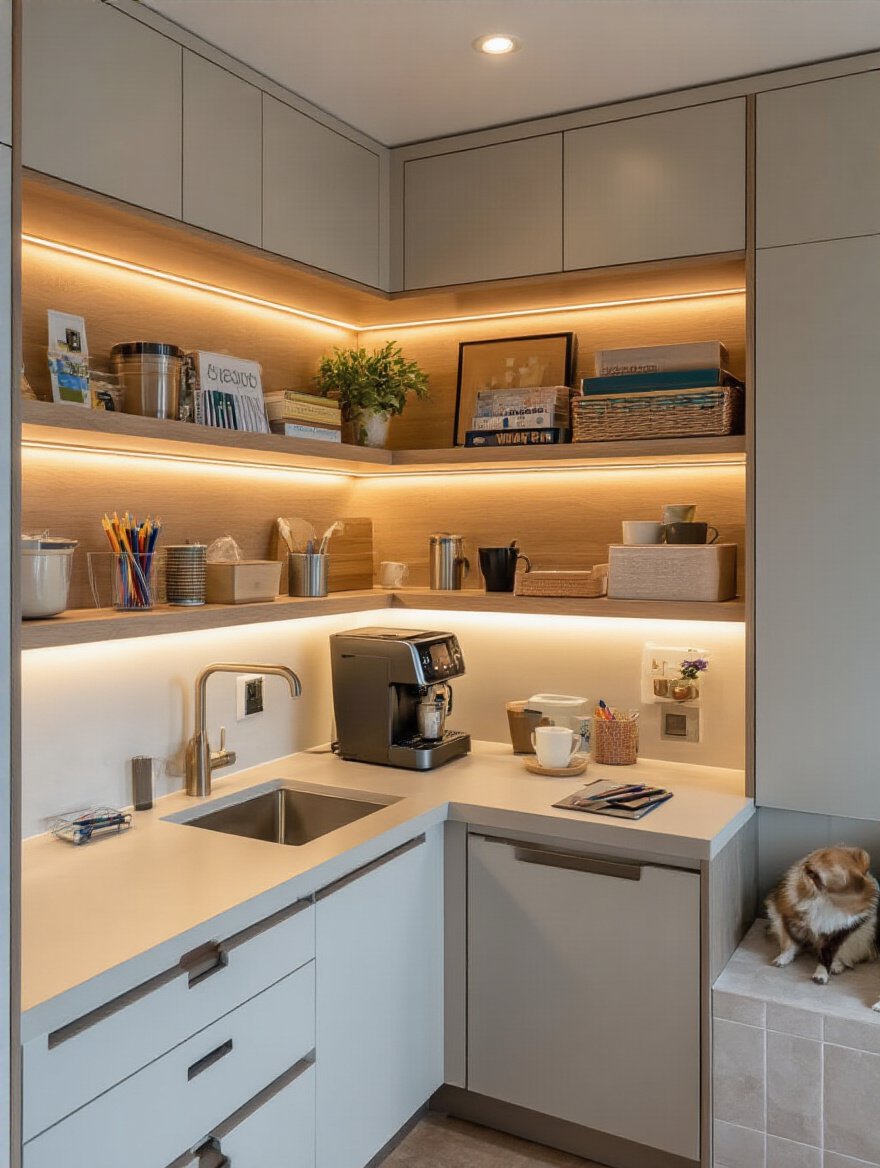
These specialized zones take the clutter and chaos of those activities out of the main work triangle, keeping your primary prep spaces clear and organized. And from a lighting perspective, they’re fantastic. You can give each zone its own dedicated light source—a small pendant, a library-style sconce—that signals its purpose and adds another interesting layer to your overall design.
Next, consider the health of your space, not just its looks.
18. Choose Eco-Friendly Materials for a Sustainable, Healthier Kitchen
“Eco-friendly” isn’t just about saving the planet; it’s about saving your lungs. Many standard building materials, like MDF cabinets, paints, and finishes, release volatile organic compounds (VOCs) into the air for years. It’s that “new car smell,” but in your kitchen, and it’s not good for you.
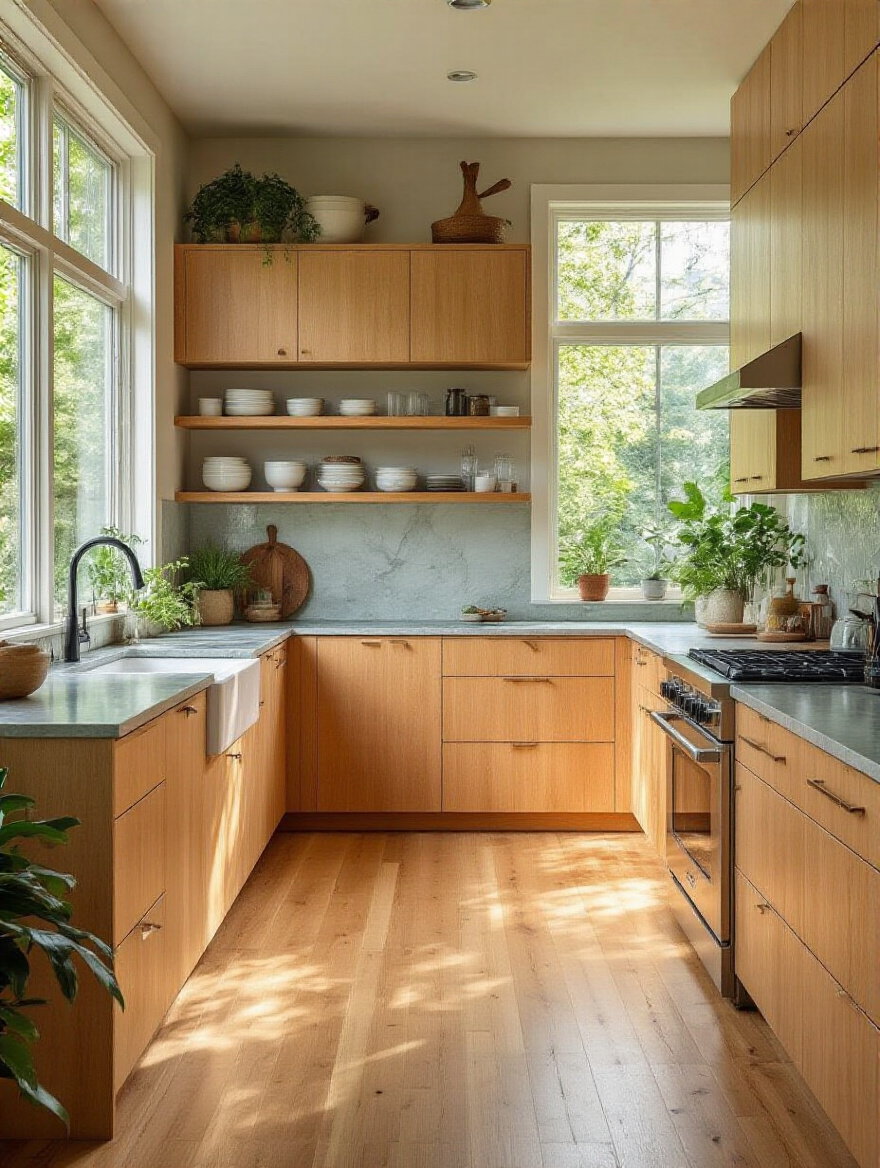
When you’re choosing materials, look for low-VOC or zero-VOC labels on paints and finishes. Look for certifications like GREENGUARD Gold on cabinetry, which guarantees low chemical emissions. This is one of those invisible upgrades that makes a huge difference to your family’s health and well-being in the space where you spend so much time. It’s a choice you’ll feel good about long after the renovation is over.
Finally, the ultimate trick for a clean, streamlined look.
19. Integrate Thoughtful Hidden Storage and Appliance Garages Seamlessly
Countertop clutter is the enemy of a beautiful kitchen. Toasters, blenders, stand mixers—they’re all useful, but they’re not pretty. The solution is the appliance garage. It’s essentially a cabinet that sits on your countertop with a door (a lift-up, pocket, or tambour door works well) that conceals all those small appliances when they’re not in use.
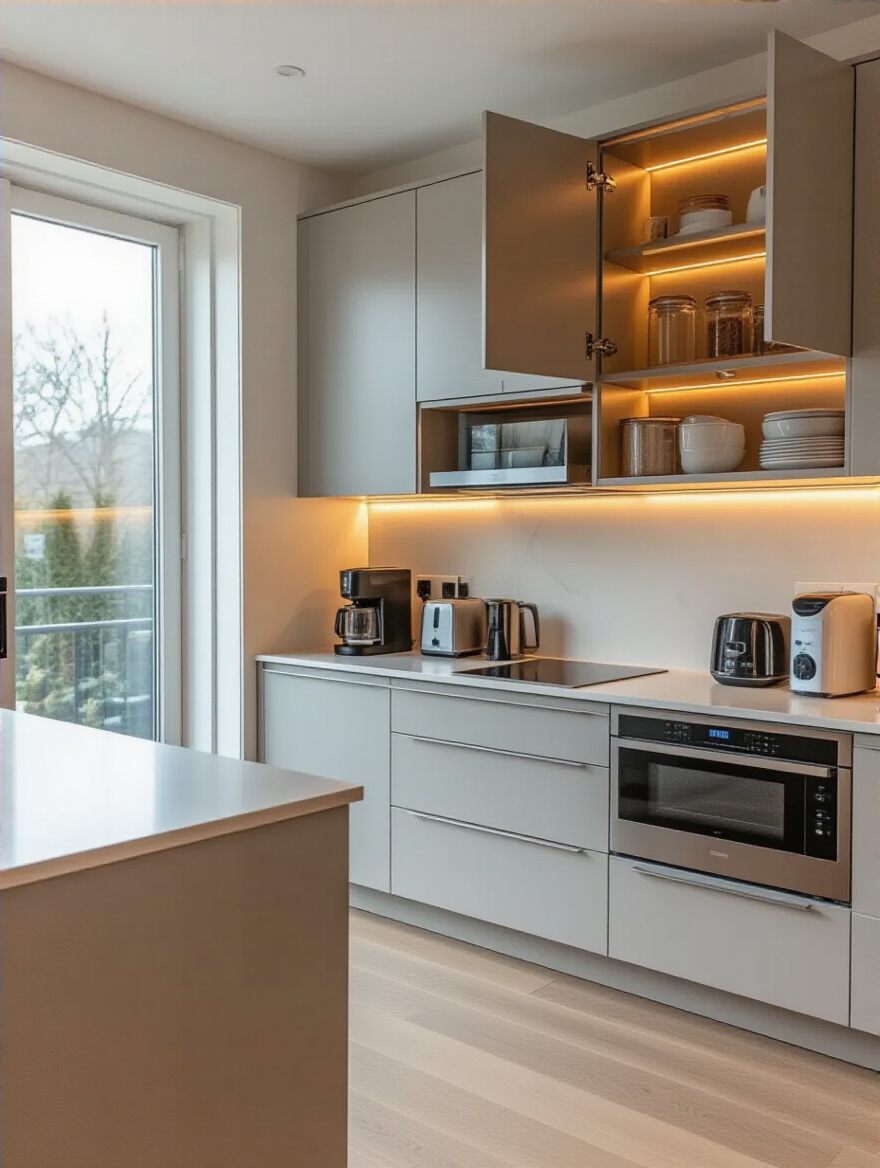
I have one non-negotiable rule for appliance garages: they must have power outlets and lighting inside. Without them, you’re just creating a dark, inconvenient cave where you have to drag appliances in and out. With outlets and an integrated LED strip that turns on when you open the door, it becomes a functional, self-contained workstation. It’s one of the single best investments for achieving that clean, minimalist aesthetic without sacrificing an ounce of functionality.
Conclusion
At the end of the day, a kitchen renovation is an investment in your daily life. It’s about creating a space that works for you, that reduces friction in your daily routines, and that brings you a little bit of joy every time you walk into it. It’s not about chasing trends or impressing the neighbors. It’s about smart planning, choosing durable materials, and understanding that the layout, the finishes, and—most importantly—the light all have to work together.
Don’t treat lighting as the last item on the checklist. Think about it from day one. Layer it. Control it. Use it to make your beautiful new materials sing. When you get that right, you don’t just have a new kitchen. You have the true heart of your home.


