Have you ever gazed longingly at glossy kitchen photos in your favorite magazines, dreaming of the day you could enjoy a stylish, modern space? Well, my friend, that dream is about to become a reality—and you won’t need to break the bank or hire an expensive contractor. With a little DIY spirit and my simple, step-by-step guidance, you can transform your kitchen cabinets into the showstopping centerpieces they deserve to be.
From a fresh coat of paint to elegant trim work, these easy weekend projects will breathe new life into your existing cabinets. And the best part? You’ll save big while adding custom touches that reflect your unique style. So roll up your sleeves, grab your tools, and get ready to make those outdated cabinets the envy of every guest who enters your home. This is DIY made simple – and oh-so rewarding.
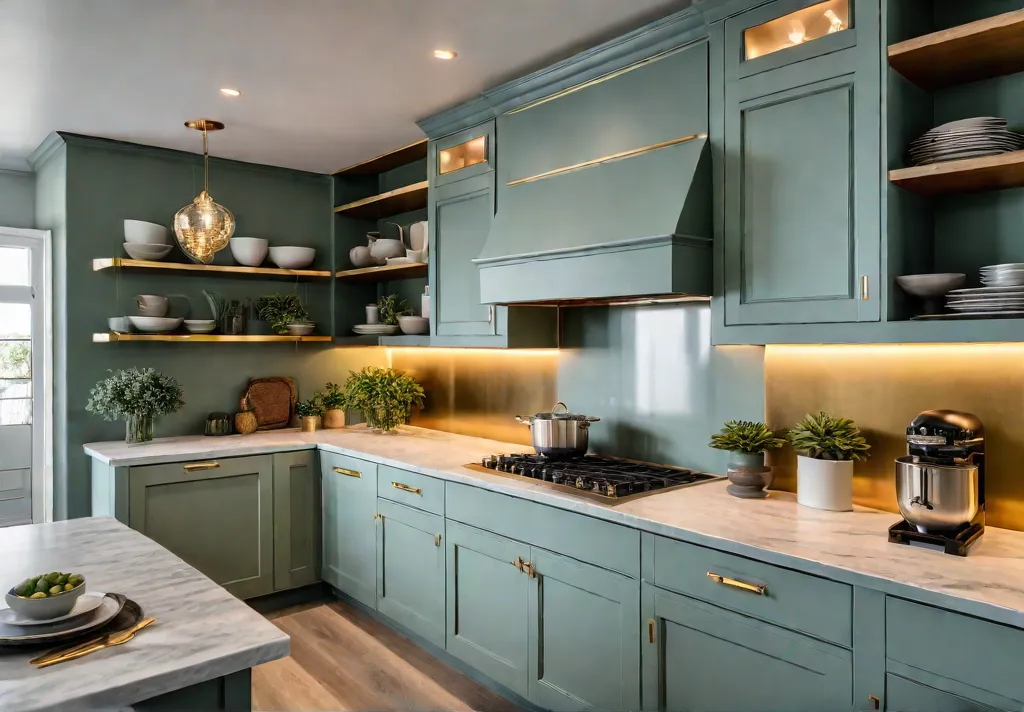
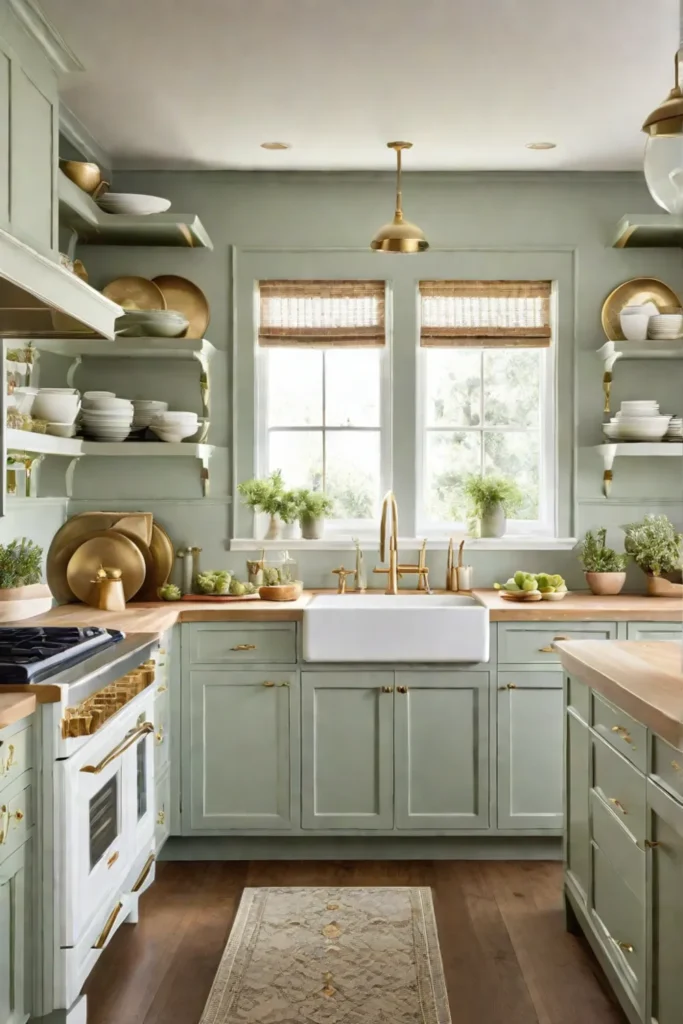
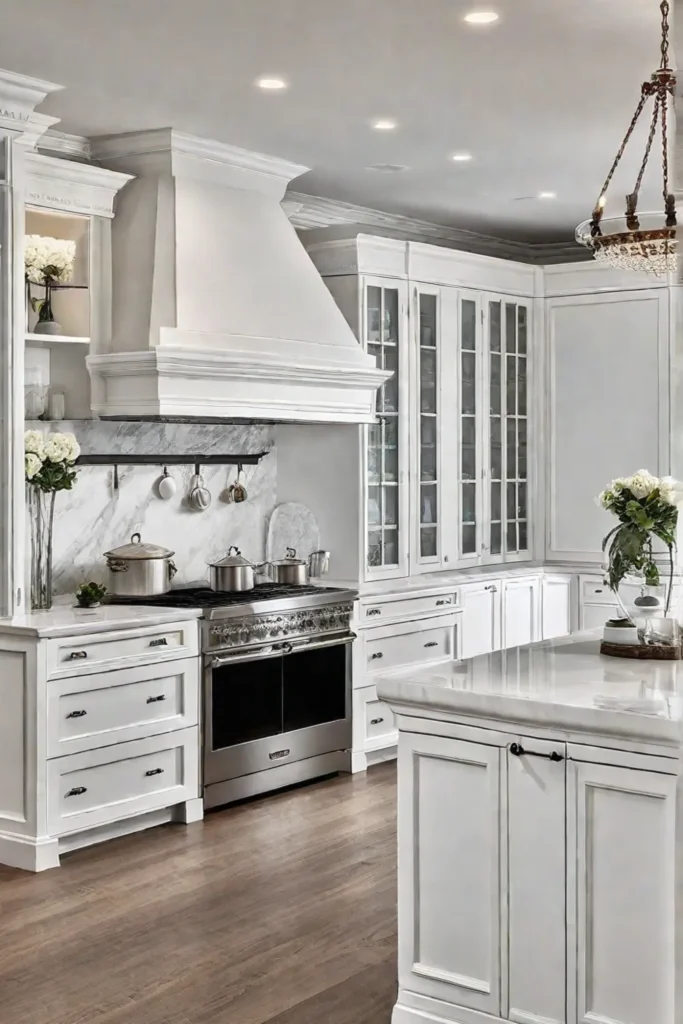
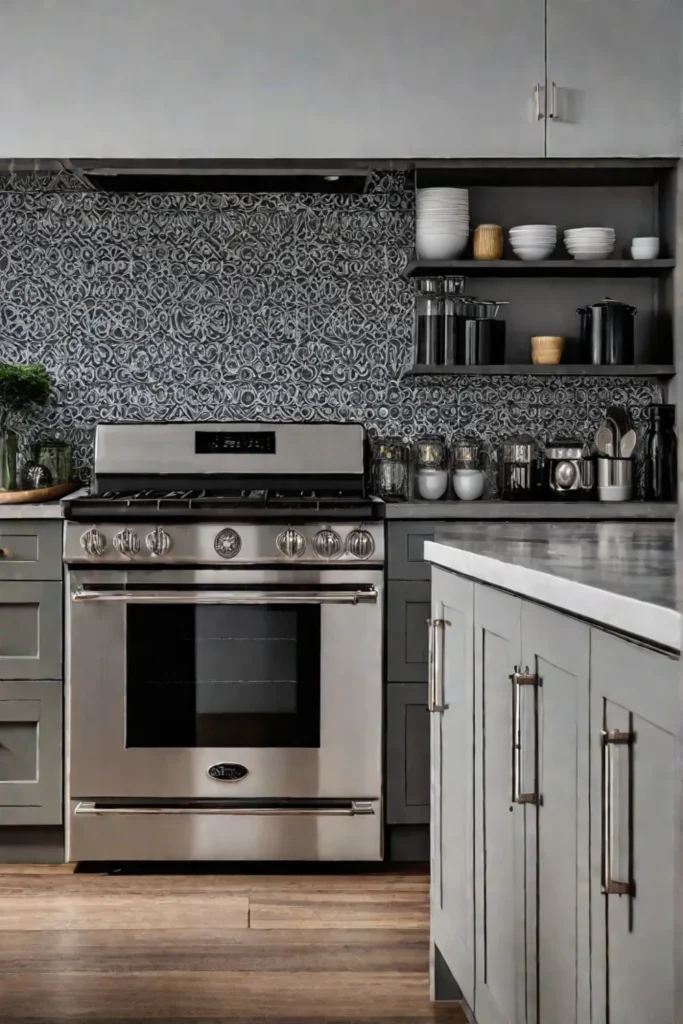
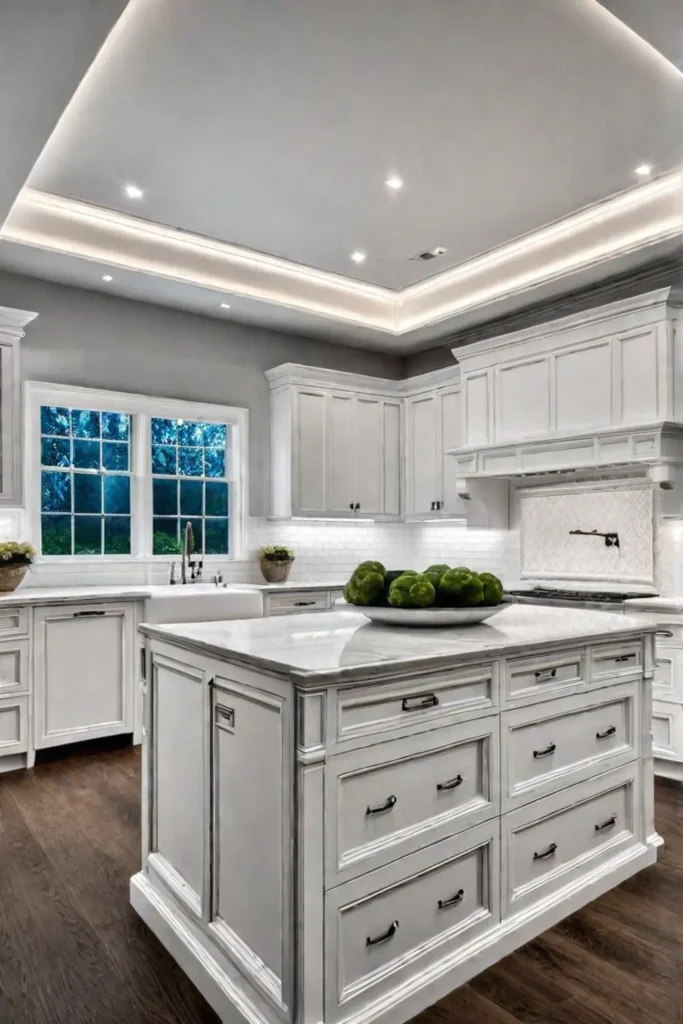
A Fresh Coat of Confidence: Painting Your Kitchen Cabinets
Have you been eyeing those sleek, modern cabinets in the latest home decor magazines? Well, you can achieve that high-end look without breaking the bank. A simple coat of paint is one of the most transformative and cost-effective upgrades you can do for your kitchen this weekend.
Choosing the Right Paint
The key to a professional-looking paint job is selecting the proper paint. Opt for a durable, easy-to-clean finish for high-traffic areas like kitchen cabinets. Chalk paint offers a trendy matte look with minimal prep work, while specialty cabinet paints are formulated for smooth application and long-lasting results.
Prepping for a Flawless Finish
Proper preparation is essential to ensure your new paint adheres beautifully. Start by thoroughly cleaning the cabinet surfaces and lightly sanding them for better adhesion. If you want to achieve a silky smooth finish, consider investing in a paint sprayer—just be sure to take necessary safety precautions like wearing a mask and ensuring proper ventilation.
The Perfect Finishing Touches
Don’t forget the details that truly elevate the look. Invest in high-quality brushes and rollers to avoid unsightly brush strokes or shedding. For a seamless appearance, remove cabinet doors and drawers before painting. And remember, a few well-placed hardware updates can add the perfect finishing touch to your freshly painted cabinets.
With the right tools and a little elbow grease, you can breathe new life into your kitchen with a simple coat of paint. Just envision those warm, natural hues or that crisp, modern shade—endless possibilities! Up next, we’ll explore how adding trim can further elevate the look of your kitchen cabinets.
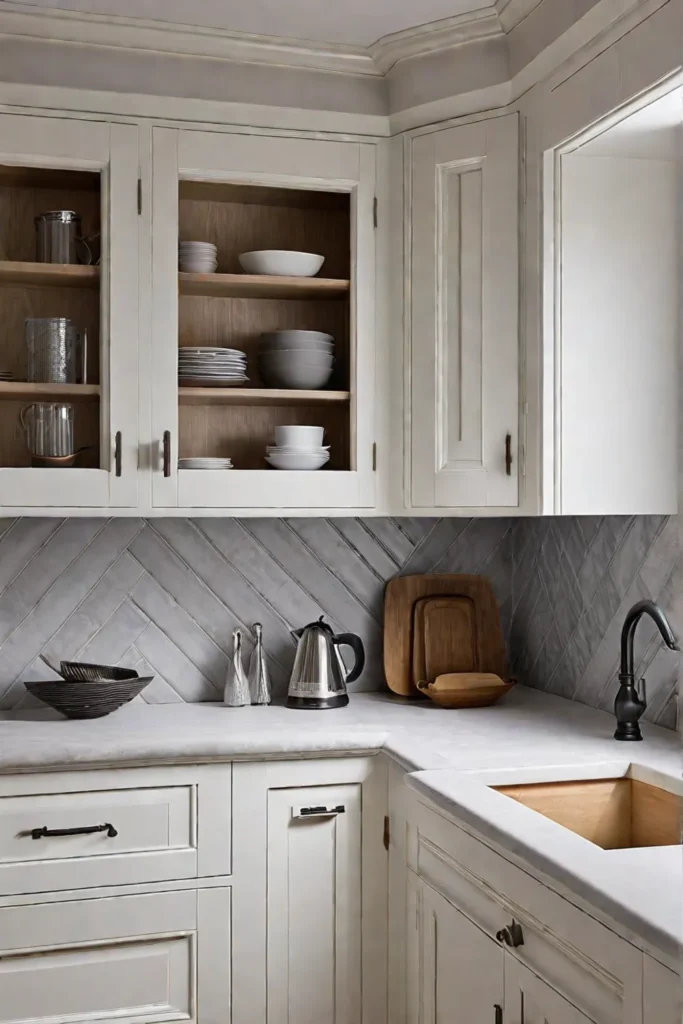
Elevating the Look: Adding Trim to Your Cabinets
Have you ever walked into a beautifully designed kitchen and felt that unmistakable sense of sophistication and character? Chances are, those cabinets were wearing a crown of elegant trim work. While simplicity has its place, adding trim can transform even the most basic cabinets into an architectural masterpiece. So grab your toolbox, roll up your sleeves, and get ready to elevate your kitchen’s style this weekend.
The Power of Trim
Like the perfect piece of jewelry, trim has the power to redefine a space completely. These slender molding strips might seem minor details, but they can create a custom, high-end look that feels intentional and refined. The right trim instantly adds visual interest and depth from classic Crown Molding to rustic shiplap. It’s easy to introduce new textures and tie together your design elements.
Finding Your Perfect Fit
When it comes to choosing trim, the options are nearly endless. For a warm, inviting farmhouse aesthetic, consider beadboard or tongue-and-groove paneling. If you lean more towards timeless elegance, explore dentil or egg-and-dart moldings. Or keep things clean and modern with simple flat trim. The key is finding pieces that complement your existing style.
The Art of Installation
Don’t let installation intimidate you – with a few essential tools and careful measuring, you’ll be trimming like a pro. A miter saw will ensure precise angled cuts, while construction adhesive and finishing nails provide a secure fit. And remember, the devil is in the details – take the time to fill nail holes and caulk seams for a truly polished look.
You can often find affordable trim options at your local home improvement store or salvage yard. Get creative by mixing and matching different profiles or combining new and vintage pieces. The possibilities are limitless when looking at cabinets as a blank canvas.
With a keen eye for detail and a little elbow grease, you can transform your kitchen into a showstopping centerpiece this weekend. So what are you waiting for? It’s time to trim your way to design perfection.
The next step in our DIY kitchen journey? The Jewelry of the Kitchen: Upgrading Cabinet Hardware.
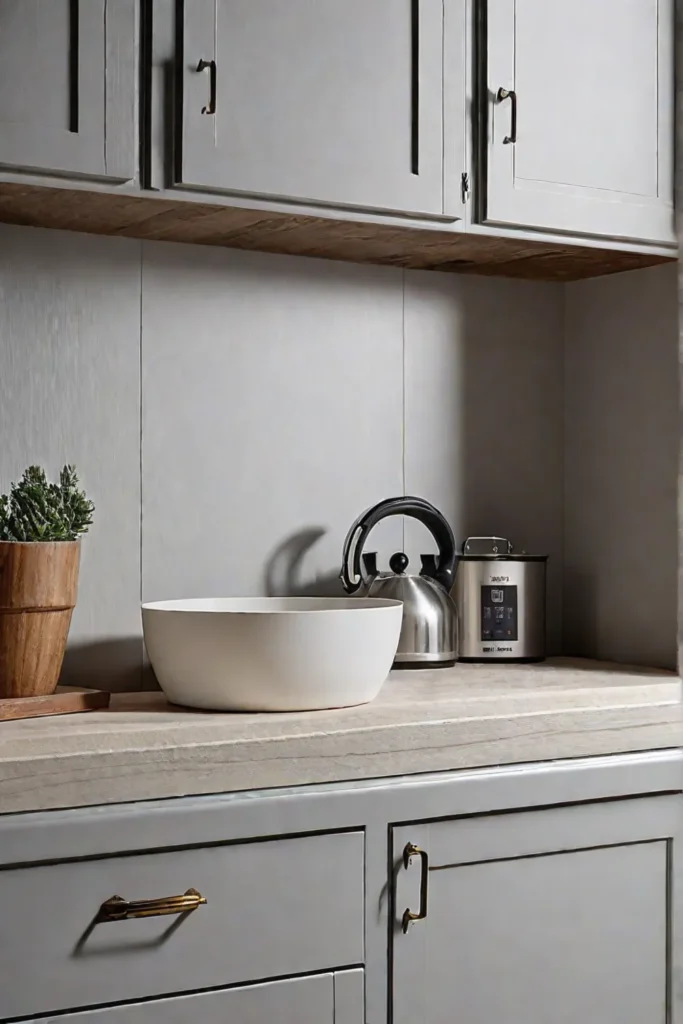
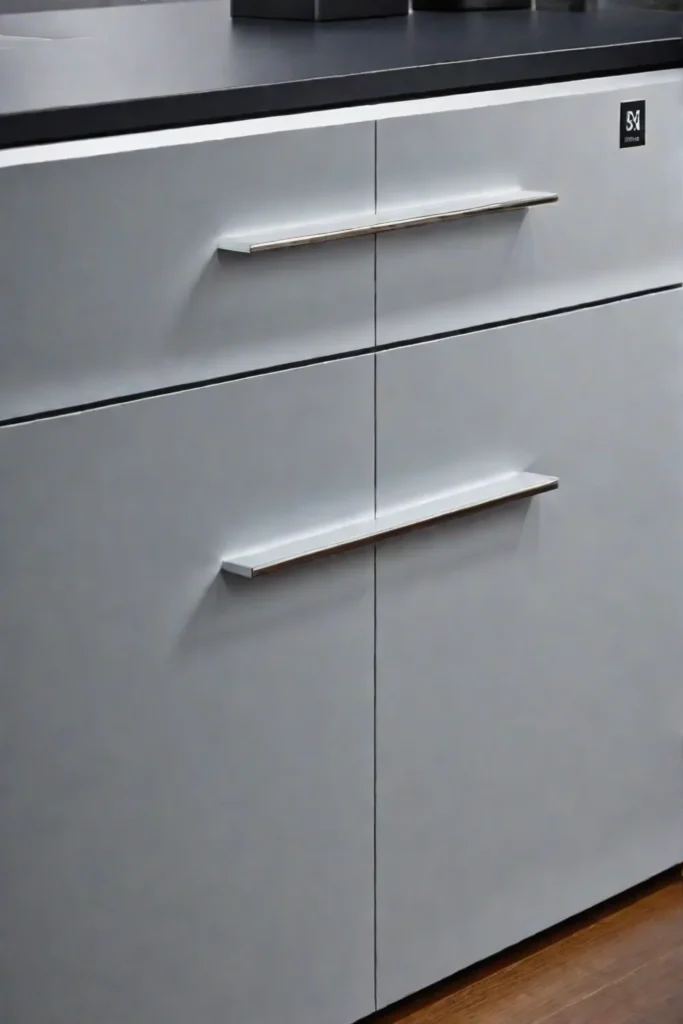
The Jewelry of the Kitchen: Upgrading Cabinet Hardware
Have you ever noticed how the right jewelry can completely transform an outfit? Well, the same principle applies to your kitchen cabinets. Those unassuming knobs and pulls are like jewels that add the perfect touch of sparkle and personality. Upgrading your cabinet hardware is an affordable and impactful way to breathe new life into your kitchen without a full renovation.
Choosing the Right Hardware Style
With an endless array of styles and finishes, selecting new hardware can be exciting and daunting. Do you gravitate towards sleek and modern or warm and vintage-inspired pieces? Finding pieces that harmonize with your existing cabinet style while expressing your unique flair is key. For a cohesive look, stick to a single metal finish throughout. But don’t be afraid to mix metals for an elevated, eclectic vibe that oozes sophistication.
Installation Tips for a Seamless Finish
Installing new cabinet hardware may seem straightforward, but simple tricks ensure a flawless, professional finish. First, use a template to guarantee consistent placement and spacing of your knobs and pulls. This small step makes a world of difference in the overall look. When tightening the screws, be sure they’re secure to prevent future loosening or rattling. And for an extra decorative touch, consider backplates that add a touch of jewelry-like elegance.
As a sustainable design enthusiast, I’m particularly drawn to hardware crafted from reclaimed or recycled materials. Imagine the rich patina of vintage glass knobs or the rustic allure of repurposed leather pulls. These unique finds inject so much character and soul into a space.
With the right hardware, you can transform basic cabinets into a kitchen that radiates warmth and personal style. It’s the ultimate accessory to elevate the heart of your home. Next, we’ll explore how new shelving can maximize your kitchen’s space and functionality.
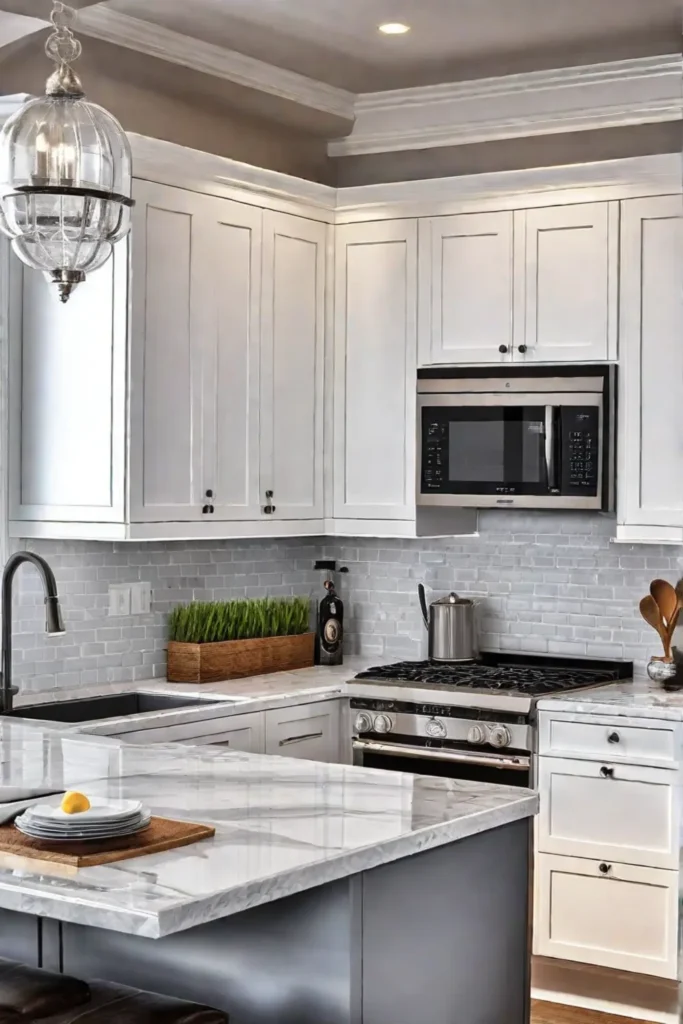
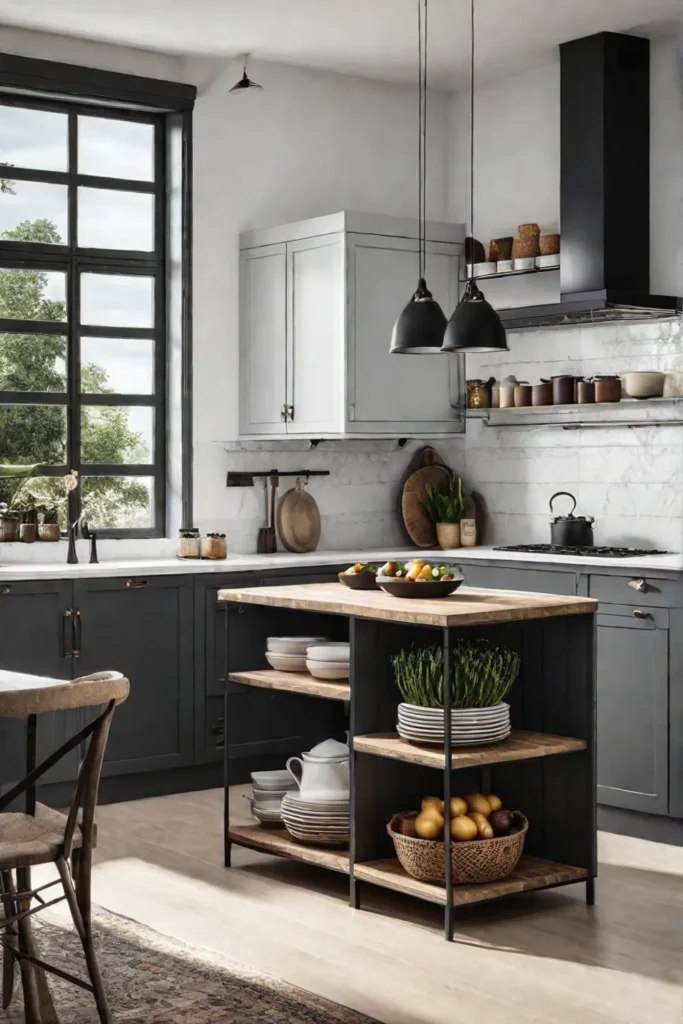
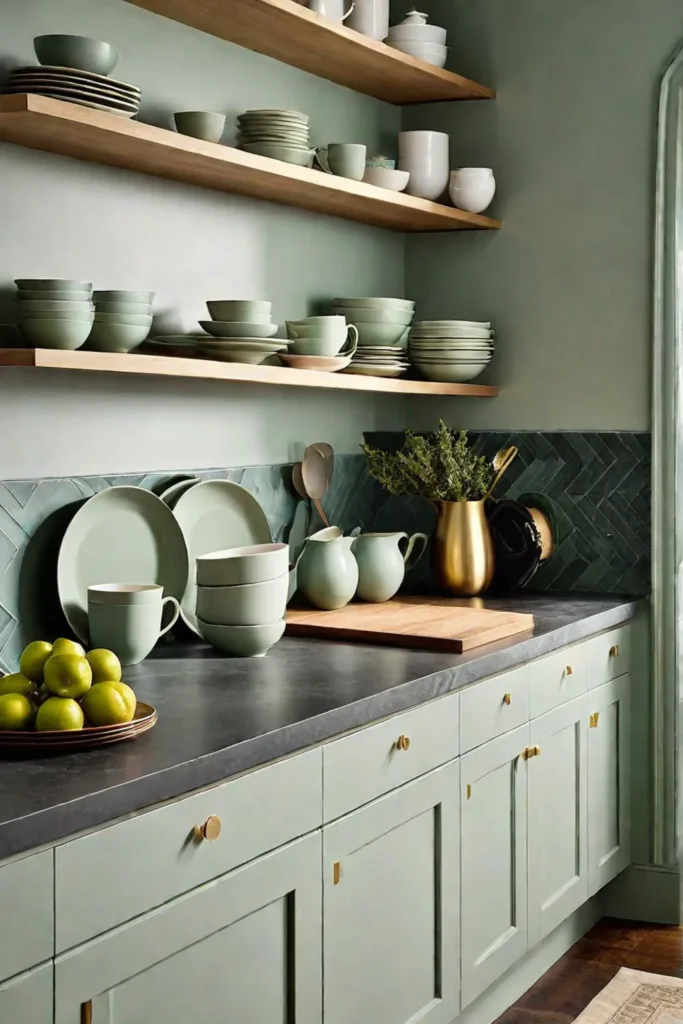
Maximizing Space and Functionality: Installing New Shelves
Is your kitchen feeling cramped and cluttered? You’re not alone – lack of storage is one of the biggest complaints I hear from homeowners. But have no fear; an easy solution can open up your space and bring new life to those cabinets: installing shelves. With some basic tools and a free weekend, you can maximize every square inch for increased organization and efficiency.
Choosing the Right Shelving Materials
Regarding shelving, you’ve got plenty of options depending on your style and needs. Solid wood planks give a warm, rustic vibe, while glass or metal offers more of a sleek, modern look. My favorite is reclaimed wood from old barns or fencing – it adds beautiful natural texture. Just be sure to select a durable material that can handle the weight of your items.
Measuring and Installing Shelves for Maximum Efficiency
Proper measuring is key for this project. Grab a tape measure and map out your cabinet interiors, considering any obstructions. I like to sketch out a quick layout to visualize the optimal shelf placement. Then it’s time to install! Use a stud finder to mount those shelves securely into the wall framing. For added versatility, consider an adjustable track system that allows you to shift shelf heights as needed.
Optimizing Your New Storage
With those fresh shelves installed, have fun organizing! Pull-out drawers or rotating racks are perfect for easy access to back items. Clear storage bins with corral-like items let you see their contents at a glance. Or leave some open shelving to display your favorite kitchen treasures—a rustic cutting board, mason jars filled with baked goods, or a potted herb garden. Get creative and make this new storage work for you.

Don’t let limited space cramp your cooking creativity. A simple shelving project instantly boosts functionality while allowing you to showcase your unique style. Next, we’ll talk about dramatically transforming your kitchen’s look by refacing those cabinets.
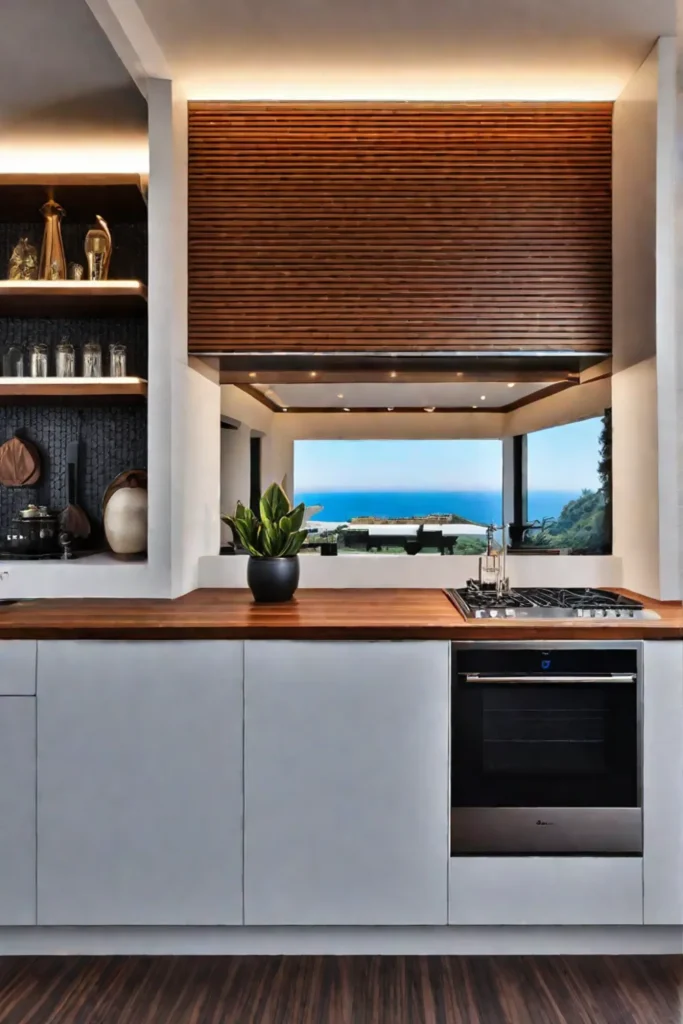
A Dramatic Transformation: Refacing Your Cabinets
Have you been dreaming of a stunning new kitchen but dreading the hefty price tag of a full cabinet replacement? Well, my friend, I’ve got the perfect solution for you – cabinet refacing. This cost-effective DIY project can breathe new life into your existing cabinets, transforming the heart of your home without breaking the bank.
Veneer Options for a Refreshed Look
The key to a successful cabinet refacing lies in the veneer material you choose. Wood veneers offer a warm, natural look that never goes out of style. From rich mahogany to sleek maple, the options are endless. But if you’re feeling a bit more adventurous, laminate veneers come in a mind-boggling array of colors and patterns, allowing you to unleash your inner designer.
Steps for a Successful Cabinet Refacing Project
Now, let’s roll up our sleeves and get to work. First, you’ll want to measure your cabinets meticulously and order the right amount of veneer material. Trust me; you don’t want to run out halfway through the project. Next, it’s time to prepare the surfaces by cleaning and sanding them to ensure a smooth, even application.
Once you’ve got your veneer ready, it’s time to apply the contact cement evenly across the cabinet surfaces. Don’t be shy; a generous, even coating is crucial for proper adhesion. Then, carefully lay the veneer in place, using a roller to smooth out any air bubbles and create a seamless finish. Finally, trim the excess veneer with a trusty veneer trimmer, and voilà – your cabinets will look brand spanking new!
Refacing your cabinets is a labor of love, but the results are worth it. Compared to a full replacement, you will save a bundle, and you’ll also be satisfied knowing you transformed your kitchen with your two hands.
With some elbow grease and creativity, you can turn those outdated cabinets into a showstopper that perfectly reflects your unique style. So, what are you waiting for? Let’s get refacing!
Whether you opt for a rustic wood veneer or a bold, patterned laminate, the possibilities are endless when refacing your kitchen cabinets. Remember to take your time, follow the steps carefully, and, most importantly, have fun with the process! Now, let’s move on to the conclusion, where we’ll wrap up this DIY adventure.
Wrapping Up
As you can see, revamping your kitchen cabinets doesn’t require a full-blown renovation or an unlimited budget. With a bit of sweat equity and my insider tips, you can achieve a stunning, personalized look that maximizes both style and functionality. Whether you opt for a coat of modern paint, elegant trim accents, eye-catching new hardware, or total cabinet refacing, find an approach that speaks to your unique design vision.
So don’t settle for outdated cabinets that cramp your style. This weekend, take that first step towards the kitchen of your dreams – one that radiates warmth, character, and undeniable flair. Unleash your inner DIY spirit, embrace the process, and prepare to bask in the beauty of cabinets tailored just for you. The heart of any great home starts with the kitchen, which brings it all together.