I used to think wallpaper in a house with pets was a recipe for disaster. Then I walked into a client’s home and saw it: the most stunning, deep teal botanical wallpaper. They had two giant Golden Retrievers and a mischievous cat, and the walls were immaculate. I was floored. It completely changed my perspective and made me realize that with the right know-how, you absolutely don’t have to choose between a stylish home and your furry family.
Forget the idea that you’re doomed to boring, painted walls until your pets are older. The real story is that you can have gorgeous, statement-making walls, but you have to be smarter about it than everyone else. It’s not just about picking a pretty pattern; it’s about choosing materials that can stand up to a muddy tail-shake and knowing a few tricks to keep them looking perfect. Let’s get into it.
Laying the Foundation: Planning Your Dining Room Wallpaper Project (Part 1)
So many people jump straight to the fun part—looking at samples—but the planning phase is where you save yourself from future headaches and heartbreak. This is where we make sure the wallpaper you fall in love with will actually work for your room, your life, and your four-legged cohabitants.
1. Evaluate Your Dining Room’s Natural Light and Size
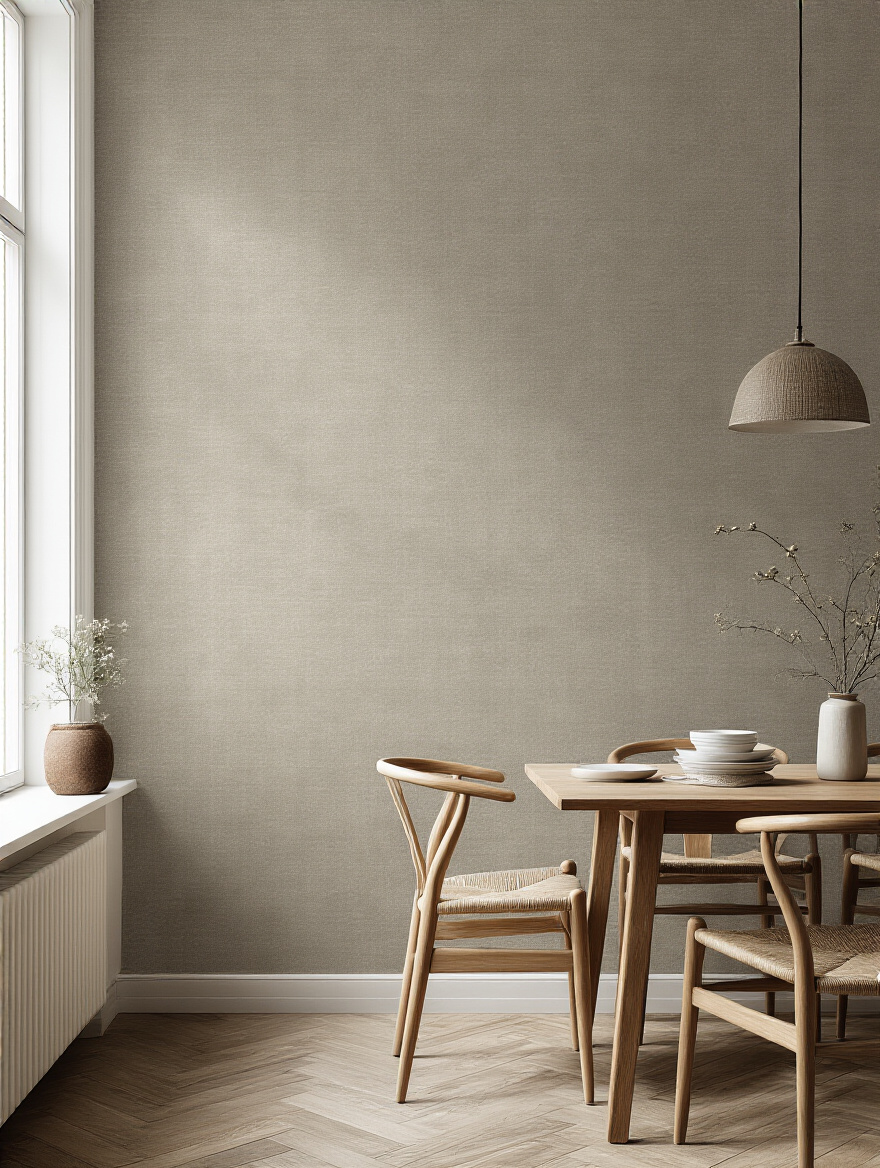
Before you even think about patterns, you have to look at your room with fresh eyes. How much light does it get? Is it a big, open space or a cozy little nook? This stuff matters more than you think. A dark, bold wallpaper can make a small, dim room feel like a cave, which might be cozy for you but could feel a little unsettling for an anxious dog who likes to see their surroundings.
And it’s not just about vibes. Light changes how colors look. That lovely warm gray you saw online could look cold and sterile in a north-facing room. My advice? Grab a few large samples of papers you like and tape them up on different walls. Watch them throughout the day as the light changes. It’s the only way to know for sure what you’re getting into. You wouldn’t buy a car without a test drive, right? Same principle.
2. Define Your Desired Dining Experience and Mood
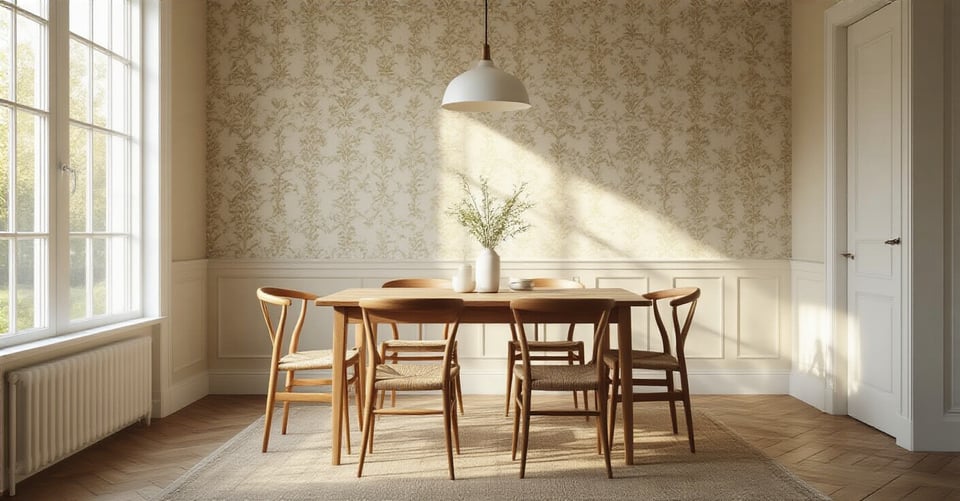
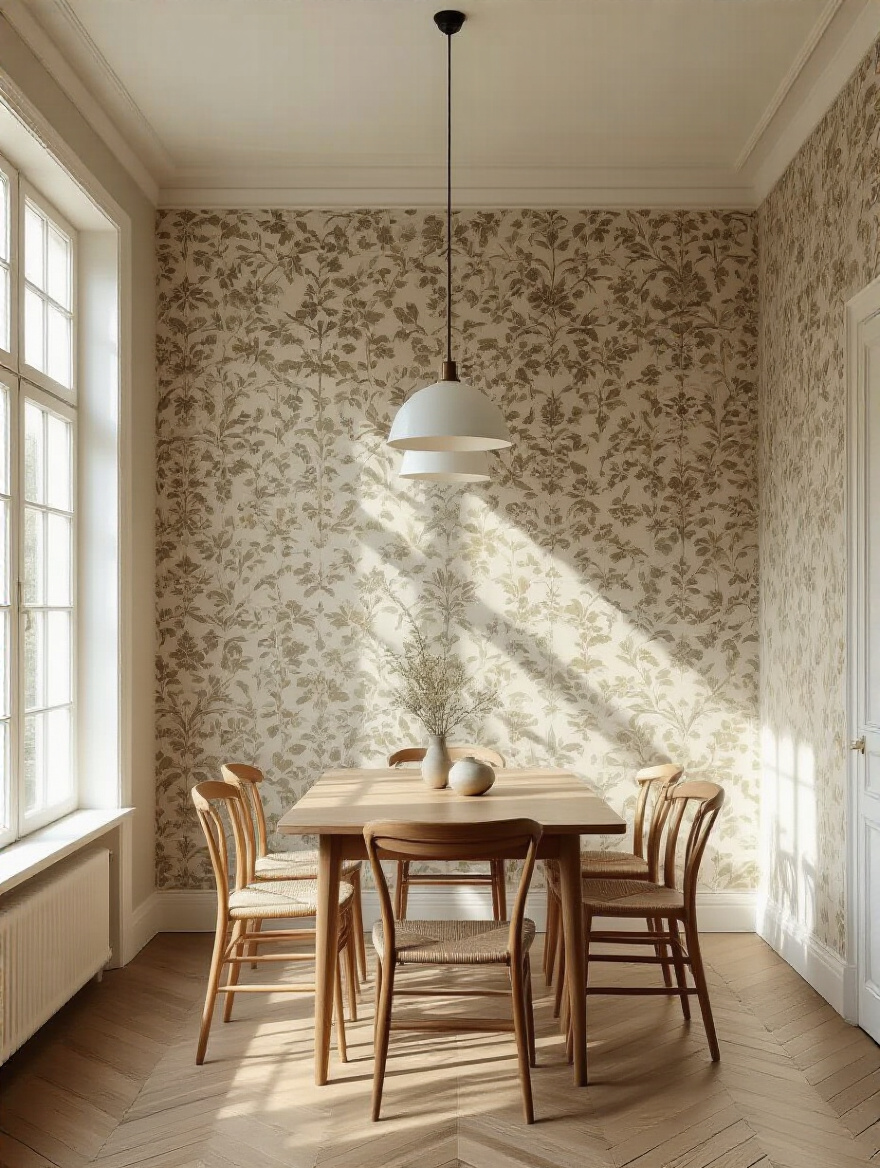
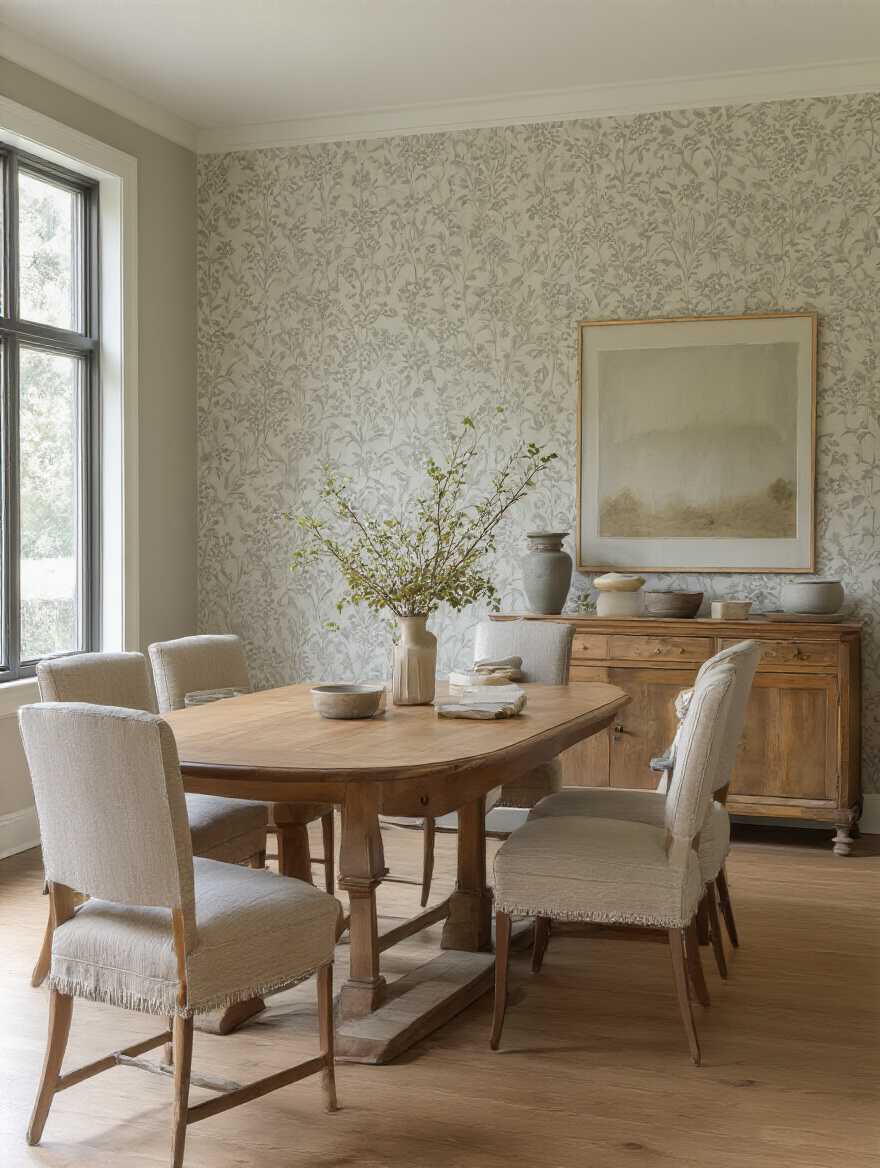
What’s the goal for your dining room? Is it a formal space for fancy dinner parties, or is it where the family (and the dog, hoping for scraps) gathers for pizza night? The mood you want to create should be your guide. For a calm, serene space, think about subtle textures or large-scale patterns with muted, tonal colors. This can be especially great for creating a relaxing environment for your pets, too.
If you’re going for high energy and drama, bring on the bold geometrics or vibrant florals! Just a heads-up: super busy, high-contrast patterns can sometimes be a bit overstimulating for some animals. I once had a client whose rescue pup seemed jumpy in their newly wallpapered breakfast nook. We realized the dizzying black-and-white pattern was the culprit. It’s all about balance—creating a space that feels joyful for you and comfortable for them.
3. Harmonize Wallpaper Choice with Existing Furniture & Decor
Okay, let’s talk about creating a cohesive look. That wallpaper you’re eyeing doesn’t live in a vacuum. It has to play nicely with your dining table, chairs, rug, and that piece of art you love. The easiest way to get this right is to pull a color from an existing piece in the room. Does your rug have a little fleck of navy blue? Use that as a starting point for your wallpaper search.
This is a shortcut to making everything feel intentional and professionally designed, rather than a mishmash of things you like. Think of your wallpaper as the backdrop that makes everything else shine. If you have big, heavy, traditional furniture, a delicate, small-scale pattern might get lost. Conversely, if you have very modern, streamlined furniture, a bold, graphic wallpaper can provide a fantastic, show-stopping contrast.
4. Calculate Your Wallpaper Budget for Materials and Installation
This is the not-so-fun part, but it’s so important. Wallpaper prices are all over the map. You can find some for less than a dollar a square foot, while high-end designer papers can cost a small fortune. But the cost of the paper is only part of the equation. You also have to factor in supplies like primer and paste, and the big one: installation.
Getting a professional installer is almost always worth it, especially for tricky patterns or expensive materials. Get at least three quotes! And please, please, please, always order 10-15% extra wallpaper. I had a client whose installer miscut the final panel, and the same dye lot was no longer available. It was a nightmare. That extra roll is your insurance policy against mistakes and for any future repairs (hello, teething puppies).
Laying the Foundation: Planning Your Dining Room Wallpaper Project (Part 2)
Now that we’ve got the practical planning down, it’s time to let yourself dream a little. This next step is all about gathering ideas and, most importantly, getting your hands on some actual samples to see how they feel in your home.
5. Source Inspiration and Collect Wallpaper Samples
This is where you get to have fun! Go nuts on Pinterest, flip through magazines, and create a board of rooms you love. Don’t just look at wallpaper—look at the whole vibe. Once you have a sense of what you’re drawn to, it’s time to order samples. And I don’t mean those tiny 2×2 inch squares. You need big samples, at least 8×10 or larger, so you can really see the pattern and color.
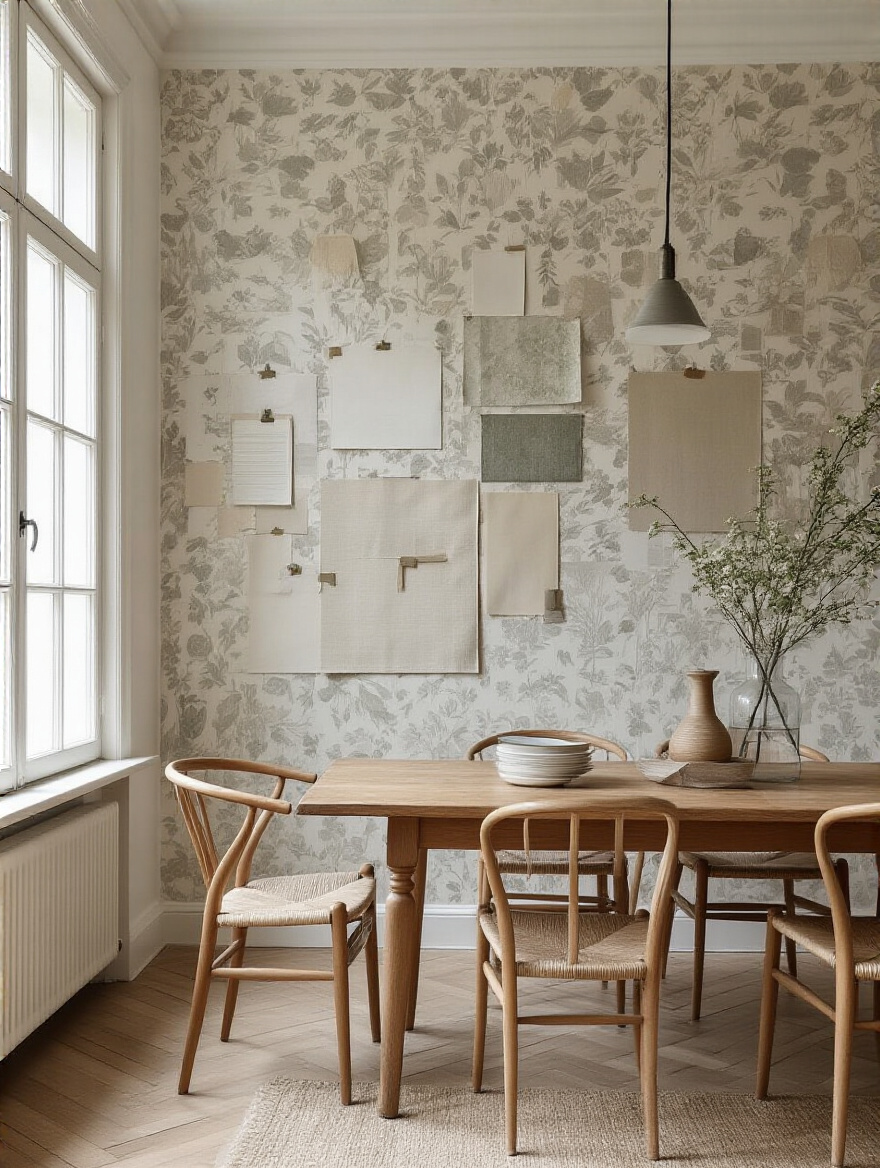
Digital images are liars. They can’t show you the subtle shimmer of a metallic accent or the beautiful texture of a grasscloth (which, by the way, is a cat’s dream scratching post—avoid at all costs!). Tape those big samples to the wall and live with them for a few days. See how they look in the morning light, with the lamps on at night, and next to your furniture. This step prevents 99% of wallpaper regret.
From Selection to Installation: Bringing Your Vision to Life (Part 1)
Alright, you’ve done your homework, you’ve picked a direction, and you’re ready to make some real decisions. This is where we transition from dreaming to doing, focusing on the nitty-gritty details that will make or break the final result.
6. Choose Wallpaper Materials for Optimal Durability and Aesthetics
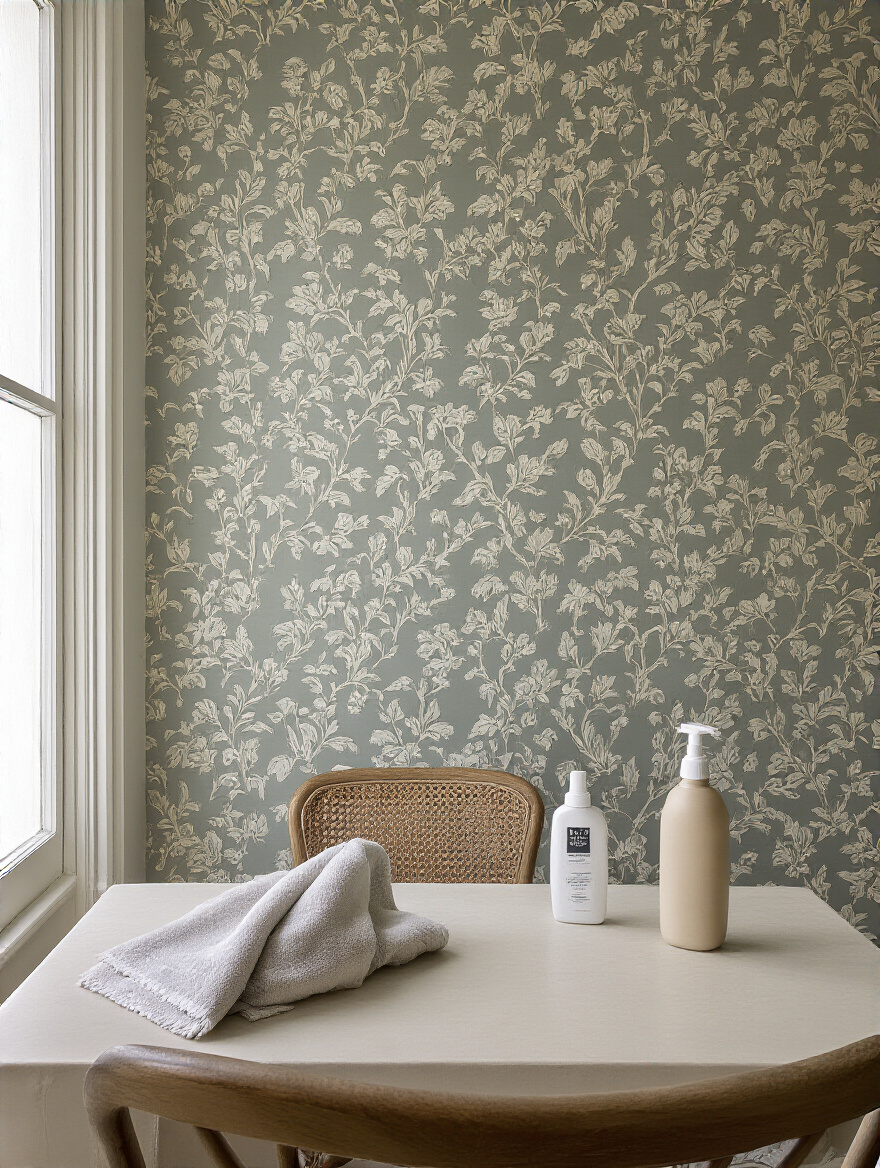
This is the single most important consideration for pet owners. Everyone else can get away with delicate papers, but we can’t. You want to look for words like “scrubbable,” “washable,” and “vinyl.” Solid vinyl or vinyl-coated wallpapers are your best friends. They can handle wiping down nose prints, muddy paw smudges, and the occasional “shake off” after a walk in the rain. They’re basically bomb-proof.
Avoid non-woven or traditional paper wallpapers in high-traffic areas, as they can tear easily and don’t hold up to cleaning. And as much as I love the look of textured papers like grasscloth, flock, or silk, they are a hard “no.” They’re impossible to clean and cats see them as a personal invitation to redecorate with their claws. Stick to smooth, durable surfaces—your future self will thank you.
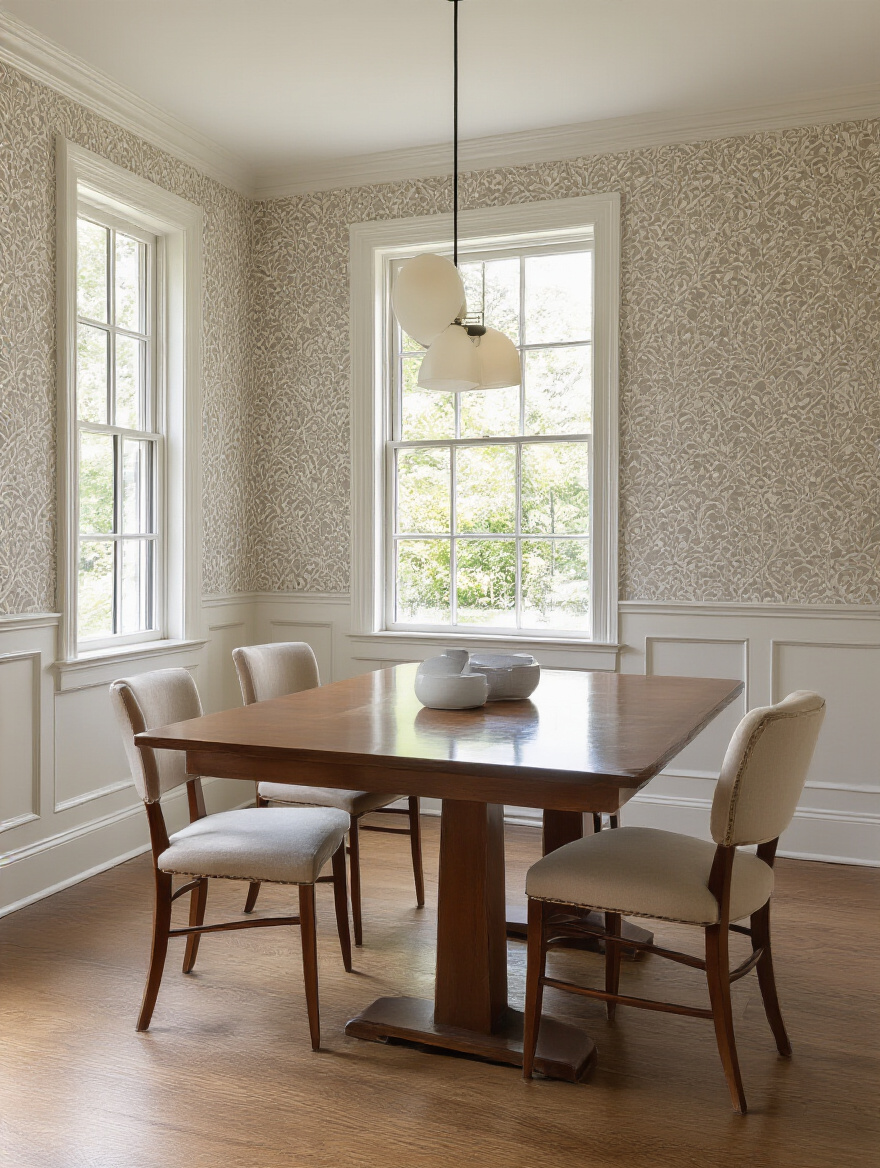
7. Select Patterns and Textures to Complement Room Scale and Height
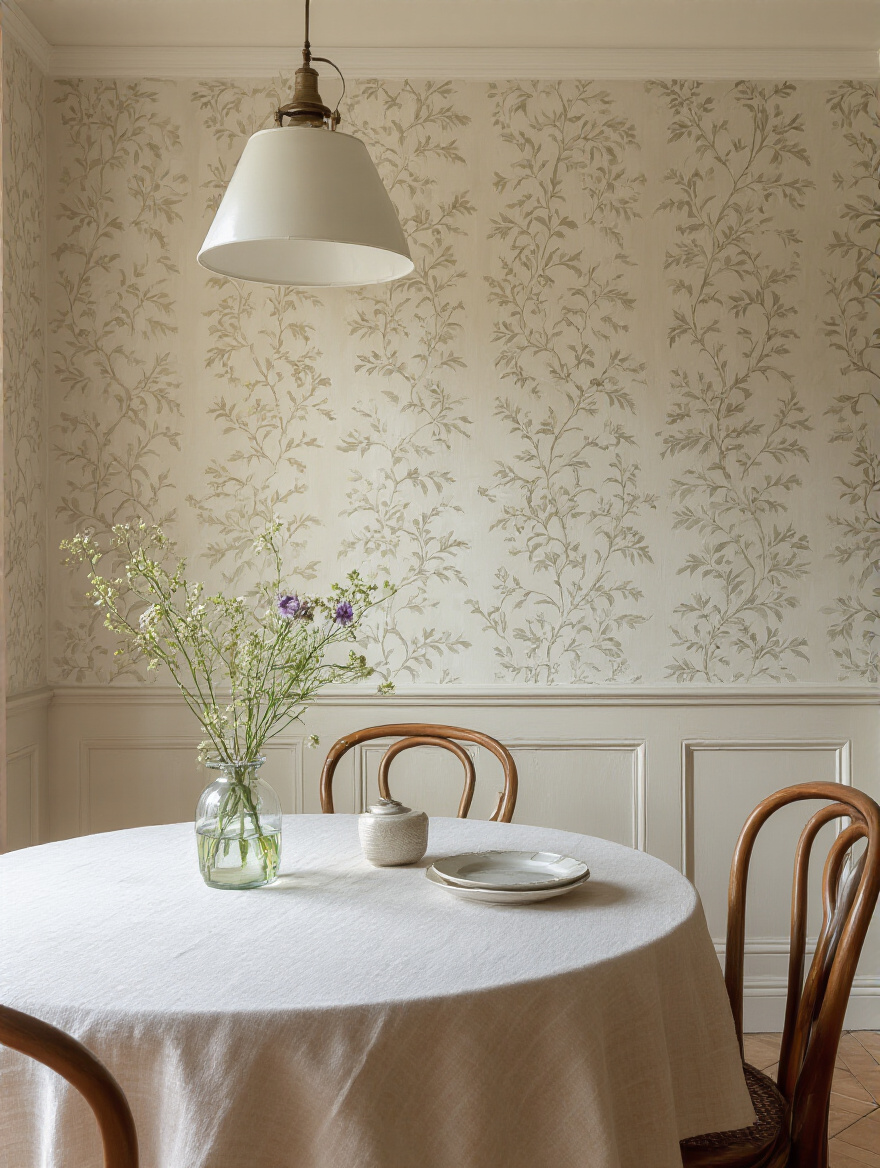
Now, let’s think like a designer. The pattern you choose can literally change the perception of your room’s size. Vertical stripes or patterns with a strong upward movement will draw the eye up and make a low ceiling feel taller. This is a great trick for older homes or basement dining areas. Horizontal patterns can make a narrow room feel wider.
For smaller dining rooms, you might think you need a tiny pattern, but that can sometimes look too busy. Often, a large-scale pattern in a muted color palette can actually make the space feel grander and more intentional. It’s counterintuitive, but it works! The key is balance. You don’t want the pattern to feel like it’s screaming at you while you’re trying to enjoy your dinner.
8. Determine Correct Wallpaper Quantity with Precise Measurements
Measure twice, cut once—and order once! Get a good metal tape measure and measure the height and width of every wall you plan to cover. Multiply those to get your total square footage. Most online wallpaper calculators will do the heavy lifting for you, but you need to know one crucial detail: the pattern repeat. This is the vertical distance before the pattern starts over.
A large pattern repeat means you’ll have more waste as you line up the design from one strip to the next. That’s another reason to always add that extra 15% to your order. Running out of paper mid-project is a disaster, especially since the next batch you order might be from a different dye lot, meaning the color could be slightly, but noticeably, different. It’s a rookie mistake that can ruin a whole room.
9. Decide Between Professional Installation or a Detailed DIY Approach
I know it’s tempting to save money and do it yourself, and for a simple peel-and-stick accent wall, go for it! But for a full room with traditional, pasted wallpaper? I almost always recommend hiring a pro. A good installer is a true artist. They can make seams disappear, perfectly wrap corners, and navigate tricky spots like windows and light switches with ease. It’s a skill that takes years to perfect.

If you do decide to DIY, be honest with yourself about your patience level. You’ll need a pristine, perfectly prepared wall surface. And when you’re working with pastes and primers, make sure the area is well-ventilated. Many adhesives have strong fumes that can be irritating to sensitive pet noses (especially for birds and cats), so open those windows and keep your furry friends in another part of the house until everything is dry.
From Selection to Installation: Bringing Your Vision to Life (Part 2)
You’re in the home stretch of the planning phase! These final preparation steps are all about the physical work that ensures your beautiful paper goes up smoothly and stays put for years to come.
10. Prepare Walls Thoroughly for Optimal Adhesion and a Smooth Finish
You can’t put beautiful wallpaper on a crappy wall. It’s that simple. Any little bump, crack, or speck of grime will show through, and it will drive you nuts. Start by washing your walls with a sugar soap solution to get rid of any grease or dust. Then, fill any holes or cracks with spackle, let it dry, and sand it completely smooth.
The final, non-negotiable step is priming. You need to use a wallpaper-specific primer. It does two crucial things: it gives the wallpaper adhesive something to grip onto, and it seals the wall so that if you ever want to remove the paper, it will come off without taking chunks of your drywall with it. For the health of your pets and your family, look for a low- or no-VOC (Volatile Organic Compounds) primer to keep the air quality clean.
11. Master Wallpaper Application Techniques for Seamless Results
If you’re hiring a pro, you can skip this part. But if you’re brave enough to DIY, listen up. Your first strip of wallpaper is the most important one. It must be perfectly straight and plumb (which means vertically level). Use a level or a plumb line to get it right, because every other strip will align with that first one. If it’s even a tiny bit crooked, the error will magnify as you move across the wall.
When you hang each new piece, butt the edges up tightly against each other without overlapping. This is how you get those invisible seams. Use a wallpaper smoothing tool to gently push out any air bubbles, working from the center out to the edges. Take your time, be patient, and have a damp sponge ready to wipe away any excess paste immediately.
Enhancing and Styling: Maximizing Your Wallpaper’s Impact (Part 1)
The wallpaper is up and it looks amazing! But we’re not done yet. Now we layer in the other elements of the room to create a space that feels complete, stylish, and totally you.
12. Coordinate Furniture and Fabric Selections with Your Wallpaper Design
Your wallpaper is now the star of the show, so let it guide your other choices. If you have a bold, busy pattern on the walls, keep your furniture and textiles relatively simple and solid-colored. You could pull a secondary, more subtle color from the wallpaper pattern for your dining chair upholstery or curtains. This creates a cohesive, high-end look.

On the other hand, if your wallpaper is a more subtle texture or a simple, two-tone pattern, you can afford to be more adventurous with your other decor. Maybe this is your chance to use that patterned rug or get dining chairs in a jewel-toned velvet. It’s all a balancing act. The goal is for everything to feel like it belongs together, creating a harmonious and inviting space.
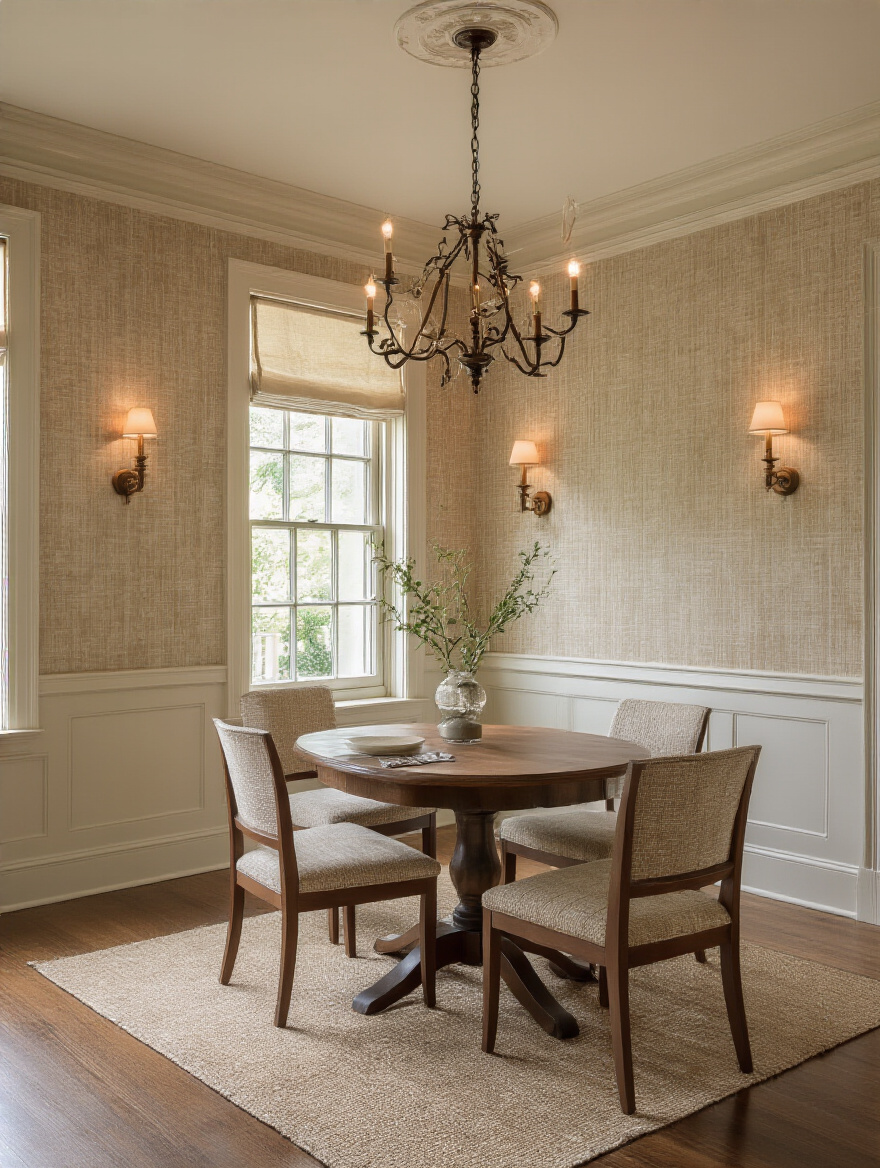
13. Integrate Lighting to Showcase Wallpaper’s Texture and Color
Lighting is your secret weapon for making your wallpaper look a million bucks. A single, harsh overhead light will flatten everything out and do your beautiful walls a disservice. Instead, think in layers. You need your main ambient light, but you also want accent lighting.

Wall sconces that wash light up or down the walls can bring out the texture in a paper beautifully. If you have a wallpaper with a metallic sheen, a picture light hung over a console table will make those details sparkle and dance. And always, always put your lights on a dimmer. Being able to soften the light creates instant ambiance and makes the room feel cozy and intimate for dinner.
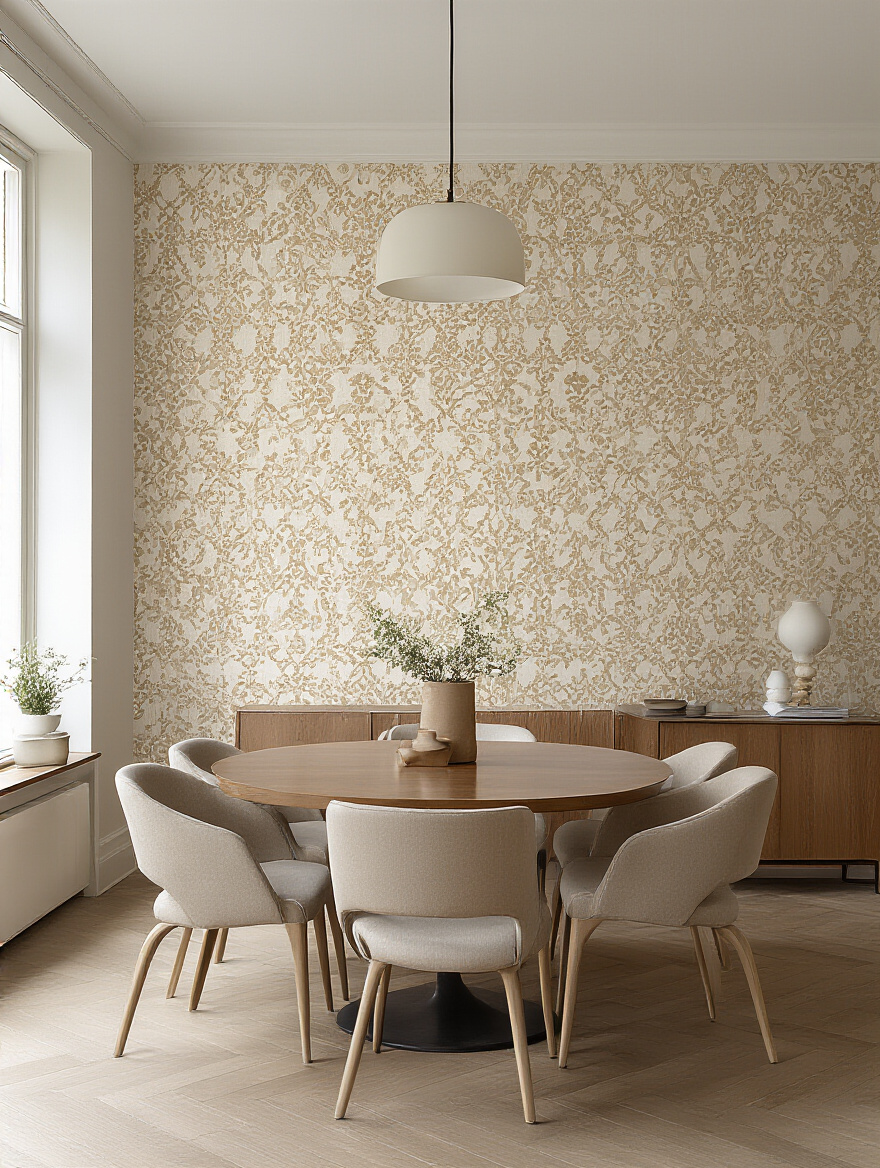
14. Create an Accent Wall with Bold Wallpaper for a Dramatic Effect
If you’re a little nervous about committing to wallpapering an entire room, an accent wall is the perfect solution. It gives you maximum impact for minimum commitment and cost. The best wall to choose is usually the one you see first when you walk into the room, or the wall behind your dining table or a beautiful buffet.
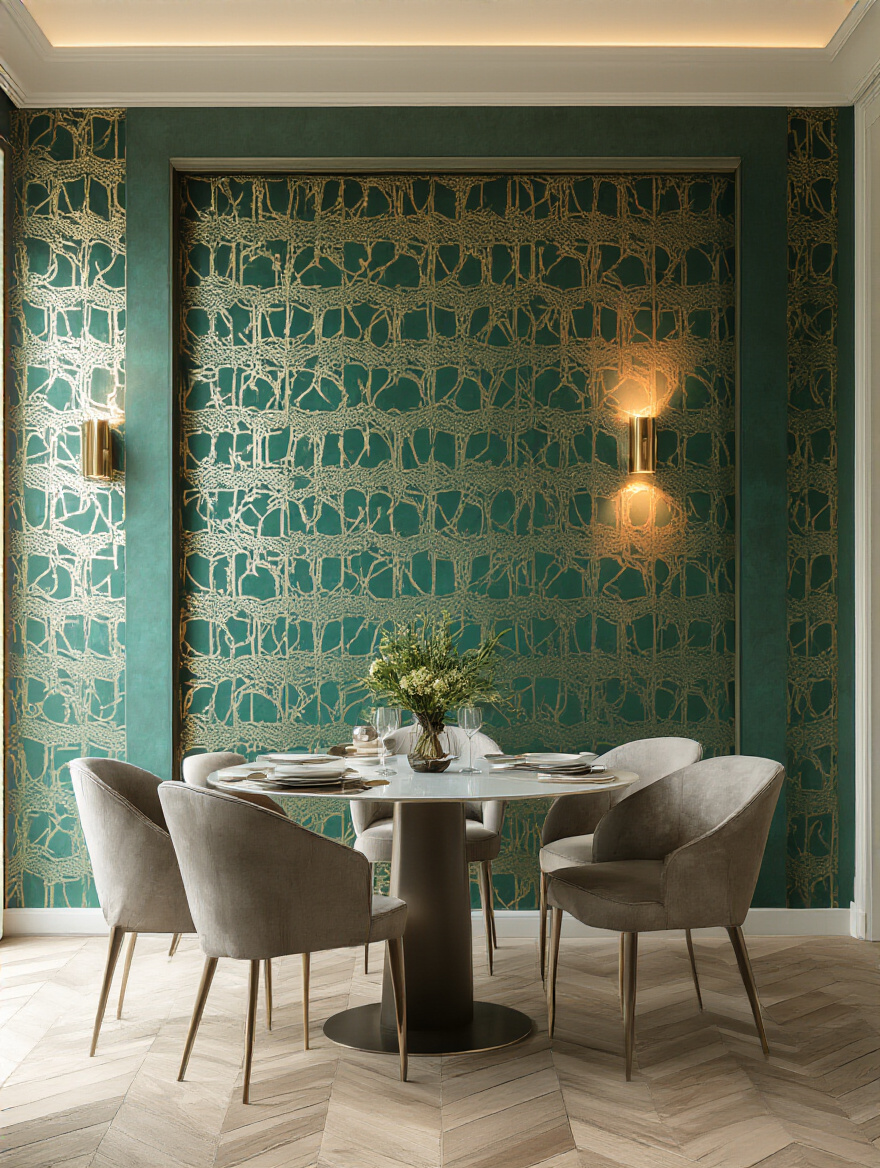
This is your chance to go big and bold! Choose that dramatic, large-scale floral or that edgy, graphic print you fell in love with but were too scared to use everywhere. An accent wall acts like a giant piece of art, instantly creating a focal point and giving your dining room a serious dose of personality.
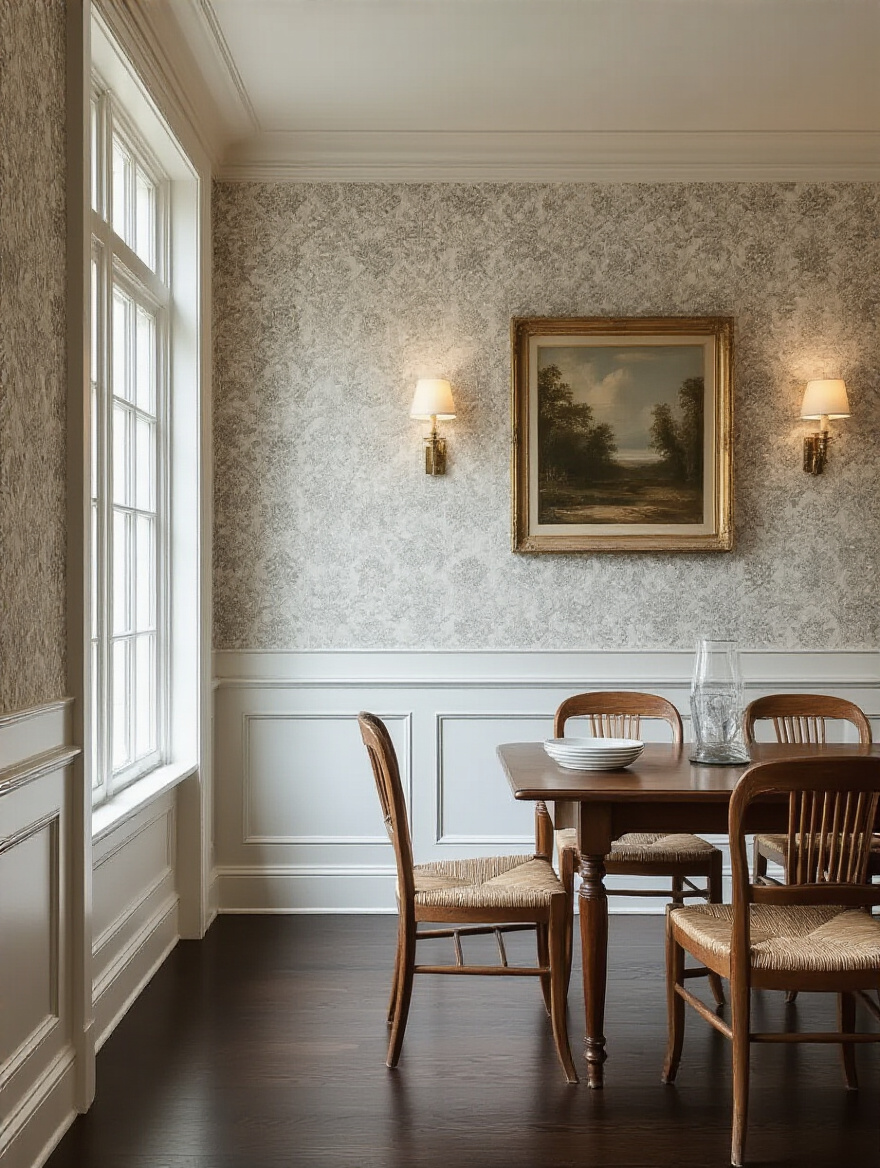
15. Use Wall Art and Mirrors to Complement or Contrast the Pattern
Just because you have patterned wallpaper doesn’t mean you can’t hang things on it! In fact, art and mirrors can make it look even better. If your wallpaper is really busy, a large mirror with a simple frame is a great choice. It breaks up the pattern, reflects light, and adds depth to the room without adding more visual noise.
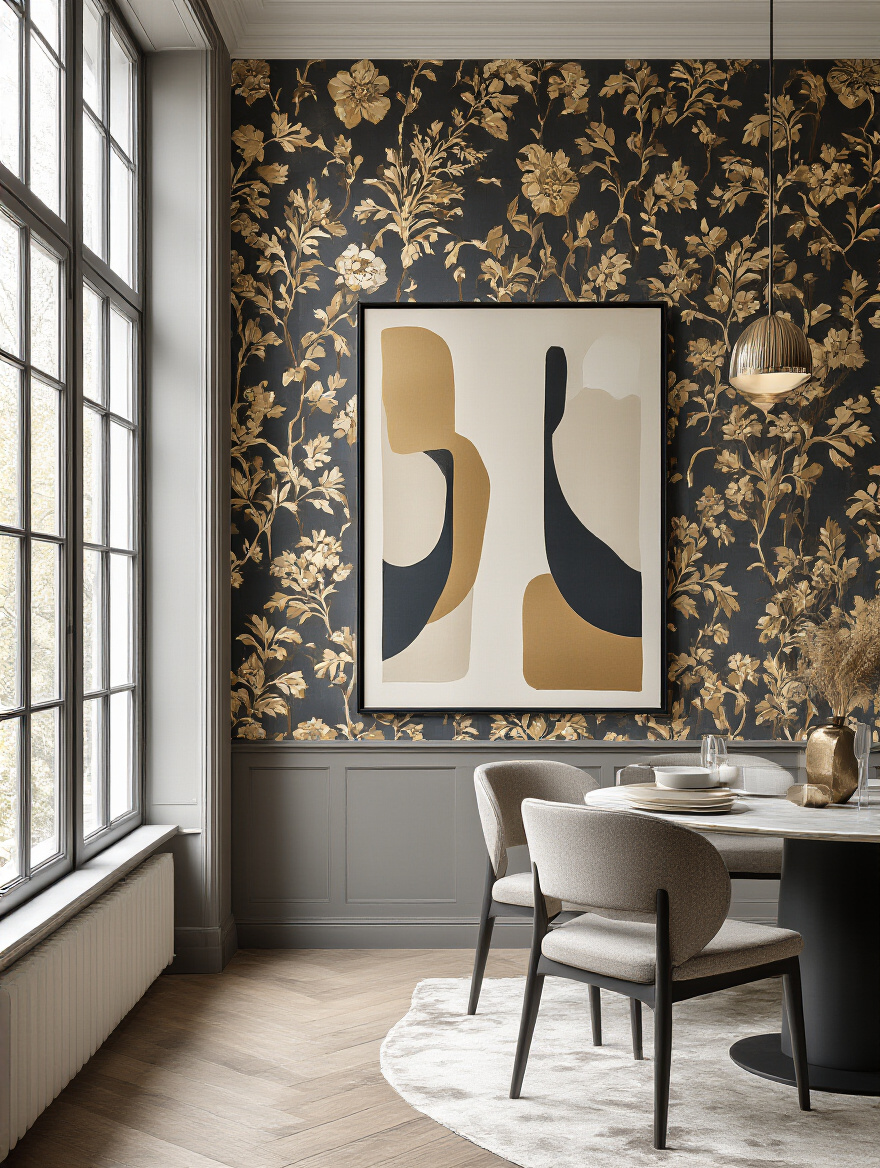
If your wallpaper is more subtle, you can create a gallery wall of art. To make it look cohesive, use frames that are all the same color. Another pro trick is to choose art that either shares a color with your wallpaper or provides a deliberate, high-impact contrast. The key is to make sure your art is scaled properly so it doesn’t get lost in the pattern behind it.
Enhancing and Styling: Maximizing Your Wallpaper’s Impact (Part 2)
We’re putting the finishing touches on now. This last bit of styling is what separates a nice room from a truly stunning, polished space.
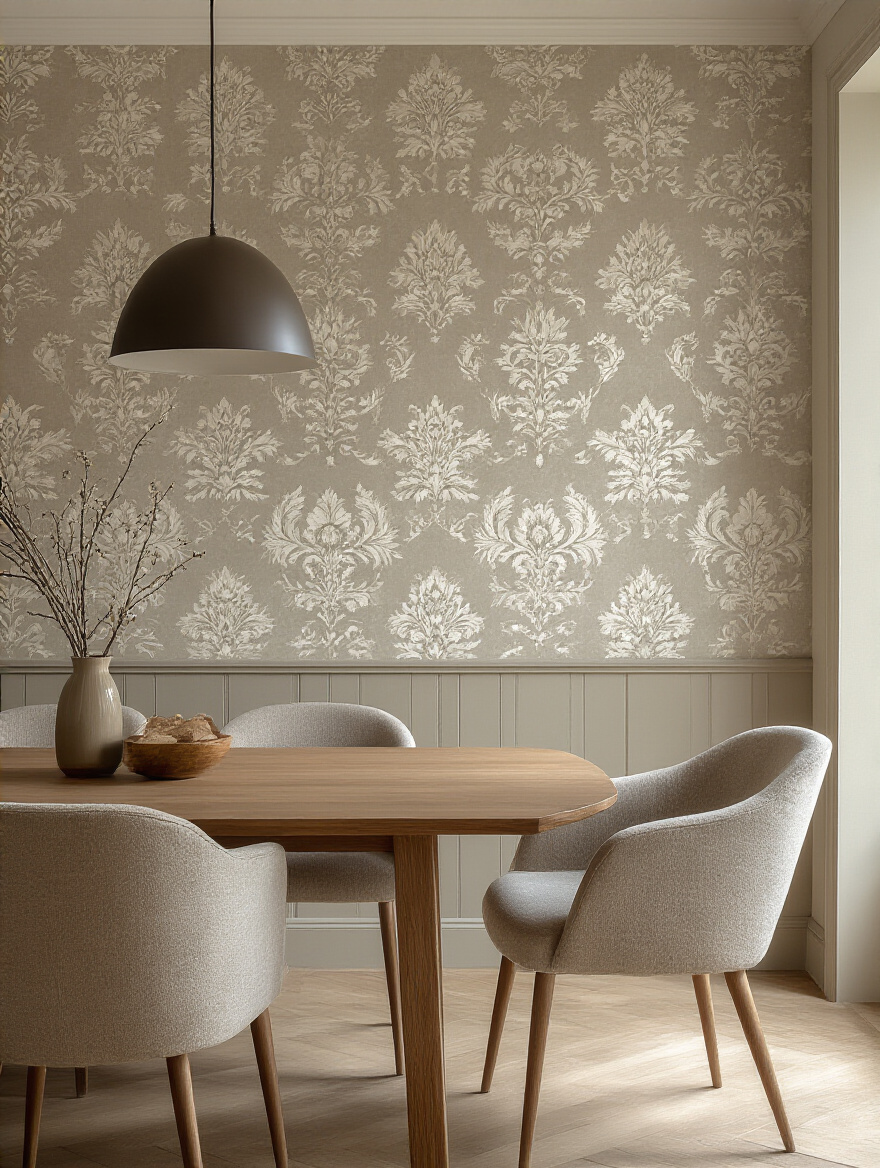
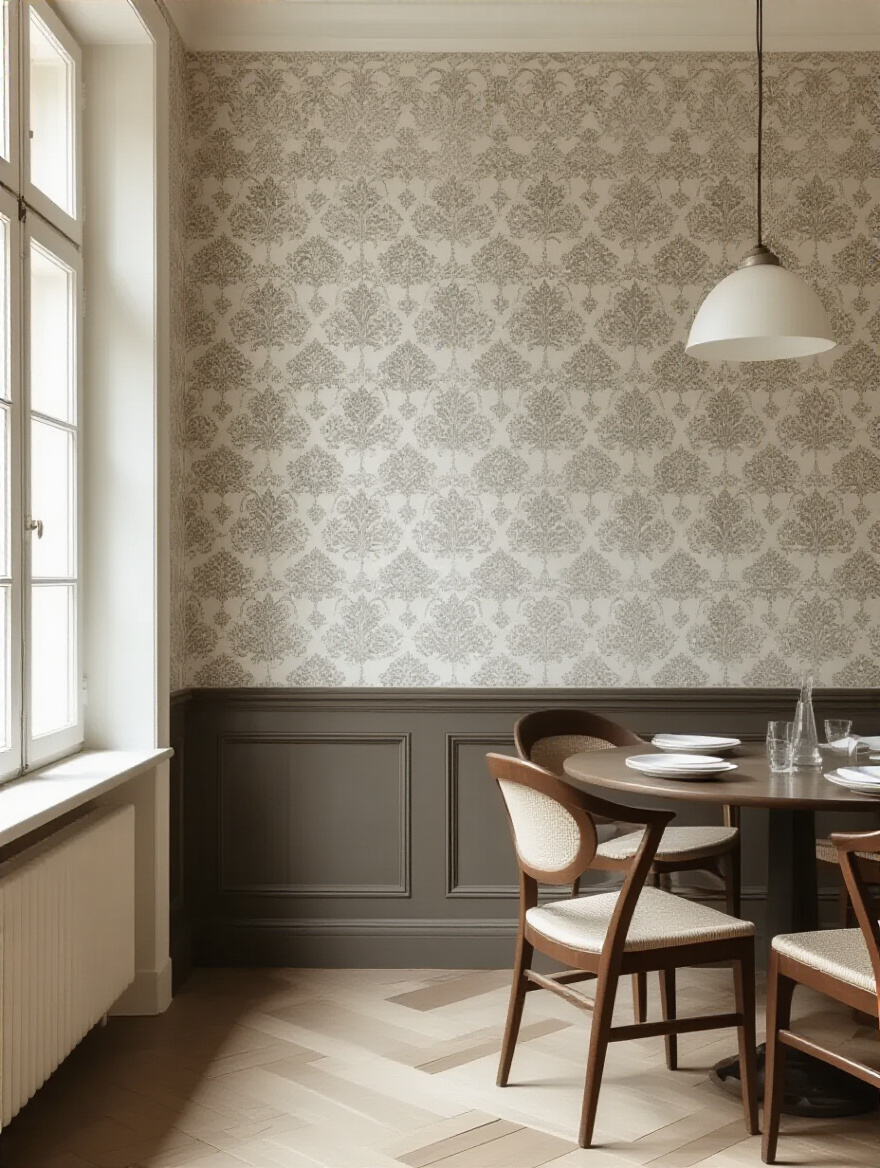
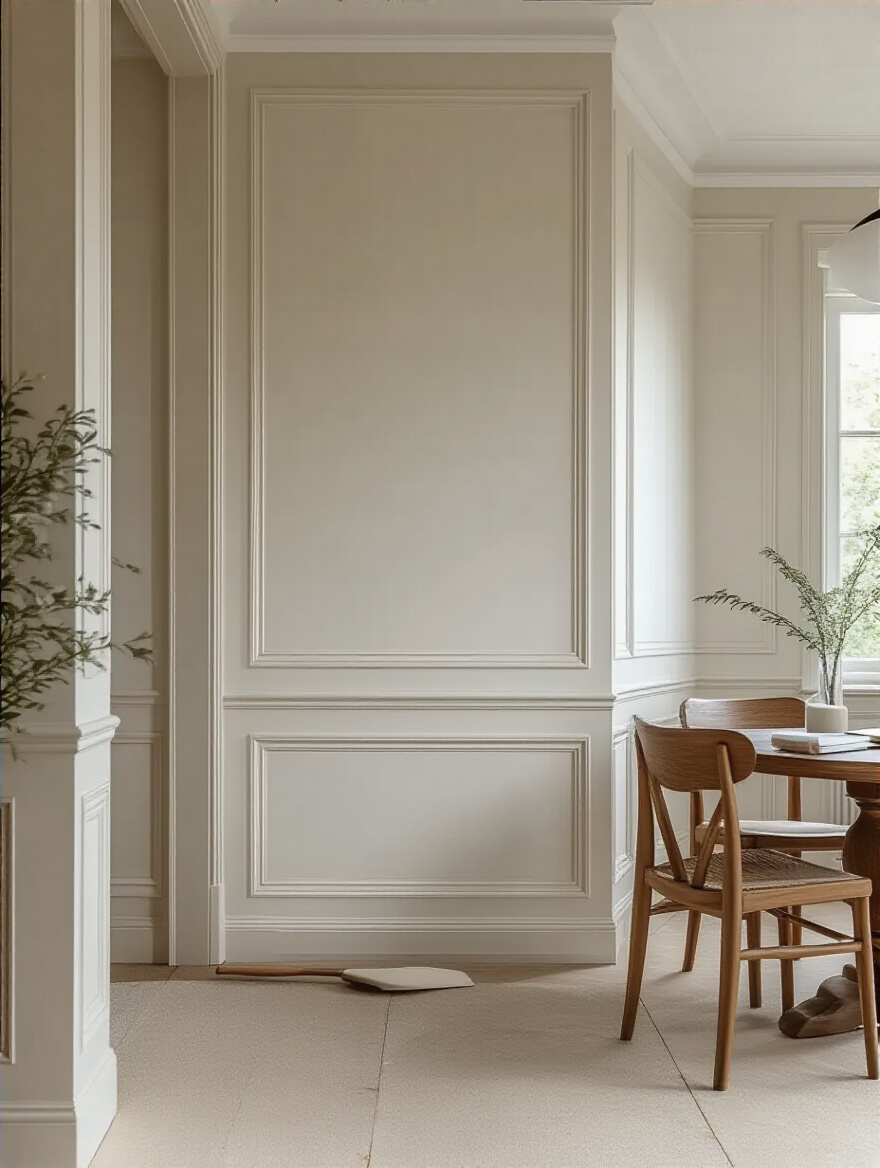
16. Incorporate Decorative Trim and Moulding for a Polished, Integrated Look
Want to make your wallpaper look extra fancy and custom? Add moulding. Installing a chair rail is one of my favorite tricks, especially in homes with pets. You can install the wallpaper on the top two-thirds of the wall and then paint the chair rail and the wall below it with a durable, semi-gloss paint. This creates a “splash zone” that’s super easy to wipe clean from scuffs or muddy dog shakes.
You can also use thin pieces of moulding to create large frames or panels on the wall, and then wallpaper inside of them. This is an elegant, traditional look that turns your wallpaper into framed works of art. It adds architectural detail and makes the whole room feel more expensive and thoughtfully designed.
Longevity and Adaptability: Maintaining Your Wallpaper’s Beauty (Part 1)
You’ve invested time and money into creating a beautiful space. Now, let’s make sure it stays that way. A little bit of proactive care goes a long way.
17. Implement Routine Cleaning Strategies for Wallpaper Longevity
For pet owners, “washable” is the magic word. For routine cleaning, you can simply dust the walls with a microfiber cloth or the brush attachment of your vacuum. For little spots and smudges—and trust me, there will be spots and smudges—tackle them right away. Use a soft sponge or cloth lightly dampened with water and maybe a drop of mild dish soap.
Gently blot the spot, don’t scrub, as that can damage the finish. Never use abrasive cleaners or harsh chemicals. When in doubt, check the manufacturer’s cleaning instructions. And always test your cleaning method on a small, hidden area first, like behind a door or a piece of furniture.
18. Address Common Wallpaper Issues: Bubbles, Peeling, and Tears
Even with a perfect installation, things can happen. Humidity might cause a seam to lift slightly, or a chair might get pushed back too hard and cause a small tear. Don’t panic! Most of these are easy fixes if you catch them early. You can buy a small tube of seam adhesive to stick down any lifting edges.
For air bubbles, you can use a syringe (which you can find in a wallpaper repair kit) to inject a tiny bit of adhesive into the bubble and then smooth it flat. For a small tear, carefully use a bit of adhesive to glue it back down. This is where that extra roll of wallpaper you saved comes in handy—you can use it to patch any more significant damage.
19. Safeguard Wallpaper in High-Traffic or Spill-Prone Dining Areas
The area around the dining table and along walkways is going to take the most abuse. This is where that chair rail trick I mentioned comes in so handy. By keeping the wallpaper on the upper part of the wall, you protect it from the chaos zone down below.
Another option is to choose an extra-durable, commercial-grade (often called Type II) vinyl wallpaper for the whole room. It’s designed for hotels and hospitals, so it can definitely stand up to your dog’s happy tail thumping against the wall. You can also strategically place furniture, like a thin console table or a bar cart, along a high-traffic wall to act as a buffer.
20. Strategically Update Your Dining Room Wallpaper When Tastes Evolve
The great thing about wallpaper today is that it’s not a lifelong commitment. High-quality peel-and-stick options make it easier than ever to try a new trend or update a room when your style changes. Even traditional wallpaper is much easier to remove these days, as long as you primed the wall correctly before installation.
Don’t feel like you’re stuck with a choice forever. Seeing your dining room wallpaper as something you can update every 5-7 years can free you up to make bolder, more exciting choices now. Your home should evolve with you, and wallpaper is a fantastic way to reflect that.
Longevity and Adaptability: Maintaining Your Wallpaper’s Beauty (Part 2)
Okay, let’s say the time has come. You’re ready for a change, which means the old wallpaper has to go. Doing this right is just as important as putting it up right.
21. Properly Remove Old Wallpaper Without Damaging Underlying Walls
If your walls were properly primed, this process will be much, much easier. You’ll start by scoring the old paper with a tool that creates tiny holes, allowing your removal solution to penetrate. You can use a store-bought stripper or just hot water, but be sure to use products with low fumes for the sake of your pets.
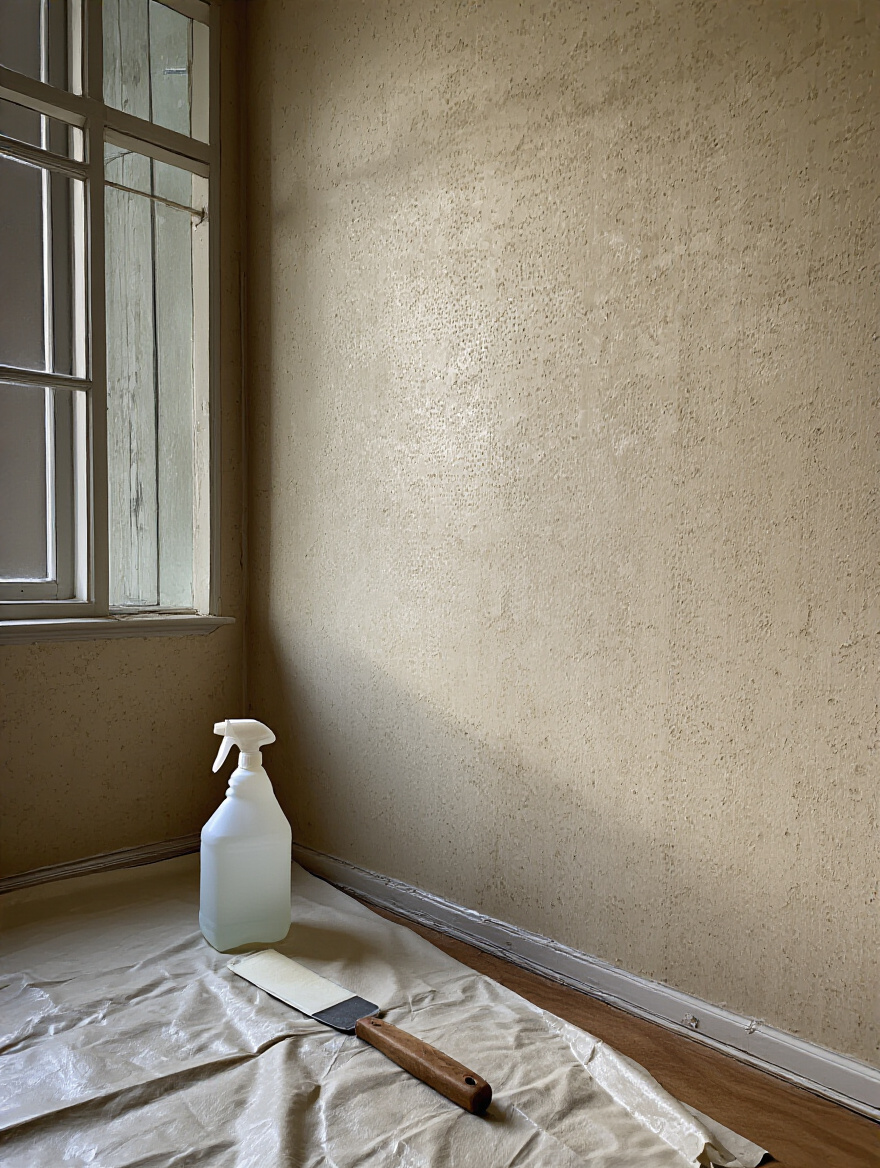
Once the solution has soaked in, the paper should start to peel off with the help of a scraper. The key is patience. Work in small sections and don’t force it or you’ll gouge the wall. After all the paper is off, wash the walls thoroughly to remove any leftover adhesive residue. This leaves you with a clean, smooth canvas, ready for your next design adventure!
Conclusion
See? You can absolutely have the stylish, wallpapered dining room of your dreams, even with a house full of happy, messy pets. It’s all about making smart choices from the very beginning—choosing durable materials, prepping your walls like a pro, and having a few tricks up your sleeve for cleaning and repairs. Your home is a reflection of your whole family, and that includes the furry ones. Now you have the know-how to create a space that’s not only beautiful and full of personality but also practical enough for the delightful chaos of everyday life with animals.


