Picture this: You’re stepping out of a warm bath. The air is soft with steam, maybe scented with a little lavender or eucalyptus. Your bare feet touch the floor. What do they feel? Is it a cold, generic surface, or is it something grounding, something with a subtle texture that connects you to the earth? This single moment is what multi-sensory design is all about. It’s about creating a space that nourishes you, from what you see to what you feel underfoot.
And tile is one of the most powerful tools we have to shape that experience. I’m an interior designer, but I’m also a certified aromatherapist, and what I’ve learned is that our homes are ecosystems for our well-being. A bathroom isn’t just a room; it’s a sanctuary, a ritual space. And the choices we make, right down to the grout color, have a profound impact on how we feel. Everyone gets so caught up in what’s trendy, but I want to talk about what actually matters: creating a bathroom that feels as good as it looks.
Mastering the Fundamentals: Planning Your Bathroom Tile Project (Part 1)
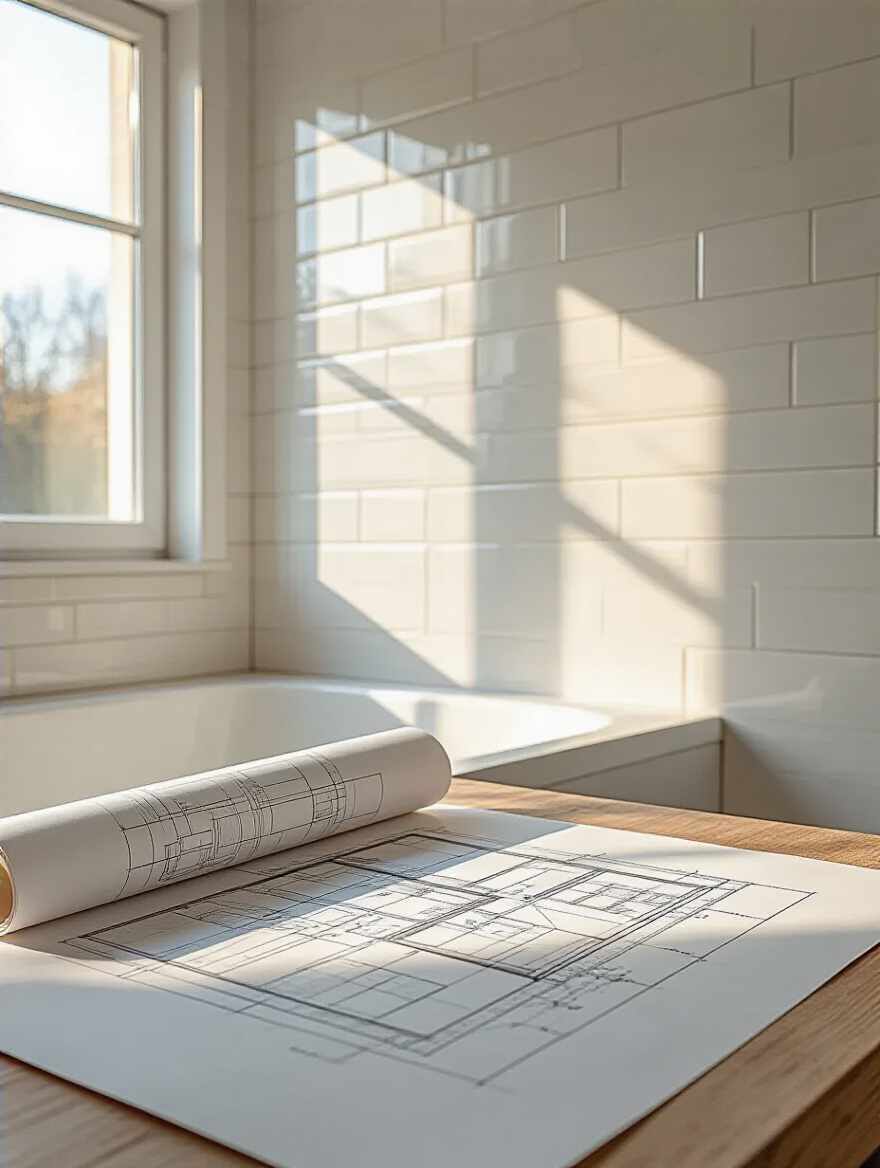
Before we even think about a single tile, we need to talk about the energy of the space. Planning isn’t just about measurements and budgets; it’s about intention. This is the quiet part of the process where you get to decide how you want your sanctuary to feel. Think of it as building the foundation not just for the tiles, but for the peaceful moments you’ll spend there.
1. Assess Bathroom Layout for Optimal Tile Flow
We’ve been taught to think about “flow” in terms of saving money on cuts, but the real story is about visual harmony. Your eye, and your energy, follows lines. When a pattern is jarring, with lots of tiny, awkward slivers of tile tucked in corners, it creates a subtle visual static. That’s the opposite of the serene feeling we want in a sanctuary. An optimal flow means the pattern feels natural and uninterrupted, which tells your nervous system that this space is calm and orderly.
The secret I wish someone told me earlier is to stand in the doorway—your first point of entry—and decide what you want that first glance to feel like. Your main sightline is your anchor. Start your pattern there, whether it’s the center of the floor or the middle of the shower wall. This allows any necessary cuts to fall into the less-seen spaces, like behind the door or toilet. It’s a simple trick that makes the entire room feel more settled and intentional.
This initial mapping out of your bathroom’s energy is the first step toward creating a truly holistic space, where every element contributes to a sense of peace and coherence.
2. Define Your Style & Color Palette Early On
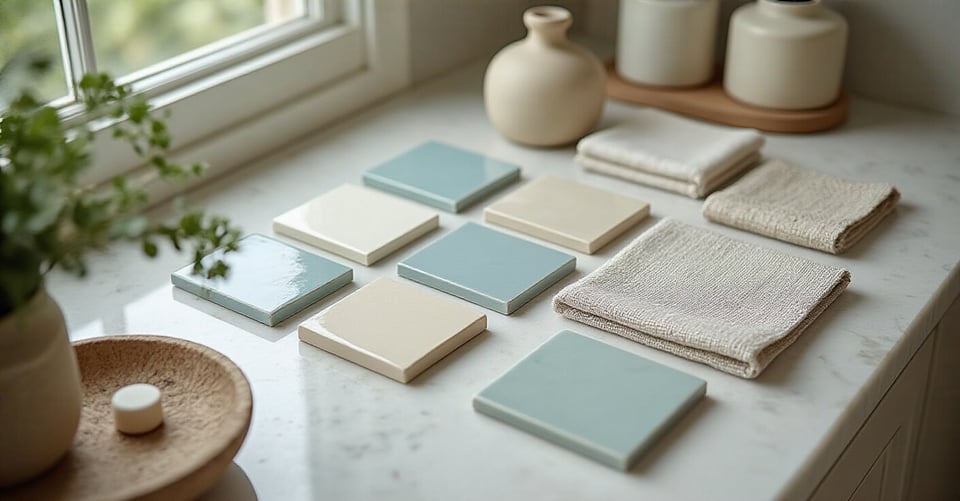
Can we talk about why so many people get this wrong? They fall in love with a tile in a showroom, under harsh fluorescent lights, without ever considering the story of their own space. Your style isn’t about what’s trendy; it’s about what resonates with your soul. The most important question is: How do you want to feel when you’re in this room? Grounded and earthy? Light and airy? Revived and energized? Your palette should be born from that feeling.
I had a client once who was convinced she wanted a high-contrast, black and white geometric tile she saw on Pinterest. It was visually stunning, but when we talked about it, she admitted her mornings were already rushed and stressful. That tile would have just added to the chaotic energy. We switched to a soft, green-gray zellige tile with natural texture and variation. The result? A space that felt like a quiet morning mist, a place where she could actually breathe before starting her day. That’s the shortcut: connect the color to the feeling first.
Once you know the feeling, the rest of the design will fall into place, creating a harmonious and nurturing environment that truly supports your well-being.
3. Calculate Accurate Material Needs to Avoid Waste
There is nothing more stressful in the middle of a project than realizing you’re short on materials. It completely shatters the creative, calming process of building your sanctuary. The common advice is to order 10-15% extra for waste, but here’s what no one tells you: complex patterns that feel organic and beautiful, like herringbone, demand more cuts and thus more “waste.” For these, I always tell clients to plan for 20% extra.
Thinking of it as “attic stock” instead of “waste” changes the entire energy around it. That extra box of tiles isn’t a miscalculation; it’s your insurance policy for future peace. If a tile chips a few years from now, you won’t have to tear your hair out trying to find a match from a different dye lot. You’ll have the exact tile, from the exact same batch, waiting for you. This forethought is a gift to your future self, ensuring your sanctuary remains whole and perfect for years to come.
Proper preparation ensures not just a beautiful result, but also a seamless and stress-free process, allowing you to focus on the joy of creation rather than logistical headaches.
4. Prioritize Subfloor Preparation for Longevity
I confess, I used to think what was under the tile didn’t really matter. It’s the part no one sees, right? I learned the hard way that the subfloor is the unsung hero of a beautiful bathroom. It’s the deep, silent support system. An uneven or unstable subfloor is like building your sanctuary on shaky ground. It will eventually lead to cracked tiles and grout—a constant, visible reminder that something is wrong underneath.
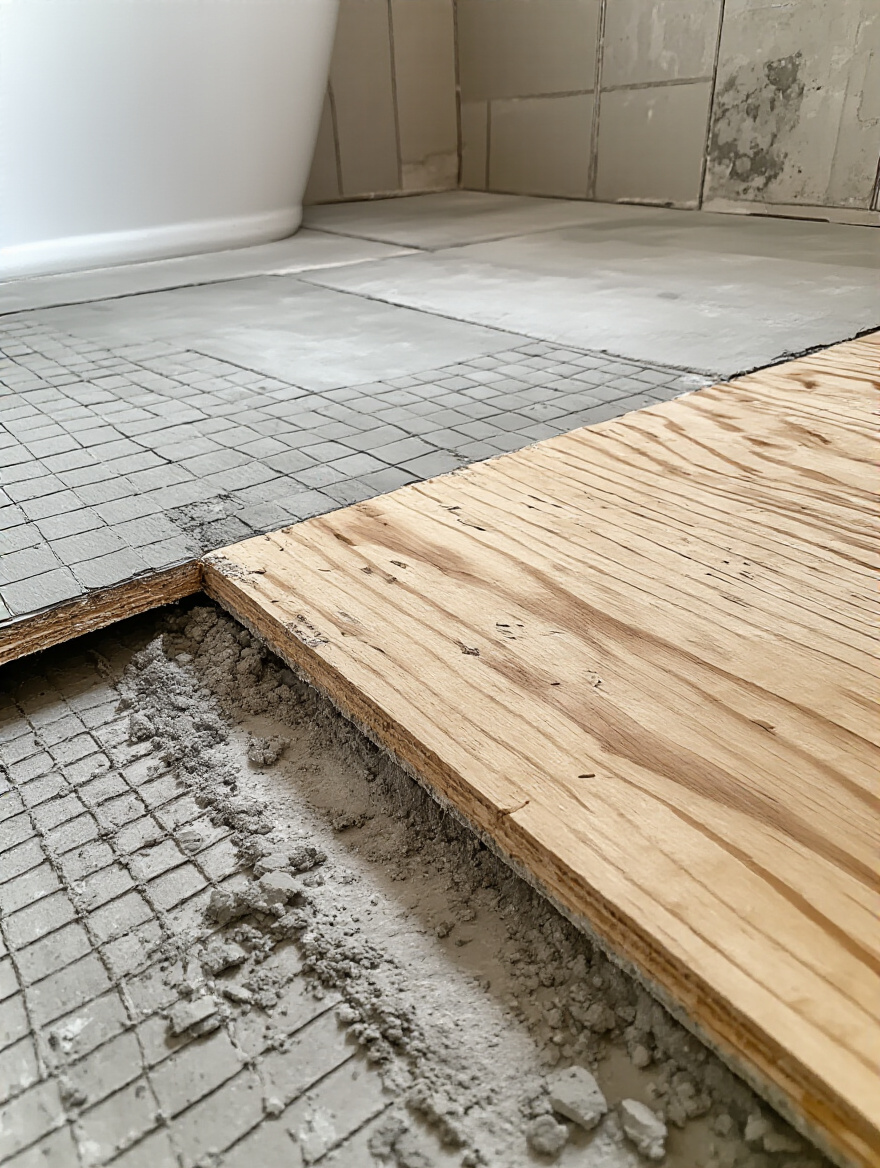
Think of it this way: the tile and grout are the skin, but the subfloor and underlayment are the bones. Without a solid, rigid, and properly waterproofed structure, that beautiful skin will inevitably fail. You want your feet to feel completely solid and supported. There should be no give, no creaking, no hint of instability. This sense of solidness is grounding. It provides a feeling of safety and permanence that you absorb every time you step into the room.
Ensuring a solid foundation is the first and most critical step in building a space that not only looks beautiful but also feels secure and enduring.
Mastering the Fundamentals: Planning Your Bathroom Tile Project (Part 2)
Now that we’ve laid the spiritual and structural groundwork, we can begin to explore the materials themselves. This part is about getting technical, but not in a cold way. It’s about understanding the language of tile so you can choose a material that will truly care for you and your space in the long run.
5. Understand Water Resistance & Durability Ratings
The noise around tile is often all about aesthetics, but the whisper you need to listen to is how it performs. In a bathroom, water is a constant presence. It’s a powerful, life-giving element, but it can also be destructive if not managed with respect. Choosing a tile with the right water resistance isn’t just a practical matter; it’s about creating a harmonious relationship with the elements in your sanctuary. Porcelain, for example, absorbs almost no water, making it a peaceful and reliable guardian for your shower floor.
Think of a tile’s durability rating (its PEI score) as its resilience. A floor tile in a busy family bathroom needs a strong, resilient character to withstand constant footfalls without showing wear. A low-rated tile in a high-traffic area will scratch and dull, holding onto the energy of stress and wear. But choosing a robust tile means it will continue to look serene and untouched for years. It’s about selecting a material with an inherent strength that contributes to the calm, enduring nature of your sanctuary.
By selecting tiles that are functionally suited for the space, you ensure that the beauty you create is not fleeting but a lasting source of peace and comfort.
Selecting & Installing Tiles: Practical Steps for a Flawless Finish (Part 1)
This is where the vision starts to become tangible. You’re ready to choose the actual materials that will shape your space. Remember, you’re not just picking a color or a shape. You’re choosing the texture that will meet your bare feet, the surface that will reflect the candlelight, and the patterns that your eyes will trace during a quiet moment.
6. Explore the Versatility of Porcelain and Ceramic Tiles
Porcelain and ceramic are the workhorses of the tile world, but that doesn’t mean they lack soul. Because they can be crafted to look like anything—from gentle wood grain to soft linen to veined marble—they offer a world of sensory possibilities. You can have the visual warmth of wood on your floor without the worry of water damage. This is where technology can serve our well-being, giving us the aesthetic we crave with the durability our sanctuary requires.
What truly matters here is the finish. A high-gloss ceramic tile will bounce light around, creating an energizing, vibrant feeling perfect for a morning shower. A matte-finish porcelain, on the other hand, absorbs light, giving off a soft, gentle, and grounding energy that’s wonderful for a bathroom dedicated to quiet, meditative baths. Don’t just look at the tile; run your hand over it. Imagine it under your feet. Let your sense of touch guide you as much as your eyes.
The choice of material and finish sets the foundational tone for your bathroom, influencing everything from light and shadow to the very feeling underfoot.
7. Consider Natural Stone for Unique Texture and Appeal
Natural stone is something special. Each piece of marble, slate, or travertine is a slice of the earth’s history. It holds an ancient, grounding energy that man-made materials can only imitate. When you place your feet on a stone floor, you are connecting with something timeless. The subtle variations in color and veining mean that no two tiles are exactly alike, creating a surface that is perfectly imperfect, just like nature itself.
Of course, this connection comes with a responsibility. Natural stone is porous and requires sealing to protect it. I see this not as a chore, but as a ritual of care. Tending to the stone in your sanctuary—sealing it every year or two—is an act of gratitude for the beauty and stability it provides. It’s a way of honoring the natural element you’ve invited into your home and ensuring it continues to support you for decades.
This direct connection to the natural world can transform a simple bathroom into a truly restorative and elemental space.
8. Leverage large format tiles for Fewer Grout Lines
The trend of large format tiles is popular for a reason, and it’s more than just a minimalist aesthetic. Visually, fewer grout lines create a serene, expansive feeling. Your eye isn’t constantly being interrupted by a busy grid. This visual silence helps quiet the mind. It’s like the difference between looking at a calm lake and a choppy sea. The uninterrupted surface of a large tile creates a sense of peaceful continuity.
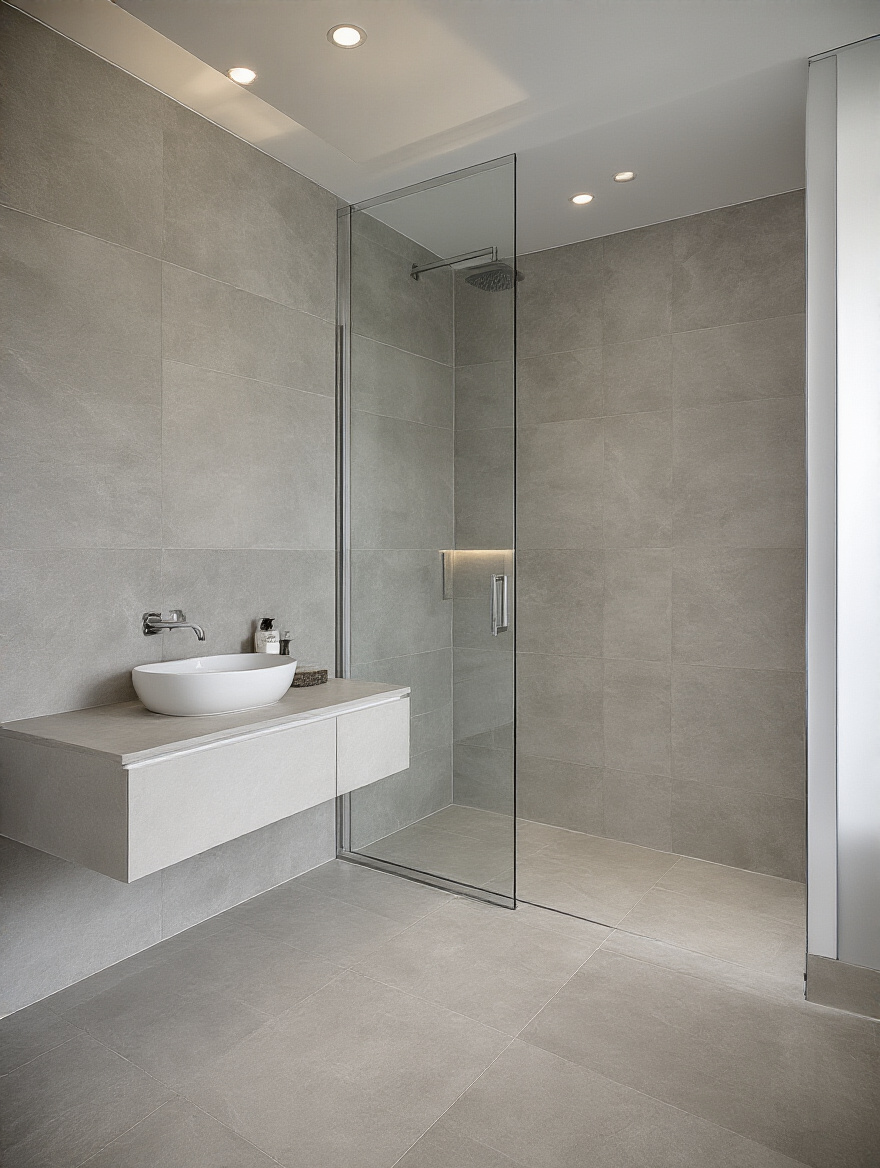
From a tactile perspective, this means a smoother, more continuous feeling underfoot. And on a practical level, it simplifies care. Grout lines are where moisture and mildew can gather. Fewer lines mean less cleaning and a healthier breathing environment. The real shortcut here is to pair these large tiles with a grout color that matches almost perfectly. This makes the lines practically disappear, enhancing that feeling of a seamless, calming canvas.
The simplicity and scale of large tiles can make even a small bathroom feel like a spacious, uncluttered haven for the mind and body.
9. Incorporate Small Tiles & Mosaics for Detailed Accents
While large tiles create calm, small tiles and mosaics invite you to come closer and pay attention. They are the jewelry of the bathroom. A band of iridescent mosaic in a shower niche that catches the light, or a floor of soft, smooth penny tiles that feel like a gentle massage on your feet—these are moments of intentional beauty. They create a focal point not just for the eyes, but for the spirit.
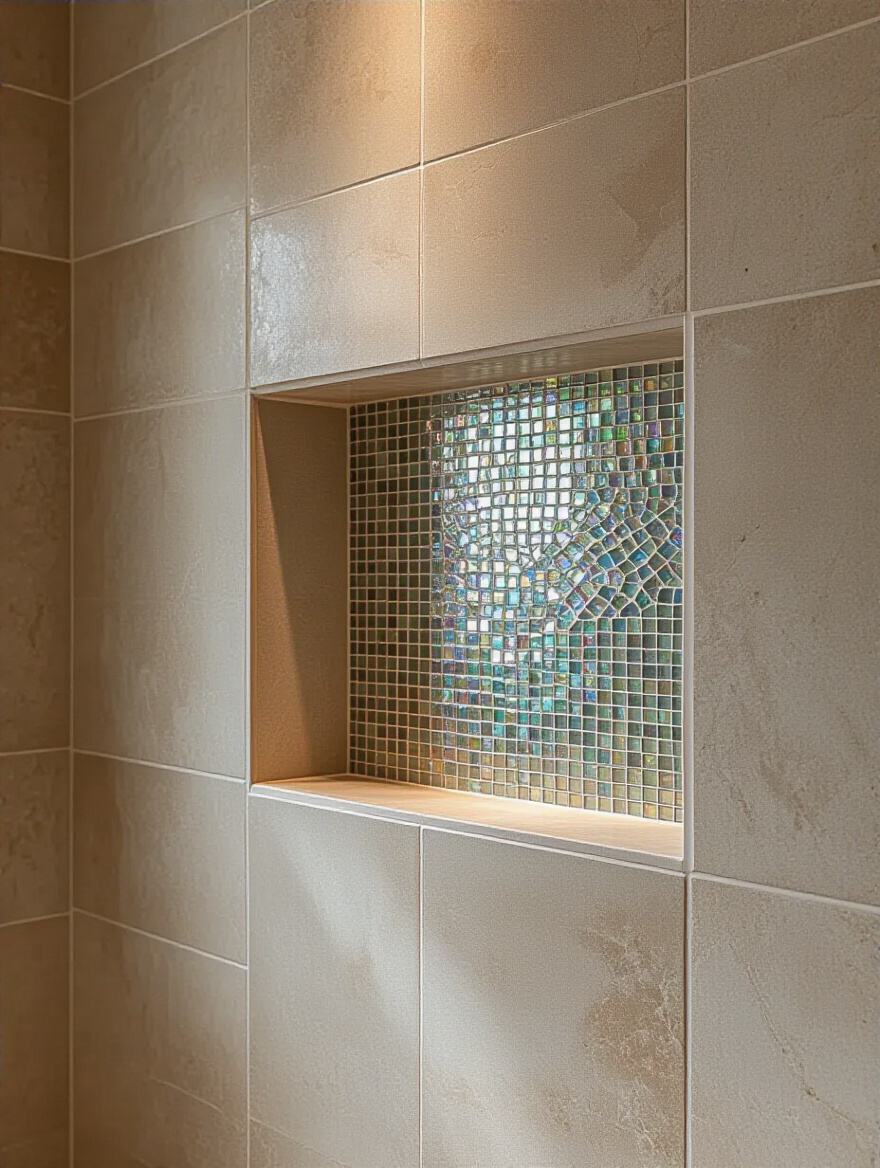
Here’s my secret: use mosaics to define a ritual space. Perhaps it’s a stunning backsplash behind the sink where you wash your face each morning, or an accent wall behind a bathtub where you soak. By placing these intricate, beautiful details in areas of personal care, you elevate those daily routines into mindful rituals. You’re telling yourself that this moment, and this space, is special. It’s a powerful way to infuse your day with a small act of beauty and self-care.
These deliberate details transform functional zones into sacred spaces, adding layers of meaning and beauty to your daily routines.
Selecting & Installing Tiles: Practical Steps for a Flawless Finish (Part 2)
We’re moving into the details that truly elevate a space from good to soulful. These next steps are about refining your vision and making choices that will ensure your sanctuary feels cohesive, thoughtful, and deeply personal. It’s about listening to the quiet details.
10. Choose the Right Grout Color for Impact or Subtlety
Everyone says grout is just the glue that holds the tile together. That’s absolutely wrong. Grout is the breath between the notes. It determines whether your tiles feel like a unified, flowing melody or a series of distinct, staccato beats. A contrasting grout, like dark grey with white subway tile, creates energy and pattern. It’s dynamic. A matching grout, however, lets the tile itself be the star, creating a soft, seamless texture.
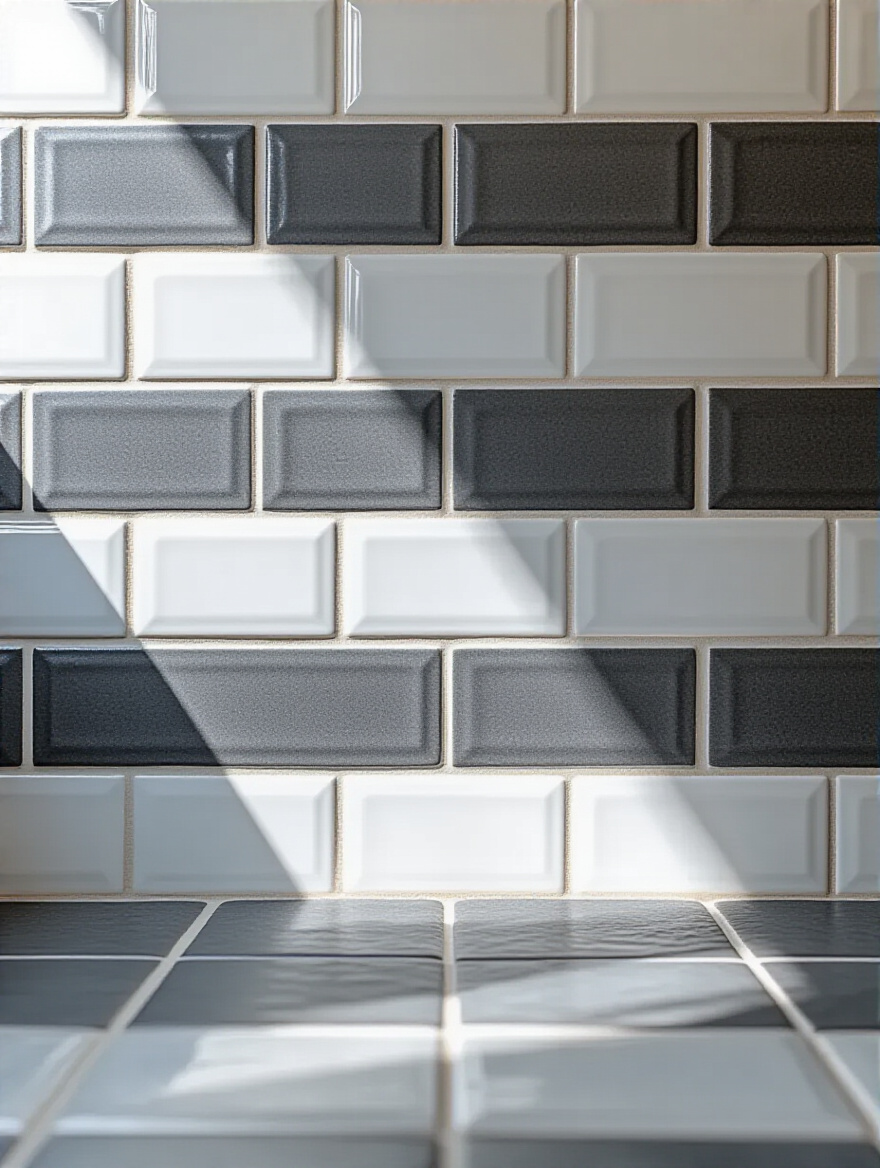
The question you need to ask isn’t “What looks best?” but “What feeling am I creating?” If your tile has a beautiful, handmade texture, a matching grout will let that texture shine without distraction, creating a calm, unified surface. If you’ve chosen a simple, solid tile, a contrasting grout can add the rhythm and visual interest the space needs. My shortcut is to always get a physical sample of the grout color. Don’t trust the color on the bag or on the screen. See how it speaks to your tile in the light of your own bathroom.
This often-overlooked detail is one of the most powerful tools for controlling the final energy and mood of your finished space.
11. Master Essential Tiling Tools for Efficient Installation
Even if you hire a professional, understanding the tools helps you appreciate the craft. But if you’re doing it yourself, the right tools are an act of self-care. A cheap, frustrating tool will infuse the entire process with struggle and negative energy. Investing in a good wet saw that makes clean cuts, or a level that gives you a true line, is an investment in your own peace of mind.
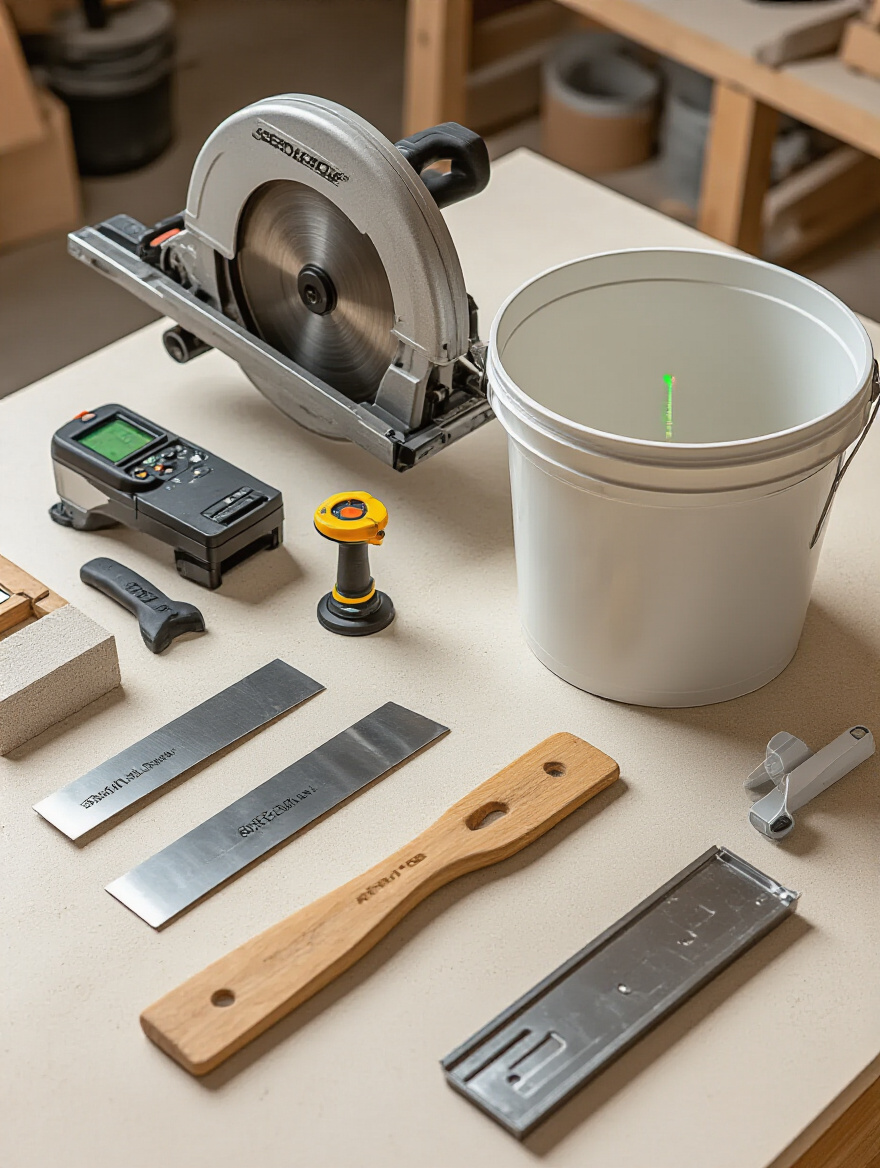
Think of it as choosing the right paintbrush for your masterpiece. You wouldn’t try to paint a soft watercolor with a stiff, clumsy brush. The quality of your tools directly translates to the quality and feel of the finished product. A tile leveling system, for instance, seems like a fussy extra step, but it’s the secret to a perfectly flat floor that feels wonderful underfoot, with no annoying edges to catch your toes. It ensures the final result is one of smooth, professional calm.
Embracing the right tools transforms the installation process from a frustrating chore into a mindful act of creation.
12. Avoid Common Installation Mistakes That Lead to Regret
The biggest mistake I see isn’t about crooked lines; it’s about impatience. A sanctuary cannot be rushed. Every step in the installation process—from the waterproofing membrane to the curing time for the grout—requires its own sacred pause. Rushing the process is how you end up with hidden failures that will disrupt your peace later on.

I once saw a project where someone grouted their shower too soon, before the mortar behind the tiles had fully cured. Trapped moisture led to a persistent mildew issue that they could never fully resolve. The shortcut everyone wishes they’d known is this: read the instructions on your materials and then add a little extra time. Let everything dry and cure fully. This practice of patience will be rewarded tenfold with a space that is truly solid, healthy, and built to last.
A patient, mindful approach to installation ensures your sanctuary is built on a foundation of quality and care, preventing future disruptions to your peace.
Elevating Your Design: Advanced Styling & Pattern Play (Part 1)
Now for the fun part. This is where we layer in the artistry and personality. We’re moving beyond the basics and into the elements that will make your bathroom feel uniquely yours—a true reflection of your spirit expressed in tile.
13. Experiment with Herringbone and Chevron Patterns
These classic patterns create a sense of gentle movement. They are dynamic but in a very elegant, soothing way. Think of the pattern of light filtering through leaves or the gentle “V” of a flock of birds. A herringbone or chevron layout guides the eye and adds a layer of subtle energy to a wall or floor. It makes the space feel more alive and bespoke.
A confession: I used to think these patterns were too “busy” for a sanctuary. Then I saw a floor done in a large-format, light gray tile with a very soft, matte finish, laid in a herringbone pattern. The movement was still there, but it was incredibly subtle and calming. The secret is to let the pattern be the star by keeping the tile color and finish quiet. This creates a sophisticated, textural landscape that is both interesting and deeply serene.
This infusion of gentle, organic movement can transform a flat surface into a piece of art that energizes without overwhelming.
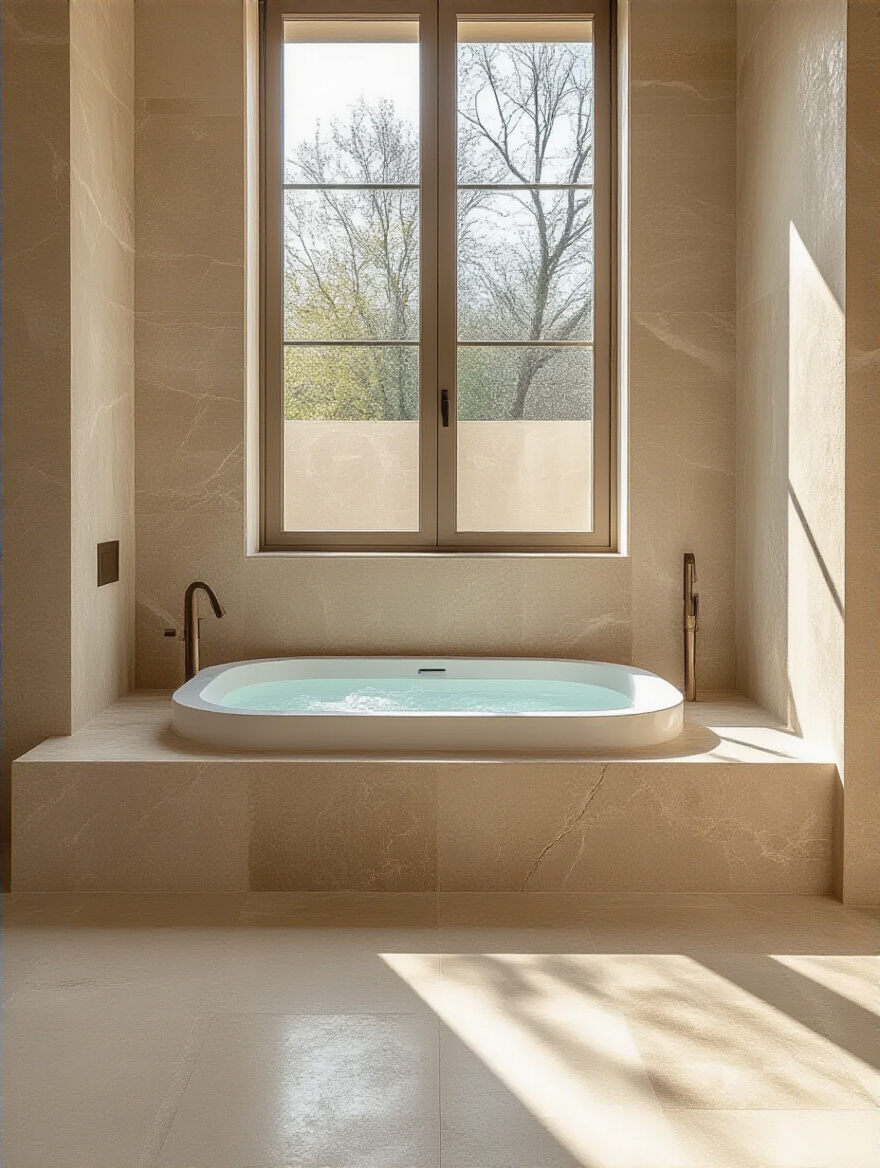
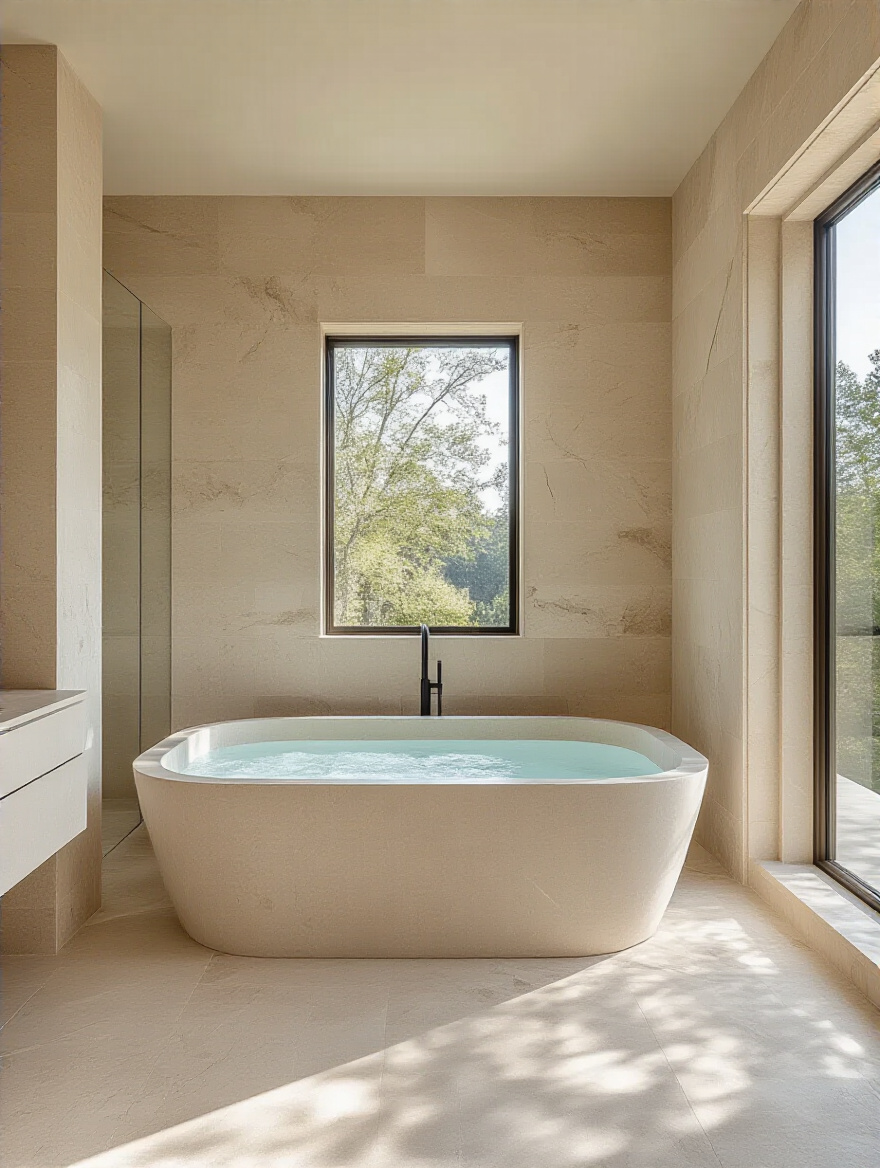
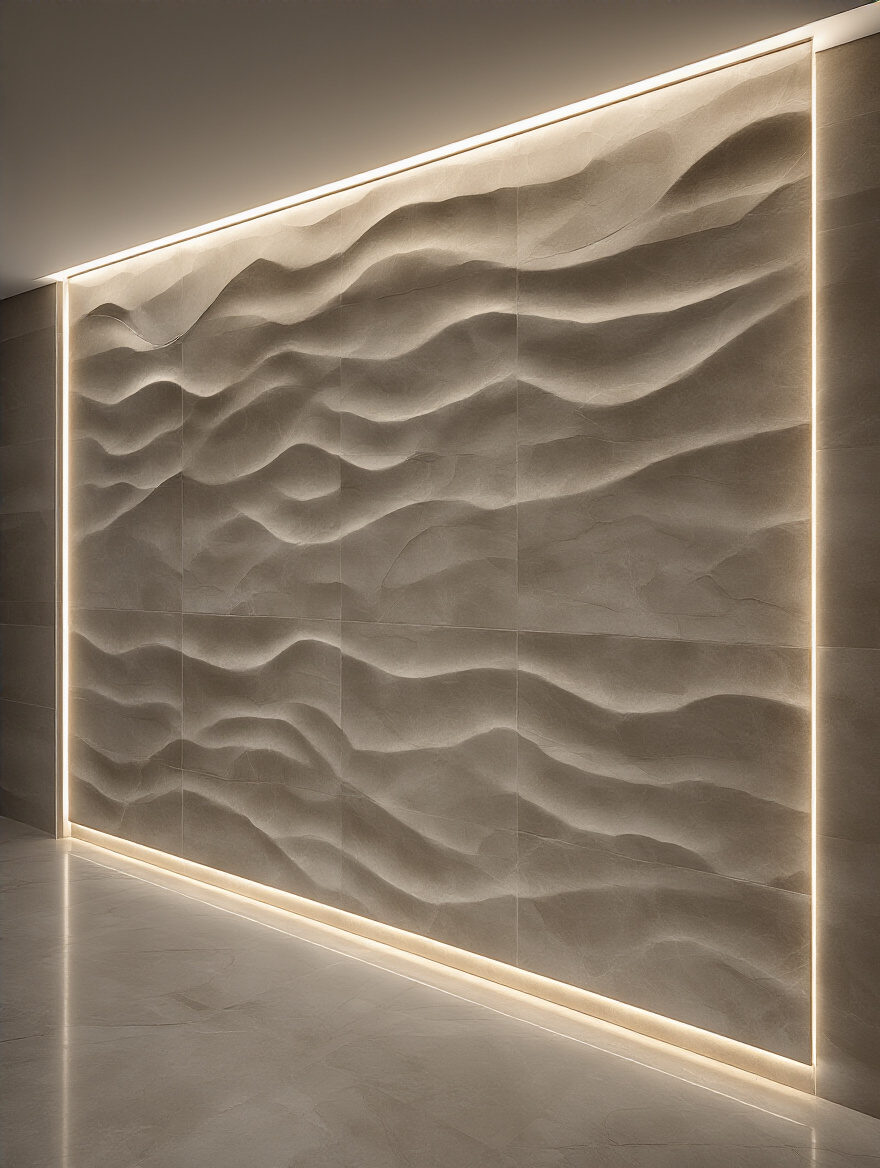
14. Create Visual Interest with Feature Walls & Accent Stripes
A feature wall isn’t about shouting for attention; it’s about creating a destination within the room. It’s a place for your eye to land and rest. Placed behind a beautiful bathtub or creating the backdrop for your vanity, a feature wall can define a moment of ritual and beauty. It elevates a simple act, like soaking in the tub, into a special experience.
My favorite way to do this is with texture. Imagine an entire wall of tiles that look and feel like soft, fluted plaster or ribbed stone. Even in a perfectly neutral, monochromatic color, the way the light catches the three-dimensional surface creates a breathtaking, ever-changing dance of shadow and light. It engages the senses on a deeper level than a simple flat surface, making the entire room feel more soulful and curated.
These intentional focal points add layers of depth and meaning, transforming your bathroom into a gallery of personal and restorative art.
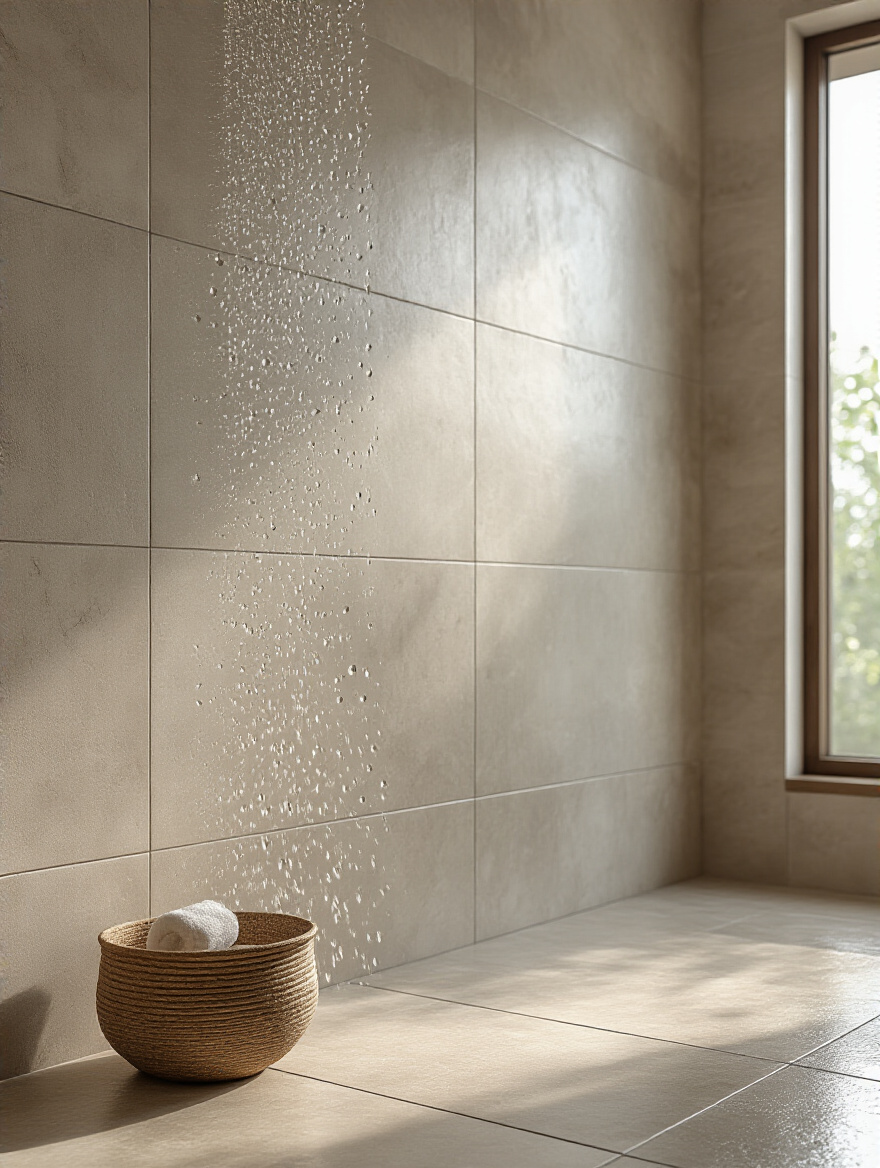
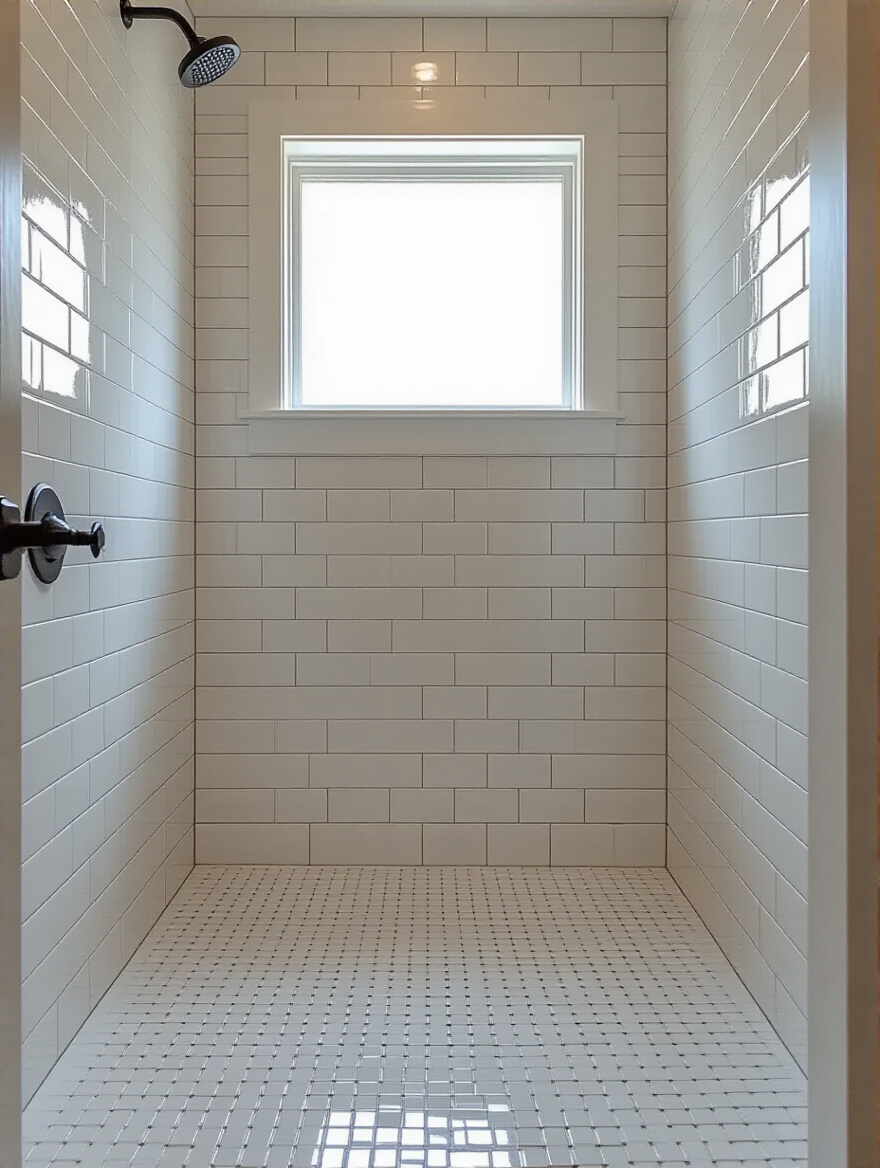
15. Brighten Small Bathrooms with Reflective Finishes
Light is life. In a small or windowless bathroom, reflective surfaces are our best friends. But this isn’t about creating a sterile, hall-of-mirrors effect. It’s about gently capturing and multiplying the light you have, making the space feel more open, airy, and full of positive energy. A tile with a soft, lustrous glaze or a handmade zellige tile with its subtle, watery sheen is perfect for this.

The key is to use reflection with intention. Place these shimmering tiles opposite your main light source to get the most bounce. Think about the wall inside your shower—tiling it with a glossy surface can make the shower feel twice as big and infinitely brighter. It’s a way to work with the energy of light, amplifying it to create a space that feels expansive and uplifting, which can have a profound effect on your mood.
By thoughtfully manipulating light, you can make even the most compact space feel open, breathable, and filled with a sense of boundless calm.
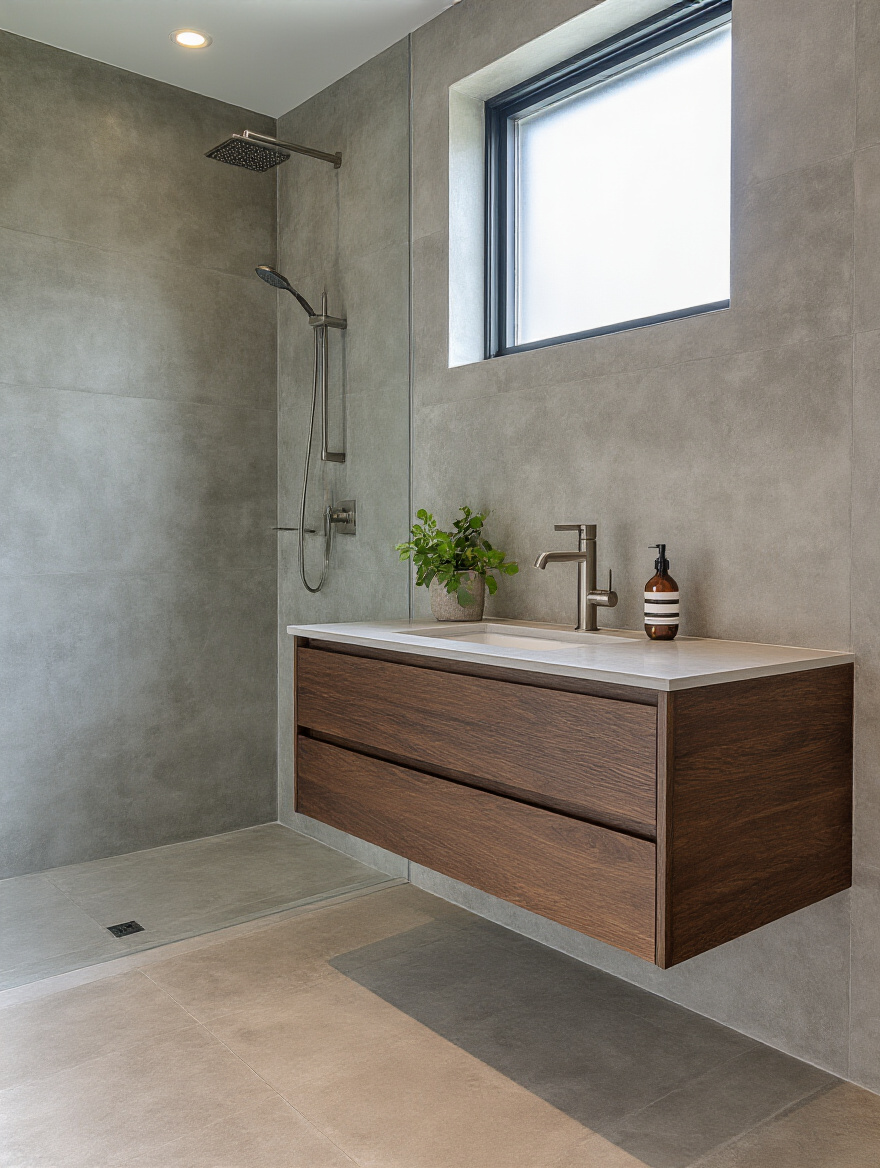
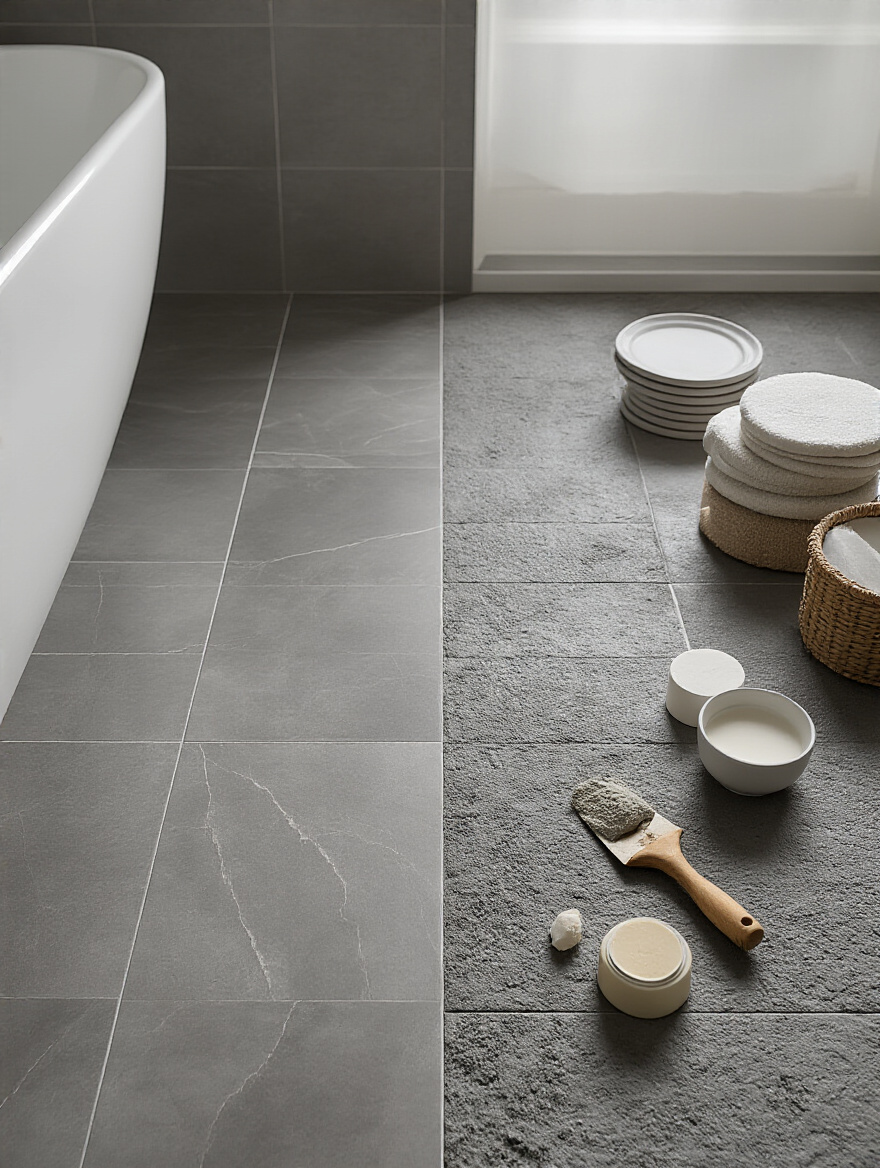
16. Define Zones Using Different Tile Textures
This is one of my favorite secrets for creating a multi-sensory space. Using a different tile texture to define a specific area is a subtle but powerful way to signal a shift in function and energy. Imagine a smooth, polished tile on the main bathroom floor for easy cleaning, transitioning to a field of soft, rounded river rock pebbles on the shower floor.
The moment your feet step onto those pebbles, you are instantly more present. The unique texture underfoot is grounding and massage-like, transforming your shower into a mini-reflexology session. You’ve physically stepped into a different zone. This use of texture engages your sense of touch, pulls you out of your racing thoughts, and grounds you in the present moment of your cleansing ritual. It’s a design choice that actively supports mindfulness.
These textural shifts create a rich sensory journey within a single room, enhancing the purpose and feeling of each distinct area.
Elevating Your Design: Advanced Styling & Pattern Play (Part 2)
We are nearing the finish line, focusing now on the harmonious integration of all the elements. This is about ensuring your beautiful tile choices don’t exist in a vacuum, but rather sing in concert with the other fixtures and features of your sanctuary, creating a truly unified and holistic design.
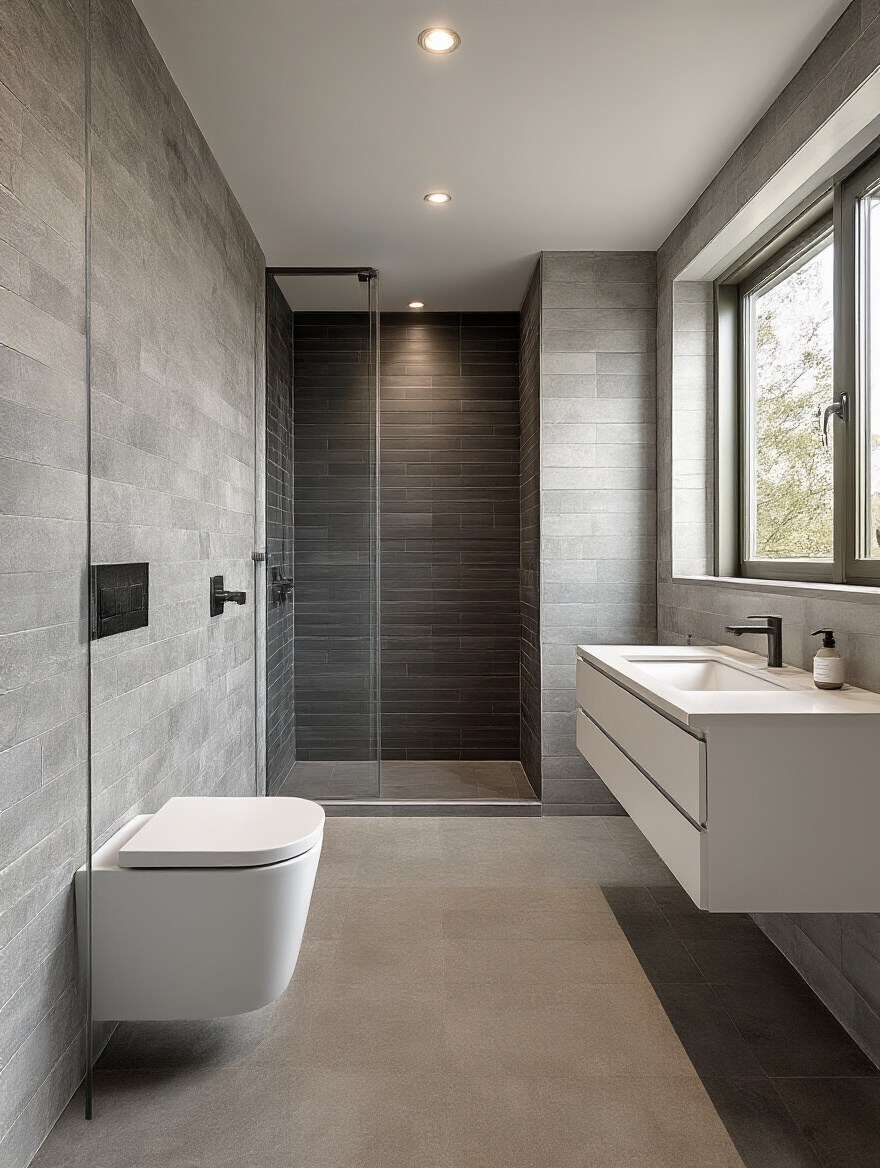
17. Coordinate Tiles with Vanity & Fixture Styles
A common mistake is treating the tile, vanity, and faucets as separate decisions. This creates a space that feels disjointed. A truly peaceful room feels like every element belongs together. They should feel like they’re in a quiet, respectful conversation with one another. A sleek, modern vanity asks for a tile with clean lines, while an ornate, traditional faucet might be beautifully paired with a classic marble.
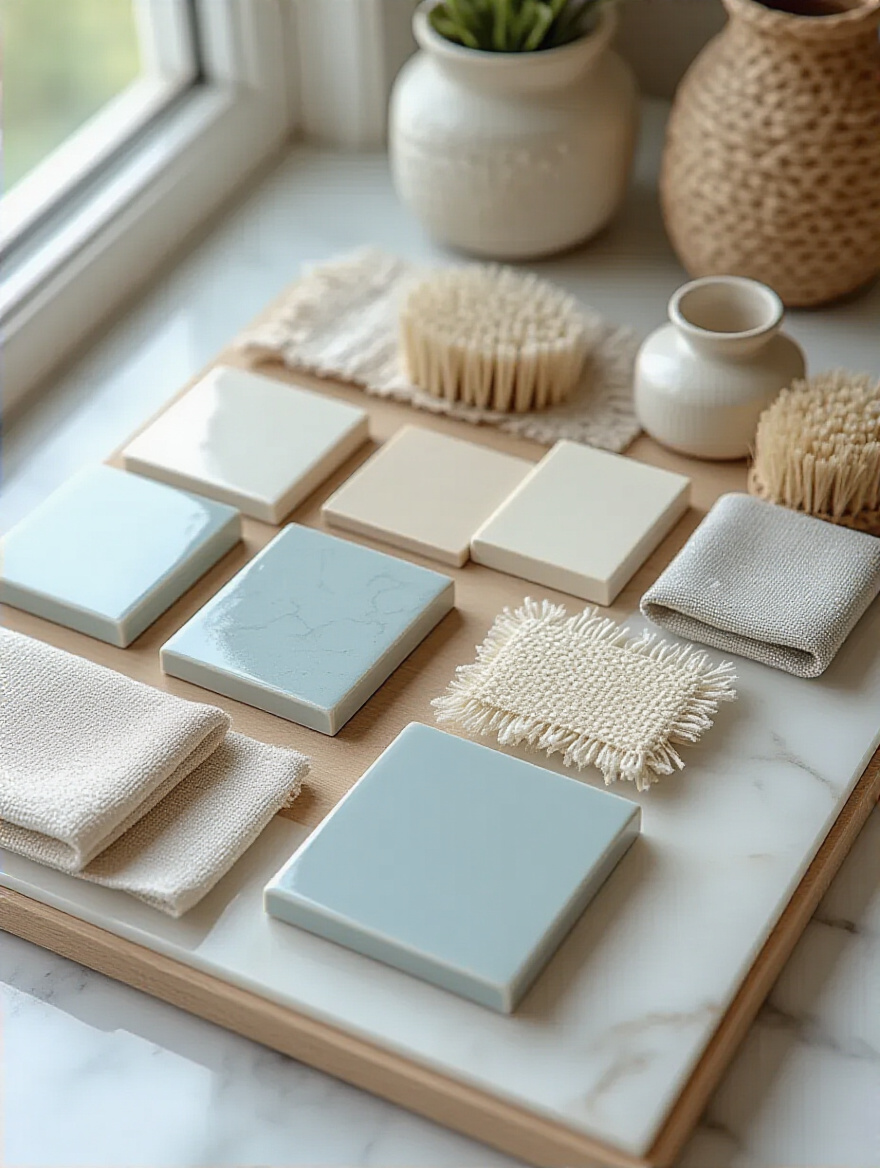
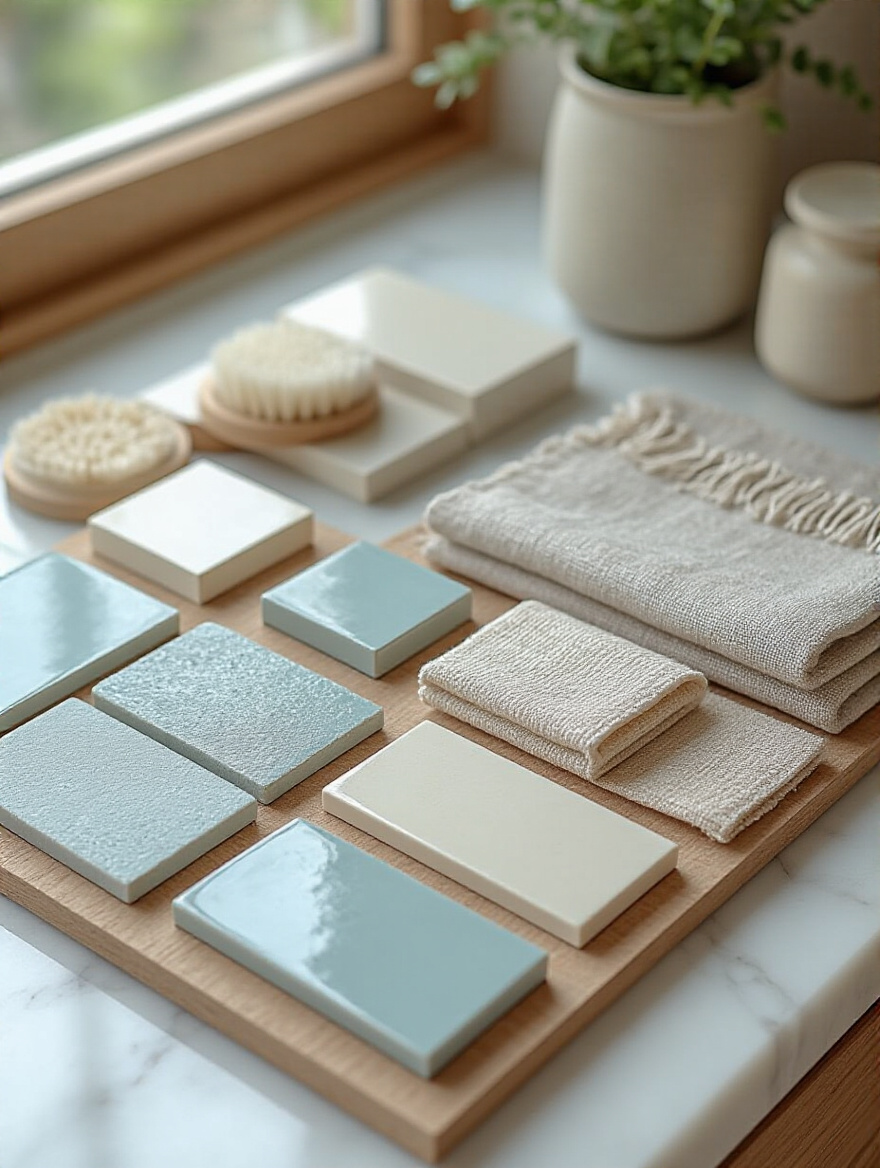
My advice is to create a “sensory board” with all your samples. Get a piece of your tile, a wood chip from the vanity, a metal swatch from the faucet, and even a fabric swatch for your towels. Put them all together. Close your eyes and run your hand over them. Do the cool smoothness of the faucet and the subtle texture of the tile feel like they belong in the same family? This tactile check ensures the harmony goes deeper than just the visual.
This cohesive approach ensures every single element contributes to a singular, peaceful vision for your space.
18. Integrate Niche Shelves with Matching Tile Details
A shower niche is a wonderful thing—a perfect little home for your essentials. But a plastic insert can feel like a jarring interruption. By building the niche directly into the wall and tiling it with the same tile as the surrounding wall, you create something that is both incredibly functional and visually seamless. It doesn’t scream “storage!”; it whispers “serenity.”
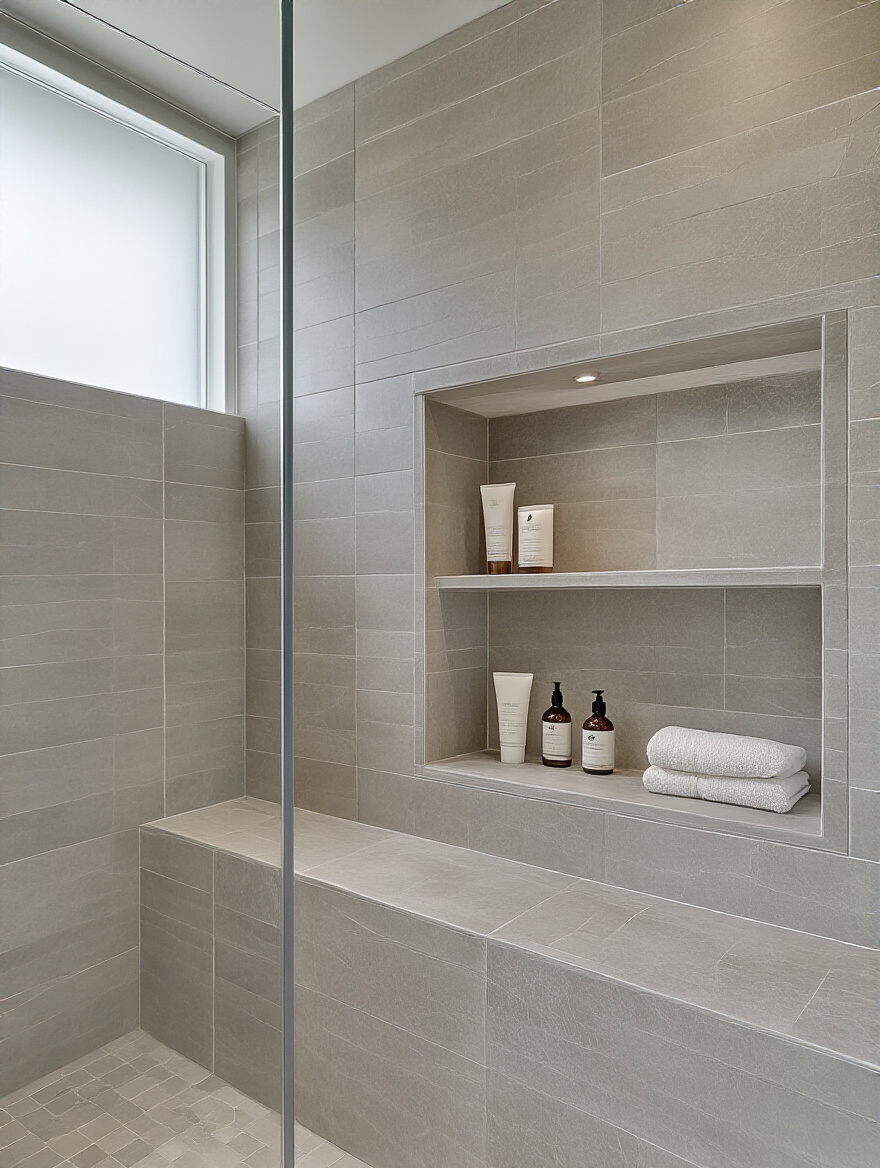
This is where you can add a touch of magic. While the back and sides of the niche can match the wall, the bottom shelf is an opportunity. Use a solid piece of stone that coordinates with your tile. Not only does this look beautiful, but sloping it ever so slightly ensures water drains away perfectly. It’s a small detail that shows a deep level of care and intention, contributing to the feeling that your sanctuary was built with wisdom and love.
This seamless integration of function and form enhances the sense of bespoke calm, removing visual clutter and adding a touch of quiet luxury.
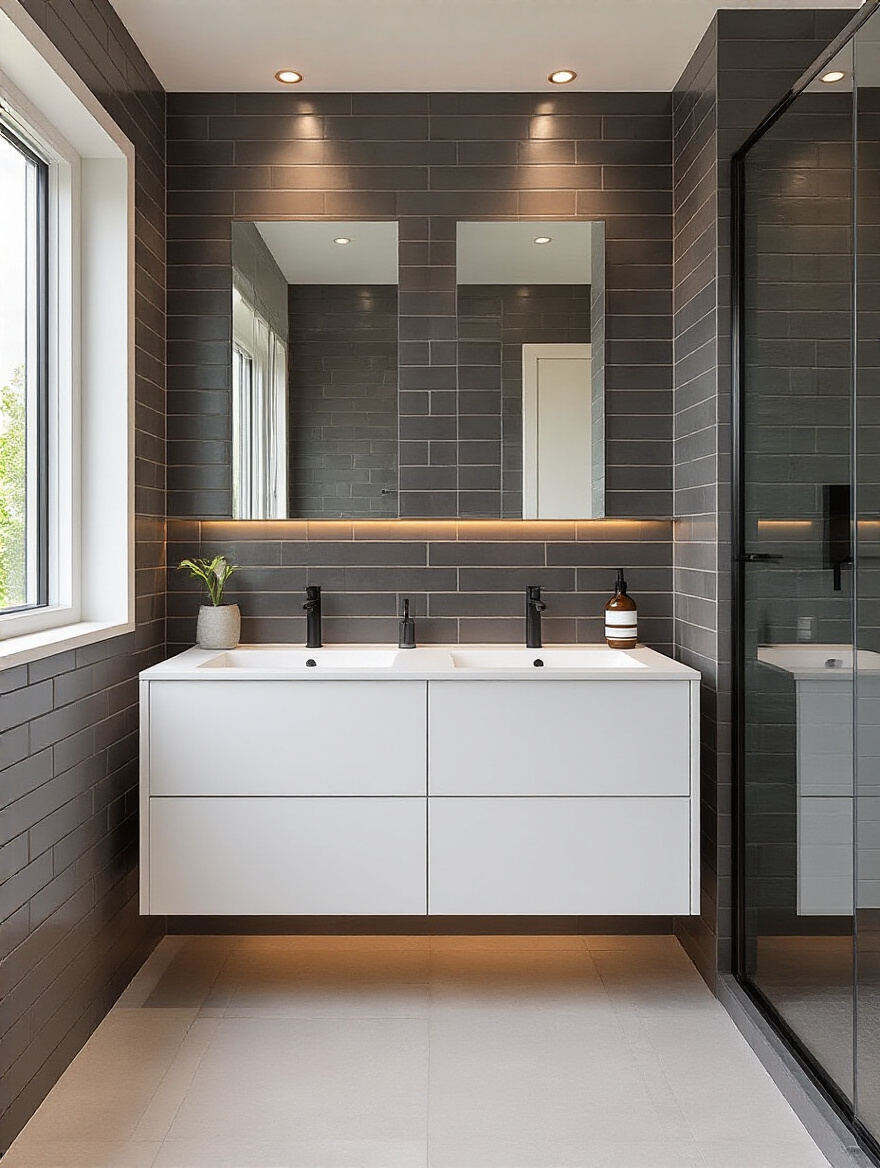
19. Optimize Lighting to Highlight Tile Features
Lighting is the artist that reveals the soul of your tile. A flat, single overhead light will wash out all the beautiful texture and nuance you so carefully selected. The secret is to layer your lighting. You need soft, ambient light for a relaxing soak, clear task lighting at the vanity, and—most importantly—accent lighting for your tile.
Imagine a textured feature wall. A light source placed just above it, washing down the wall (a technique called “grazing”), will catch every ripple and ridge, creating a beautiful play of light and shadow. This turns the wall into a dynamic piece of art. Installing dimmers on everything is non-negotiable. This gives you complete control over the mood, allowing you to brighten the space for your morning routine and dim it down to a candle-like glow for a meditative evening bath.
Through thoughtful illumination, you can curate the mood and transform the very character of your space, moment by moment.
Maintaining Your Investment: Care & Long-Term Solutions
Creating a sanctuary is the first step. The second is tending to it. Maintenance isn’t a chore; it’s a continuation of the creative process. It’s about caring for the space that cares for you, ensuring it remains a source of peace and rejuvenation for years to come.
20. Factor In Professional Installation Costs vs. DIY Savings
I truly believe in the power of creating with your own hands. However, I’ve seen too many people start a DIY tile job only to have it become a massive source of stress, infusing their would-be sanctuary with frustration. Tiling requires a specific skill set and patience. Sometimes, the most loving act of self-care is to honor your limits and invite a skilled artisan to bring your vision to life.
If you do hire a professional, you are not just paying for their labor; you’re investing in their experience and their peace of mind. A great installer takes on the stress so you don’t have to. The true “savings” might not be financial, but emotional. Weigh the cost against the value of a calm, joyful creation process and a flawless, worry-free result.
Making a conscious choice about who builds your sanctuary is as important as the materials you choose.
21. Regularly Seal Grout to Prevent Staining & Mildew
Grout is porous. Like our skin, it needs protection to stay healthy. Sealing your grout is a simple ritual that prevents it from absorbing water, soap scum, and mildew. An unsealed grout line in a damp bathroom is an open invitation for things to grow that you do not want in your clean, sacred space.
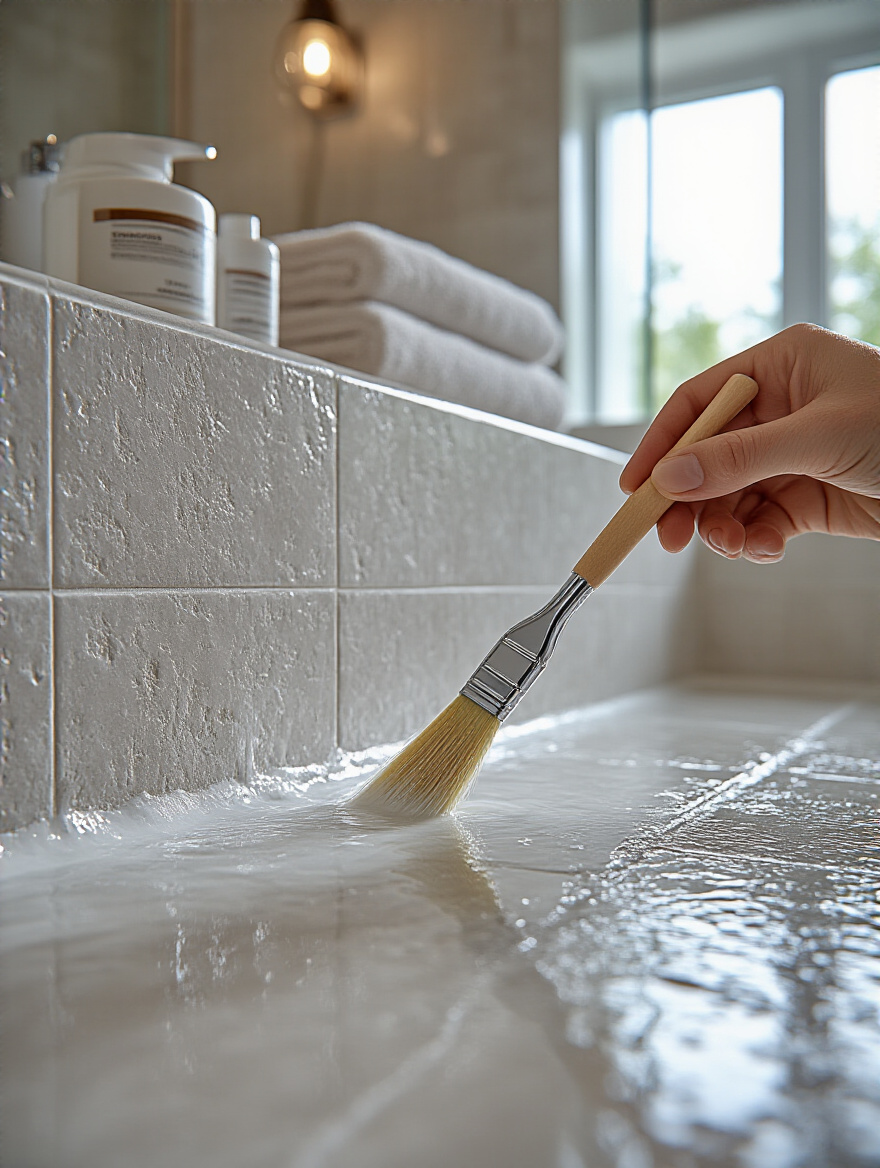
Think of sealing your grout as an act of energetic cleansing. Once a year, take an hour to mindfully clean and reseal those lines. As you do it, set the intention to protect and preserve the peace and cleanliness of your sanctuary. This simple act of maintenance ensures the space not only looks clean, but feels energetically clear and healthy.
This small, regular act of care is fundamental to maintaining the hygienic and visual integrity of your bathroom for the long term.
22. Select Appropriate Cleaning Products for Tile Type
Can we please talk about the scent of cleaning products? So many of them are filled with harsh, synthetic chemicals that assault the senses. You cannot create a sanctuary and then clean it with something that smells like a chemical factory. This completely contradicts the purpose of the space.
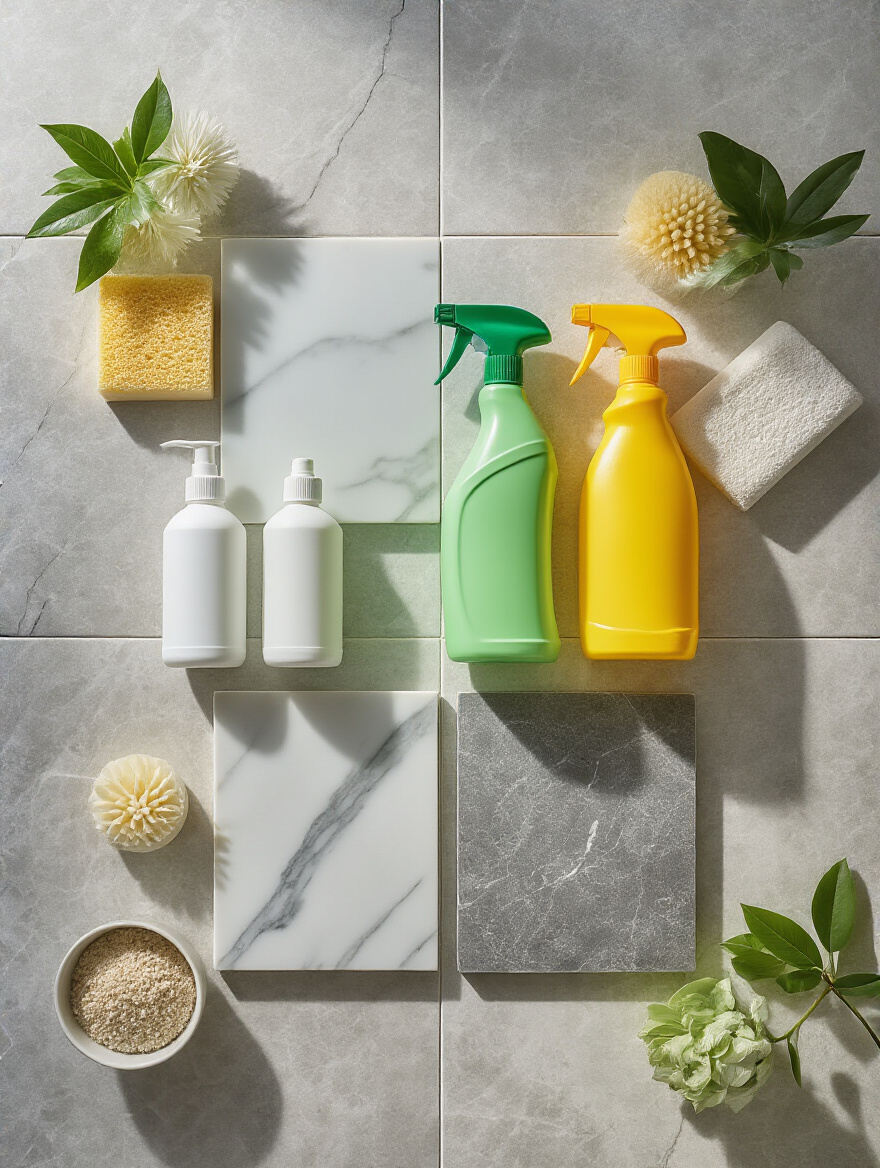
The beautiful thing is that the best cleaners are often the most gentle. For most tile types, a simple pH-neutral cleaner is all you need. You can even make your own with a few drops of a purifying essential oil like tea tree or lemon in a spray bottle of water. Choosing cleaning products that are both effective and aromatherapeutically pleasing ensures that the act of cleaning contributes to, rather than detracts from, the serene energy of your space.
By using gentle, natural products, the ritual of cleaning becomes another layer of care for both your home and your own well-being.
23. Address Cracked or Loose Tiles Promptly for Safety
A cracked or loose tile is more than an aesthetic flaw; it’s a disruption in the energy of the room. It’s a small break in the integrity of your sanctuary. On a practical level, it’s a safety hazard and a pathway for water to create hidden damage. But on an energetic level, it’s a sign that something needs attention and care.
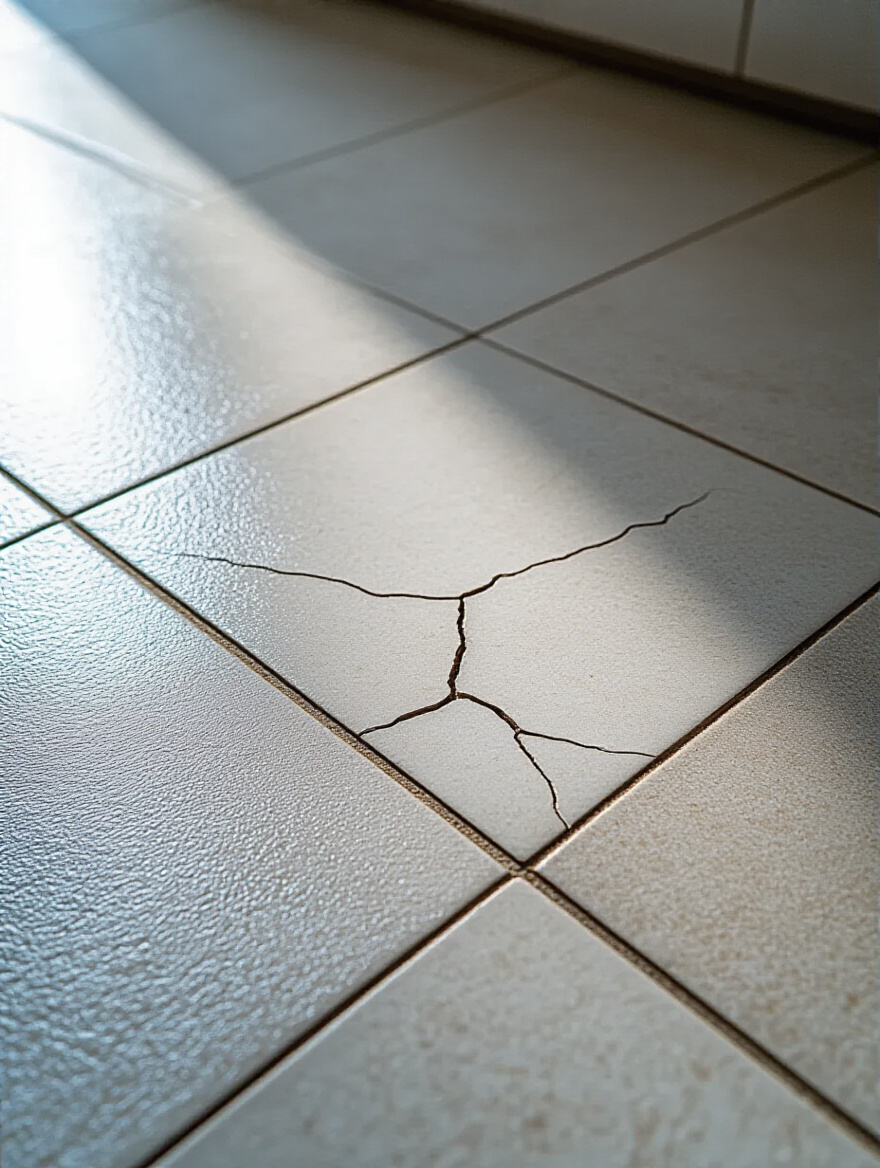
Addressing it promptly isn’t just about fixing a problem; it’s about restoring wholeness. When you notice an imperfection, tend to it with care. This practice of being attentive to the small details and lovingly restoring your space when needed is a beautiful metaphor for how we should tend to ourselves. By maintaining the physical integrity of your sanctuary, you reinforce its role as a safe, solid, and supportive haven.
Conclusion
You see, tile is so much more than a durable surface. It is the canvas upon which you paint the feeling of your most private, personal space. It is the texture that grounds you, the pattern that calms your eye, and the color that sets your mood. By approaching your choices with intention and a focus on how you want to feel, you transform a simple renovation into a profound act of self-care.
You now have the tools not just to design a bathroom, but to cultivate a sanctuary. You understand that the foundation matters, that texture is a language, and that light is your partner in creation. Don’t let this be just another article you read. Let it be the invitation to begin. Pick up a single tile sample that speaks to you. Feel its weight. Notice its texture. The journey to creating your personal haven starts with that one small, mindful connection. Your beautiful, soulful escape is waiting for you to bring it to life.


