Of course! Grab a coffee. It’s funny, you’re asking about this now. You know the question that trips up almost every single one of my clients, even the super-savvy ones? It’s not about the budget or the timeline. It’s when they show me this gorgeous, minimalist, all-white-marble bathroom from their Pinterest board and I have to ask, “Okay, and where does your 14-year-old Golden Retriever with hip dysplasia fit into this picture?” The silence is… a lot.
Everyone sees a bathroom renovation as a chance to create a human sanctuary. And it is! But if you have pets, and you don’t plan for them from day one, you’re not creating a sanctuary. You’re creating a stylish, expensive, and sometimes dangerous, obstacle course. Most guides will tell you about resale value and fancy fixtures. I’m going to tell you what actually matters when the family members you love most have four paws and a tail.
Let’s break down how you get a bathroom that you and your best fur-friend will love, without turning your home into a glorified kennel.
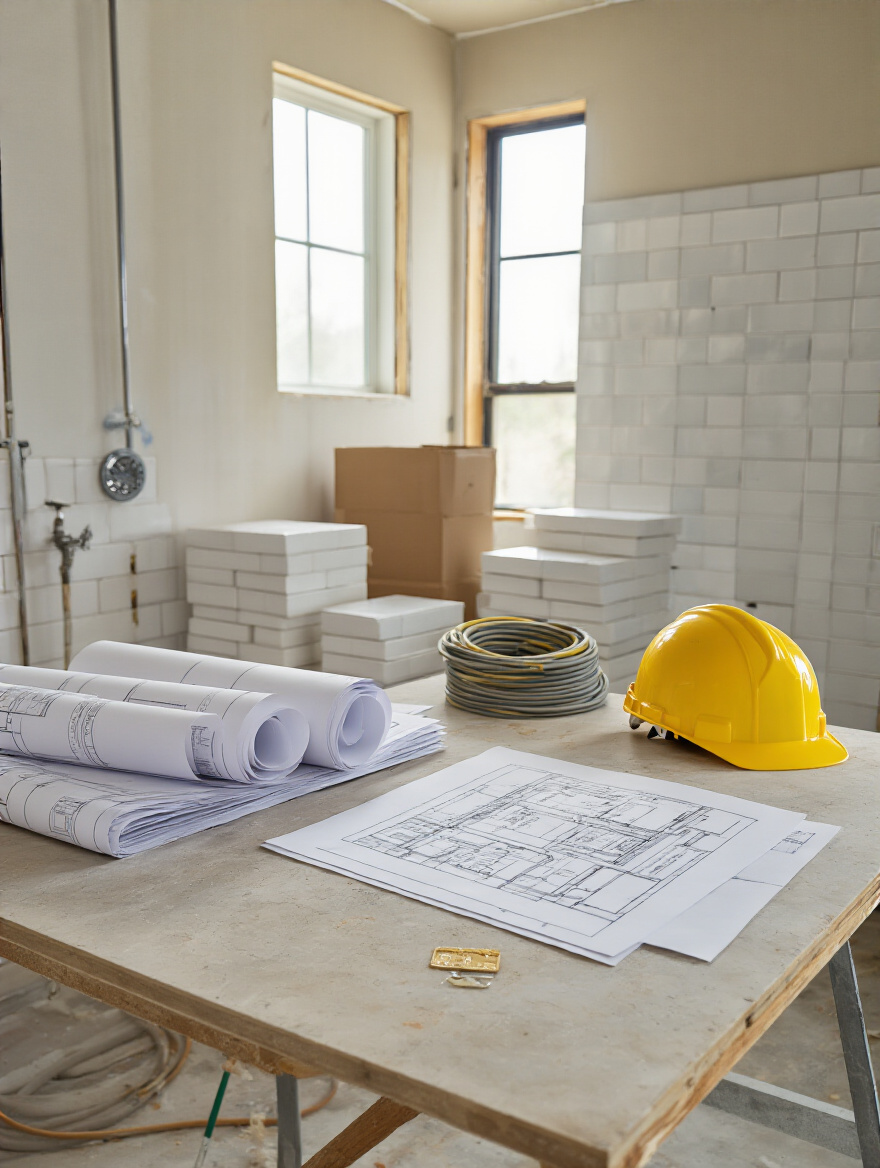
Phase 1: Strategic Planning & Budget Foundations
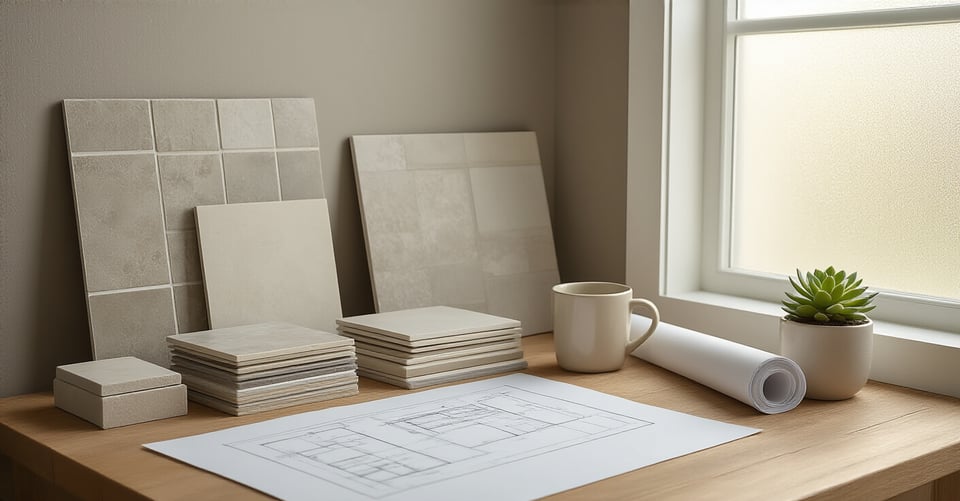
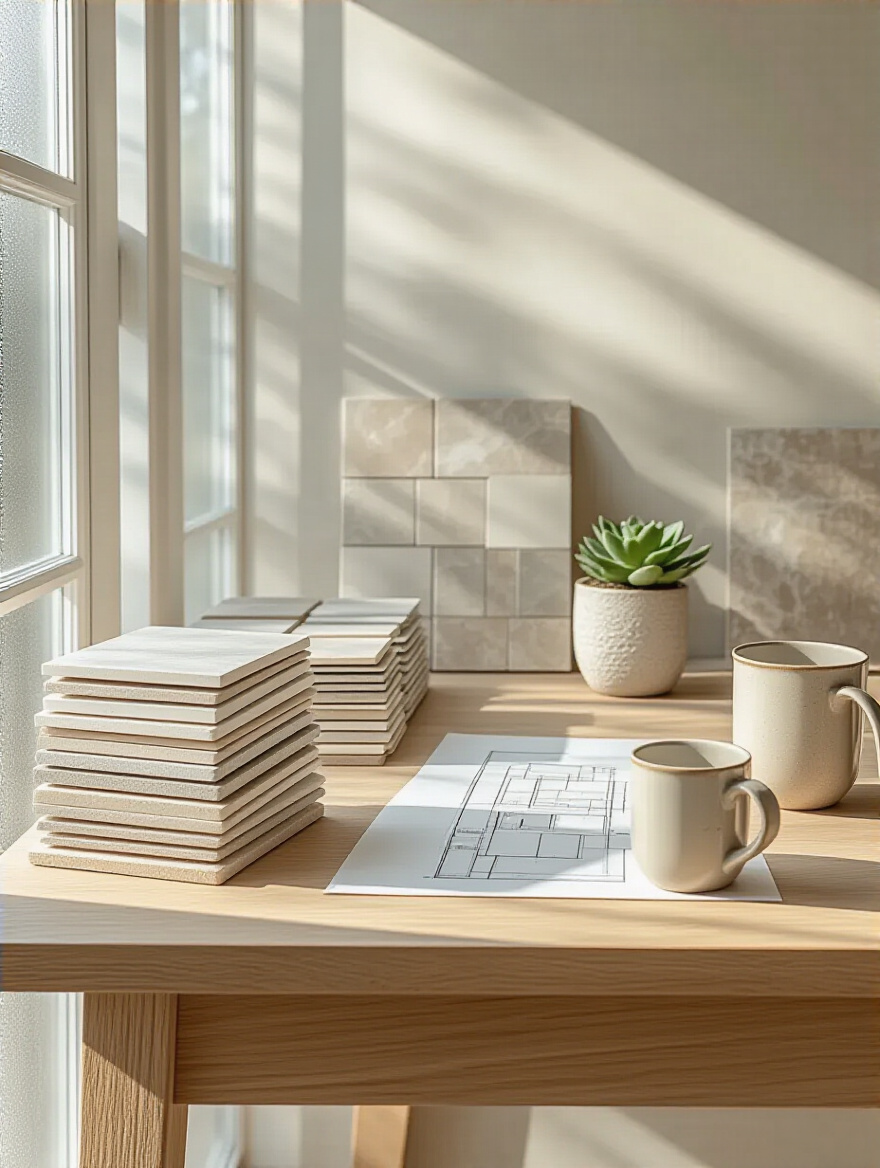
Okay, before you even think about swinging a hammer, we need a plan. And not just any plan. A plan that accounts for the most unpredictable members of your family. This is the boring-but-critical part that saves you from screaming into a throw pillow three weeks into the project because your cat has decided the contractor’s dust sheets are a five-star litter box.
1. Define Your Realistic Budget Limits to Avoid Overspending.
Everyone starts by adding up the costs of tile and a new vanity. That’s a mistake. Your budget needs a separate line item called the “Furry Friend Fund,” and it’s not for cute bandanas. This is your contingency for the stuff that makes a space livable for your animals. Think of it this way: your total budget should have a 15-20% buffer, and at least half of that is for pet-related surprises or deliberate, smart upgrades.
For instance, you might discover the gorgeous, budget-friendly tile you picked has a glossy finish that’s like a skating rink for your older dog’s paws. The safer, non-slip, matte-finish porcelain? A bit more expensive. That’s what the fund is for. Or you realize you need a custom-built vanity that lifts the cabinets off the floor so your robotic vacuum (aka the Pet Hair Annihilator 5000) can get underneath. This isn’t about splurging; it’s about creating a space that doesn’t actively work against you and your pets every single day.
Now that your budget accounts for reality, let’s talk about the stuff hiding behind your walls.
2. Assess Existing Plumbing & Electrical Layout for Efficiency Gains.
Before you get excited about moving a toilet, have a plumber and an electrician come in. From a pet parent perspective, I’m looking for two things. First, are all the outlets GFCI-protected? That’s the kind with the little “reset” button. It’s a code requirement in bathrooms for a reason, but it’s non-negotiable in a pet household. One good, full-body shake from a wet dog can send water flying everywhere. A GFCI outlet could literally save their life.
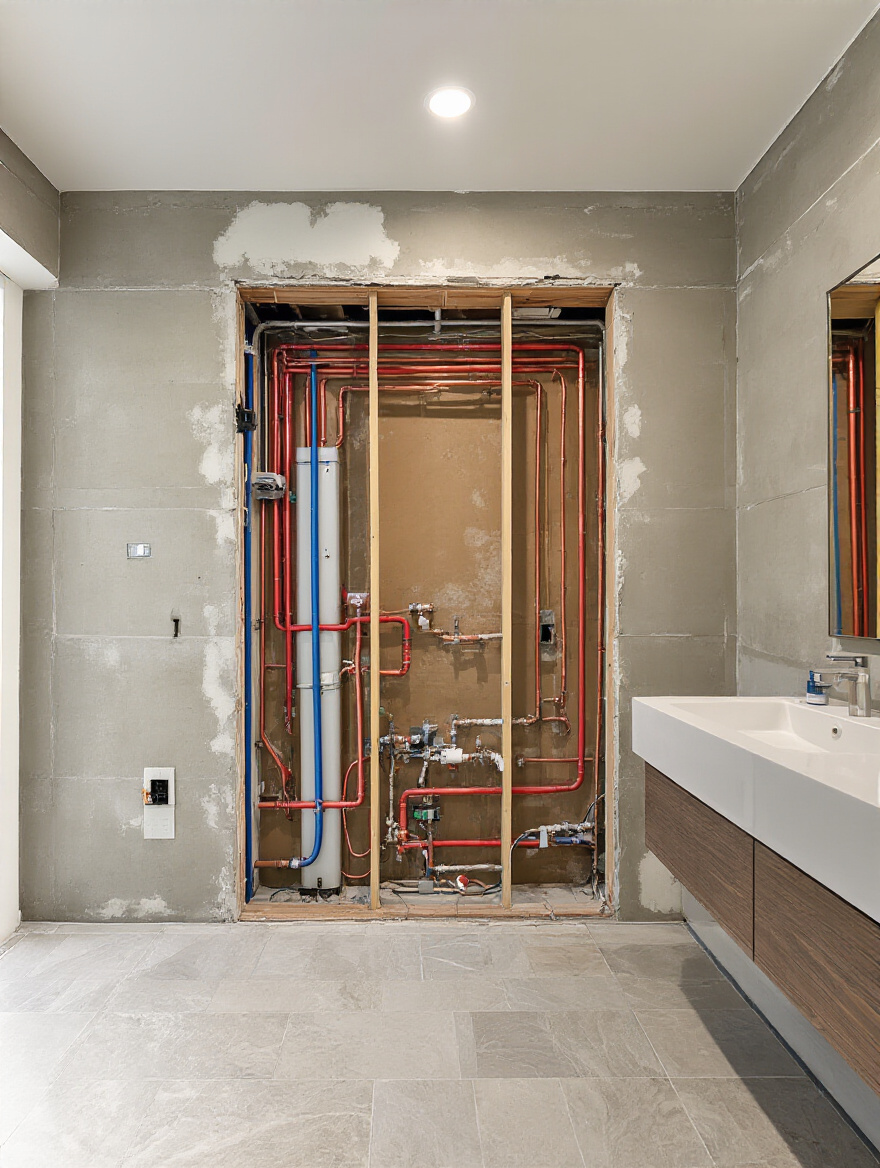
Second, I look at where we can add hidden-gem features. Want heated floors for your arthritic old cat? We need to plan the electrical for that now. Thinking about a “pet washing station” in the new walk-in shower? We need to make sure the plumbing can handle a handheld sprayer right down at floor level. I once had a client who had to tear out brand-new tile because they decided they wanted a sprayer for their two Newfoundlands after the fact. It cost them thousands. A ten-minute conversation with a plumber at the start would have saved it all.
Thinking about those extras helps us figure out what’s a “must-have” versus just a “nice-to-have.”
3. Prioritize Must-Have Features Over Desired Luxuries Early On.
Okay, let’s make a list. Not one of those dreamy “I want a chandelier” lists. A real one. Two columns: “Needs” and “Wants.” A safe, non-slip floor is a NEED. A particular type of imported Italian marble is a WANT. Excellent ventilation to control moisture (and litter box odors) is a NEED. A TV in the mirror is a WANT. A tub deep enough to properly give your dog medicated baths is a NEED. A freestanding tub that looks cool but is impossible to lean over is a WANT.
I learned this the hard way on one of my first projects. My clients were obsessed with getting a super sleek, floating vanity. It was their number one “want.” But they had a senior cat who was wobbly and needed a low-entry litter box, which they kept in the bathroom. The floating vanity left a dark, shadowy space underneath that the poor cat found terrifying. We ended up having to get a custom cabinet light installed underneath, which ate into their budget for other things. Their “want” created a “need” they hadn’t anticipated. Always solve for the real, daily problems first. The luxuries can fill in whatever space and budget are left.
With your priorities straight, let’s tackle the paperwork—quickly, I promise.
4. Research Local Building Codes and Secure Necessary Permits Timely.
This is the least glamorous part, but it’s the one that protects you. Getting the right permits isn’t just about following the rules; it’s about making sure the work is inspected and done safely. It means the electrical work for that new heated floor won’t be a fire hazard, and the plumbing for your new shower won’t leak into the floorboards and create a moldy nightmare.
Honestly, there isn’t a huge pet-specific angle here, other than the fact that unpermitted work can lead to massive delays and an endless parade of strangers in your house—which is basically a pet’s worst nightmare. So, let your contractor handle this, but make sure it’s being done. Ask to see the approved permits before work starts. A good contractor will have no problem showing you. It’s your insurance policy that the job is being done right.
A solid plan for permits is part of building a solid timeline, which is next on our list.
5. Create a Detailed Project Timeline to Manage Expectations and Delays.
A renovation is stressful for you, but it’s ten times more stressful for your pets. Their entire world is being turned upside down by loud noises, strange people, and weird smells. A detailed timeline is your best tool for managing their anxiety. It tells you when the super loud days will be (demolition) so you can plan to have your dog at daycare or your cat safely tucked away in a quiet back room with a Feliway diffuser.
It also helps you manage logistics. Knowing when the toilet will be out of commission for 48 hours is pretty important for the humans in the house, right? The same goes for pets. When will their water bowl’s usual spot be a chaotic mess? When will the back door be propped open all day? A timeline helps you plan for this. I always tell my clients to pad the contractor’s estimate by about 20%. If they say four weeks, plan for five. This way, when a delay inevitably happens, you’re not in a panic, and you can keep your pet’s routine as stable as possible through the chaos.
Now that the boring planning is done, let’s get to the fun part: designing the space.
Phase 2: Optimizing Layout & Maximizing Space
This is where we get clever. We’re not just fitting in a toilet and a sink; we’re creating a room that feels spacious, works effortlessly, and keeps our animals safe and comfortable without sacrificing an ounce of style. Every choice here should make life easier for everyone.
6. Optimize Small Bathrooms with Corner Sinks & Wall-Mounted Fixtures.
The design blogs love wall-mounted, or “floating,” vanities and toilets because they make a small room feel bigger by showing more floor space. And they do! They also look incredibly sleek. But from a vet tech’s perspective, I see two things: a new, tempting hiding spot that’s impossible to clean under, and for cats, a potential challenge. Some cats use the toilet as a stepping stone to the counter, and a rounded, slick wall-mounted one can be tricky for them to navigate.
So here’s the shortcut: if you go for a floating vanity, make sure you can fit your vacuum or a Swiffer underneath. Or, consider a vanity with stylish legs that still gives an airy feel but is easier to clean around. For wall-mounted toilets, just be mindful. If you have a cat who’s a counter-surfer, make sure they have another, safer route up. A small, well-placed stool can do the trick. The goal is a room that’s easy to clean and safe for everyone, not just one that looks good in a photo.
Now, let’s talk about the best storage invention for a pet owner’s bathroom.
7. Integrate Built-In Niches for Seamless Shower and Tub Storage.
Built-in shower niches are a game-changer. They look so clean and custom, but for us, they are a critical safety feature. Getting shampoo, conditioner, and soap off the floor or the edge of the tub means your curious dog or cat can’t lick or chew on them. So many common soaps and shampoos contain ingredients that can be toxic if ingested, like certain essential oils (tea tree oil is a big one!). A niche keeps everything safely out of reach.
Here’s the Piper pro-tip: design a two-niche system. Put one at standing height for your stuff. Then, add a second, smaller one lower down—about knee-height—specifically for your dog’s shampoo and brushes. It keeps their gear separate and makes it super easy to grab when you’re wrestling a wet, sudsy dog. It’s a small detail that makes a world of difference during bath time and keeps your fancy human products from getting covered in wet-dog-shake water.
This idea of smart storage doesn’t just apply to the shower. Let’s take it vertical.
8. Utilize Vertical Space with Tall Cabinets and floating shelves.
“Going vertical” is the secret to a bathroom that feels both organized and spacious. For pet parents, it’s also the secret to safety. A tall linen tower or a large, recessed medicine cabinet is the perfect place to store medications, cleaning supplies, and any other hazardous materials safely behind a closed door, far away from curious noses and paws.
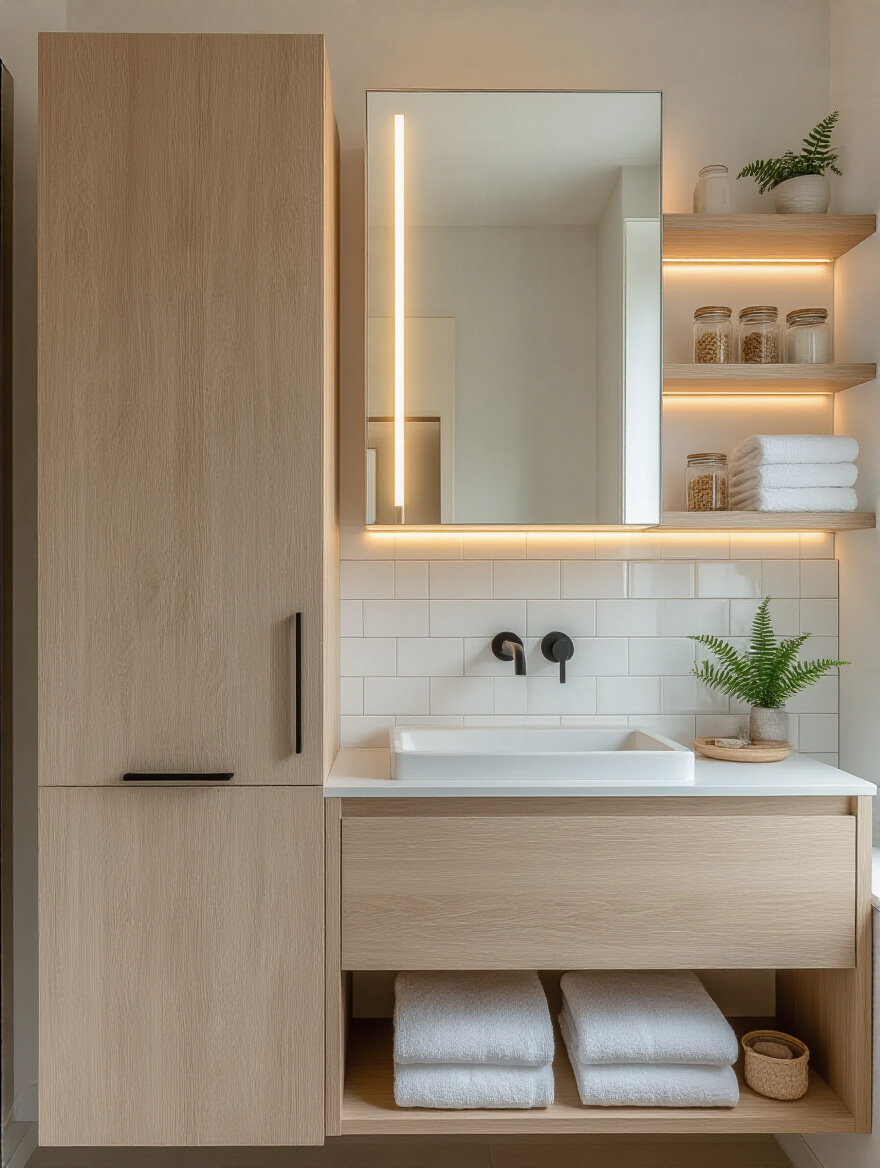
But a word of caution on open floating shelves. To a cat, a floating shelf is not a decorative accent; it’s a personal invitation to climb. If you love the look, place them where your cat can’t easily access them, or reserve them for non-breakable items like towels. I had a client who put a beautiful collection of glass apothecary jars on a floating shelf. Her Bengal cat saw it as a parkour course. It did not end well for the jars. A better bet is a tall cabinet with a mix of open and closed storage, giving you a safe place for everything.
Next up, one of the biggest changes you can make: the great tub-or-shower debate.
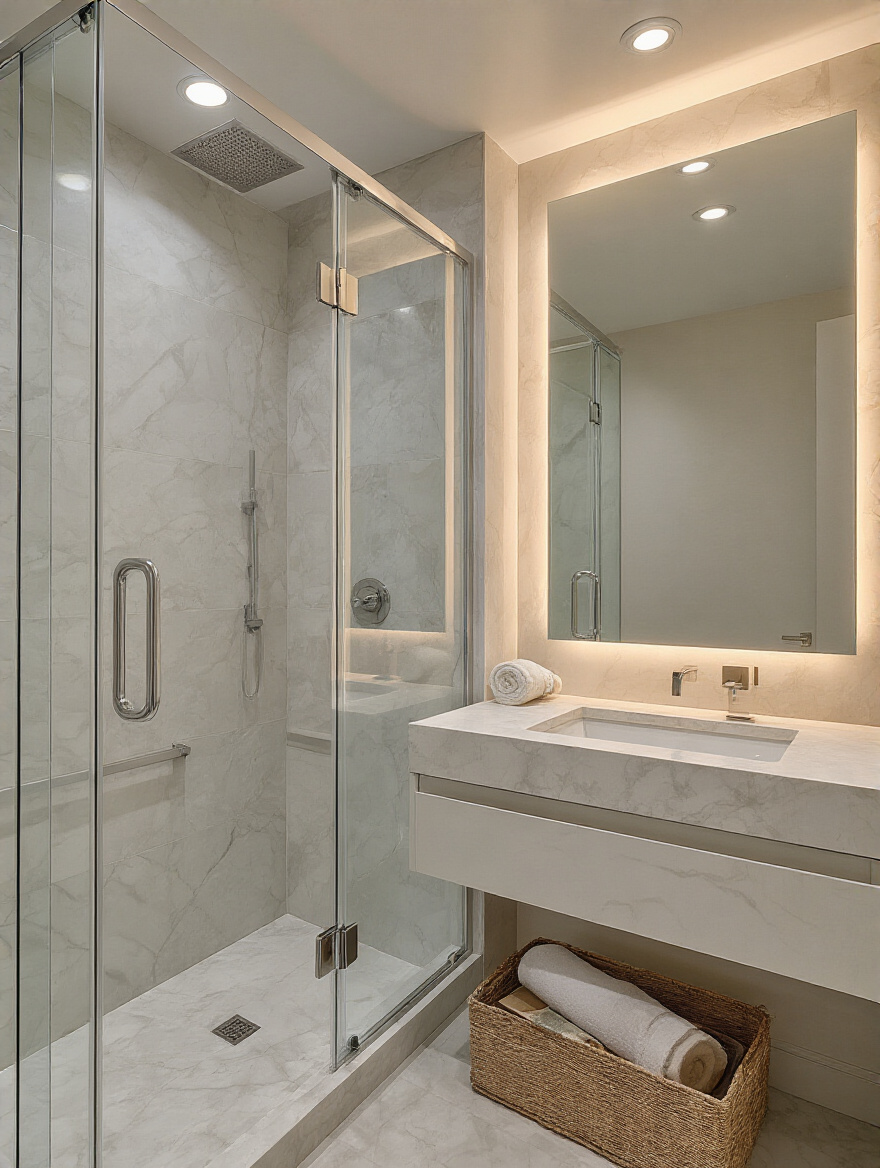
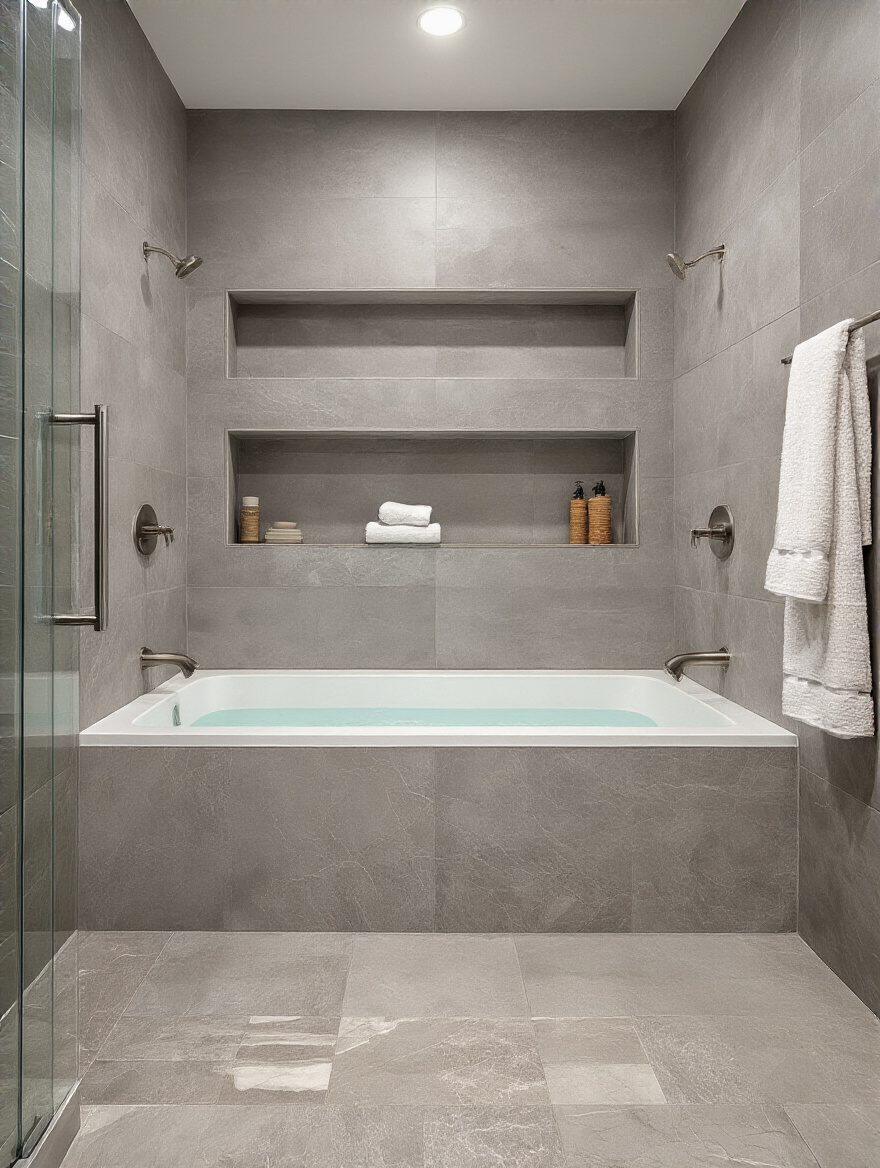
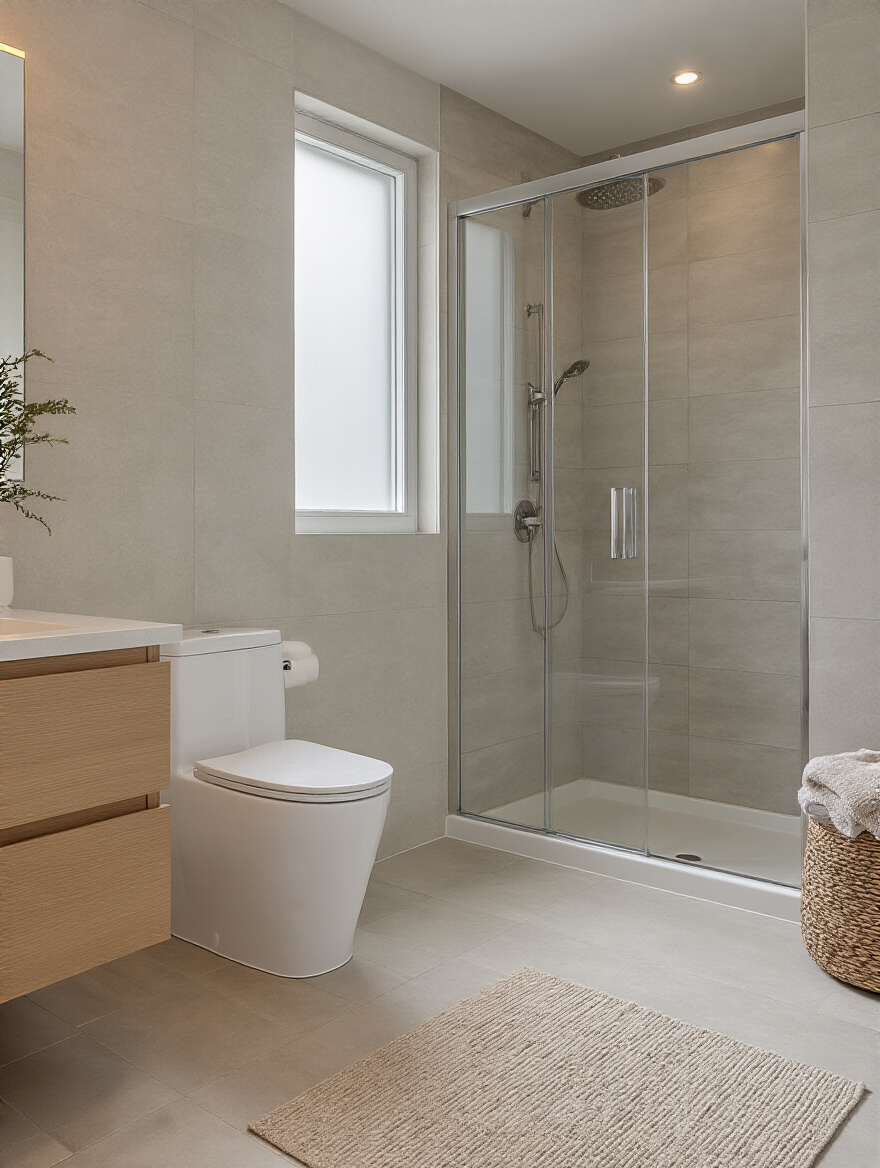
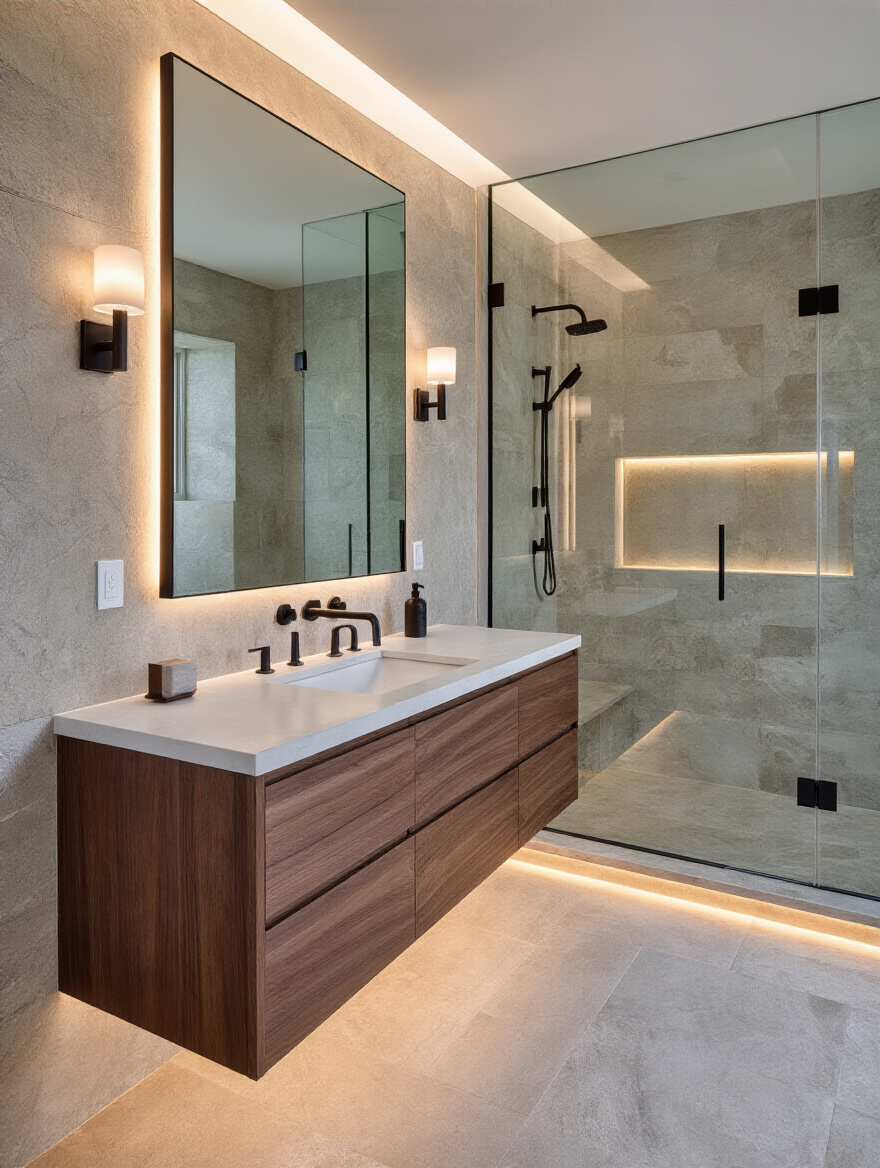
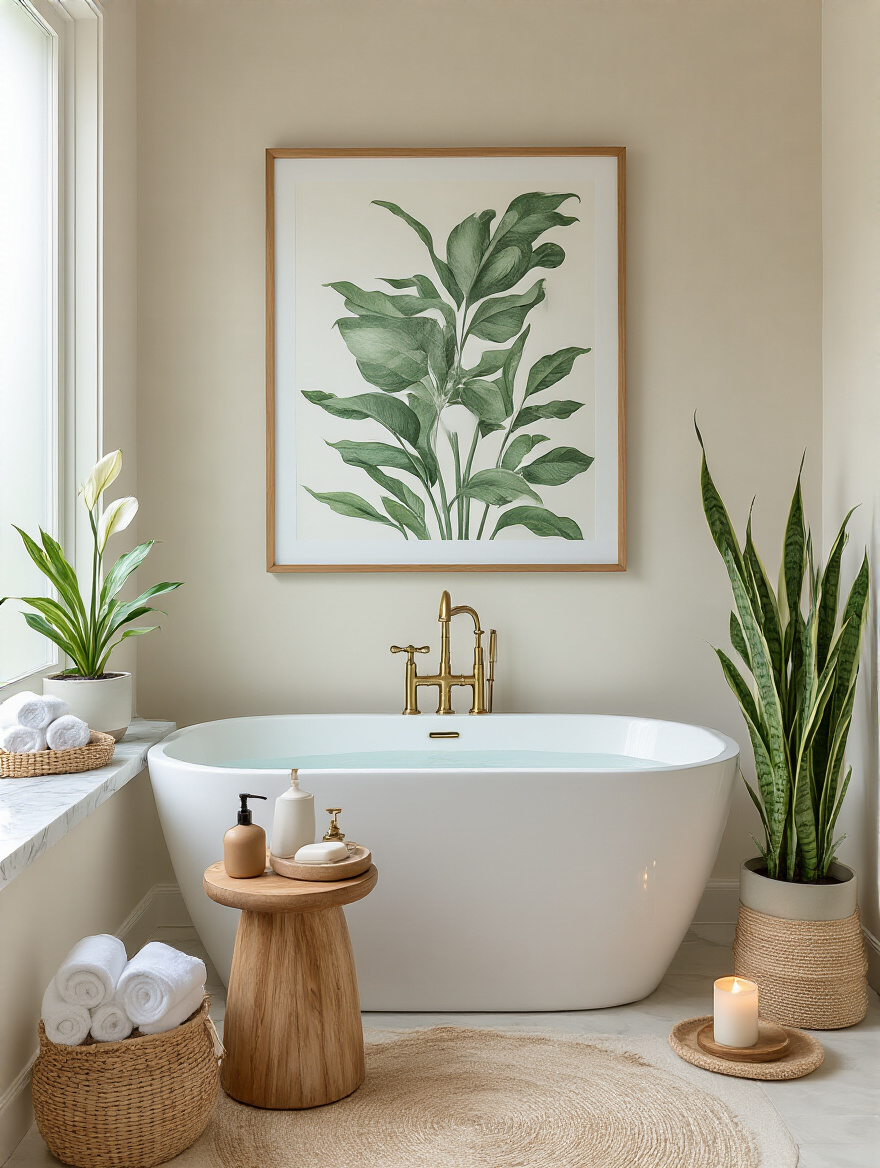
9. Convert Bathtubs to Spacious Walk-In Showers for Modernity.
Everyone loves the idea of a huge, spa-like walk-in shower. It’s modern, it’s accessible for humans, and it can make a bathroom feel twice as big. If you have an older dog with mobility issues, a zero-threshold or “curb-less” entry shower is an absolute dream. They can walk right in without having to navigate a high tub wall, making bath time less stressful and much safer for their joints.
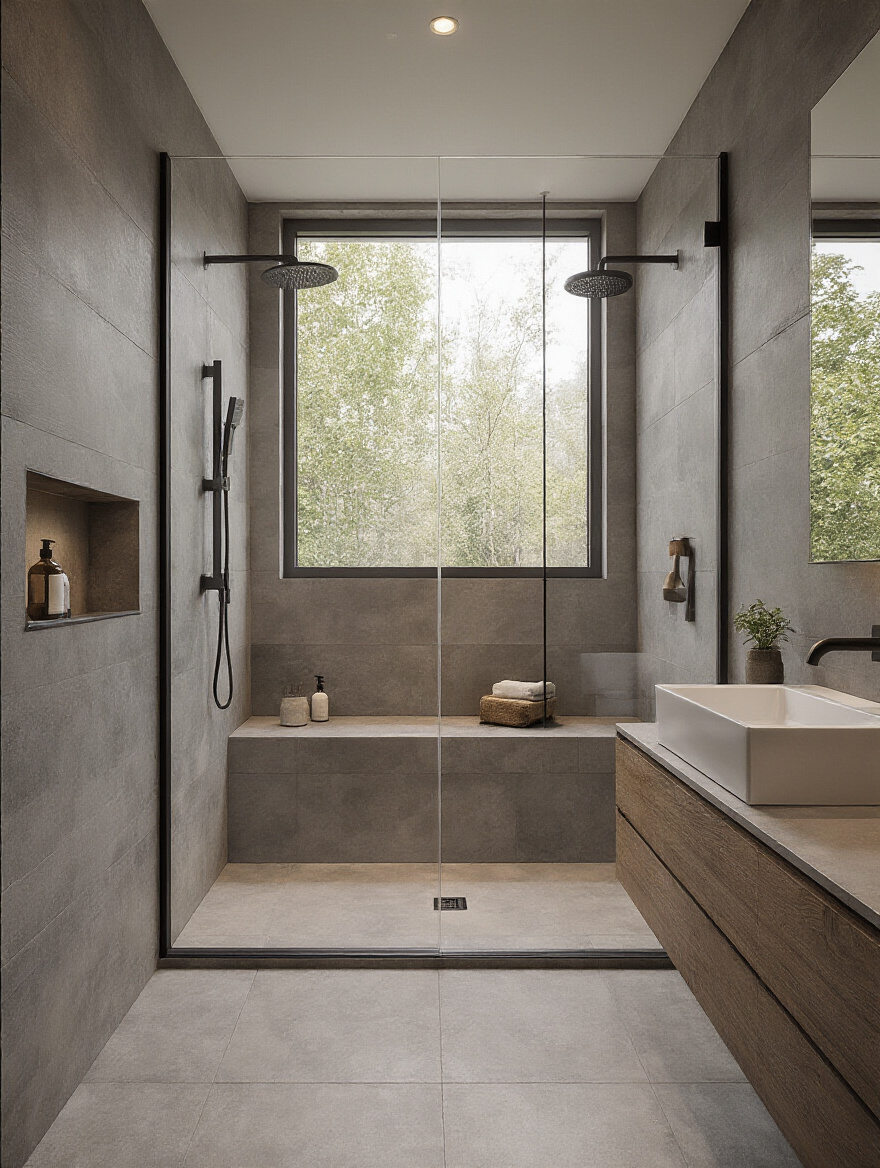
But here’s the reality check: Do you have a large dog you need to bathe regularly? Or a dog that needs frequent medicated soaks? Containing a 90-pound Lab in an open-concept shower is… an adventure. You might be better off keeping a tub. If you do go for the walk-in shower, a non-negotiable feature is a handheld sprayer. It lets you rinse your dog thoroughly without getting completely soaked yourself. The ideal compromise? If you have two bathrooms, keep a tub in one and put the luxurious walk-in shower in the other.
Whatever you choose, the right light and mirrors can make the space feel even bigger.
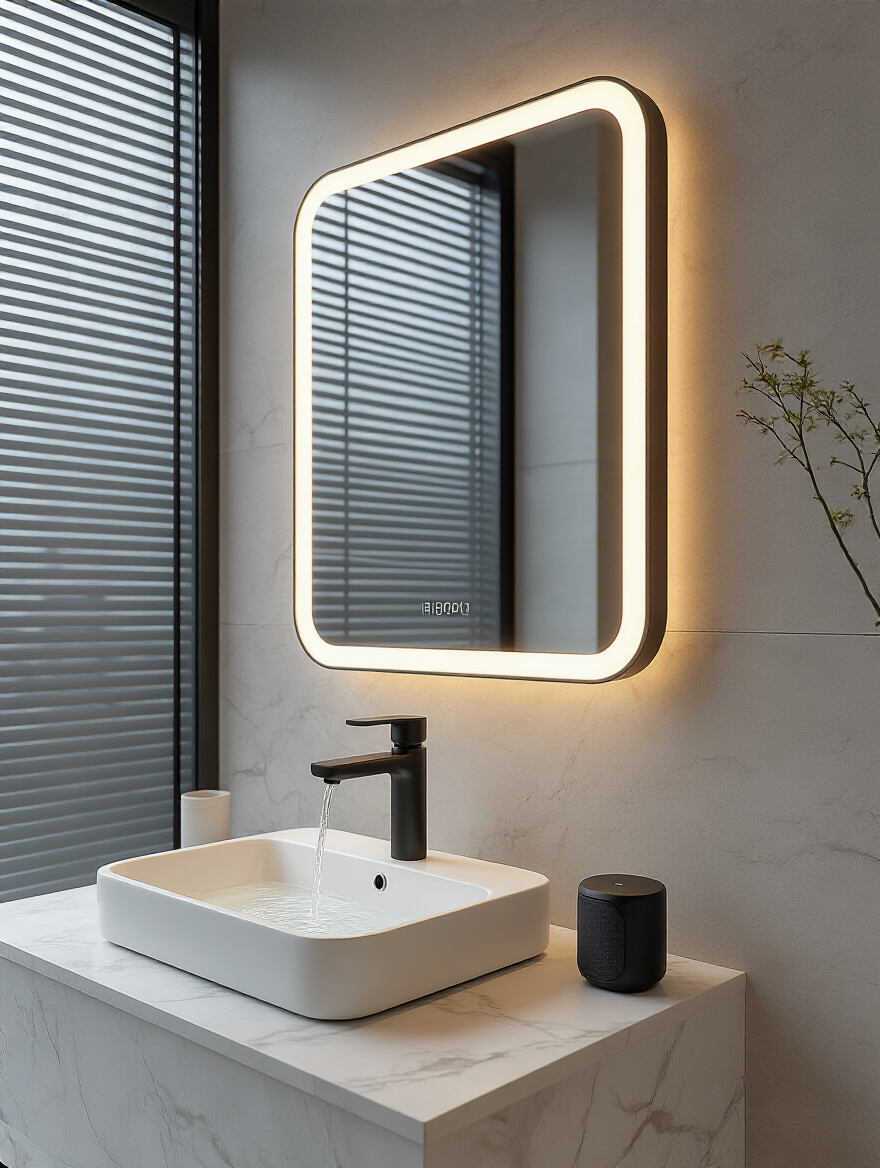
10. Enhance Perceived Space with Strategic Mirror Placement and Lighting.
A big mirror and layered lighting are your best friends for making a bathroom feel bright and expansive. My pet-centric advice here is simple: put everything on a dimmer. Imagine your dog, fast asleep at the foot of your bed, and you stumble into the bathroom at 2 a.m. and flip on the lights at full blast. It’s jarring for you, but it’s downright terrifying for them. Dimmers allow you to navigate in the middle of the night without startling anyone.
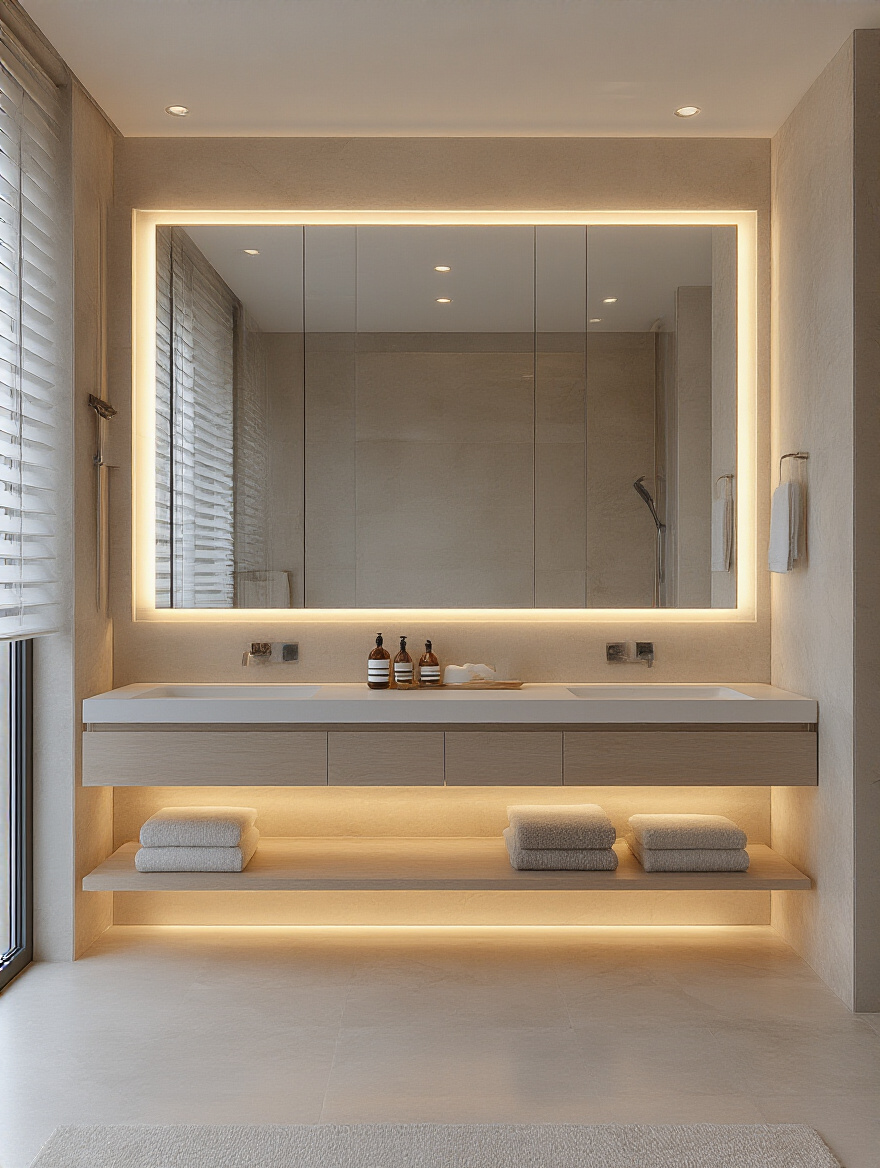
I also recommend avoiding accent lights placed at floor level. They can look cool, but they’re also right at a pet’s eye level. Instead, use accent lighting to wash a wall in light or place it under a floating vanity for a soft, indirect glow. It creates the same sophisticated vibe without shining a spotlight directly into your furry friend’s face. Simple tweaks make a huge difference to their comfort.
Now let’s get into the nitty-gritty of fixtures and features that make a real difference.
Phase 3: Smart Fixture & Feature Upgrades
This is where we choose the hardworking heroes of your bathroom. The right choices here will save you money, make cleaning easier, and stand up to the daily chaos of life with pets. This isn’t just about looks; it’s about performance and longevity.
11. Install Water-Efficient Toilets and Low-Flow Showerheads to Save.
Yes, saving water is great for the planet and your wallet. We love that. But when you’re choosing these fixtures, think about performance, too. Some low-flow toilets have a weaker flush, which might not be… ideal… if you’re also disposing of certain types of cat litter. Look for models with a high MaP score (a measure of flush performance) to get the best of both worlds: water efficiency and power.
As for low-flow showerheads, they’re fantastic for humans. But if you’re trying to rinse shampoo out of a dog with a thick double coat, like a Husky or a Golden Retriever, that gentle, misty spray isn’t going to cut it. My advice? Get a showerhead with multiple settings, including a high-pressure or massage setting. That way, you can use the low-flow setting for your daily shower and switch to the “power wash” setting for bath day.
Of all the fixtures, the one that deserves the most thought is the one under your feet.
12. Select Durable, Waterproof Flooring Options for Longevity.
This is my biggest pet peeve. People will spend a fortune on a bathroom and then choose a flooring that’s completely wrong for a pet household. Avoid porous, natural stone like travertine or marble; it stains easily and can be etched by the acidic components in pet accidents. Also, be wary of highly polished, glossy tiles—they are incredibly slippery for paws, especially when wet, and are a serious hazard for senior or special-needs pets.
Your best bets are materials that are waterproof, scratch-resistant, and offer some grip. My top recommendations are luxury vinyl plank (LVP), which is nearly indestructible and very comfortable underfoot, or matte-finish porcelain tile. Porcelain has an incredibly low water absorption rate, so accidents won’t seep in, and a matte or textured finish provides crucial traction. I always say, “When in doubt, choose a floor that looks a little like stone, not a little like glass.” It’s the single most important decision for your pet’s safety and your long-term sanity.
Now let’s move up from the floor to the vanity.
13. Upgrade Vanities for Enhanced Storage and Countertop Space.
A great vanity isn’t just about having a place to put your toothbrush. It’s mission control for bathroom organization. You need smart storage—deep drawers for awkward pet shampoo bottles, designated spots for grooming tools, and a place to hide the tub of cleaning wipes for inevitable paw prints. Getting this stuff off the counter and tucked away keeps it safe from curious pets.
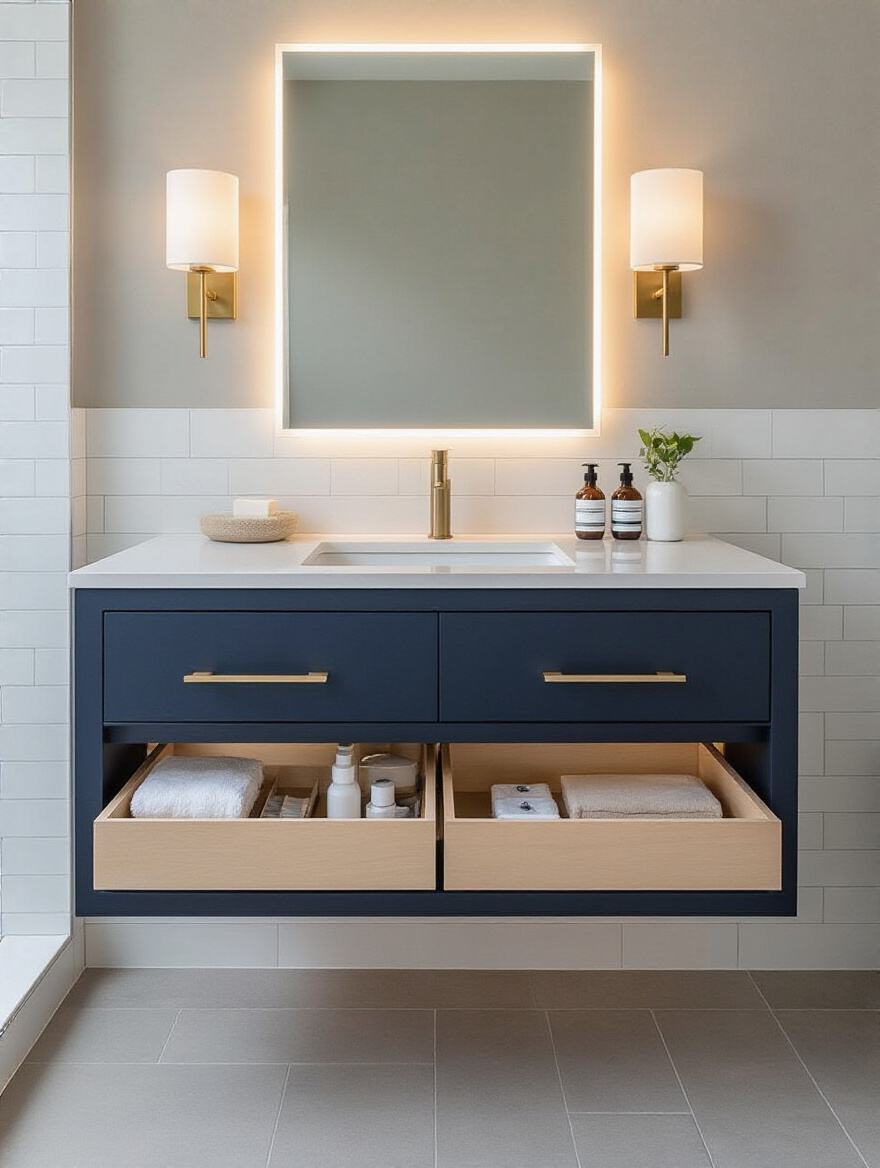
When choosing a countertop, think durability. Quartz is my go-to. It’s non-porous, so it won’t stain from spilled medications or a stray dollop of pet toothpaste, and it’s incredibly tough. While marble is beautiful, it’s much softer and more porous—a recipe for disaster in a high-traffic pet home. The goal is a vanity that looks amazing but works even harder, keeping everything you need (and everything your pet doesn’t need) perfectly organized.
Now, let’s shine a light on what you’ve organized.
14. Incorporate Layered Lighting for Ambiance and Task Efficiency.
We already touched on dimmers, but let’s go a bit deeper. Layered lighting means having different types of light you can control separately. You want bright, clear “task” light at the vanity for you, but it should be positioned to avoid creating harsh shadows. Sconces on either side of the mirror are much better for this than a single light from above.
The “ambient” or general room lighting should be warm and inviting—again, on a dimmer! And finally, “accent” lighting is your secret weapon for creating a spa-like feel. Think about a soft LED strip under the vanity or backlighting the mirror. It provides a gentle, indirect glow that’s perfect for a relaxing bath and doubles as a perfect, non-intrusive nightlight so you (and your pet) can navigate the room without a shock to the system.
Good lighting is important, but good air quality is critical.
15. Choose Smart Ventilation Fans for Optimal Moisture Control.
A good ventilation fan is non-negotiable for controlling moisture and preventing mold. A great fan is one that’s also quiet and smart. Loud fans can be incredibly stressful for noise-sensitive pets, so look for a model with a low Sone rating (1.0 or under is considered whisper-quiet). Many pets, especially cats, will bolt at the sound of a loud fan, which can make post-bath time… tricky.
Better yet, get a smart fan with a humidity sensor. It will automatically turn on when the air gets steamy and turn itself off when the moisture is gone. This is amazing for two reasons: 1) You never forget to run it, protecting your investment from mold and mildew, and 2) It helps clear the air of other odors. If your litter box is in or near the bathroom, this is a total game-changer for keeping your home smelling fresh.
With the functional pieces in place, it’s time for the final, beautiful touches.
Phase 4: Aesthetic Finishes & Advanced Comfort
This is the fun part! We’ve built a safe, functional, hardworking bathroom. Now we get to make it a beautiful, cozy, and luxurious sanctuary for everyone in the family. These final details are what transform the space from a room into a retreat.
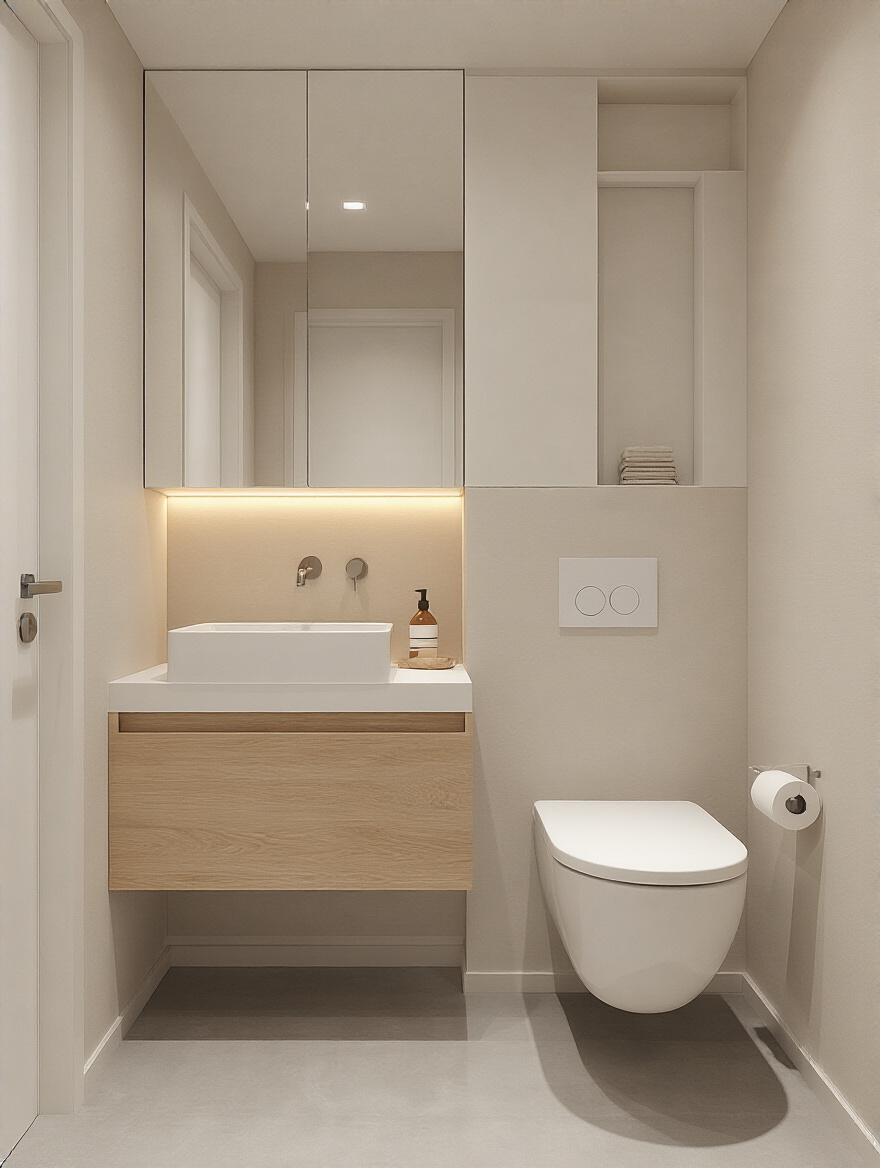
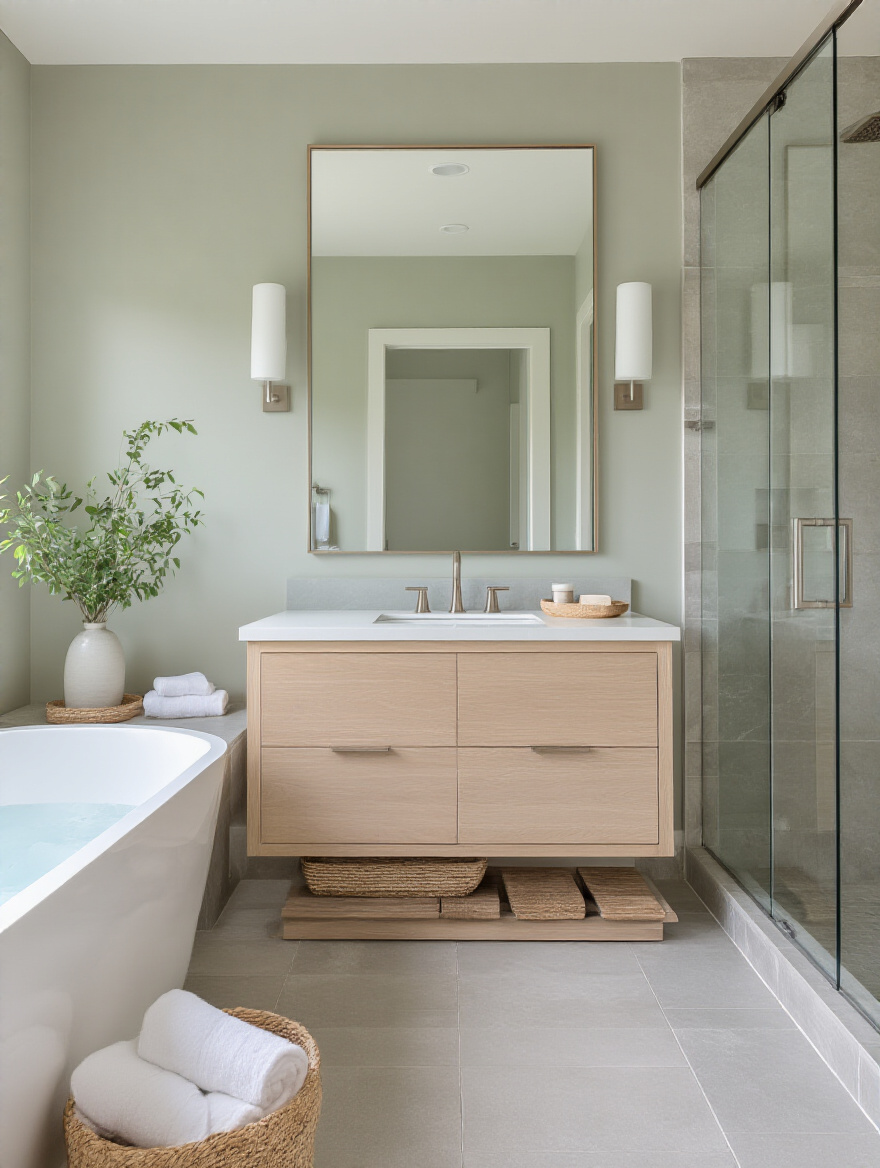
16. Select Cohesive Color Palettes and Materials for a Spa-Like Feel.
When you’re creating a calm, spa-like vibe, think about colors and patterns that are forgiving. An all-white bathroom is stunning, but it will also showcase every single stray pet hair and muddy paw print. Instead, consider soft grays, warm beiges, or muted greens. Choosing flooring and countertops with subtle veining or texture is also a great camouflage trick. It hides minor smudges and fur, so you’re not constantly wiping things down.
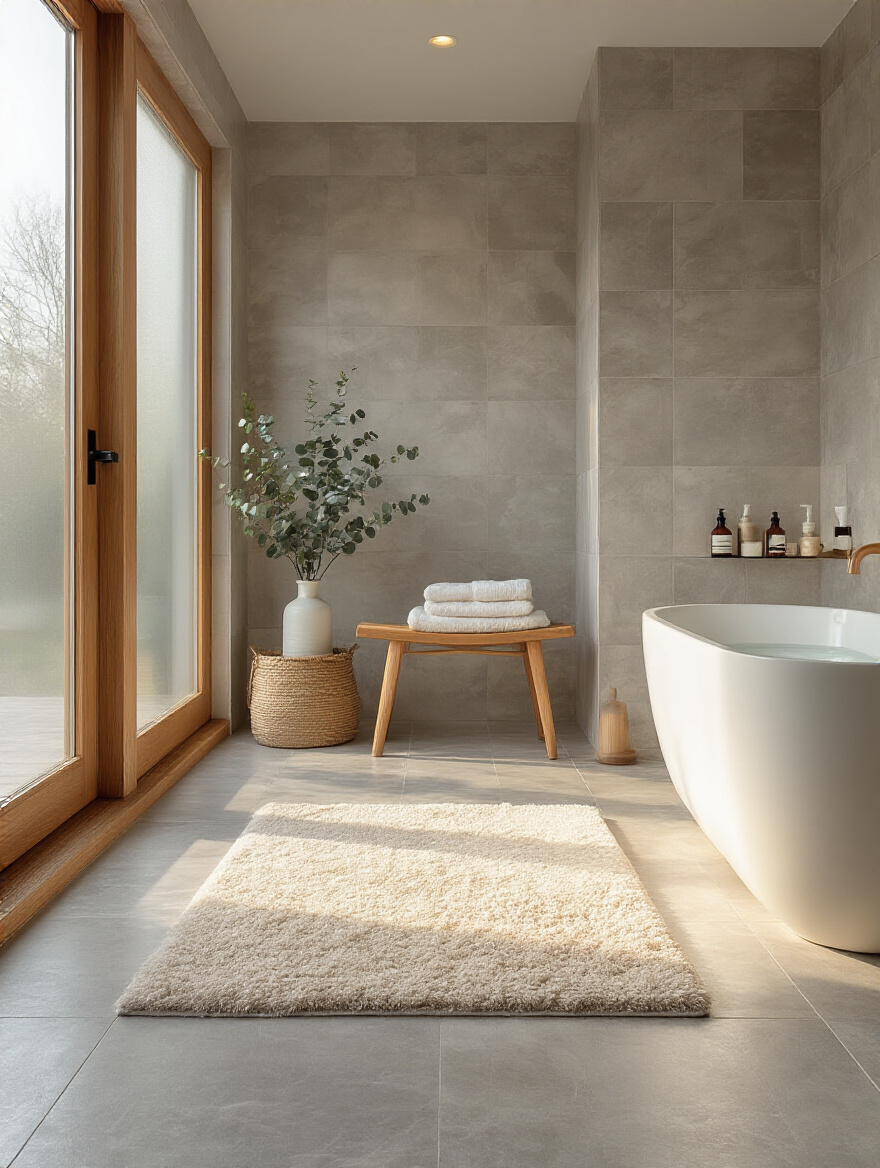
And when it comes to materials, think about texture from your pet’s perspective. A super-shaggy bath mat might feel luxurious to you, but to a long-haired dog, it can be a magnet for burrs and tangles. A low-pile, tightly woven, and machine-washable rug is often a much more practical—and equally stylish—choice. It’s all about finding that perfect balance between serene for you and sensible for them.
Let’s add a layer of comfort you can’t see, but you can definitely feel.
17. Integrate Heated Floors for Ultimate Winter Morning Comfort.
Heated floors feel like the ultimate human luxury, but I’m going to let you in on a secret: they’re one of the best things you can do for your pets. For an older, arthritic cat or dog, the gentle, radiant warmth is incredibly therapeutic. It soothes their aching joints and gives them a comfortable, warm place to nap. I’ve had so many clients tell me their old pets have a new lease on life after they installed heated floors.
They abandon their old pet beds and spend their days stretched out on the warm tile. It’s also much more energy-efficient than space heaters, and infinitely safer since there are no hot surfaces or cords for a pet to mess with. So go ahead, sell it to your partner as a “spa feature” for you. I’ll know the truth: you’re really just building a giant, room-sized heating pad for your best friend.
Now for a different kind of tech—the kind that might be more for you.
18. Add Smart Technology: Mirrors, Faucets, or Bluetooth Speakers.
Smart tech in the bathroom can be amazing, but you have to choose wisely in a pet household. A smart mirror that defogs itself is brilliant. A Bluetooth speaker in your shower fan for listening to podcasts is great (just keep the volume reasonable so you don’t spook your pet). But a motion-sensor faucet? Proceed with caution. A curious cat can—and will—figure out how to turn it on, potentially flooding your bathroom while you’re at work.
The rule of thumb is this: if a pet could accidentally activate it and cause chaos, maybe stick to the manual version. Focus on smart tech that adds convenience for you without creating a potential hazard. Smart lighting controls, a smart thermostat for your heated floors, or a smart fan are all fantastic, safe, and genuinely useful additions.
Finally, let’s make the space truly yours.
19. Personalize with Artwork, Greenery, and Thoughtful Accessories.
This is the final layer that makes the bathroom feel like home. But even here, we need to think pet-safe. When choosing plants, make sure they’re non-toxic. Many common houseplants, like lilies, are extremely poisonous to cats. Opt for pet-safe choices like a Spider Plant, a Boston Fern, or an Orchid. They give you that lush, green feel without the worry.
And think about accessories that serve a dual purpose. A beautiful woven basket can hold extra toilet paper, but it can also be a stylish place to stash pet toys. A chic ceramic tray on the vanity can hold your perfume, or it can be a designated spot for your dog’s daily medications. And don’t forget the most important accessory of all: a plush, washable bed or mat in a cozy corner, giving your pet their own official spot in the family’s new favorite room.
Conclusion
So there you have it. A bathroom renovation is one of the most rewarding projects you can take on. By thinking about your pets’ needs from the very beginning—from the budget and the layout to the flooring and the final touches—you’re not making compromises. You’re making smarter, better choices. You’re creating a space that is not only beautiful, functional, and valuable, but one that is a true sanctuary for every single member of your family, no matter how many legs they have. Now you’re ready to build a bathroom that you’ll all love for years to come.


