Can we just talk about why so many “beautiful” bathroom decor ideas you see online are a total disaster in real life? I’m talking about those pedestal sinks with zero counter space, or the open shelves piled high with a chaotic mix of half-empty bottles and a dusty candle. As someone who builds custom cabinets and organizes homes for a living, this is my biggest pet peeve. A bathroom that looks good on Instagram but makes you more stressed during the morning rush is a failed design. Period.
The real story isn’t about hiding your stuff; it’s about creating intelligent, intuitive systems that make your daily routine smoother. It’s about maximizing every single inch so the space serves you, not the other way around. After years of fixing cluttered, dysfunctional bathrooms, I’ve developed a systematic approach that blends magazine-worthy aesthetics with real-world practicality. These aren’t just decorating tips; they’re foundational choices for creating a bathroom that is truly a sanctuary, from the moment you stumble in for coffee to the moment you wind down for the night. Forget the corporate speak and the Pinterest fantasies—here’s how you actually get it done.
Laying the Foundation: Vision and Practical Planning (Part 1)
Before you even think about a paint chip or a tile sample, we need to talk strategy. This is the part everyone wants to skip, but it’s the absolute most important. A solid plan is the difference between a bathroom you love for years and one you regret in six months. Think of it as creating the blueprint for a system, not just a room.
1. Define Your Desired Aesthetic and Mood
The biggest mistake people make is choosing an aesthetic before defining the function. Forget “modern farmhouse” for a second and ask yourself: how do you need this room to feel and work at 7 AM on a Tuesday? Do you need a bright, energizing space that gets a family of four out the door, or do you need a calm, spa-like retreat for unwinding after a long day? The mood dictates the materials, the colors, and the lighting—not the other way around.
I once had a client who was adamant about a “serene, minimalist” bathroom. Then I did an inventory of her toiletries and discovered she owned every skincare product known to man. Her desired aesthetic and her actual lifestyle were in direct opposition. We had to pivot from minimalism to “clever, concealed storage” to create a space that gave her the feeling of calm without forcing her to abandon her routine. The real win isn’t a sparse-looking room; it’s a room where everything has a designated, hidden home.
Now that you have a vision based on function, you can start building your real-world strategy, starting with how you actually move through the space.
2. Conduct a Functional Space Assessment for Flow
You know what people always ask me? How to make their bathroom feel bigger. It’s rarely about the square footage; it’s almost always about bad flow. Before you change anything, I want you to walk through your morning routine in your head. Where do you trip over the laundry basket? Where does the door block access to the vanity? Where do you and your partner do that awkward dance around each other to get to the shower? These are your functional pain points, and they’re the things that actually matter.
The noise is the pretty faucet or the trendy tile. What really matters is the underlying layout. I once worked with a client whose bathroom door swung inward, effectively chopping off a third of the usable space. Every single day, she’d have to squeeze past it to get to the sink. We swapped it for a pocket door, and it was a revelation. We didn’t add a single square foot, but the bathroom felt twice as big because we fixed the traffic jam. That simple change did more for her daily satisfaction than any new vanity ever could.
Once your space flows efficiently, you can layer in visual elements like color, which also plays a critical role in how the room functions.
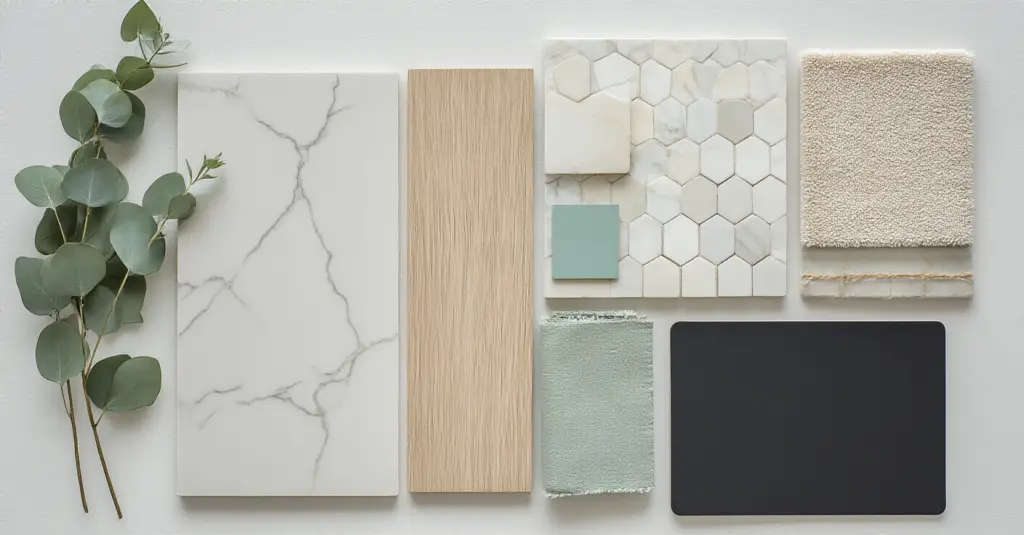
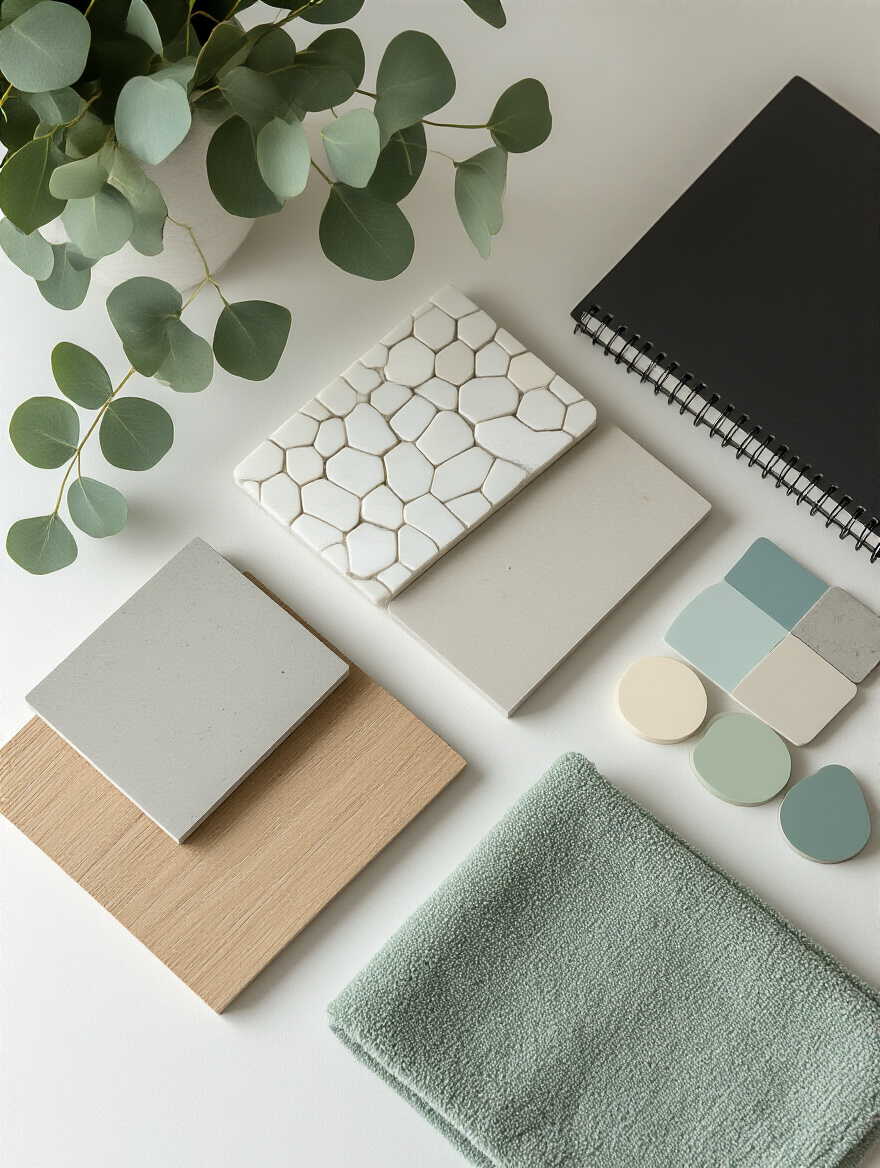
3. Master the Art of Cohesive Color Palette Selection
Forget tiny paint swatches. Your bathroom’s color palette isn’t just the paint on the walls; it’s the vanity, the floor tile, the shower tile, the countertop, and the grout. Trying to make all those things work together on the fly is a recipe for a disjointed mess. Instead, build your palette like a system using the 60-30-10 rule. It’s the simplest shortcut to a professional-looking result. Your dominant color (60%) should be on your largest surfaces, like walls or big tile areas. The secondary color (30%) is for things like the vanity or an accent wall. Finally, the accent (10%) is your hardware, your towels, and your decor.
Everyone obsesses over finding the “perfect” beige, but the BS is that the fixed elements are what truly matter. I learned this the hard way on one of my first projects. I helped a client pick a beautiful gray wall color, but we ignored the warm, yellow-toned beige of the existing floor tile. No matter what we did, the room felt “off.” The cool gray and the warm beige were fighting each other. Now, I always start with the non-negotiables—the tile and countertops—and pull colors from them. This guarantees harmony and saves you from the agony of repainting.
With your palette established, it’s time to bring in the most crucial functional element of all: light.
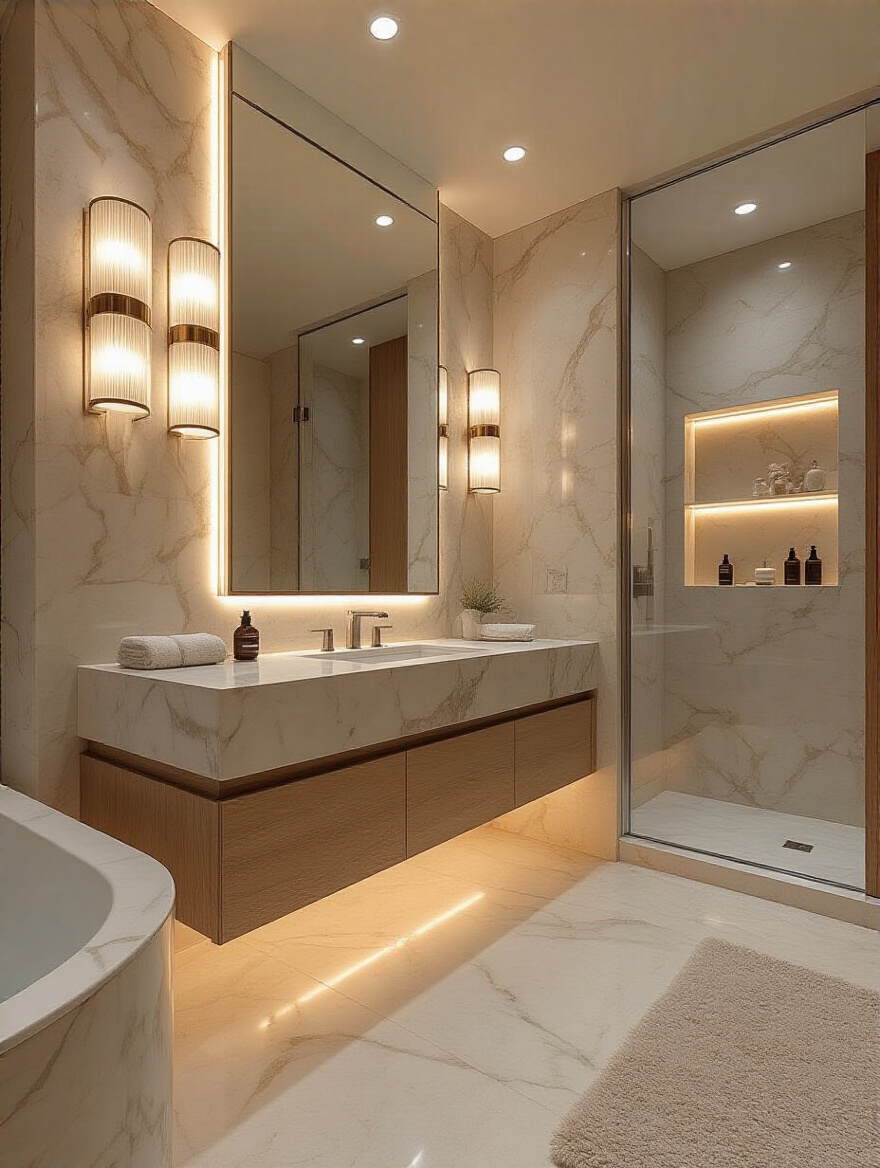
4. Strategically Choose Lighting Layers for Ambiance and Function
Can we all agree to ban the single, central ceiling light in bathrooms? It casts hideous shadows on your face, making you look like a monster in the mirror, and leaves the corners of the room dark and gloomy. It’s the definition of bad design. A truly functional bathroom has at least three layers of light: ambient, task, and accent. This isn’t just designer fluff; it’s a practical necessity.
“Good bathroom design is 70% about function and 30% about aesthetics. Without a functional foundation, even the most beautiful decor will fall short.”
Task lighting is your non-negotiable. It’s the light around your vanity, and the best placement is vertical fixtures on either side of the mirror to illuminate your face evenly. Ambient light is your general overhead light (recessed cans are great for this). And accent light is the secret weapon—a small waterproof light in a shower niche or LED strips under a floating vanity—that creates that luxe, spa-like vibe. My non-negotiable shortcut? Put every single light on a dimmer. It gives you complete control to go from bright and functional for the morning rush to low and relaxed for an evening soak.
Before we move on to fixtures, we have to address the heart of any functional bathroom: the storage.
5. Anticipate and Plan for Adequate Storage Needs
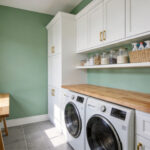
Storage isn’t something you add to a bathroom; it is the absolute bedrock of its design. The biggest BS I hear is “just use some pretty baskets.” Baskets don’t create storage; they just contain clutter. True storage planning is about anticipating your needs before a single wall is touched. And I don’t just mean the stuff you have now. I mean the 24-pack of toilet paper from Costco, the extra towels for guests, and the cleaning supplies.
I’ll never forget the client who spent a fortune on a gorgeous, minimalist bathroom with a tiny vanity. It looked incredible… for about a day. Then reality set in. Her hairdryer, flat iron, makeup bags, and bulk supplies ended up in a pile on the floor. We had to go back and design a custom, floor-to-ceiling linen tower to solve a problem that should have been addressed from day one. My rule is simple: perform a full inventory of everything that needs to live in the bathroom, then add 30% more space for the future. Always design for your real life, not your fantasy minimalist life.
Core Elements: Fixtures, Finishes, and Essential Furniture (Part 1)
Now we get to the fun part—the “stuff.” But just like everything else, we’re going to approach this systematically. The core elements—the vanity, the tiles, the hardware—are the workhorses of your bathroom. They need to be durable, functional, and cohesive.
6. Select Impactful Tile Designs for Floors and Walls
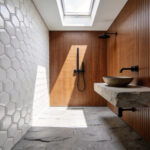
People fall in love with a beautiful, intricate tile pattern and forget the one thing that will impact them every single day: grout lines. More grout lines mean more scrubbing. It’s that simple. While a tiny mosaic might look stunning, cleaning it is a nightmare. From a purely functional standpoint, large-format tiles are a game-changer. Fewer grout lines mean less cleaning and a more seamless, expansive look that can make a small bathroom feel much larger.
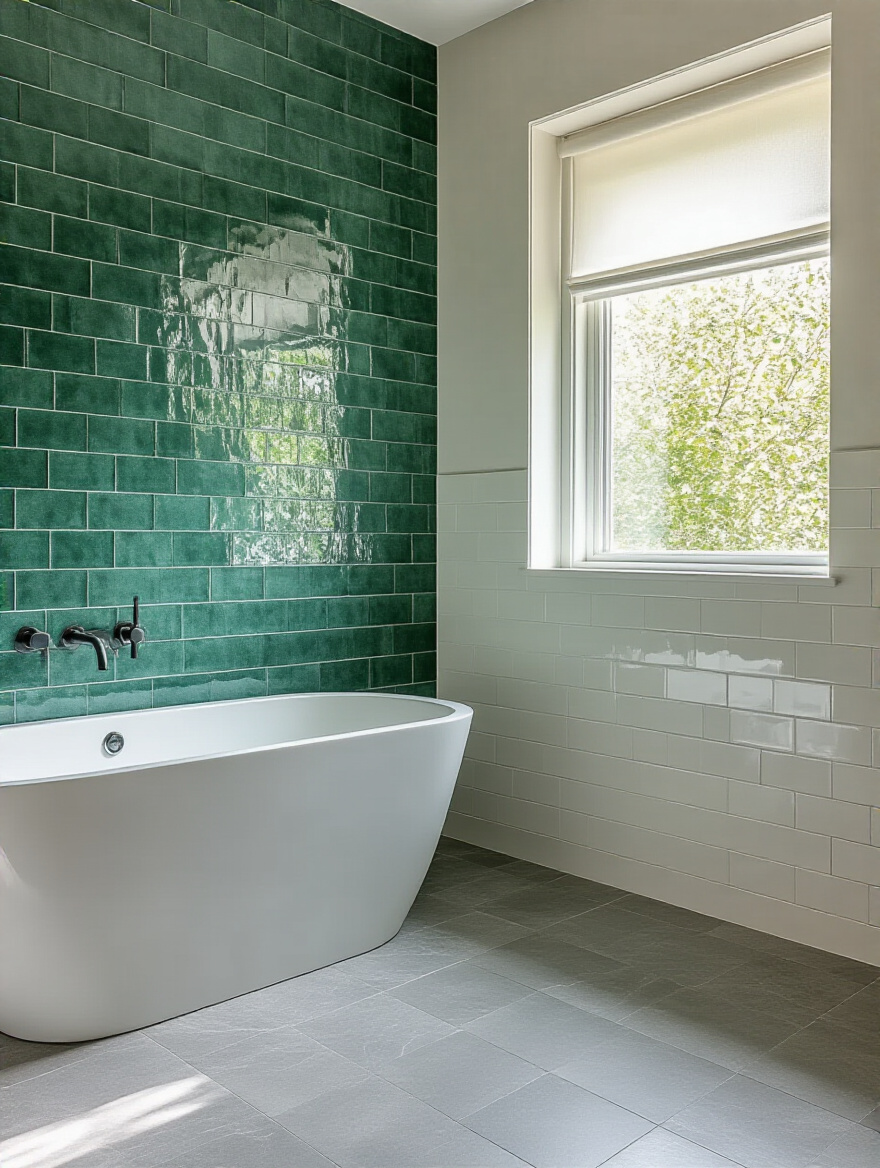
The other thing everyone gets wrong is prioritizing aesthetics over safety on the floor. That glossy, polished tile looks incredible until the first time you step out of the shower with wet feet. It’s a dangerous slip hazard. Always check the COF (Coefficient of Friction) rating for your floor tile; you need something designed for wet environments. A shortcut I love is to use the same large-format matte tile on the floor and up the main shower wall. It creates a cohesive, modern look, makes the room feel taller, and simplifies your ordering process.
Next, let’s talk about the single most important piece of furniture you’ll choose.
7. Choose a Vanity that Blends Style, Storage, and Scale
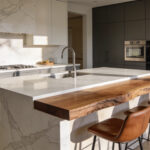
The vanity is your bathroom’s mission control. It is not just a piece of furniture; it is the hardest-working fixture in the room, so its function is paramount. Vessel sinks that sit on top of the counter are a huge trend, but they are a functional nightmare. They create a cleaning dead zone around the base and eat up precious counter space. An undermount sink is almost always a better choice for easy cleanup and maximizing usable surface area.
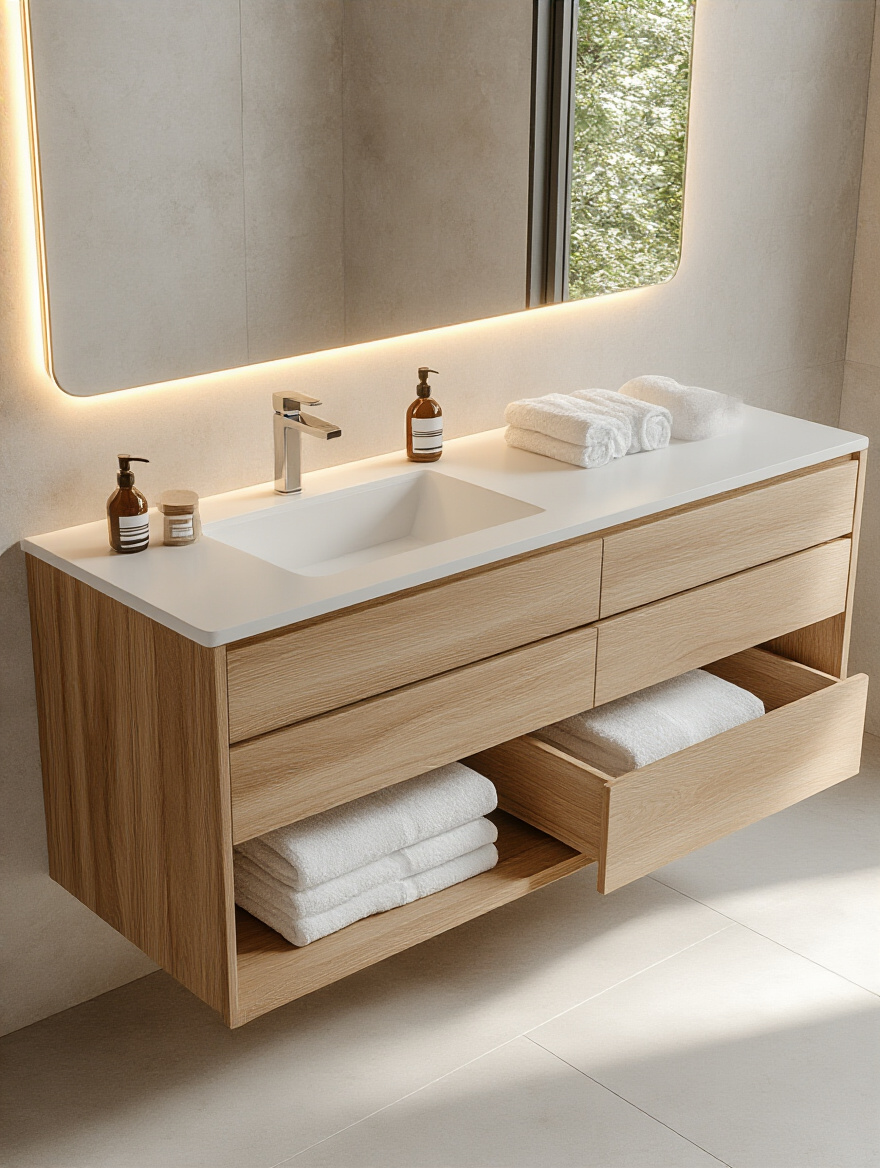
My one non-negotiable for clients is to choose drawers over doors. A deep, dark cabinet under the sink is where old bottles and cleaning supplies go to die. You have to get on your hands and knees to find anything. Drawers, on the other hand, bring everything out to you. You can see your entire inventory at a glance. Even one deep bottom drawer is a world-changer for storing taller bottles or even a hairdryer. Don’t let a pretty cabinet face fool you; look at the function inside.
Once the workhorse is chosen, we can add the finishing touches.
8. Upgrade Faucets and Hardware for a Polished, Cohesive Look
Think of hardware and faucets as the jewelry of the bathroom. They are, without a doubt, the fastest and most cost-effective way to update a dated space. You can take a builder-grade oak vanity from 1995 and make it look intentional and modern just by swapping out the handles and faucet for a sleek matte black or brushed brass finish.
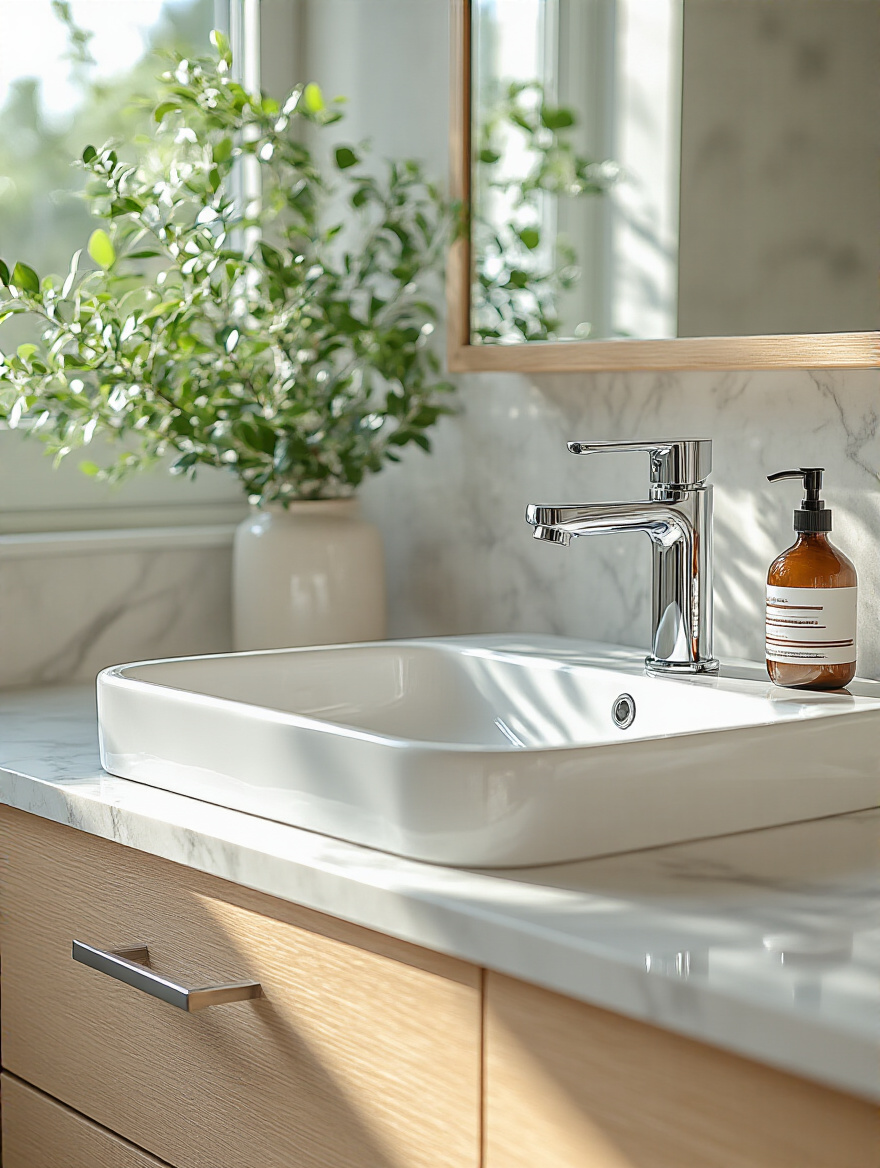
The most common mistake I see is a hodgepodge of finishes. The faucet is polished chrome, the cabinet pulls are brushed nickel, and the shower trim is that old, yellowish brass. It looks chaotic. The shortcut to an instantly high-end, cohesive look is to stick to one single finish for every metal element in the room. This creates a through-line that ties the whole design together. It’s a simple rule that makes a massive impact.
With the jewelry in place, it’s time to focus on the element that can double the light and sense of space.
9. Incorporate a Stylish Yet Functional Mirror as a Focal Point
A mirror is a design tool masquerading as a grooming accessory. Its primary job, from my perspective, is to manipulate light and space. So many people choose a mirror that’s far too small for the vanity, which makes the whole setup look shrunken and awkward. It’s visual clutter.
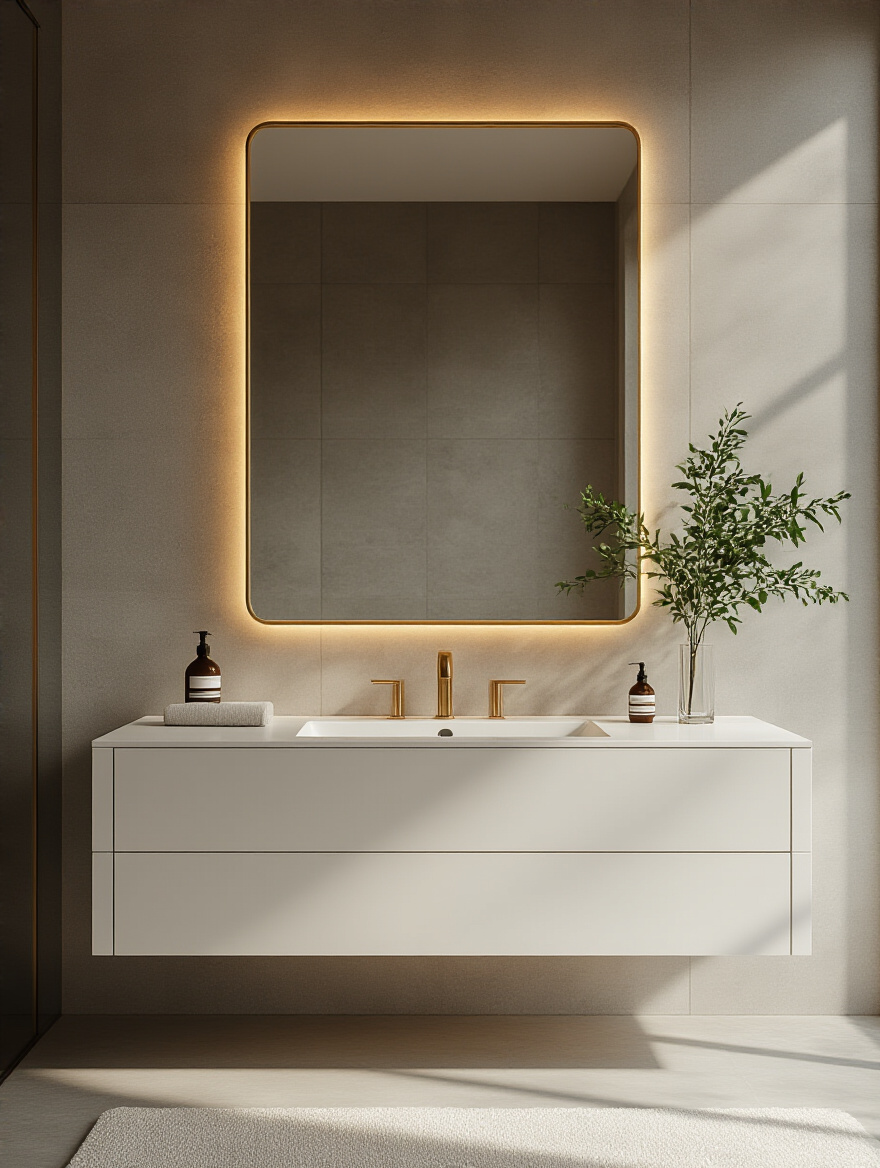
My advice is to go as big as you can. A mirror that spans the full width of the vanity, or even the full wall, will double the amount of light in the room and create a powerful illusion of depth. The ultimate functional upgrade, though, is a recessed medicine cabinet. It gives you incredible, hidden storage for all your small daily items, keeping your countertops completely clear while still serving its purpose as a mirror. It’s the best of both worlds and the secret to a perpetually tidy vanity.
We’ve covered the dry zone, now let’s apply these principles to the wet zone.
Core Elements: Fixtures, Finishes, and Essential Furniture (Part 2)
We’re diving deeper into the main event of the bathroom: the shower and tub area. This zone is a huge opportunity to blend luxury with smart design. By making a few key choices here, you can elevate your daily routine from a chore to a ritual.
10. Optimize Shower or Tub Areas with Smart Design Upgrades
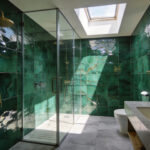
The shower is no longer just a box to get clean in. It can be the most luxurious part of your bathroom if you plan it right. The single most important element is a properly designed storage niche. Everyone else will tell you to get a hanging shower caddy, but those things are flimsy, rust-prone clutter magnets. A built-in niche is a clean, permanent solution. But here’s the secret everyone misses: build it tall enough for your giant Costco-sized shampoo bottles. I always have clients bring their largest bottles to the design meeting so we can plan the niche height accordingly.

Another hard-learned lesson is the importance of a bench. Even a small corner bench in a shower is a game-changer, not just for sitting, but for shaving legs or just propping up a foot. And when choosing materials, think big. Just like with floors, large-format tiles or even solid-surface panels in a shower mean fewer grout lines to scrub mildew from. It’s a choice that saves you hours of cleaning over the life of the bathroom.
Now that the bones are in place, we can bring in the layers that add personality and comfort.
Styling and Personalization: Adding Decorative Touches (Part 1)
This is where we infuse the space with your personal style. But just because we’re talking “decor,” it doesn’t mean we’re abandoning our systematic approach. Every decorative item should still earn its place through function, beauty, or both.
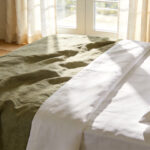
11. Curate Quality Linens and Plush Towel Sets
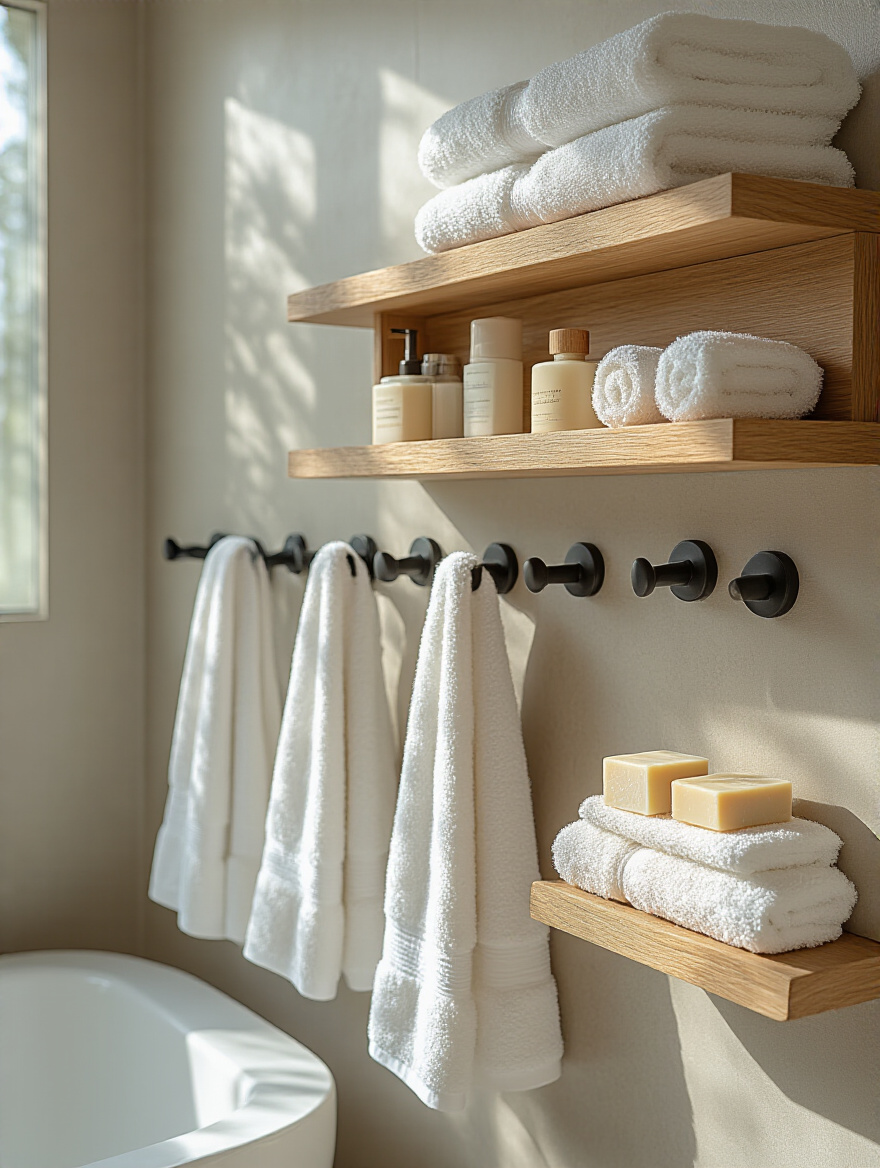
You can have the most expensive bathroom in the world, but if you’re drying off with thin, scratchy towels, the illusion of luxury is shattered. Quality linens are a sensory upgrade that you will appreciate every single day. Look for towels with a high GSM (grams per square meter)—anything from 600-900 will feel incredibly plush and absorbent. They’re a small investment that pays huge dividends in daily comfort.
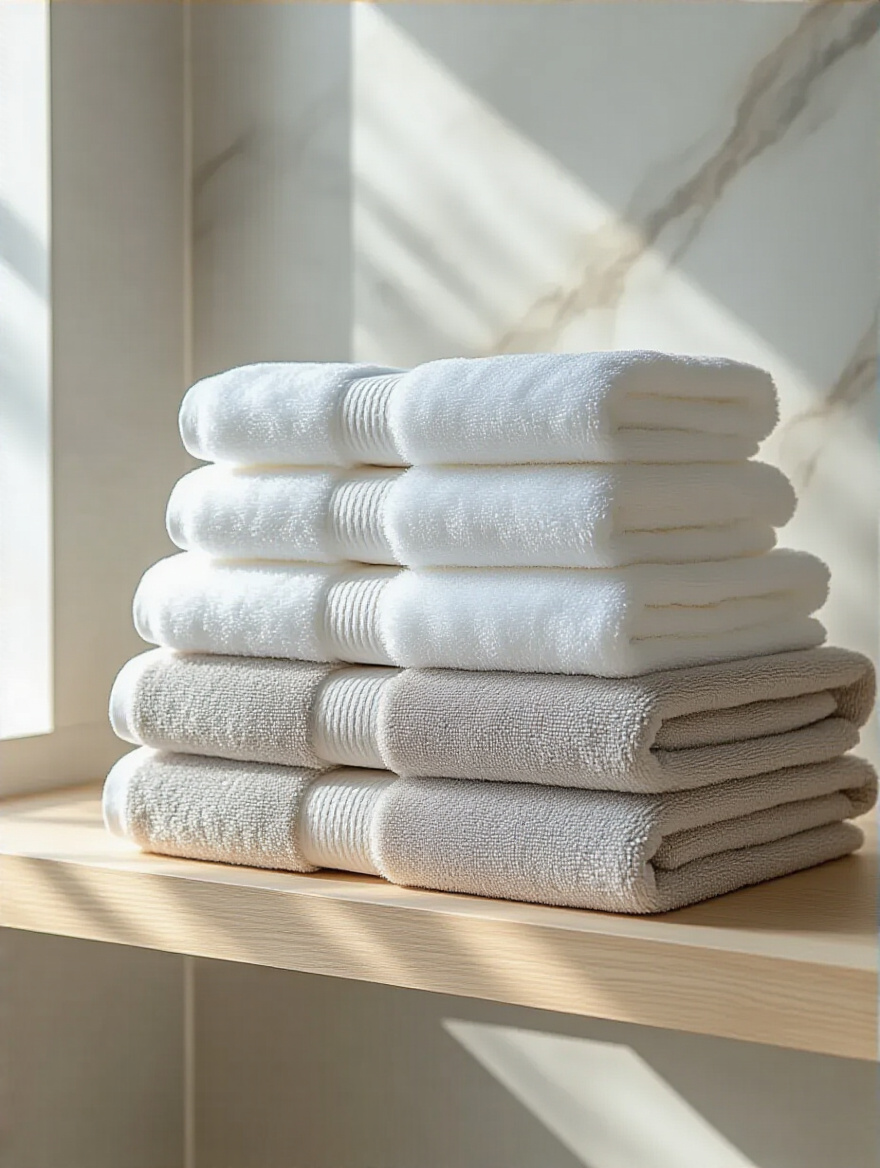
But let’s talk function. Where are those towels going to hang? Most people use towel bars, which look neat but are terrible for actually drying towels, especially in a humid bathroom or a busy family setting. Towels folded over a bar don’t get enough air circulation. My shortcut for faster drying and a more casual, accessible feel is to use hooks. Each person gets their own hook. The towels dry faster, and it’s easier for kids (and adults) to actually hang them up.
With comfort handled, let’s bring a little life into the space.
12. Introduce Greenery with Humidity-Loving Indoor Plants
A plant can instantly make a sterile bathroom feel alive and fresh. But please, don’t just grab any random succulent. The bathroom is a specific, high-humidity environment, and you need to choose plants that will thrive there, not just survive. Snake plants, pothos, and ferns are excellent choices because they love the moisture and can often tolerate lower light conditions.

The BS everyone seems to believe is that plants are just decoration. The truth is, they can be functional. Some plants, like ferns and peace lilies, are incredible at absorbing excess moisture from the air, which can help mitigate mildew in a poorly ventilated space. A plant that works for you instead of creating another chore for you is the ultimate win. Place it in a corner or hang it from the ceiling to add life without taking up valuable counter space.
From living art, we now move to art you can hang on the walls.
13. Integrate Artwork or Wall Decor for Character and Charm
Yes, you absolutely can and should put art in your bathroom. It’s the perfect place to show off your personality in a small, contained way. The fear, of course, is humidity damage. But the solution is simple: choose your materials wisely. Instead of a paper print, consider a canvas print (which is more moisture-resistant) or even something more sculptural, like a set of shallow woven baskets or a piece of ceramic wall art.
If you have a piece you absolutely love that’s on paper, the framing is key. I learned this when a client wanted to hang sentimental family photos in her master bath. I sent her to a professional framer with instructions to properly seal the back of the frame to protect the photos from moisture infiltration. It’s an extra step that ensures your meaningful pieces are protected. It transforms the room from a generic bathroom into your bathroom.
Now let’s engage another sense: smell.
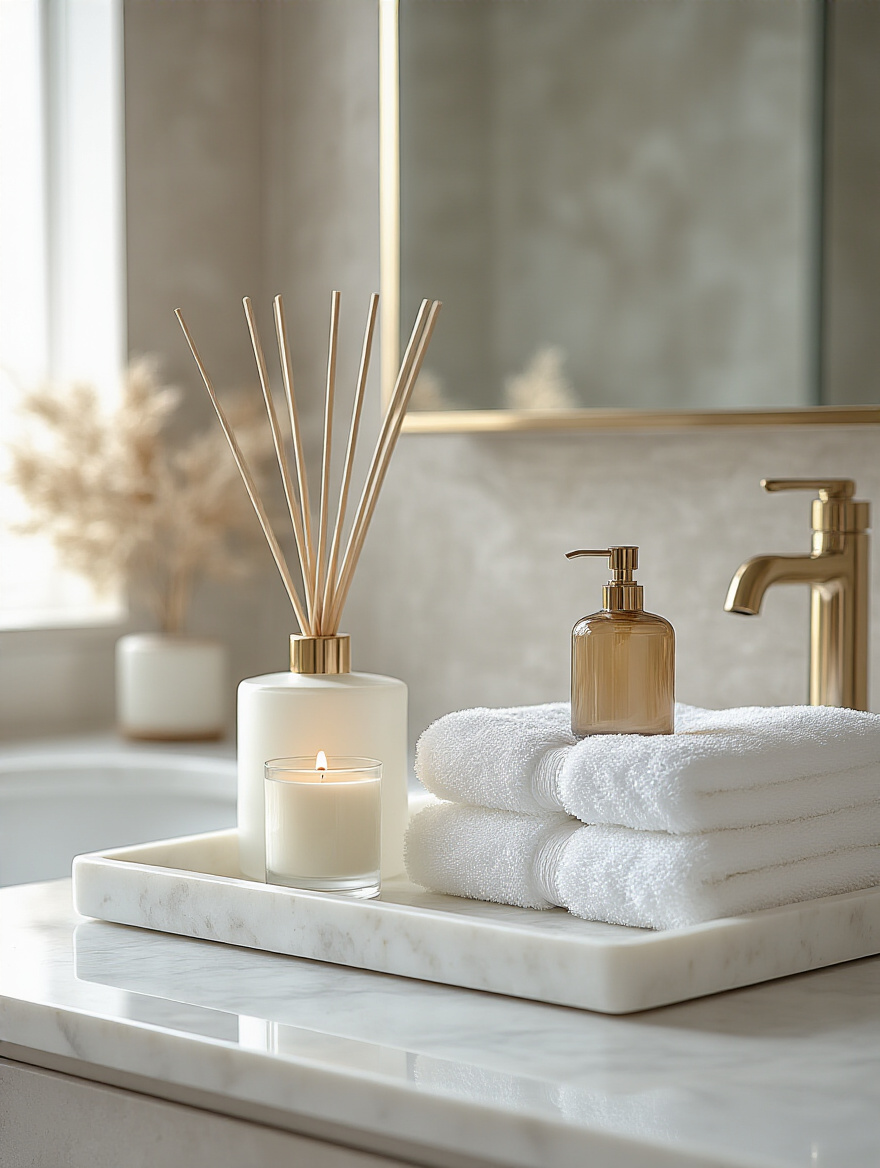
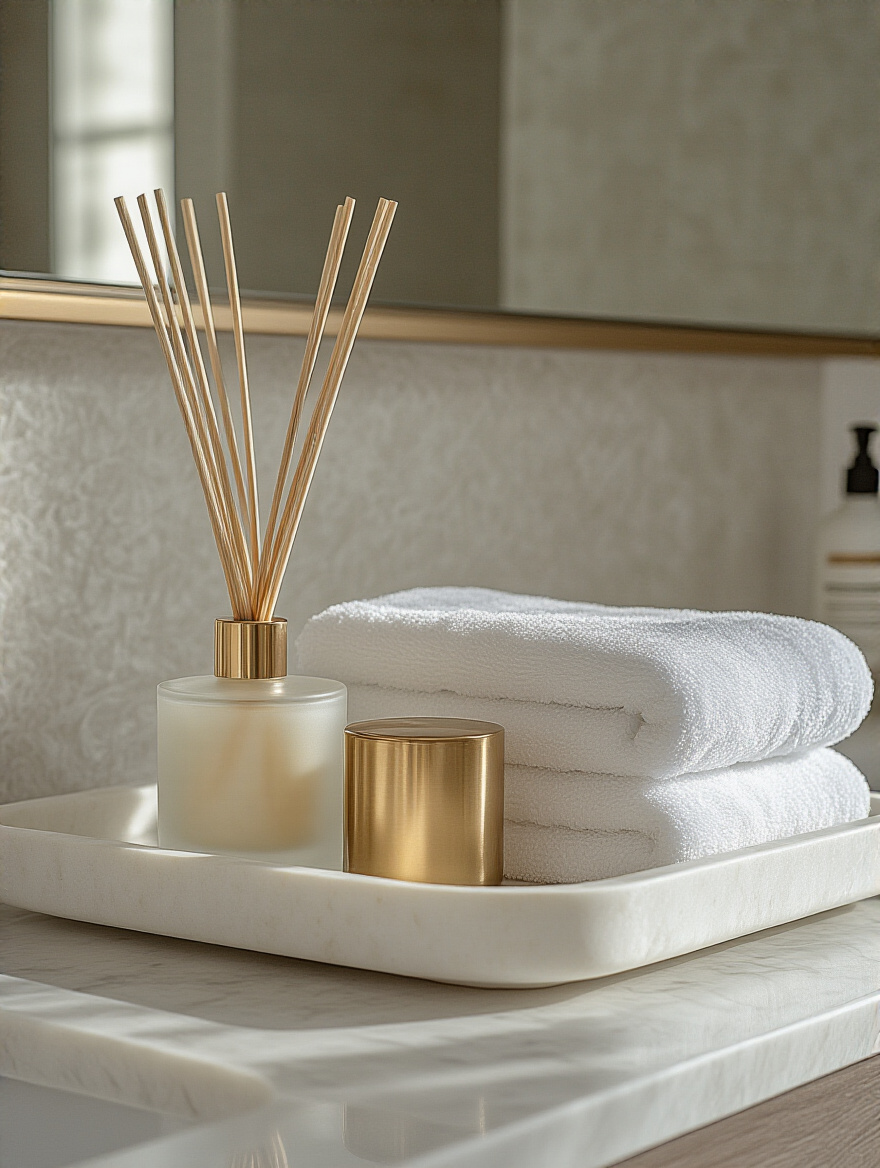
14. Select Thoughtful Scents and Ambiance Enhancers
Scent is one of the most powerful and overlooked aspects of creating a sanctuary. A bathroom that looks clean but smells musty is an immediate failure. Forget those chemical-laden plug-in air fresheners; they’re just olfactory clutter. A more sophisticated and systematic approach is to use an essential oil diffuser or a simple reed diffuser.
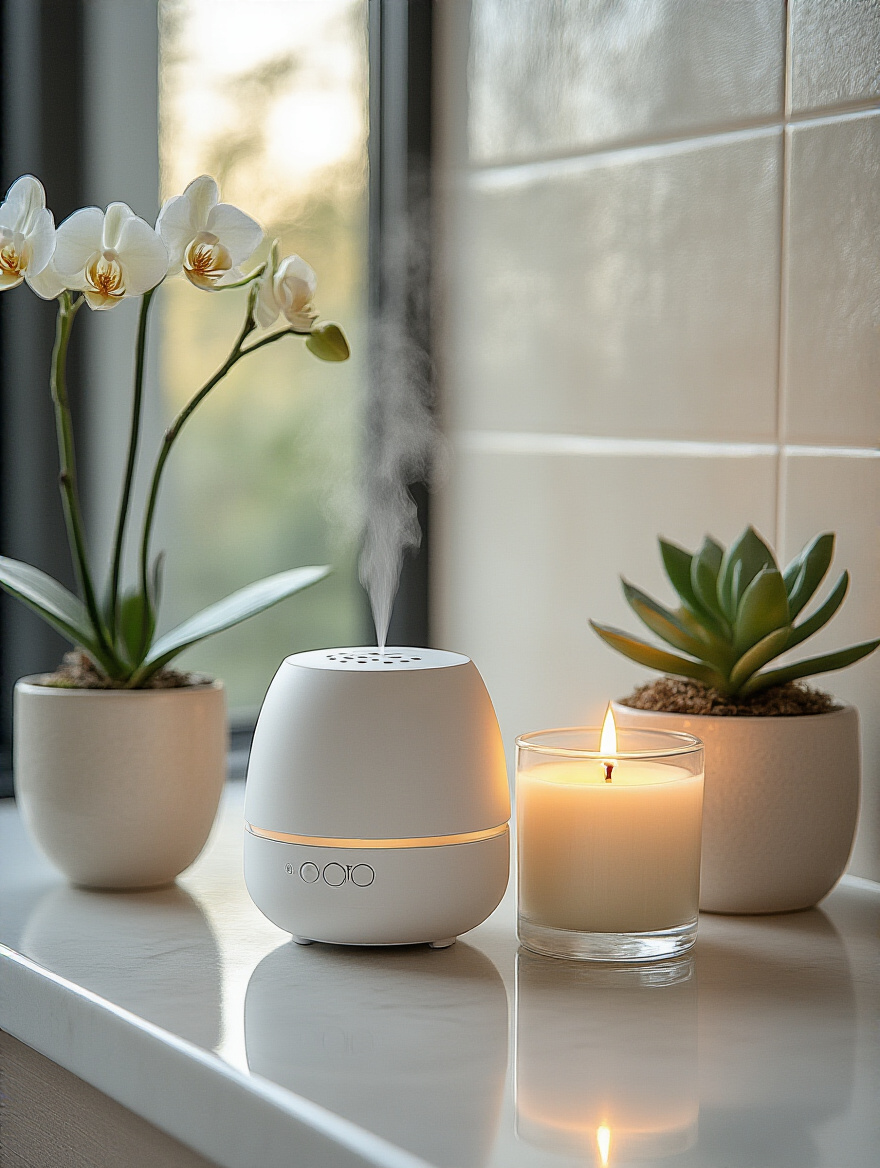
An ultrasonic diffuser can be set on a timer, so it’s only running when you want it to, and you can change the scent based on your mood—maybe something energizing like citrus in the morning and calming like lavender at night. A reed diffuser is even simpler: a set-it-and-forget-it solution that provides a subtle, continuous scent without any flame or electricity. It’s a small detail that makes the space feel consistently clean, fresh, and intentionally curated.
Next, we’ll discuss my secret weapon for organizing and styling any surface.
Styling and Personalization: Adding Decorative Touches (Part 2)
We’re in the final stretch of styling. These last two items are simple but have an outsized impact on the final look and feel of your bathroom. They’re the details that pull everything together and make the space feel truly finished.
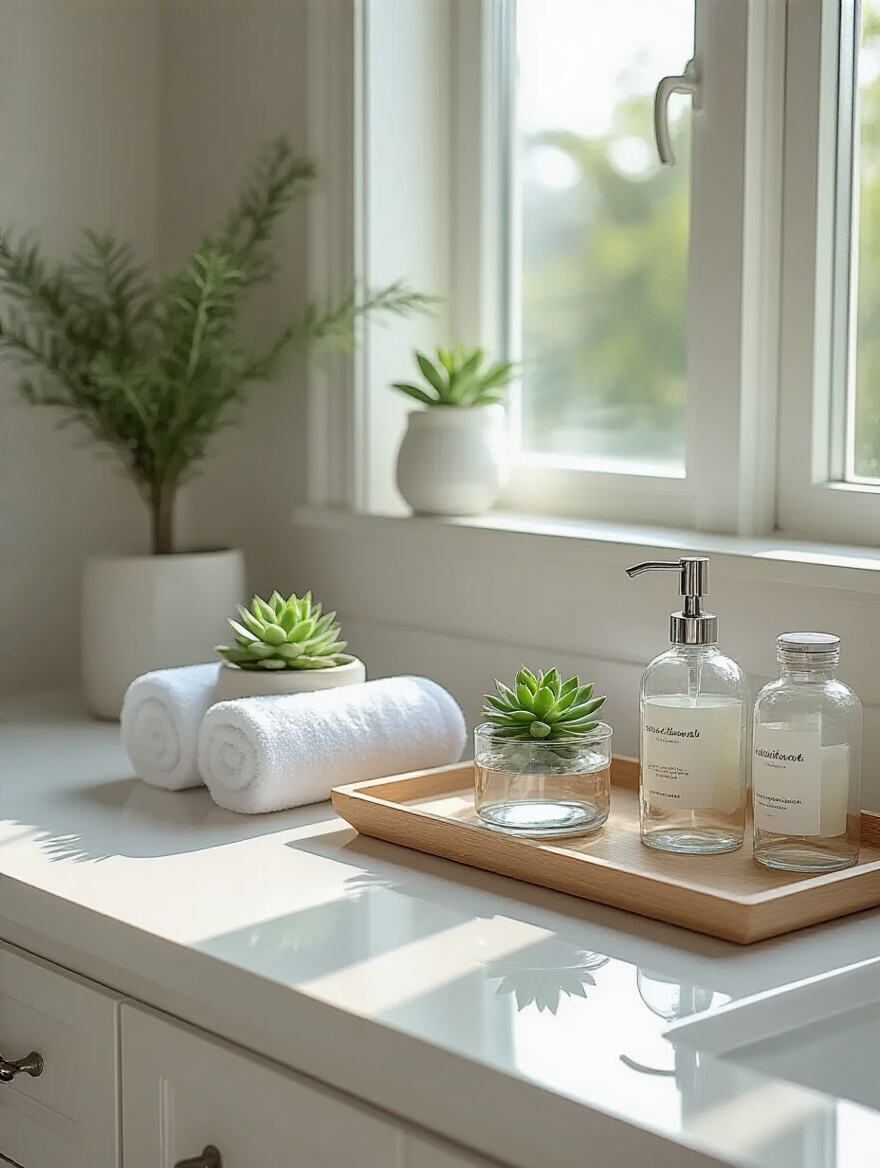
15. Maximize Impact with Decorative Accents and Trays
If you learn only one thing from me, let it be this: a tray is the easiest way to make clutter look intentional. A random collection of a soap bottle, a lotion pump, a candle, and a cup on the counter looks messy. But take those exact same items and place them on a simple marble or wood tray, and suddenly it’s a styled “vignette.” The tray creates a boundary, corralling the items into a cohesive unit. It’s a magic trick that instantly elevates your counter.
I once worked with a client who was overwhelmed by the clutter on her double vanity. She felt like she was constantly tidying up. I went out and bought two simple, rectangular trays for under $50 total. We grouped her daily items on one and her husband’s on the other. It took all of ten minutes, and the visual impact was staggering. It didn’t just look better; it created a functional zone for each of them, simplifying their routines.
Now for the final touch that adds warmth underfoot.
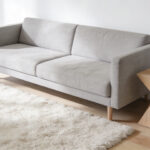
16. Utilize Small Rugs for Comfort, Style, and Warmth
Please, I’m begging you, get rid of those fuzzy toilet-contour rugs. They are unhygienic relics of the past. A modern, stylish bathroom deserves a better rug. Think of a bathroom rug not just as a bath mat, but as an opportunity to add color, pattern, and texture, just as you would in a living room. A flatweave, washable runner can look incredibly chic in a long, narrow bathroom and make the space feel larger.
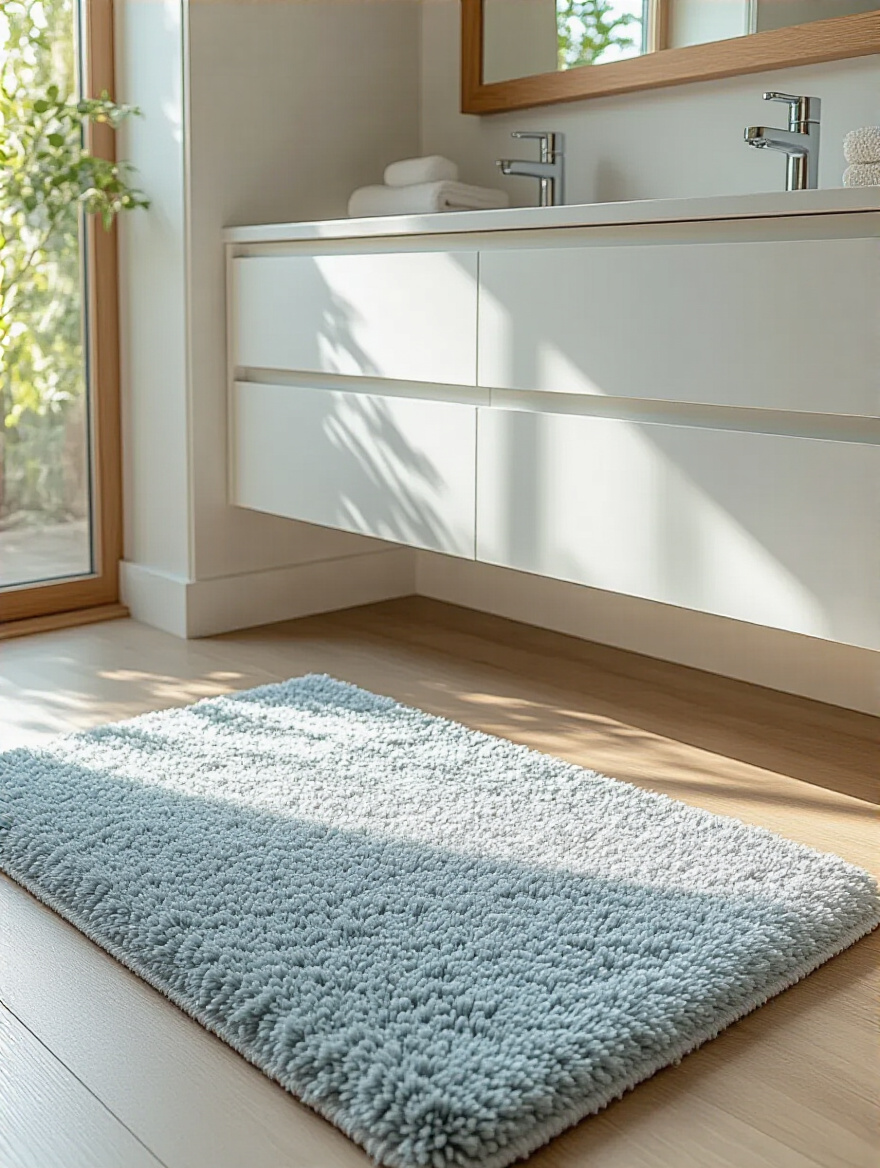
The most important thing, however, is function. It needs to be comfortable to stand on, absorbent enough for post-shower drips, and—most critically—non-slip. If your rug of choice doesn’t have a rubber backing, you must invest in a good-quality non-slip rug pad. This is non-negotiable for safety. And make sure it’s machine washable. A bathroom rug needs frequent cleaning, so easy maintenance is essential.
With styling complete, let’s look at a few advanced tricks to take your organization to the next level.
Advanced Enhancements and Smart Organization (Part 1)
If you have the basics down, these next ideas will optimize your space even further. We’re talking about solutions that solve common bathroom problems with smart, space-saving design that looks as good as it works.
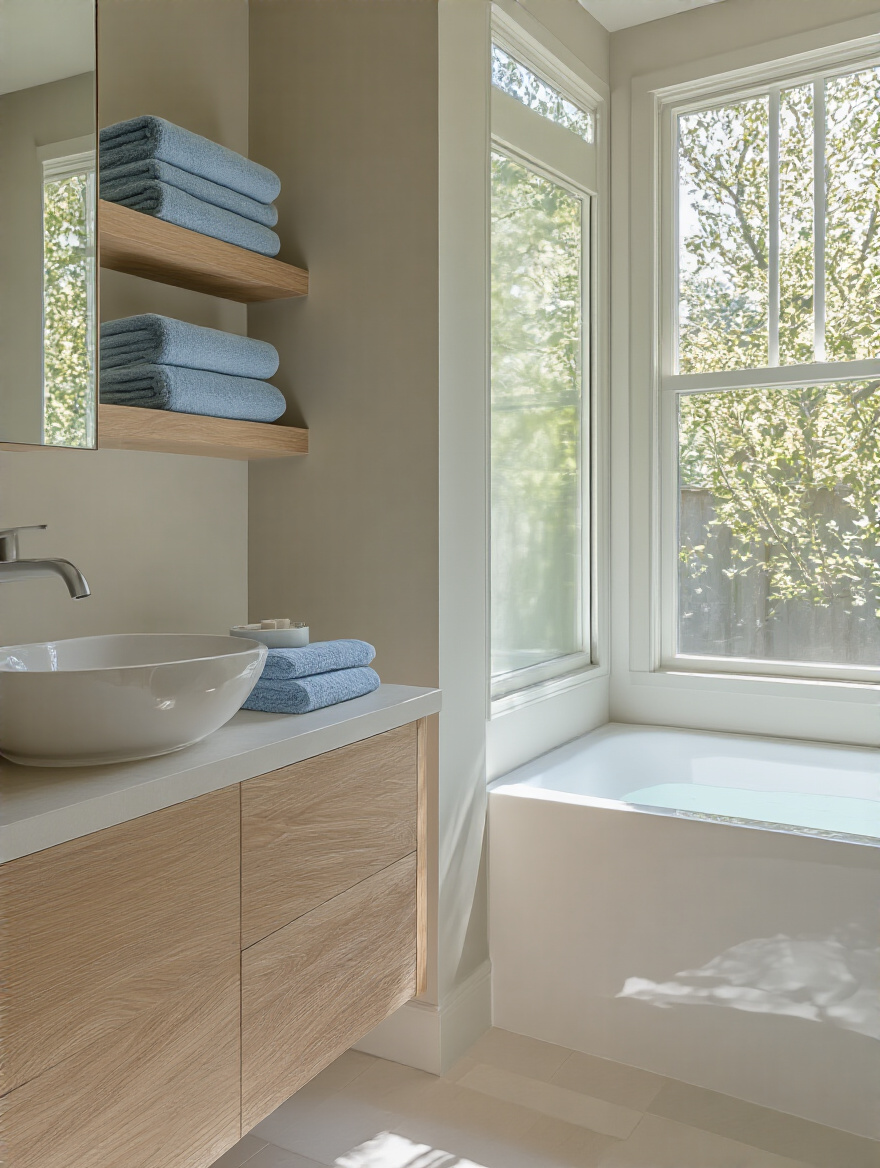
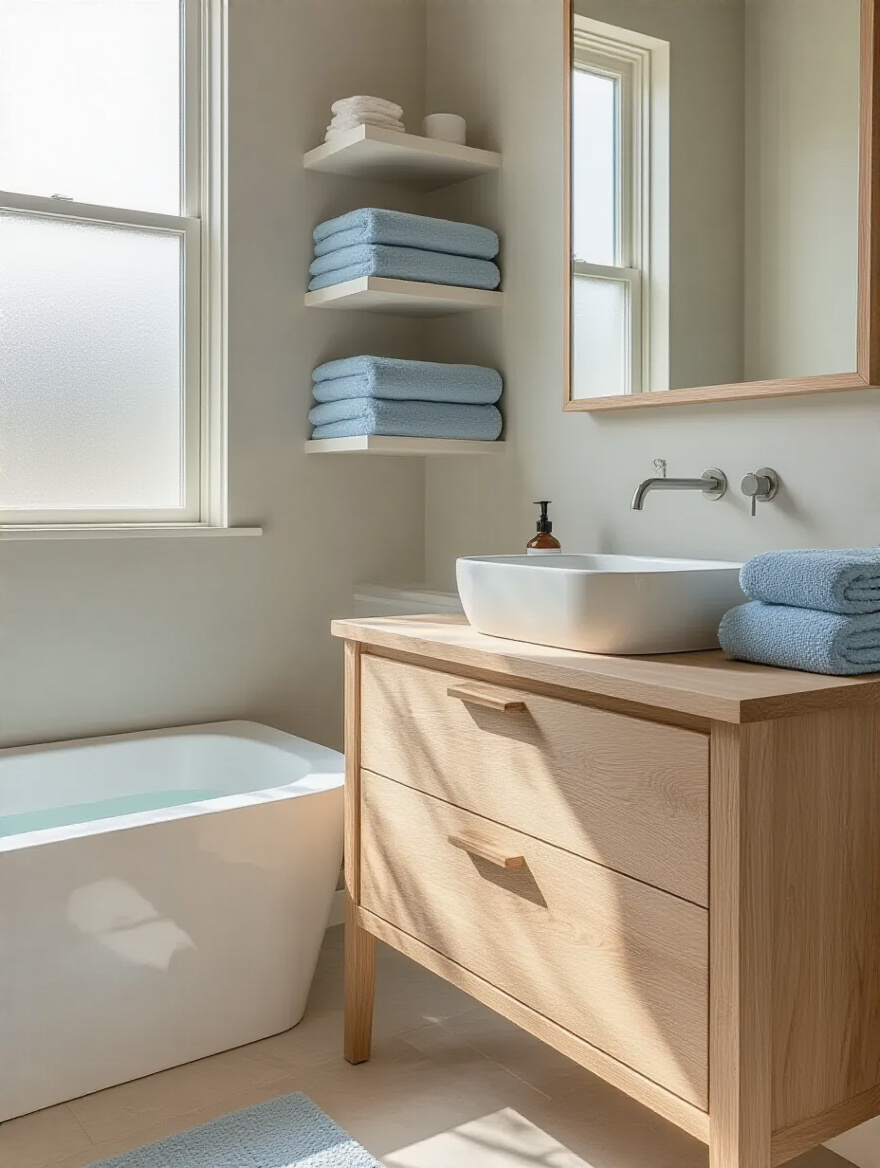
17. Implement Open Shelving for Stylish Display and Easy Access
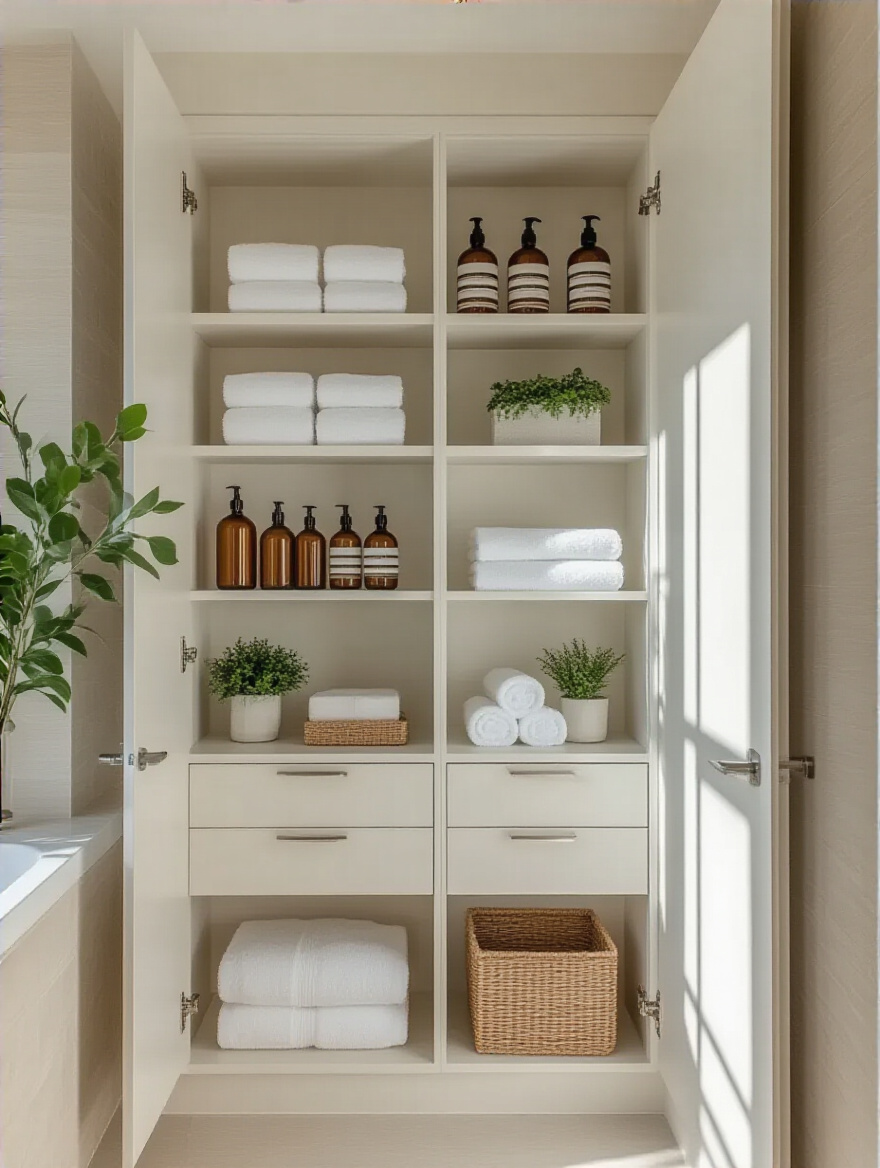
I have a very complicated relationship with open shelving. When done right, it can make a bathroom feel airy and personalized. When done wrong—which is most of the time—it’s just a visible monument to your clutter. Here is my hard and fast rule: open shelves are for display, not for storage.
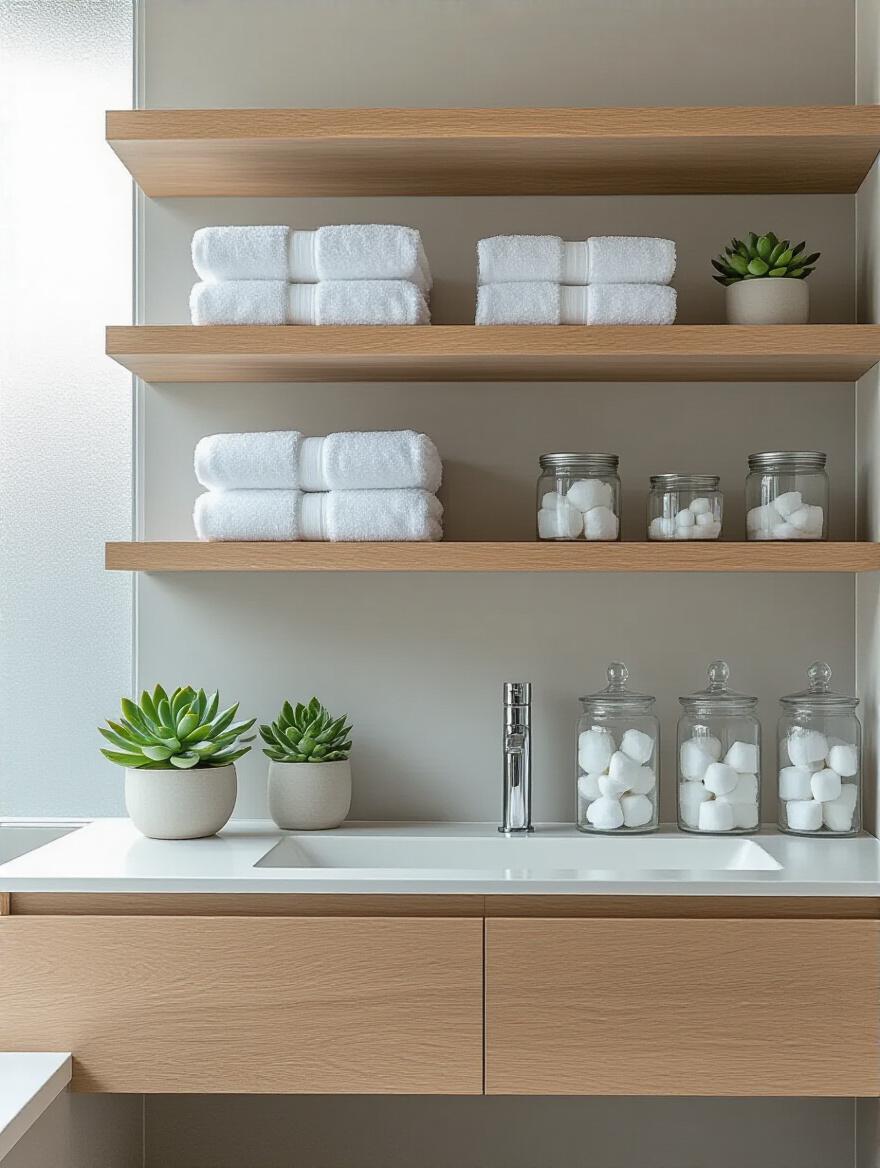
Use them exclusively for things that are inherently beautiful and uniform: a stack of neatly rolled white towels, a few amber glass apothecary jars filled with cotton balls and bath salts, a beautiful plant. Hide the things that aren’t pretty—the extra toilet paper, the value-sized mouthwash, the cleaning supplies—behind closed doors. Open shelves force you to be tidy, so curate them like you’re styling a small boutique, not cramming things onto a shelf in your garage.
Next, a specific strategy for my small-space dwellers.
18. Optimize Small Bathrooms with Clever Furniture Choices
In a small bathroom, visual space is just as important as physical space. Your brain registers a room as being larger if you can see more of the floor. That’s why wall-mounted or “floating” furniture is the ultimate small-bathroom hack. A floating vanity instantly makes the room feel more open and airy, and it has the added benefit of making it a thousand times easier to clean the floor underneath.
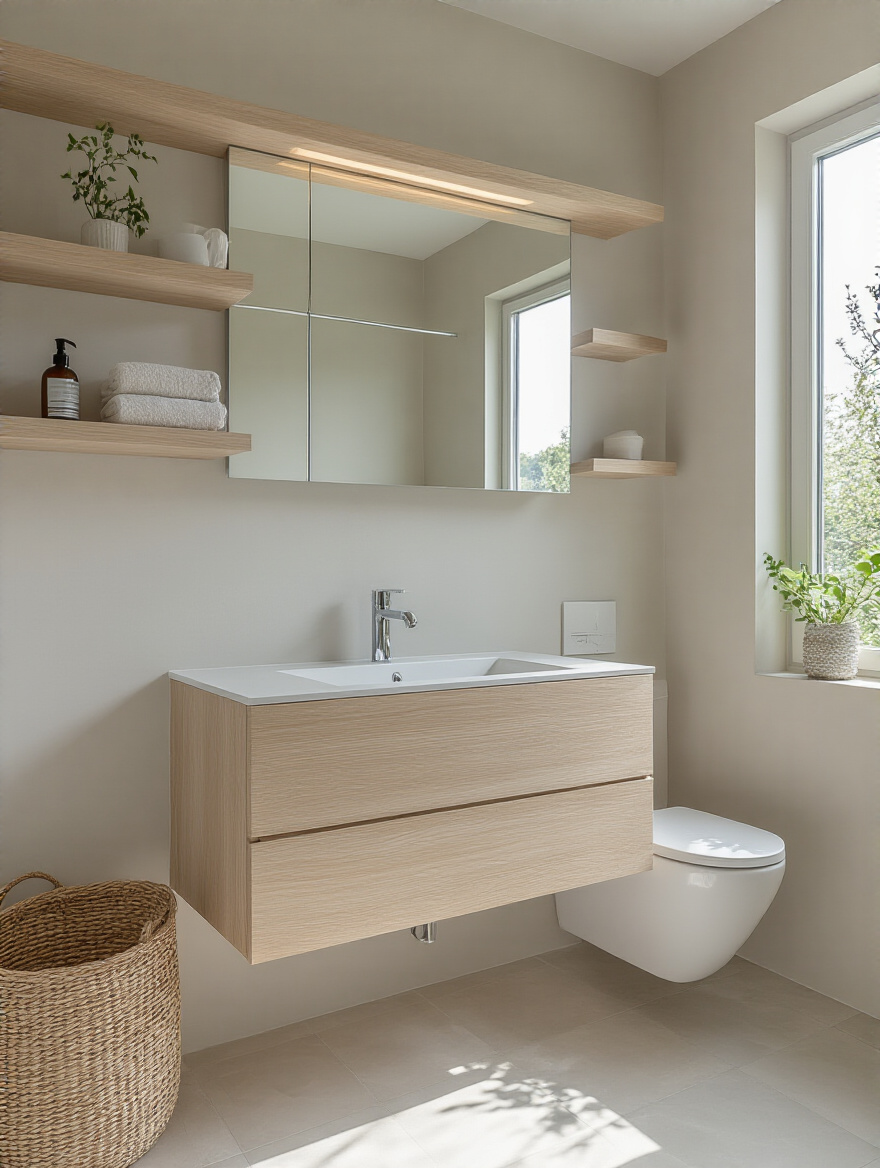
The same principle applies to everything from shelving to toilets. A slim, vertical ladder-style shelf provides storage without the visual bulk of a traditional bookcase. A wall-mounted toilet hides the tank in the wall, saving you precious inches of floor space and creating a super sleek, modern look. The shortcut is to think vertically and to choose furniture with “air” underneath it. It’s a game-changing illusion.
Continuing that theme, let’s use all that vertical space on the walls.
19. Install Hooks and Wall-Mounted Organizers for Efficiency
My personal mantra is: “Get it off the counter, get it off the floor.” The best way to do that is to leverage your wall space. The area behind the bathroom door is the most underutilized piece of real estate in the entire house. It’s the perfect spot for hooks for towels and robes, or even a slim, wall-mounted organizer for toiletries or styling tools.
Inside your cabinet doors is another goldmine of hidden storage. Use small, adhesive-backed organizers to hold things like toothbrushes, toothpaste, or makeup brushes. These little solutions free up so much drawer and counter space and keep your most-used items easily accessible but out of sight. It’s about creating a system where everything has a home, and that home is often right in front of you—just on a vertical surface.
Finally, a simple swap that has a massive visual impact.
20. Don’t Underestimate the Power of Cohesive Dispensers and Holders
Look at your bathroom counter right now. You probably have a garish, branded hand soap bottle, a tube of toothpaste, and maybe a bottle of lotion. It’s a riot of logos, clashing colors, and mismatched shapes. It’s visual noise. The single fastest way to create a calm, cohesive, spa-like feel is to decant everything into a matching set of dispensers.
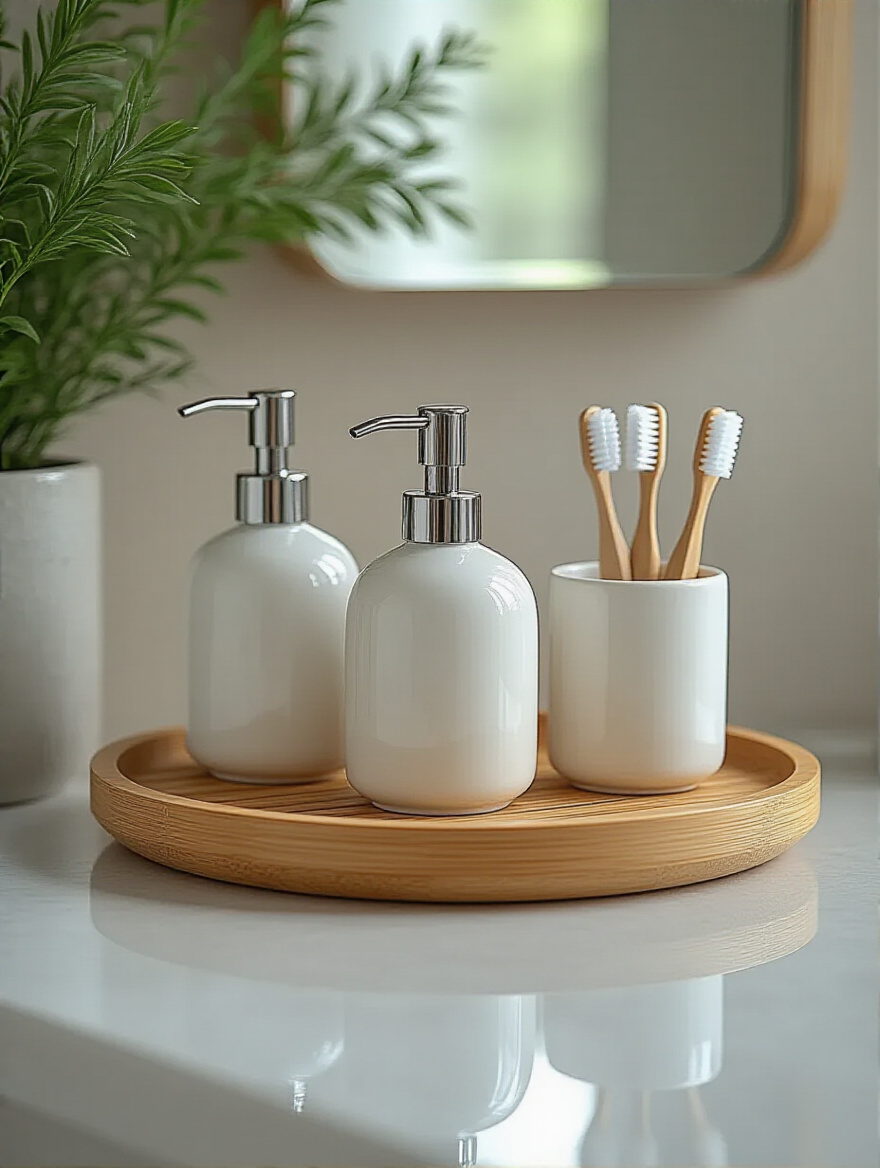
This isn’t just about aesthetics; it’s about creating a system. Buying larger, eco-friendly refill pouches of soap and lotion is cheaper and better for the environment. A simple set of glass or ceramic dispensers and a matching toothbrush holder instantly makes your counter look curated and high-end. It’s a tiny change that signals that this space is intentional and cared for.
Now, for the final, and most crucial, step of all.
Advanced Enhancements and Smart Organization (Part 2)
We’ve designed, built, and styled your sanctuary. But the work isn’t over. A truly functional space requires a bit of maintenance to keep it that way. This final step is the system that ensures your bathroom remains a source of calm for years to come.
21. Regularly Declutter and Refresh for Lasting Appeal and Calm
Your bathroom is not a museum. It’s a living, breathing space where products come in, get used, and go out. Without a maintenance plan, even the most perfectly organized system will descend into chaos. The secret is to stop thinking of decluttering as a massive, once-a-year project and start thinking of it as a small, regular habit.
I teach my clients the “Five-Minute Reset.” At the end of each day, take just five minutes to put things back where they belong, wipe down the counter, and straighten the towels. That’s it. Then, once a month, take 15 minutes to go through one drawer or one shelf. Purge any expired cosmetics, consolidate half-empty bottles, and make a list of what you need to replace. This proactive maintenance prevents clutter from ever taking hold and keeps your sanctuary feeling serene and under control, always.
Conclusion
There you have it—a complete system for creating a bathroom that isn’t just beautiful, but is a functional, stress-reducing machine. We’ve moved beyond fleeting trends to focus on what truly matters: creating a space that supports your daily life. It’s about smart storage, durable finishes, and thoughtful details that combine to form a cohesive, personal sanctuary.
The goal isn’t to achieve some impossible standard of perfection you saw in a magazine. It’s to build a space that genuinely works for you, day in and day out. Don’t be overwhelmed by the idea of a massive overhaul. Start small. Pick one thing from this list that resonates—maybe it’s finally getting a tray for your counter or swapping your mismatched soap bottles for a cohesive set. Small, systematic changes build momentum and create lasting order. Your personal retreat is waiting for you, and now you have the blueprint to build it.